Showing posts with label distress inks. Show all posts

Wednesday, July 22, 2026

Serving Up Smiles -- Fun Picnic Scene Card

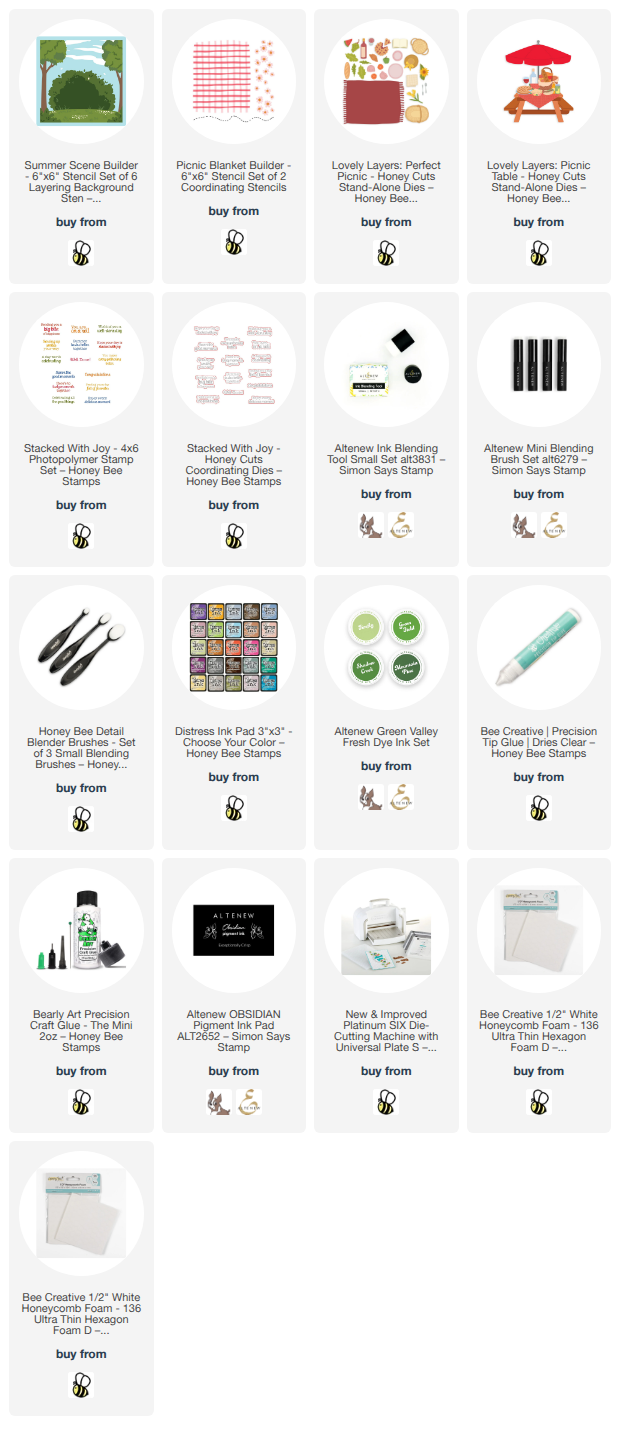
Hello crafty friends!  Today I'm sharing this fun "picnic-in-a-park" card where I've used two awesome stencil sets along with two Lovely Layers sets, all from Honey Bee Stamps new Perfect Picnic release!  It's so fun to combine products in this way to make a card that makes me want to go on a picnic!  Want to join me?

I first started out by using the Summer Scene Builder stencils.  This is a set of seven stencils that create a wonderful scene to be used for many card occasions!  I used some green and brown inks from my stash with blender brushes to ink the scene onto white cardstock.  My card panel is 4-¼" x 5-½".

I used glue to adhere the stencil to an A2 card base.

Next I used the blanket die from the Lovely Layers: Perfect Picnic Honey Cuts to cut white cardstock into this blanket shape.  Then I used the Picnic Blanket Builder stencils to color my picnic blanket with Black Soot Distress Ink. I used my scissors to cut a rectangle of one corner of the blanket for my picnic scene.

I die cut the umbrella and picnic food with the dies in the Lovely Layers: Picnic Table Honey Cuts.  I die cut two of the umbrella top from white cardstock and one from black.  I cut apart the black die cut and glue the pieces to a white cardstock die cut.  Next I used the decorative floral portion of the Picnic Blanket Builder stencils to stencil the flowers onto the other white umbrella die cut.

I took my scissors, again, to cut apart the stenciled umbrella.  I glued those onto the black and white umbrella to create this fun floral and black umbrella.  Then I added foam adhesive to the umbrella top to adhere it to the card.  I cut off the overhang with my scissors.

I used various Copic markers to color the basket, sandwich, bread, wine, and glasses.  After I glued the layers together, I adhered them onto the Picnic Blanket.

The sentiment is from the Stacked With Joy stamp set.  I stamped it with black pigment ink and cut it out with the coordinating Stacked With Joy die.

This card definitely makes me want to go on a picnic!  Sadly, it's way too hot here right now!  I hope you've been inspired by picnic scene card!  This was so fun to make!

Thank you for stopping by!  I hope your day is great and filled with lots of crafty time!

I so appreciate your using my affiliate links to shop (never any additional cost to you)!

Wednesday, April 15, 2026

Bee Well -- Get Well Card Card & Sneak Peek

Hello crafty friends!  I'm excited to share another sneak peek of products in Honey Bee Stamps Bloom In Style release which will be available this evening after Honey Bee's "release party" on their YouTube channel!

The sets I'm using today are part of a collaboration between Honey Bee and Kim Mraz of Paper Smooches!!  All of the sets are so adorable and I have used three of her five sets that are part of the Bloom In Style release.  Here are the new release sets I've used today:

  • Bee Well stamps and dies
  • Honeycomb die
  • Heartfelt Honeys dies
  • Lovely Layers:  Mini Spring Florals

To begin, I created an inked background on bright white watercolor cardstock.  I used a paint brush to add water to the panel and then dropped in small drops of Distress Ink re-inkers.  I used my paint brush to slowly add in these colors of re-inkers:  Squeezed Lemonade, Wild Honey, and Mustard Seed.

I made another watercolor panel by smooshing watercolor cardstock into diluted Distress Inks.  After smooshing the Distress Ink pads (same colors as the re-inkers used above) onto my craft mat and spraying the ink with some water, I pressed the panel into the inks.  I used my heat tool to dry both panels.

I used Bee Creative glue to adhere the first panel to an A2 card base.

I used the second panel to cut with the Honeycomb die.  I die cut two more Honeycombs from white cardstock and glued the layers together.  Then I glued the Honeycomb to the card.  I used a craft knife to trim off the part of the honeycomb that was hanging off of the edge.

I cut white cardstock with the Heartfelt Honeys (isn't that the cutest name?!) and used my Copic markers to color the bees.  Each bee has two layers which were glued together after I finished the coloring.

I die cut pink and green cardstock with the freesia dies in the Lovely Layers: Mini Spring Florals dies (x 3).  I used glue to adhere the layers and added Bee Creative ¼" White Honeycomb Foam adhesives to the back of the flowers to adhere the florals to the card.

The sentiment, stamped bee, yellow heart and small honeycomb are from the sweet little Bee Well stamp set and coordinating Bee Well dies.  The stamped honeycomb is glued to the card and the other elements are adhered with foam adhesive.

I think this will be the sweetest get well card that I hope will cheer up a special friend!

Be sure to save this post to visit after the release is live!  Come back and click the links for the Bloom In Style release to create your own get well card!!

Thanks so much for stopping by!  I hope you have a wonderful and crafty day!

Thank your for shopping with my affiliate links (never any additional cost to you)!

Wednesday, October 15, 2025

Autumn Thanksgiving Card

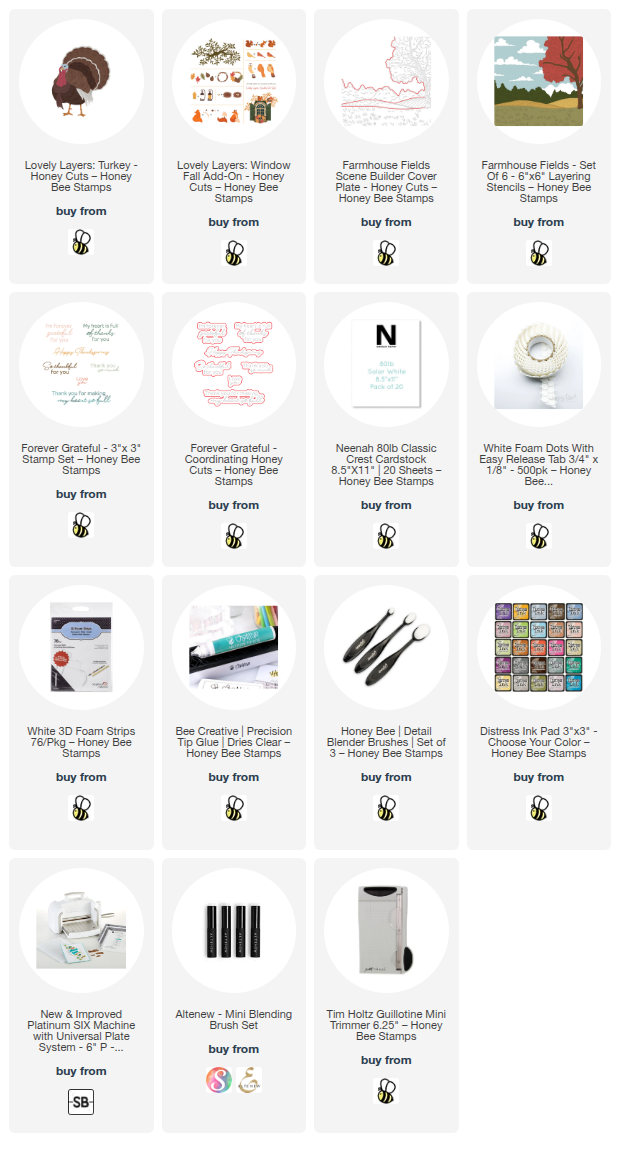
Hello crafty friends!!  Today I'm sharing my card featuring a few of Honey Bee Stamps' new Hello Harvest release products along with another awesome older product!  I've used the Lovely Layers: Turkey to create a Thanksgiving card to give to a family member.  Read on for all of the details.

I started by die cutting white cardstock with the dies from the Lovely Layers: Turkey.  I used an assortment of inks from my stash to color most of the layers with ink blending brushes.  For the four feather pieces I used E40 and E41 Copic markers.  I just didn't have an ink pad in a light enough color!

I followed the Layering Guide to help with layering the pieces and used glue to adhere them all.

For the background I used a favorite older set called the Farmhouse Fields Scene Builder dies.  I die cut white cardstock with the die and then used my paper trimmer to cut the piece to 4-¼" wide.  I trimmed off the tree from the die--I had other plans!

I had the Farmhouse Fields coordinating stencils out, but realized I didn't really need them.  I used more inks and blending brushes to color each layer.

I brushed on blue ink onto the top portion of an A2 card base.  Then I glued the Farmhouse Fields layers to the card.

For the tree, I used the beautiful large branch from the Lovely Layers: Window Fall Add-On die set.  I used two brown Copic markers along with three others in a golden, olive green and burnt orange shades to color the branch.

I used glue to adhere the branch to the card base.  Then I trimmed off the parts that were overhanging with my scissors.

I added foam tape to the back of the Turkey to adhere it to the card.  The sentiments are from the Forever Grateful stamp set.  I stamped them with black pigment ink and then cut them out with the coordinating dies

I popped up the sentiments on the card with foam strips.

I just love how this autumn background turned out for the Lovely Layers: Turkey!  I've already pardoned this turkey from Thanksgiving!  Hahaha!

Thanks so much for stopping by today!  I hope you have a joyous day!

Thank you for using my affiliate links to shop (never any additional cost to you)!

Tuesday, September 30, 2025

So Thankful For You -- Hello Harvest Release Inspiration

Hello, friends!  I'm sharing a quick post for my card featuring some of Honey Bee Stamps' new Hello Harvest release products.  I'm part of an Instagram hop where you will get to see lots of awesome ideas for many of the new products!  There's always a prize too!  So be sure to check it out!

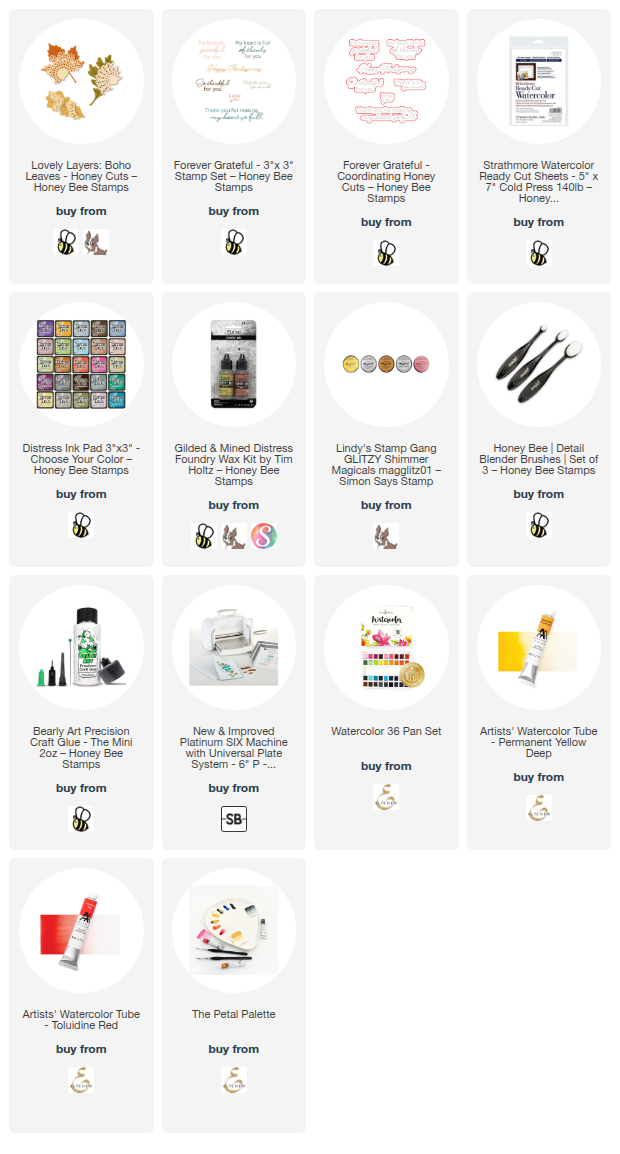
I've made a beautiful Thanksgiving card using the new Lovely Layers: Boho Leaves.  First I made some lovely watery autumn colored panels.  I used watercolor cardstock and painted on various green, golden yellow, and warm red watercolors from my stash.  I have all of the available products in the list below.

I tore a strip of brown cardstock and then inked it up with Walnut Stain Distress ink.  Do you still have one of those crimping tools?  I do, and pulled it out and crimped the strip of cardstock.  Then I used my finder to add Gilded Foundry Wax to the edge of the strip and used my heat tool to set it.  Love how it turns to a beautiful shiny gold!

I added some patterned paper to the card base that is part of a "Free Bee" that is automatically added to any Honey Bee order over $100.  The brown crimped stripped is popped up with foam tape.

Before I adhered the Boho Leaves with glue and foam tape, I inked the edges with Peel Paint Distress ink.  Then I tied a bow with some twine I have in my stash and adhered it with a Glue Dot.

I used sentiments that are in the Forever Grateful stamp set.  After I stamped them with clear embossing ink, I added gold embossing powder and set it with my heat tool.  I cut them out with the coordinating dies and adhered them to the card with foam strips.

I love the grungy chic style of this card!  I hope you will join me over on Instagram for the hop!  I know you will love all of the inspiration for the Hello Harvest release!  Thanks so much for stopping by!

Thank you for using my affiliate links to shop (never any additional cost to you)!

Wednesday, July 16, 2025

Back In The Saddle -- Get Well Scene Card

Hello crafty friends!  Today I'm sharing my card that features Honey Bee Stamps new Lovely Layers: Tack Honey Cuts along with a new stencil set.  Read on for all of the details!

I started by die cutting the dies in the Lovely Layers: Tack from white and teal cardstocks.  I used a few Copic markers to color the white cardstock.  See how I managed to keep the debossed areas of the die cuts white?  To do that, I laid the nib of the marker almost flat and lightly colored over those areas.  I was very happy it worked out!!

I used glue to adhere all of the Lovely Layers: Tack pieces together.  Be sure to refer to the handy layering guide while you assemble the saddle!

Next I created the background layer with the Range Scene stencil set.  I used blending brushes and Distress Inks on an A2 white cardstock panel.  The colors I used are Mowed Lawn, Rustic Wilderness, Lost Shadow, and Tumbled Glass.  NOTE:  I intentionally did not stencil the fence post section.

The idea in my head was to have the saddle hanging over a fence.  So I die cut white cardstock with the Lovely Layers: Barn Wood Fence dies.  Then I used my scissors to trim off the top picket sections even with the top rail.  Then I colored it with a blender brush and Walnut Stain Distress Ink.

I glued the rails onto the fence, added foam tape to the back, and then adhered it to the card with a portion of the bottom of the fence hanging off.  I just used my scissors to trim it even with the bottom of the card.

The sentiment stamped in black pigment ink is from the Saddle Up stamp set.  I cut it out with the coordinating die and popped it up on the card with foam strips.

I blinged out the saddle with some pretty coordinating gems I found in the Vitamin Sea Gem Sticker set.

I love it when I have an idea for a card actually turns out to be like I wanted!  I hope I've given you some inspiration too!  Thanks so very much for stopping by!!!

Thank you for choosing to use my affiliate links to shop (never any additional cost to you)!

Wednesday, July 2, 2025

Firepit and S'Mores Retirement Card With Honey Bee Stamps New Release

Hello crafty friends!!  Today I'm sharing the first card I've made with Honey Bee Stamps awesome new Sawdust and Saddles release!  This is such a fun and unique release and you should definitely check it out!!  And how about a fire pit with s'mores and a beautiful sunset sky--how wonderful that would be!

I created the background layer by first stamping two of the cactuses from the On The Range stamp set onto a 4-¼" x 5-½" white cardstock panel.  I stamped both in a green ink, then stamped them again on masking paper.  After I used my scissors to cut out the masks, I put the masks over the cacti.  (I did stamp one more of the round cactus on white cardstock and cut it out with my scissors.)  All three cactuses are colored with Copic markers.

I used my scissor to cut a strip of more masking paper into a slight hill shape.  I took the bottom mask and placed it just slightly above center on the cardstock.  Then I used blender brushes to blend on Distress Inks creating a sunset.  I used these colors:  Mustard Seed, Wild Honey, Faded Jeans, and Chipped Sapphire.  I added just a bit of Black Soot around the edges.

Before I moved on, I added white paint splatters for stars on the blue sky.

I placed the upper strip of masking tape over the inked sunset sky.  Then I blended on Antique Linen Distress Ink over the entire bottom for a sand look.  I added Gathered Twigs just around the edges.  I added splatters with a paint brush with diluted Gathered Twigs Distress Ink to give the look of small rocks.

Next I die cut all of the pieces of the Lovely Layers: Fire Pit from 80# white cardstock.  I used various Copic markers to color the pieces.  Then I used Bee Creative glue to adhere all of the layers together.  I assembled the fire pit pieces with glue and adhered them to the card with foam tape.  How fun is it that there are dies for roasting marshmallows and dies to make a s'mores?!!!

The sentiments are from the fun new Nailed It stamp set.  After I stamped them with black pigment ink, I cut them out with the coordinating dies.  I used some foam tape strips to adhere them to the card.

This is such a unique release!  I love the sentiments that are a bit "punny" too!  Check it all out over at Honey Bee's shop!

Thank you so much for stopping by today!  I hope your day is wonderful and filled with lots of crafty time!


Thursday, January 30, 2025

A Very Happy Easter To You! featuring Hoppy Poppy

Hello friends!  Yes, today I have an Easter card!  Picket Fence Studios' January release is filled with flowers, bunnies, and gardens perfect for your springtime card making!

Please note:  I have all available supplies, with links, in the list below.

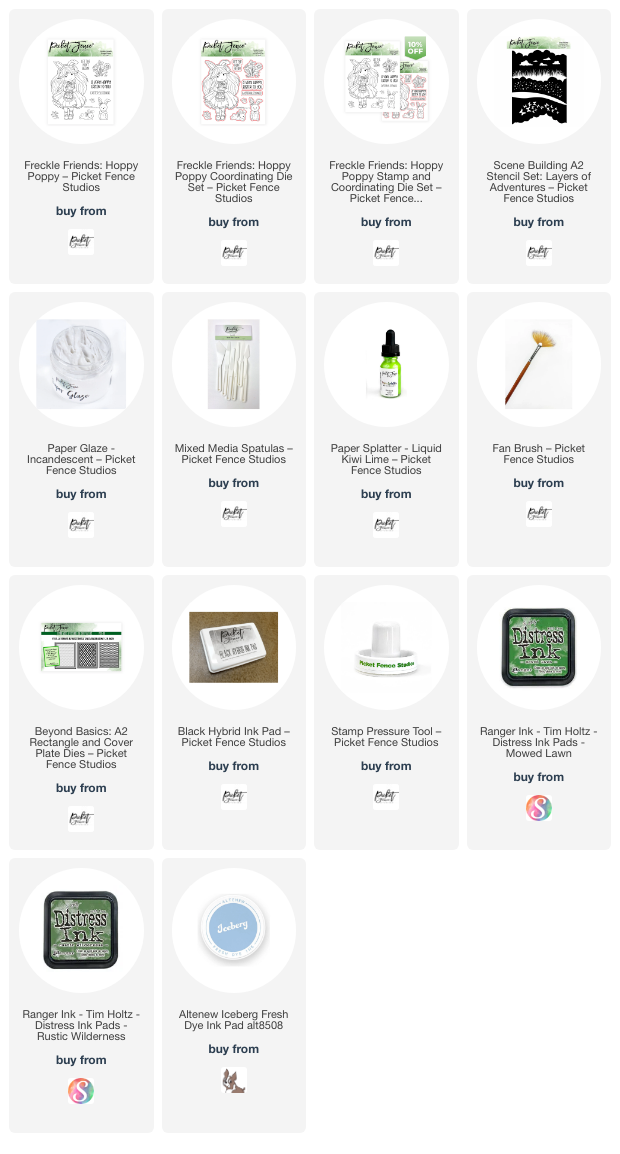
First I created a fun stenciled scene for my card featuring Freckle Friends: Hoppy Poppy.  I used the stencils in the  Scene Building A2 Stencil Set: Layers of Adventure.

I began by blending on two shades of green inks with blending brushes and the Layers Of Adventure stencils.  Then I blended the blue clouds in the sky.

Next I masked off the sky portion of the background to add some shimmery splatters to the grass.  I diluted a few drops of Kiwi Lime Paper Splatter with water and used a fan brush to splatter the mixture onto the card.

Another stencil in this set has clouds and I added the Incandescent Paper Glaze through the stencil and set it aside to dry.

Next I stamped the images from the Hoppy Poppy stamp set with Black Hybrid Ink and colored them with my Copic markers.  I cut them out with the coordinating dies.

I trimmed the dry stenciled panel with a die from the Beyond Basics: A2 Rectangle & Cover Dies set.  I used glue to adhere it to my A2 card base.

The other images and sentiment are popped up with foam tape.  I added a few highlights to the girls dress and shoes with a white gel pen.

The shimmer and shine that the Kiwi Lime Paper Splatter and the Incandescent Paper Glaze gives is SO pretty!  These are wonderful products and I hope you will check them out by clicking the links in the list below.

Thank you for stopping by today!  I hope it's a good one for you!

Thanks so very much for using my affiliate links to shop (never any additional cost to you!)

Sunday, October 27, 2024

Watercolor Autumn Leaves Card

Happy Sunday, crafty friends!  Today I'm over on the blog at Brass & Bliss today to share my fun watercolor card!  This card features the Fall Leaves stamps and Nested Woodgrain die set.

I used Distress re-inkers as my watercolor medium.  If you would like to see all of the exact details, they are over on Brass & Bliss' blog, along with helpful process photos.

I love how the watercolors bled into the die cut lines of the Nested Woodgrain Sign die!

I coordinated the sentiment from the Fall Leaves stamp by stamping and heat embossing in gold.  I was thrilled when I discovered that a leaf shaped die from the Fall Leaves die set would work with the sentiment.

Thanks for stopping by today!  I hope you have a wonderful week with lots of crafty time!

Wednesday, October 2, 2024

Hello Fall Card With A Decorative Sign

Happy October crafty friends! I love the decorated signs you see in gift shops and was excited to see the new Lovely Layers: Seasonal Signs dies by Honey Bee Stamps!  This is a fun set that you can use year round!

EDIT:  Today, October 5 is World Card Making Day and to celebrate, EVERYTHING in the Honey Bee shop is 20% off!  No coupon code needed!  Check off your wish list and shop at Honey Bee!

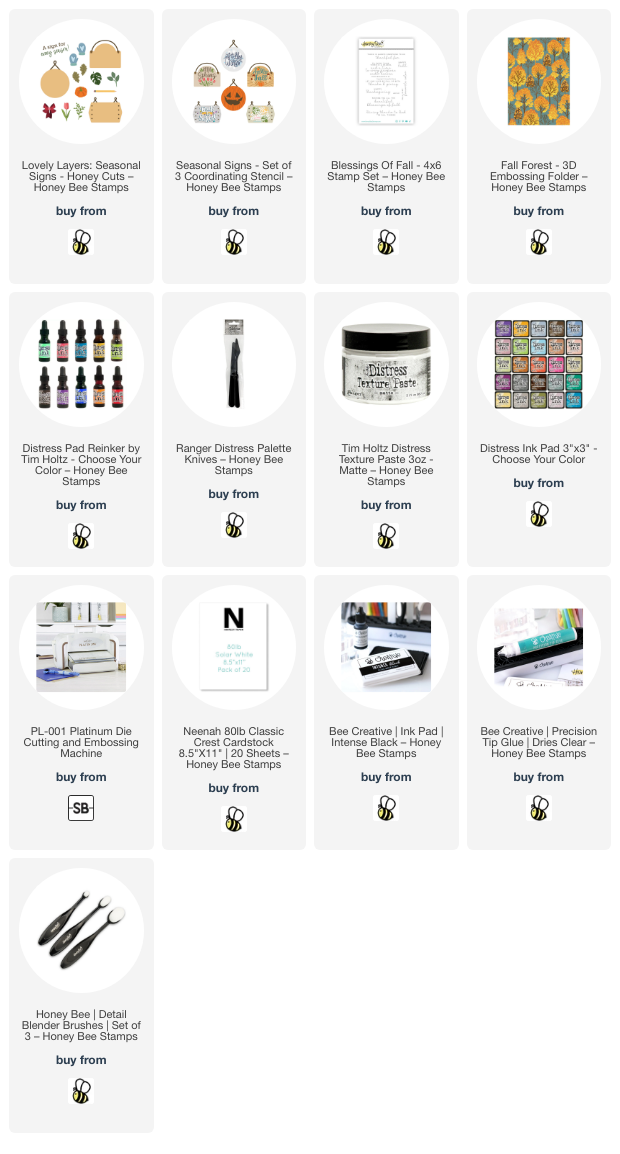
I started out by die cutting the Lovely Layers: Seasonal Signs round sign die from white woodgrain cardstock. I use an ink blending brush to add Gathered Twigs Distress Ink to color it.

Next I used the Seasonal Signs stencil set and placed the stencil with the words " hello Fall" onto the sign and taped around the edges to cover the rest of the sign. Then I mixed texture paste with a drop of Carved Pumpkin re-inker. I used a pallet tool to spread the colored embossing paste through the stencil. Then I removed the stencil, set the piece aside to dry, and immediately washed up the stencil and tools.

Next I die cut the pumpkins, leaves and stems (most are die cut three times) that are also in the Lovely Layers: Seasonal Signs from white cardstock. I used more Distress Inks and my blending brushes to color the pieces. Here are the colors I used:

  • Oak leaves: Aged Mahogany, Wild Honey, Rusty Hinge, Fossilized Amber, and Peeled Paint
  • leafy branches: Mowed Lawn, Rustic Wilderness
  • pumpkins: Carved Pumpkin, Crackling Campfire, and Gathered Twigs

I embossed a 5-½" x 8" piece of white cardstock with the gorgeous Fall Forest 3D embossing folder with the bottom 1" of the cardstock hanging out of the folder. Then I stamped the sentiment from the Blessings of Fall stamp set on the smooth bottom portion. I trimmed the piece just a bit to be 5" x 7". I inked up just the edges of an A7 folded card base with Gathered Twigs Distress ink and adhered the stamped/embossed panel to it with glue.

I glued the sign to the card base. Then I arranged all of the Seasonal Signs elements around the edge, adhering with glue and a few foam dots.

I topped the sign off with a cute little gingham bow!

Thanks so very much for stopping by.  I hope you are having a wonderful week so far!

I know you have many choices for shopping and I so appreciate your using my affiliate links (never any additional cost to you)!

Wednesday, September 4, 2024

Are You Team Sweet or Spooky For Halloween?

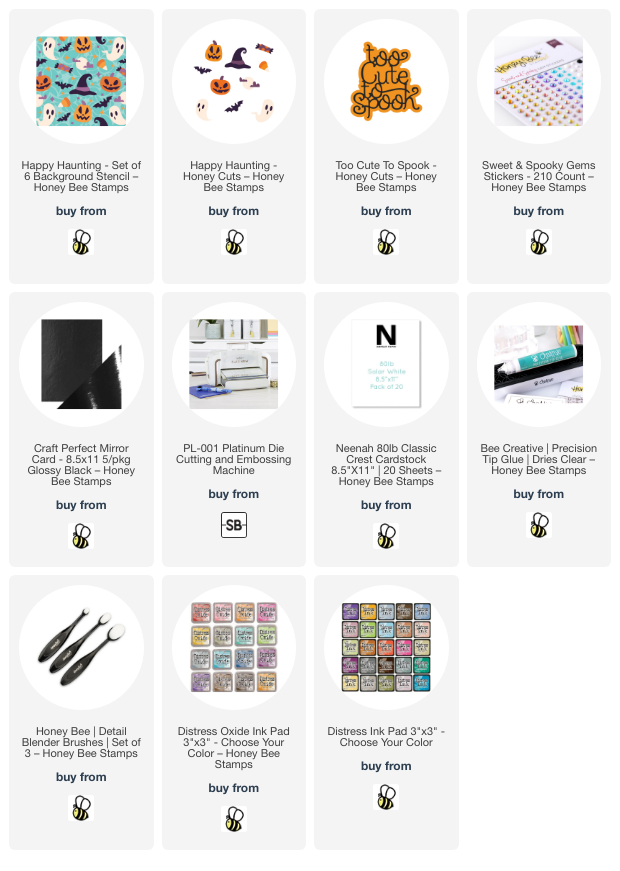
Hello card making friends! Today I'm sharing this sweet and not too spooky Halloween card that features a few of the products from the Honey Bee Stamps Falloween Release.  I used the adorable Happy Haunting Stencil set for the background and the Too Cute To Spook Honey Cuts for the sentiment.

I started out with a 5-½" square piece of white cardstock. The Happy Haunting Stencil Set has six stencils. I used five of them, omitting the stencil with the spider web. I used ink blending brushes to add a mix of Distress Inks and Distress Oxide inks through the stencil layers.

On a scrap piece of white cardstock I stenciled two of the pumpkins (only used one), a ghost, bat, and hat.

I cut these out with the coordinating Happy Haunting Honey Cuts.

Here is a list of the inks I used:

  • Distress Inks:
    • Squeezed Lemonade
    • Saltwater Taffy
    • Salvaged Patina
  • Distress Oxide Inks:
    • Wilted Violet
    • Mowed Lawn
    • Antique Linen
    • Lost Shadow
    • Black Soot

Next I die cut the shadow layer of the Too Cute To Spook dies from more teal cardstock. The top layer of the sentiment is die cut from glossy black cardstock. I used glue to adhere the two together.

I added foam dots to the back of the sentiment and adhered it to my card. Then I added foam tape to the back of the Happy Haunting die cuts and placed them around the sentiment

To finish up, I added black and white gems from the Sweet and Spooky Gem Stickers to the eyes of the ghosts and pumpkins. I placed a few turquoise gems around the sentiment.

I love stencil sets (if you can't tell--haha!) and the Happy Haunting stencil set is so versatile! It can be used for a more traditional holiday card, or just stencil the items you want and then die cut those out!

Thank you, always, for stopping by. I hope your day is a good one with fun crafty time!

There are many options for shopping and I really appreciate it when you use my affiliate links (never any additional cost to you)!

Wednesday, August 28, 2024

Autumn Scene Card With The New Lovely Layers: Scarecrow

Hello crafty friends! Have you see the awesome new Honey Bee Stamps "Falloween release"?  It is filled with beautiful autumn stamps, dies, stencils and more!  Also there are some sweet and not too spooky Halloween items too!  I can't even begin to choose a favorite, but this adorable Lovely Layers: Scarecrow is definitely one I love!

Also, I don't want to forget to tell you about an awesome Instagram hop we are having today to celebrate Honey Bee's new release! When you are done here, be sure to join me on Instagram and leave a comment on each stop for your chance to win! Two winners, drawn from the comments, will each win a $50 gift certificate!

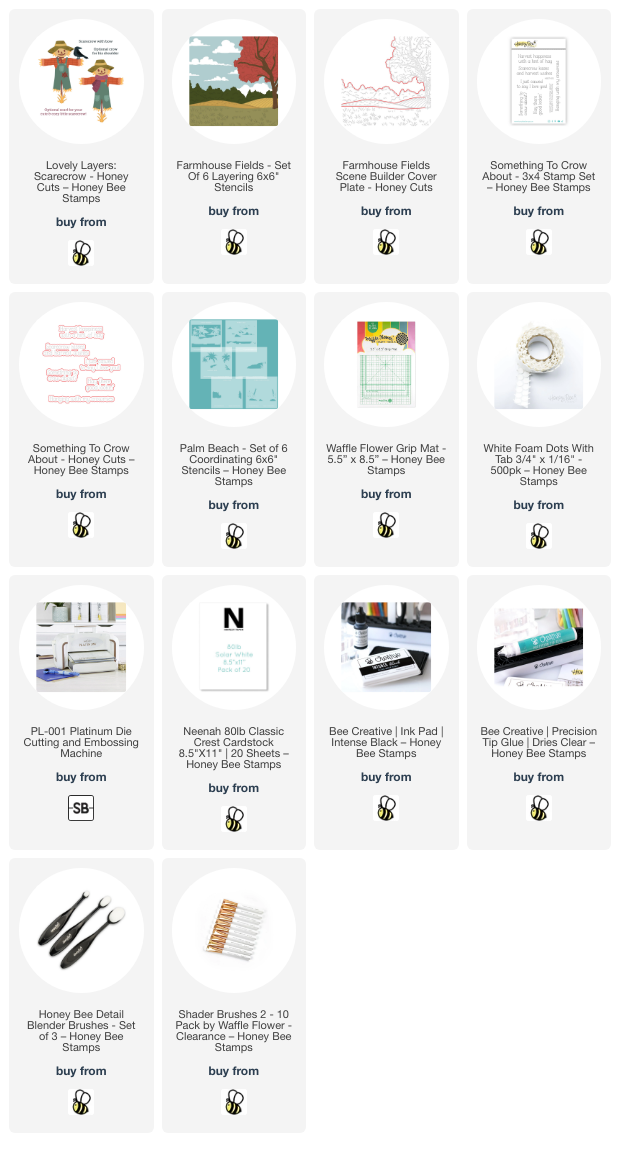
I created my autumn background for the adorable Scarecrow with the Farmhouse Fields Scene Builder die and the coordinating stencils. I used ink blending brushes and a lot of my favorite autumn color Distress Inks. I used Peeled Paint, Faded Jeans, Tumbled Glass, Scattered Straw, Carved Pumpkin, Aged Mahogany, Antique Linen, Gathered Twigs, and Black Soot.

I stenciled the black birds in the sky by using a stencil from the Palm Beach stencil set. But I think these could easily be hand drawn too.

Next I die cut the Lovely Layers: Scarecrow dies from 80# white cardstock. I used blending brushes and Distress Inks to color the layers. Using a sticky mat to hold the small pieces while inking is so helpful! I used the Layering Guide for assistance in assembling the scarecrow for the first time. After I glued the layers together, I added a few foam dots to the back of the scarecrow to adhere it to the card.

The sentiment is from the new Something To Crow About stamp set and stamped in black ink. I love that Honey Bee has coordinating dies to cut out the sentiments!

I thought the crow would look super cute perched on the sentiment so I popped him up with a small piece of foam tape.


Thank you so much for using my affiliate links to shop (never any additional cost to you)!  Note: In order for me to receive credit, you need to have your browser set to allow cookies.

Wednesday, August 21, 2024

An Autumn Card and A Fun Technique for Coloring Embossing Folder Images

Hello crafty friends! Autumn really is my favorite season! It's a promise of cooler weather after the extreme heat we have in August here in Texas. I used a fun technique with the Fall Leaves 3D embossing folder!

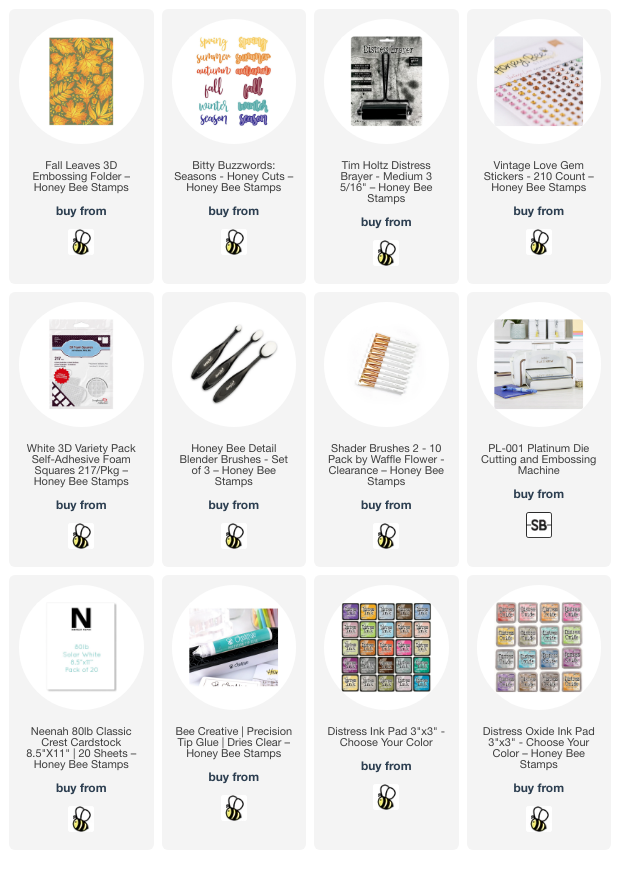
First I embossed white cardstock with the Fall Leaves embossing folder. Then I used several Distress Inks and a variety of small ink blending brushes to color the leaves on the de-bossed side. It's okay to go outside the "lines". A later step will hide all of that!

I used these Distress Inks: Fossilized Amber, Peeled Paint, Aged Mahogany, Rusty Hinge, and Gathered Twigs.

Next I repositioned the panel back into the Fall Leaves embossing folder. When I had it lined up with the colored side facing up, I used removable tape to hold it in place. Then I used a brayer and Potting Soil Archival Ink to add ink to the other side of the embossing folder. This step will add the dark brown ink to all the veins of the leaves after you run it back through your embossing folder!

This next step is where I crossed my fingers since I had never done it before! Haha! I took the Gathered Twigs Distress Oxide ink pad and, holding it flat, rubbed it all over the panel and it filled in the background and covered up the ink colors that were beyond the edges of the leaves!

Distress Oxide inks are opaque and that's why it works for this technique!

The sentiments are from the Bitty Buzzwords: Seasons Honey Cuts. They are die cut from brown and brushed gold cardstocks. I used foam tape to pop them up on the card.

A few gems from the Vintage Love Gem Stickers adds some fun sparkle!

I love how this turned out! I will definitely be using this technique again and hope I've inspired you to try it! Thank you so much for stopping by!

Thank you for shopping with my affiliate links at no extra cost to you! (your cookie settings need to be enabled for me to get credit)

Wednesday, July 31, 2024

Framed Beach Scene Retirement Card

Hello crafty friends! What would be better than a long trip to the beach to celebrate a retirement? I sure don't know! That thought was my inspiration for this framed beach scene card that features one of my favorites from the latest Honey Bee Stamps release, the Palm Beach Cover Plate and the coordinating Palm Beach stencils.

I began by running the Palm Beach Cover Plate die through my die cutting machine with 80# white cardstock. Then I used each of the coordinating stencils to color this beautiful scene with Blender Brushes and various inks. I used a few inks in my stash (linked below) and some Distress Inks. The Distress Inks I used are Peacock Feathers, Mowed Lawn, Rustic Wilderness, Black Soot, and Gathered Twigs.

Next I die cut 110# white card stock with the Wood Frame Builder dies. After I glued the stenciled scene to my A2 card base, I used glue to adhere the frame pieces to the card.

To add a few embellishments to my framed beach scene, I die cut 110# cardstock with the Lovely Layers: Small Seashells dies. I also colored these with Blender brushes and a few inks in my stash. Then I used glue to adhere three of the seashells at the corner of the frame and a foam dot to adhere the sand dollar.

I stamped the sentiment from the Rest & Relaxation stamp set with black ink and cut it out with the coordinating die. To accommodate the extra height added by the seashells, I added a double layer of foam strips to the right side of the sentiment. I added a bit of glue to the back left of the sentiment to adhere it.

I love how quick and easy it was to make this card! I hope you've found some inspiration here too. I appreciate you stopping by and hope you have a wonderful day!

Thank you for using my affiliate links to shop (never any additional cost to you)!