Showing posts with label heat embossing. Show all posts

Wednesday, May 13, 2026

Congrats Card with Watercoloring, Texture Paste, and Stencils

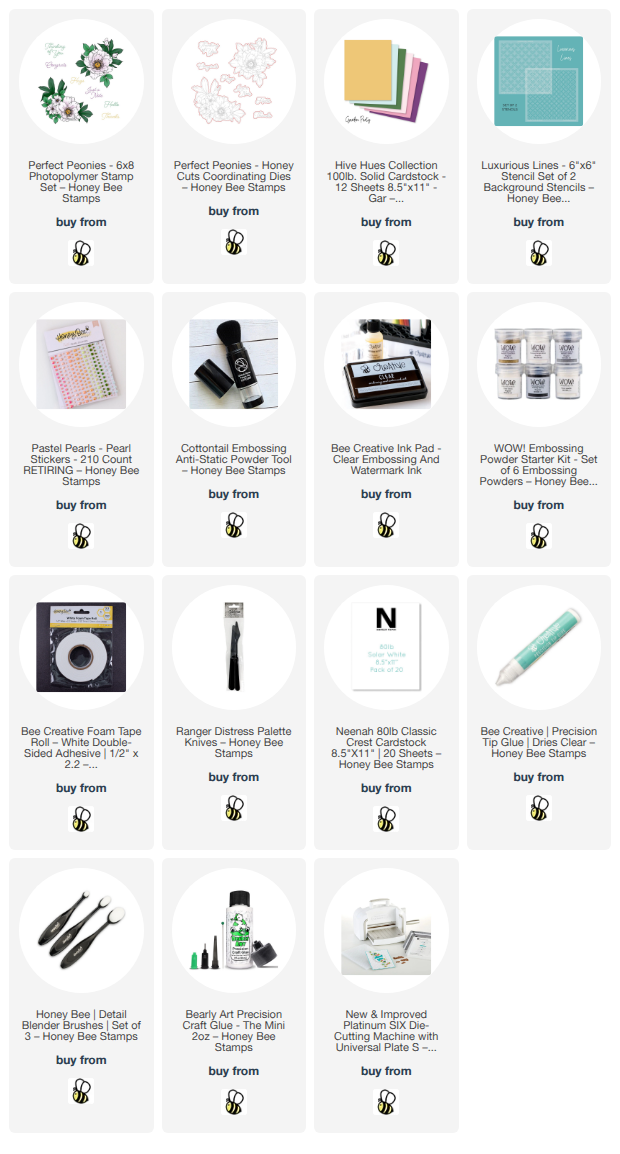
Hello crafty friends!  Today I'm sharing my heat embossed and watercolored card I made with the gorgeous Perfect Peonies stamp set and Honey Cuts.

First I used a piece of the pink cardstock from the Hive Hues Garden Party cardstock pack.  I trimmed it to 4-¼" x 5-½" and then placed the Geometric stencil from the Luxurious Lines stencil set over the panel.

I spread some transparent matte texture paste through the stencil, applying it just to two corners.  I set it aside to dry and immediately cleaned up the stencil and the pallet tool.

When the texture paste had dried, I added just a bit of coordinating ink with an ink blending brush.  Then I added splatters with a very diluted solution of the same paint I used on the flowers.

Next I stamped one of the gorgeous florals from the Perfect Peonies stamp set with clear embossing ink onto Bristol Smooth cardstock.  Note:  I treated the cardstock panel with an anti-static pouch before stamping.

Then I added silver embossing powder over the stamped image and used my heat tool to set the powder.

Now let me tell you, my watercoloring skills are not very strong.  Therefore, I tried to keep the watercoloring very simple by first applying my lightest shade of color first.  After that dried I went in with a darker concentration of that same color to add just a bit of dimension.

Once my watercoloring had dried I cut it out with the coordinating Perfect Peonies die.  I added foam tape to the back to pop it up on the card front and trimmed off any leaves that were over the edges of the card.

The sentiment is one of six included with the Perfect Peonies stamp set.  After I heat embossed it in silver on white cardstock, I cut it out with the coordinating die.

I added a few coordinating Pastel Pearl Stickers around the sentiment and floral for a touch of bling.

I hope I've inspired you to try your hand at this simple watercoloring style!  It was actually very enjoyable for me.  Thank you so much for stopping by today!  Be sure to check out my reel I will have later today on my Instagram!

Thank you so much for shopping with my affiliate links (never any additional cost to you)!
Wednesday, November 12, 2025

Merry Everything Mixed Media Card With Stitching

Happy Wednesday, crafty friends!  Today I'm sharing my card featuring Honey Bee Stamps gorgeous In Stitches: Snowflake Honey Cuts with the equally beautiful Silent Night stamp!  I created a sparkly stitched and embellished snowflake to add to my mixed media holiday card.  Check out the details below!

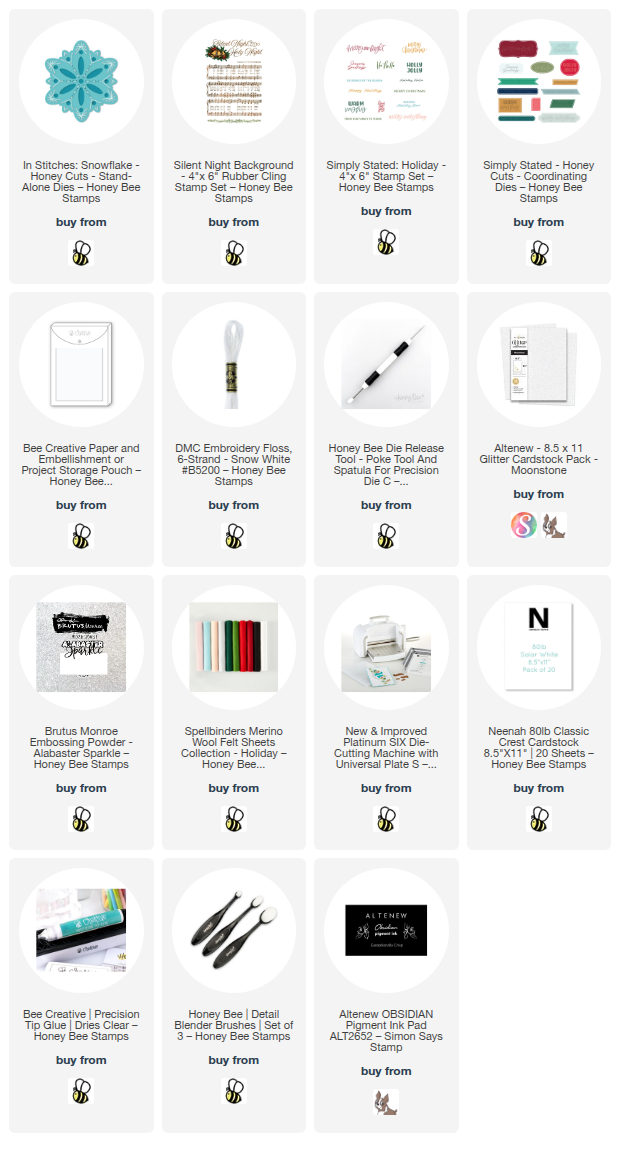
My supplies for the In Stitches: Snowflake are as follows:

The In Stitches: Snowflake set has two dies--one for the top layer and another for the bottom layer.  Both layers can be die cut from felt, however, I die cut the bottom layer from white glitter cardstock.

After separating my embroidery floss into three strands, I stitched through the die cut holes in the center of the Snowflake as there are no holes for these in the back layer.  If you use felt for both layers, you don't need to do this step.

Then I stitched both layers together.  I used regular white thread to sew on the seed beads.  As I mentioned above, there are no holes for the middle portion.  I could use a sharp pointed needle to poke through the glitter cardstock, but I just used my cannot-craft-without die pick tool to add those holes.

I like to add little dabs of glue to the thread knots on the back of the piece.  Probably not necessary, but it gives me peace of mind that it won't come undone!  Haha!

The A2 card base is layered with a piece of patterned paper that is in the "Free Bee" paper pack that will automatically be added to a qualifying order.

I stamped the gorgeous Silent Night stamp set with clear embossing ink onto a light brown cardstock.  I added a white sparkle embossing powder and used my heat tool to set it.

Next I tore all of the edges of the panel.  Then I used an ink blending brush to ink the edges with Gathered Twigs Distress Ink.  I glued the panel to my card base.

EDITED:  There was something I just didn't like about the look.  Several hours after publishing this post, I had a thought.  I DID NOT like the brown edges!!!!  So I used a blending brush and white pigment ink to go over the edges and I like it much better.

HERE IS MY ORIGINAL PHOTO.  Which do you like best?

I like the new version so much better!  Do you ever do anything like this?  LOL!

Next I decided I wanted just a touch of something with the Snowflake so I die cut a few branches that are in the Lovely Layers: Sleigh Bell die set.  I glued those to the card, and then glued on the snowflake.

I am a HUGE fan of sentiment stamps that are ONE piece and stamp several sentiments all at once!  That is what the Simply Stated: Holiday stamp set is!  I stamped it in black pigment ink and cut it out with the coordinating Simply Stated die.

After I chose one of the awesome sentiments, I used foam squares to adhere it to my card.

After I stamped the Simply Stated: Holiday stamp, I noticed four tiny little hearts that also were stamped.  Guess what those are for?  The Simply Stated die has four little heart holes that help you line up the die!  Isn't that genius?!!

There are so many fun techniques on my card today!  I hope you like it and are inspired to try one of the awesome In Stitches die sets on a project.  TIP:  I use this Storage Pocket to store all of my In Stitches sets together!

Thanks so much for stopping by.  I hope your day is fabulous!

Thank you for using my affiliate links to shop (never any additional cost to you)!

Tuesday, October 14, 2025

Merry And Bright

 Hello friends!  Today I'm sharing this card featuring some products from My Pretty Things' 2025 Holiday Collection!  This features the beautiful Timeless Beauty stamps, stencils, and coordinating dies.  While this stamp set comes with some awesome birthday sentiments, I'm in the mood for holiday cards!  Read on for the details.

I like to stencil my stamp sets before I stamp it in black ink to help prevent smearing.  So first I stamped the Timeless Beauty floral stamp with a no-line coloring ink.

Tip:  To easily stamp the black ink later use a stamp positioning tool.  I placed the white cardstock panel into the bottom corner of my MISTI and then stamped it with no-line coloring ink.  LEAVE the stamp on the door of the MISTI.

Now you can pull out the stamped panel and begin to add your ink colors through the Timeless Beauty stencils with blending brushes.  Check out my list below for the ink colors I used.

I did not stencil ink for the berries. 

Next, place the colored floral panel back into the MISTI.  Make certain that the card is completely into the same corner as before.  I inked up the Timeless Beauty floral with black ink.

To color the berries, I made a custom color of pearl texture paste by mixing a bit with a drop of re-inker.  After I spread it onto the berries stencil, I set it aside to dry.

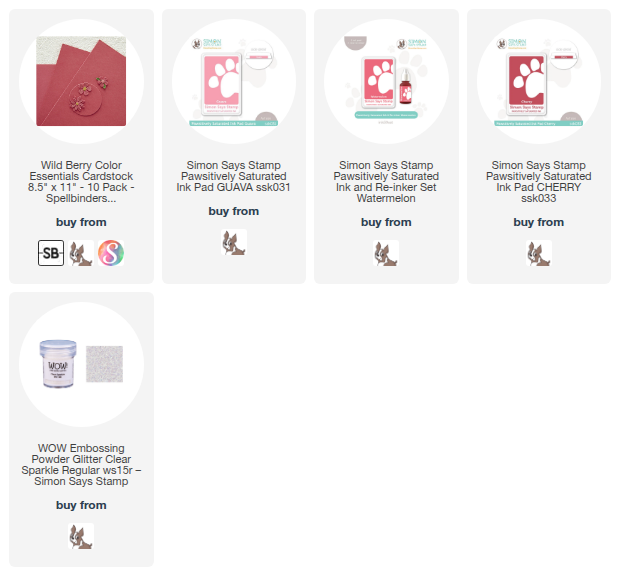
I created my card base layer by stamping the Art Deco Christmas Tree stamp onto deep pink cardstock with clear embossing ink.  I added clear sparkle embossing powder and then set it with my heat tool.

I trimmed the piece to 4" x 5-¼" then used the Art Deco Christmas Tree stencils and two pink inks to add a bit of subtle color to the stamped image.  Then I glued it to my card base.

Making sure the texture paste was dry, and it was, I cut out the Timeless Beauty floral with the coordinating Timeless Beauty die.  I added foam tape to the back to adhere the flowers to the card.

Next I stamped a sentiment from the Happy Holidays Sentiments with pink ink.  I cut the sentiment out with the coordinating die and adhered it to my card with foam tape.

Thank you so much for stopping by today!  I hope it's a great one for you!

Thank you very much for using my affiliate links to shop (never any additional cost to you)!

Tuesday, September 30, 2025

So Thankful For You -- Hello Harvest Release Inspiration

Hello, friends!  I'm sharing a quick post for my card featuring some of Honey Bee Stamps' new Hello Harvest release products.  I'm part of an Instagram hop where you will get to see lots of awesome ideas for many of the new products!  There's always a prize too!  So be sure to check it out!

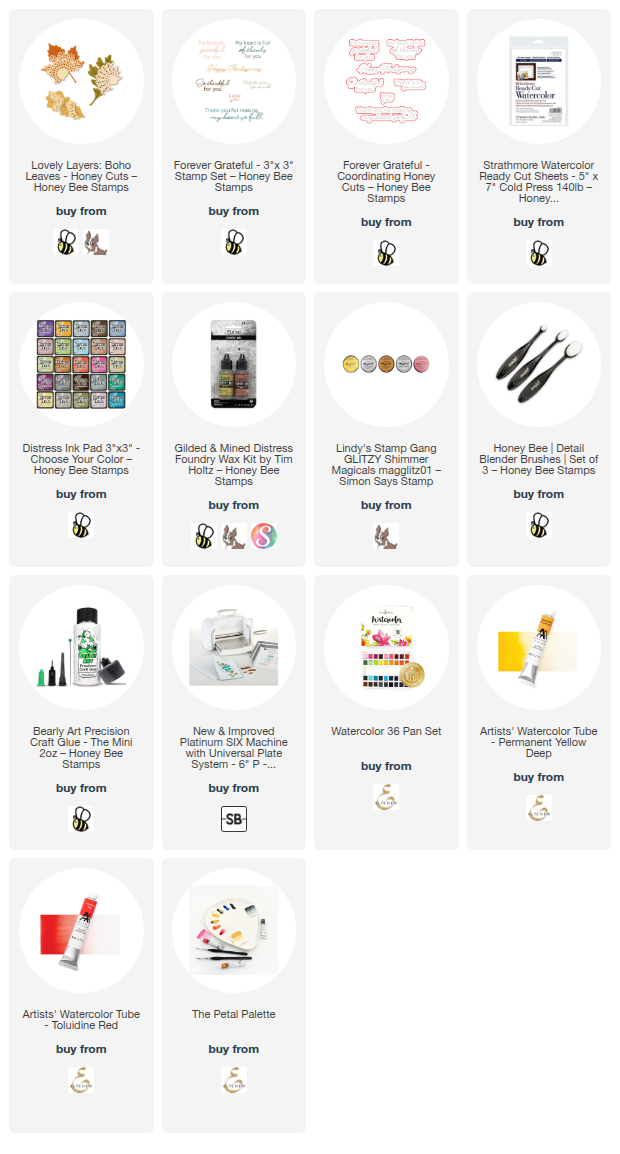
I've made a beautiful Thanksgiving card using the new Lovely Layers: Boho Leaves.  First I made some lovely watery autumn colored panels.  I used watercolor cardstock and painted on various green, golden yellow, and warm red watercolors from my stash.  I have all of the available products in the list below.

I tore a strip of brown cardstock and then inked it up with Walnut Stain Distress ink.  Do you still have one of those crimping tools?  I do, and pulled it out and crimped the strip of cardstock.  Then I used my finder to add Gilded Foundry Wax to the edge of the strip and used my heat tool to set it.  Love how it turns to a beautiful shiny gold!

I added some patterned paper to the card base that is part of a "Free Bee" that is automatically added to any Honey Bee order over $100.  The brown crimped stripped is popped up with foam tape.

Before I adhered the Boho Leaves with glue and foam tape, I inked the edges with Peel Paint Distress ink.  Then I tied a bow with some twine I have in my stash and adhered it with a Glue Dot.

I used sentiments that are in the Forever Grateful stamp set.  After I stamped them with clear embossing ink, I added gold embossing powder and set it with my heat tool.  I cut them out with the coordinating dies and adhered them to the card with foam strips.

I love the grungy chic style of this card!  I hope you will join me over on Instagram for the hop!  I know you will love all of the inspiration for the Hello Harvest release!  Thanks so much for stopping by!

Thank you for using my affiliate links to shop (never any additional cost to you)!

Wednesday, June 18, 2025

You're The Best, Sweet Friend!

Happy Wednesday crafty friends!  Today I'm sharing my card that requires just two dies sets and one stamp set!  I've used Honey Bee Stamps' new Bold Background: Chinoiserie with the older Big Time Kindness stamp set and Honey Cuts.

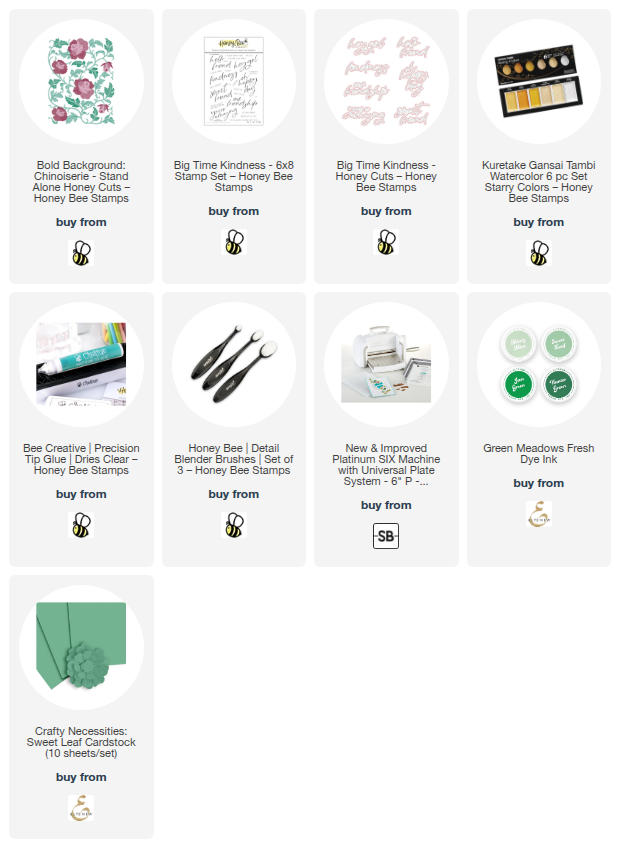
To make the coloring easier, I started by die cutting green and light coral colored cardstocks with the Bold Background: Chinoiserie dies.  Then I used a blending brush to add a coordinating green ink color to the layers for shading.  I used a couple of Copic markers to shade the flowers.  Don't forget to die cut the flowers two times each!

Next I referred to the Layering Guide while I used glue to adhere the layers.  Then I glued the piece to an A2 white cardstock card base.

For more detail and interest I added some pretty metallic Champagne Gold paint splatters and set it aside to dry.

I pulled out the Big Time Kindness stamp set, one of my favorite sentiment sets!  I stamped the sentiments with clear embossing ink and then added Princess Gold embossing powder.  I used my heat tool to set the powder.  I cut out the large sentiment with the coordinating Big Time Kindness die and used my paper trimmer for the other.

I added foam tape strips to the sentiments to adhere each one to the card.

I love this card with its sweet flowers and metallic sentiment!  Perfect for many occasions  to send to a friend!  Thanks so much for stopping by!  Stay crafty!

Thank you very much for using my affiliate links to shop (never any additional cost to you)!

Wednesday, May 21, 2025

Hello, Beautiful!! A Dramatic Heat Embossed Card

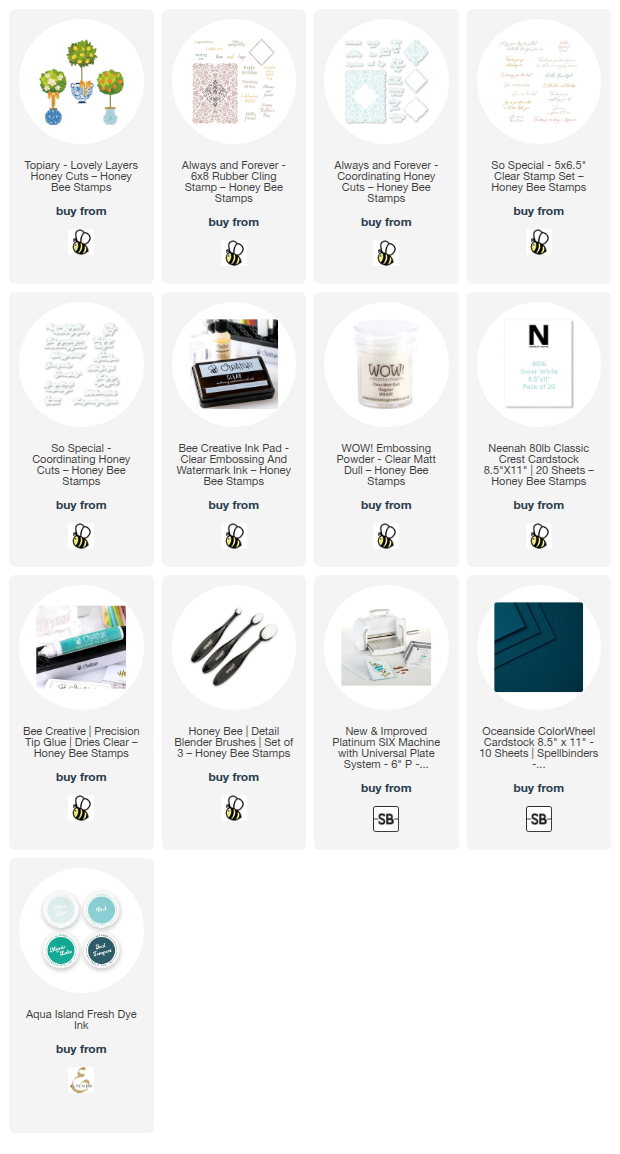
Hello, crafty friends!  Today I decided to go with a rich dark colored cardstock for a dramatic look to use as a background for Honey Bee Stamps beautiful Lovely Layers: Topiary.  I used their Always and Forever red rubber stamp to add a subtle heat embossed background!  Read on for the details!

First I chose a dark teal blue cardstock and placed an A2 size piece into my stamp positioner. I used an anti-static powder over the cardstock. Then I inked up the Always and Forever background stamp with clear embossing ink and stamped it onto the teal cardstock.

For this card I used some white satin pearl embossing powder. If you don't have that, a clear embossing powder would also be beautiful. After I poured the powder over the stamped image, I used my heat tool to set the powder.

After the panel had cooled off, I cut it out with the coordinating Always and Forever die. I found an ink that was about the same color and used a blender brush to darken the edges of the die cut piece. I glued this to an A2 sized panel of teal cardstock, and then to an A2 card base.

I die cut all of the pieces of the Lovely Layers: Topiary from white cardstock except for the top layer of the planter. I die cut that from a scrap of the same teal cardstock I used before. It was easy to use blender brushes and various ink colors to quickly color the layers of the topiary. I love how the bright yellow of the lemons and bow contrast with the green and teal!

The sentiment is one that is in the So Special stamp set. There are so many wonderful sentiments in the set, I had a hard time deciding which one I wanted to use. LOL. I cut the stamped sentiment out with the coordinating So Special die.

The topiary and the sentiment are all popped up with foam tape. I wanted that lift so the teal planter would not blend into the background so much.

There are several other dies in the Lovely Layers: Topiary for more options other than the lemons.  You can choose two more planters, a different style leafy topper along with pears, flowers, and oranges!  Be sure to check it out!  I hope you are having a wonderful week and I so appreciate you stopping by my blog!

Thank you for choosing to use my affiliate links to shop (never any additional cost to you)!

Wednesday, June 12, 2024

Wishing You An Adventurous Birthday - An Interactive Card

Hello crafty friends! Have you checked out the fabulous new Sunkissed Summer release by Honey Bee Stamps?  I love how there are several items for making cards for the guys! I struggle with masculine cards but not anymore. Today I'm sharing this fun interactive birthday card for our guys that features the Born To Fly and Aviator stamps. This was super easy and fun to make!  If you would like to see the card in action, check out my reel on Instagram!

Still photos don't show you that the two airplanes from the Born To Fly stamp set that I heat embossed in silver actually swing back and forth! I will have a reel posted to my Instagram soon today that will show it in motion.

First I make the background layer by stamping the Aviator background stamp with clear embossing ink onto 80# Neenah. Be sure to treat the cardstock with your anti-static powder first! Then I added white embossing powder and heat set it.

Next I used blender brushes to add Lucky Clover, Cracked Pistachio, and Twisted Citron Distress Oxide inks over the panel. I repeated the inking to get it blended just right. When I finished, I rubbed a clean paper towel over the embossing to remove the excess ink and restore the whiteness of the embossing.

I trimmed the piece to 4" x 5-¼" and glued it to an A2 card base.

Next I die cut two strips of white cardstock with the cloud die from the Horizon Slimline Borders die set. The shorter strip of clouds is about 1" tall and the wider one is 1-½". I glued the wide cloud strips to the card, one at the top and the other at the bottom of the card base.

Before proceeding, smoosh the Lucky Clover Distress Oxide ink pad onto your craft mat. Dilute with some water. Then use a paintbrush to add splatters onto the card base and cloud pieces.

I added foam dots to the back of one of the other cloud strips and adhered it over the other cloud layer at the bottom of the card.

To make the interactive part you will need two pieces of clear nylon string or fishing line, if you have that around the house. As mentioned above, I stamped and silver heat embossed two of the airplanes from the Born To Fly set. I cut them out with the coordinating Born To Fly dies.

To attach the airplanes to the nylon string, I placed the end on the back of the plane and secured it with foam tape pieces. NOTE: DO NOT remove the foam tape backing if you want the airplanes to swing! The smooth backing will help the planes glide over the card surface. Repeat for the other plane.

I adhered the top of the nylon string to the back of the upper cloud strip with foam dots. If you have extra string above the cloud, just trim it with your scissors. Remove the backing of the foam tape on the cloud strip to adhere to the card.

To finish I added a sentiment from the Plane Awesome stamp set that was die cut with the coordinating die.

Of course, you can totally simplify these steps by omitting the string and adhering the airplanes directly to the card. But I think the interactive aspect make for a fun surprise for the recipient!

I hope you have been inspired by my card today! Thank you so much for stopping by. Have a wonderful and crafty day!

Thank for using my affiliate links to shop (never any additional costs to you)!

Friday, May 17, 2024

When The Roots Are Deep...

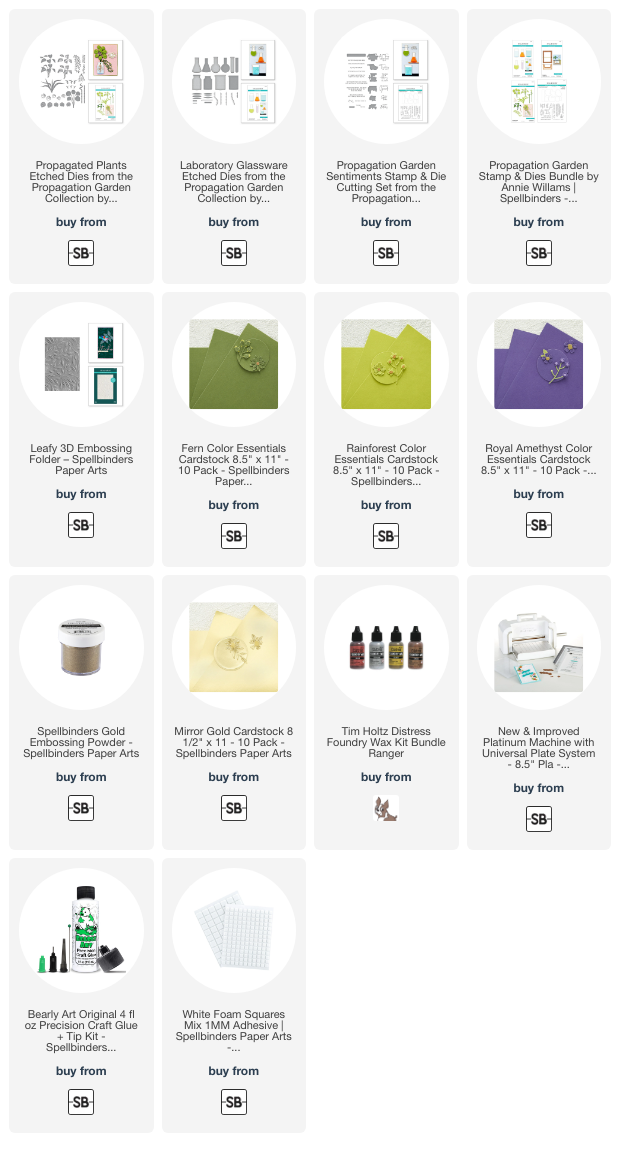
There is no reason to fear the wind!  Happy Friday crafty friends!  Today I'm sharing my second card featuring products from Spellbinders' Propagation Garden Collection.  This time I've added touches of gold and a dark cardstock for a more dramatic look!

The card base is A2 with a layer of Royal Amethyst cardstock first.  Then I embossed more cardstock with the Leafy 3D embossing folder and trimmed it to 4" x 5-¼".  Now, I've had these Distress Foundry Waxes for a while and haven't used them on a project until now!  I put several drops of the Gilded Foundry Wax on my glass surface.  Then I used my finger to dab it around the edges of the embossed cardstock.

The key to this product is after it's applied to the surface, you use your heat tool to set it.  The heat brings out the beautiful shine and sets it so it will not rub off.

I die cut pieces from the Laboratory Glassware and Propagated Plants sets with gold, white, Fern and Rainforest cardstocks.  After I assembled the pieces with glue, I added foam squares to the back to pop them up on the card.

I embossed the sentiment from the Propagation Garden Sentiments set with gold embossing powder and trimmed it into a rectangle.  I also popped it up on the card with foam squares.

Thank you for stopping by today!  I hope your weekend is a good one and filled with lots of crafty time!

Thank you for shopping with my affiliate links (never any additional cost to you)!

Thursday, May 16, 2024

Thank You, You're The Best

Today I'm sharing my card featuring Picket Fence Studios new and so gorgeous Blooming Trumpet Flowers stamps and coordinating dies.

For the background I white heat embossed the individual flowers and leaves from the Blooming Trumpet Flowers stamp set.  Then I ink blended on Distress Oxide inks (colors in list below) in an ombre pattern.  I used a clean paper towel to lightly wipe the ink off of the embossing.  Then I glued it to an A2 card base.

Then I white heat embossed the large floral image in the Blooming Trumpet Flowers stamp set onto vellum.  I cut it out with the coordinating die.

Before I added anything else to the card front, I stamped the large flower on the inside of the card with Spun Sugar and Kitsch Flamingo Distress Oxide inks.

After I stamped in black ink and die cut the two sentiments from the Blooming Trumpet Flowers, I glued one on the inside of the card.

I glued together four layers of white cardstock die cut with the window die from the Basic Die Cutting Set 1 and then glued it to the card front.

Next I used tape runner to adhere the sentiment to the die cut vellum.  Then I glued Gradient Flat Back Pearls in Lime Green and Pale Pink here and there on the vellum floral.  Now I can add dots of glue behind the sentiment and pearls to adhere the vellum to the card.  No adhesives will show!

Check out my Instagram for the reel I posted today if you'd like to see more!  Thanks so much for stopping by!

Thank you for shopping with my affiliate links (never any additional cost to you)!

Sunday, March 24, 2024

Thinking Of You -- Masking, Ink Blending, & Heat Embossing

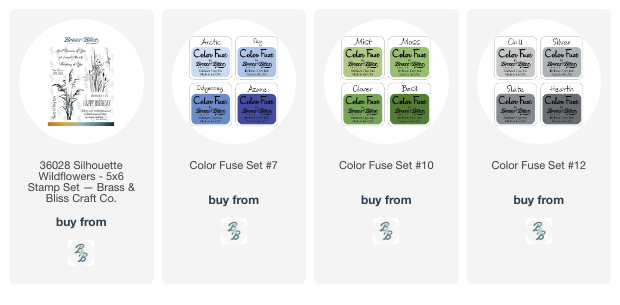
Hello crafty friends!  Today I'm sharing my card that features Brass & Bliss Craft Co.'s new Silhouette Wildflowers set.  This card was quick and easy and all you need are inks and just that stamp set!

I really enjoyed this masking process!  I have all of the step-by-step details and photos over on the Brass & Bliss blog.

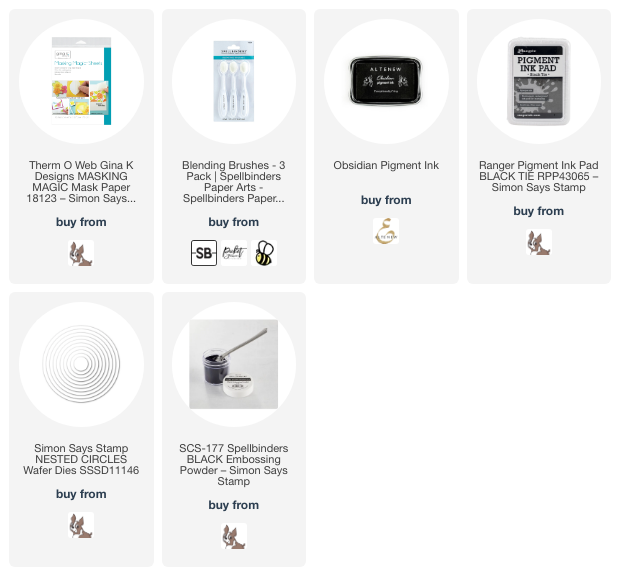
I die cut a circle from masking tape and positioned it along with two more strips of masking tape on my card front layer.  Then I used ink blending brushes to add the blue and green inks.

I removed the moon mask and carefully added dabs of gray ink for definition in the moon.  Before I removed the other masking tape strips, I added splatters of metallic white watercolor.

After I made sure the ink was completely dry, I treated the piece with my anti-static tool and then stamped the Silhouette Wildflowers image and sentiment from the set with black pigment ink.  Then I sprinkled on black embossing powder and heat set it.

I created a coordinating layer for the main layer by swiping Azure ink along the edges of white cardstock.

And that's it!  I love how this card turned out.  The sentiment is perfect to use for a card to send as a sympathy card or to someone going through a hard time.

Be sure to check out the seven other sentiments in beautiful fonts included in the Silhouette Wildflowers set.  Several occasions are covered for versatility in our card making!  Thanks so very much for stopping by today!

Thank you for shopping with my affiliate links (never any additional cost to you)!

Tuesday, December 12, 2023

Three Quick and Easy Last-Minute Holiday Cards

Hello crafty friends!  Today I am sharing three cards I made using the Rubbernecker Stamps' Pine Bough Background stamp!

If you would like to see the detailed instructions for making these cards, please head over to my post on the Rubbernecker blog!  I also have the Copic marker colors over there too.

I stamped two of the Pine Bough backgrounds with Color Fuse Basil ink and the other is gold heat embossed!  This first card was the quickest to make.  It's simple to make, but still quite beautiful! 


This next card took just a bit more time, but only because of the heat embossing.


My third card includes some simple coloring with a few Copic markers.  By keeping the shading to a minimum, it doesn't take too long at all!


I hope you've been inspired by my quick cards, and that you'll hop over to the Rubbernecker blog and say "Hi"!  Have a wonderful day!

Thank you so much for using my affiliate links to shop (never any additional cost to you)!