Showing posts with label Burlap 3D embossing folder. Show all posts

Wednesday, July 23, 2025

Stitched With Love

Hello crafty friends!  Honey Bee Stamps has another release coming called Maker's Mix!  Today I am sharing a sneak peek card with two of the new products.  This next wonderful release by Honey Bee will be available tomorrow evening after their Release Party.

This card gives you a sneak peek of this beautiful set called Stitched With Love.  It's illustrated by the oh, so talented Kelly Taylor, and of course, has coordinating Stitched With Love dies too!

I stamped one of the three florals from the set and the embroidery hoop onto white cardstock with Intense Black ink.  I colored the images with my Copic markers and then die cut them with the coordinating dies.

I die cut three more of the embroidery hoop from 110# white cardstock and glued all of the layers together with Bee Creative Glue.  NOTE:  There are two dies for the embroidery hoop and you can die cut a solid one, or also use the inner oval die to cut out the center.

Next I used just the outer die for the embroidery hoop and die cut it from white cardstock.  I placed the die cut into the Burlap 3D embossing folder and ran it through my die cutting machine.  Then I glued the layered Copic colored hoop to this piece.

For the background layer on my A2 card base, I used one of the 12 patterned papers from the "FreeBee" double-sided cardstock.  This is available, while supplies last, with a qualifying $100 or more purchase and will be added automatically to your cart.  These are such pretty papers!!!

I stamped one of the three sentiments in the Stitched With Love set in black ink.  I cut it out with the coordinating die.  To adhere the sentiment I added a few pieces of foam tape and some glue.

To finish up, I used some pink gingham ribbon from my stash to tie a bow.  A glue dot keeps it nice and secure at the top of the hoop.

I hope you've enjoyed this sneak peek of the Maker's Mix release!  Trust me, you won't want to miss the release party to see it all!

Thanks so much for stopping by!

Wednesday, July 9, 2025

Boots, Lace, and A Whole Lotta Grace Die Cut Card

Hello crafty friends!  Today I have a fun card to share with you that features Honey Bee Stamps' new Lovely Layers: Western Wear diesLovely Layers: Mini Desert Blooms dies, and the Saddle Up sentiment stamps and coordinating Honey Cuts!  All of these products are part of Honey Bee's awesome Sawdust and Saddles release!

I die cut the Lovely Layers: Western Wear dies for the boot from 80# white cardstock.  I colored the pieces with various Copic markers.  Then I used Bee Creative glue to adhere the layers.

Next I die cut all of the die in the Lovely Layers: Mini Desert Blooms Honey Cuts from more white cardstock.  This time I used ink blending brushes to color the pieces with various inks in my stash.  Using the Layering Guide is so helpful when glueing the layers together.

For the card base, I die cut some lacy patterned paper from the Textiles & Textures: Vintage paper pad with the largest Sweet Stacks: Rectangles dies.  I glued this to an A2 card base.  Next I die cut white cardstock with the third largest Sweet Stacks: Ovals die.  Then I placed it in the Burlap 3D embossing folder and ran it through my die cutting machine.

Before I adhered the oval to the card base, I tied a bow around it with some lace seam binding that's been in my stash forever!  Haha!  Then I added foam tape to the back of the oval to adhere it to the card.

I glued the Mini Desert Blooms onto the boot and adhered it to the card with foam tape.  I tucked the two cactuses at the base of the boot with glue and foam tape.

The sentiment is from the awesome Saddle Up stamp set.  After I stamped it with black pigment ink and then die cut it with the coordinating die.  I added foam tape strips to adhere it.

I thought the boot needed to be fancied up, so I added gem stickers from the Aurora Borealis gem stickers set.

I love the lace and textures of this card!  I sure hope you've found inspiration from my card today.  Thank you so much for stopping by!

Wednesday, September 27, 2023

I Couldn't Have Picked A Better Friend Featuring Fun Coloring Stencils

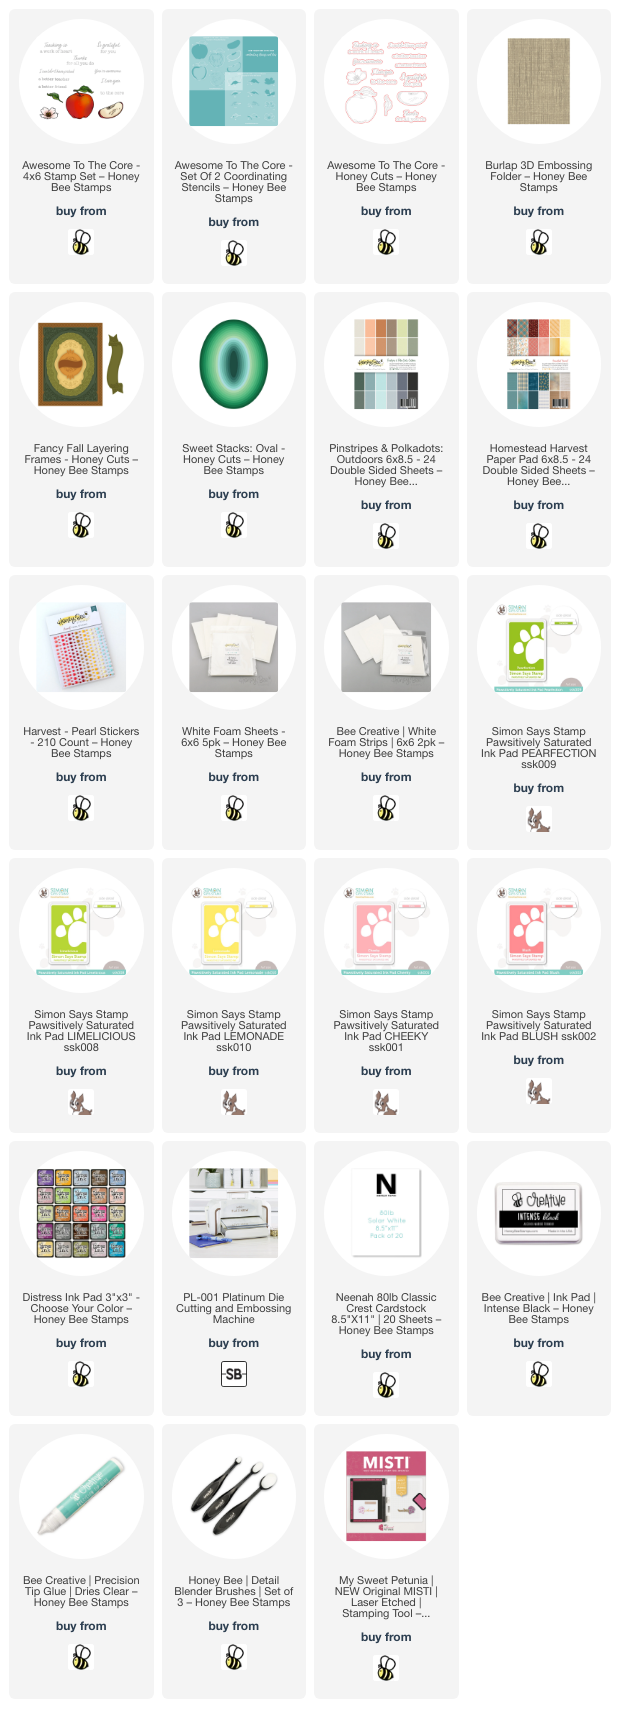
Hello crafty friends! Today I'm sharing my sweet card featuring Honey Bee Stamps beautiful Awesome To The Core stampsHoney Cuts, and coordinating stencil set! I thought I'd create an unexpected green apple to coordinate with the patterned papers I chose. Read on for the details!

For the layers of my A2 card, first I added white cardstock that I embossed with the Burlap 3D embossing folder (I love that texture). Next I chose papers from the Pinstripes & Polka Dots: Outdoors paper pad and the Heartfelt Harvest paper pad and die cut them with two of the Fancy Fall Layering Frames dies.

I added foam tape to the back of the green layer to adhere it to the card. Before I adhered the pink layer, I glued an oval I die cut from a Sweet Stack: Ovals die to the back of it. I used thin foam tape strips to adhere this layer.

I stamped the images from the Awesome To The Core stamp set with Intense Black ink. I also stamped extra flowers and leaves to use for the card . I made sure the ink was dry before I began coloring the images with the coordinating stencils.  These stencils have some fabulous details in them and are so fun to use!

I used ink blender brushes to color the apple, the slice, and flowers with inks I have in my stash. For the leaves I used Mowed Lawn and Rustic Wilderness Distress Inks. The stem and seed are Gathered Twigs Distress Ink. I very lightly colored the apple slice with Antique Linen Distress ink. Once all of the images were colored, I cut them out with the coordinating Honey Cuts.

To adhere the pieces to the card I used Bee Creative glue and foam tape for a bit of extra dimension. Then I added three pretty pearl stickers from the Harvest Pearl Stickers.

I will be adding this card to my stash to use any time of the year for one of my sweet friends!  Thank you so much for stopping by!

Thank you so much for using my affiliate links to shop (never any additional cost to you)!

Wednesday, September 13, 2023

Autumn Card with the Grateful Gatherings Sets

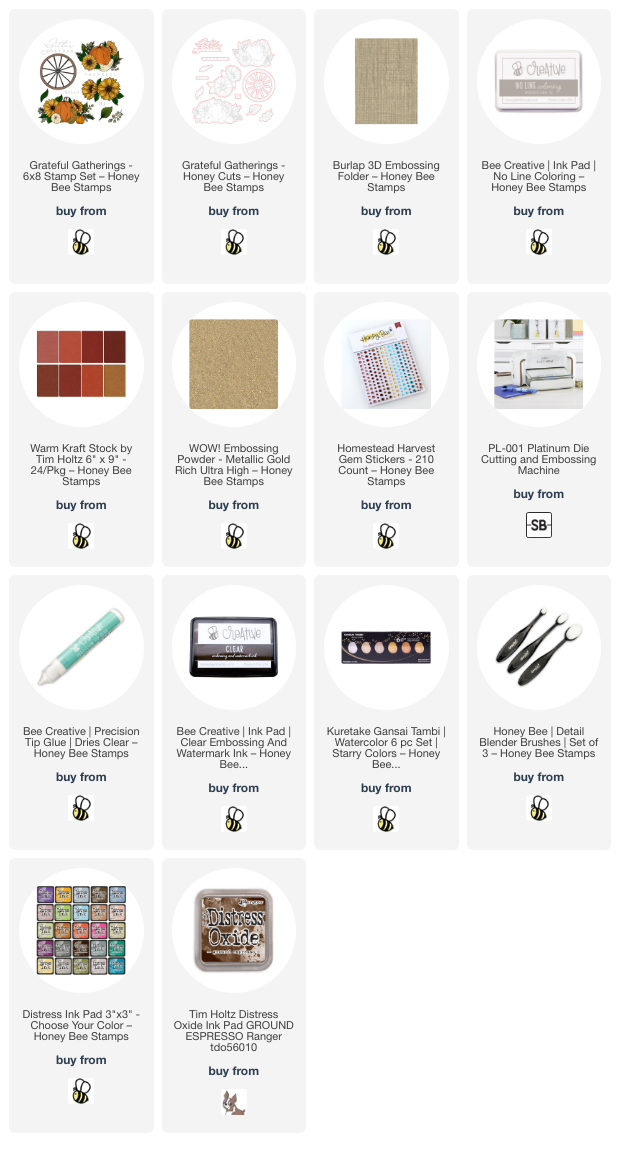
Hello crafty friends! Today my autumn card features Honey Bee Stamps beautiful new Grateful Gatherings stamps and Honey Cuts.  These are part of the awesome Heartfelt Harvest release. You do know this was illustrated by our so very talented team mate, Kelly Taylor, right?  I'm so thrilled to get to create with such talented people!

First I partially embossed an A2 sized piece of Warm Kraft Stock with the Burlap 3D embossing folder. I just let about 1-½" of the panel hang out of the embossing folder while I ran it through my machine. Now, raise your hand if you still have one of those sanders by Tim Holtz! I don't know if those are still available, but there are his sanding disks in the Honey Bee shop.

The cool thing about this Kraft Stock paper is that the core of it is kraft color so that when you sand it, you will see the kraft! After I sanded it, I lightly used a blender brush to add Ground Espresso Distress Ink around the edges. Then I splattered on some red gold and yellow gold metallic paint. (I used removable tape to mask off the smooth area while sanding, inking and splattering.)

Next I used another piece of the Kraft Stock paper to stamp the wagon wheel and the sentiment from the Grateful Gatherings set with clear embossing ink. I added gold embossing powder and heat set it. Then I cut them out with the coordinating Honey Cuts.

I love the no-line coloring look, so I stamped one of the floral images from the Grateful Gatherings set with Bee Creative No Line Coloring ink. I used quite a few Copic markers (LOL!) and some Prismacolor pencils to color the image. I like to use colored pencils with Copic coloring to add in some detail lines and more depth to the shadow areas. You can use these colors and stamp it in black ink to get the same beautiful look. Here is a list of the colors I used.

  • pumpkin: E15, YR18, YR15, YR13, E11, E18, PC944
  • gourd: YG0000, G85, G28, YG63, YG61, PC908
  • red flower: R59, R39, R29, Y00, E99, YR27, E09, PC1034, PC1095
  • leaves near flower: G28, YG17, YG25, PC908
  • yellow leaves: YR27, YR24, YR21, PC944
  • wispy leaves: G28, YG17, YG23, PC911, PC908
  • round leaves: YR21, PC946

Confession: I realized after I finished the coloring that I mistakenly colored two more petals for the top red flower that are actually leaves. It totally makes sense now that I "see" the leaves! Oh well, I still am happy with how it turned out. I cut it out with the coordinating die.

I adhered the wagon wheel to the back of the floral image with glue. Then I added foam tape to the back of it and the sentiment to pop them up on the card.

I added a few coordinating gem stickers from the Homestead Harvest Gem Stickers for a bit more sparkle!

I hope you've enjoyed my card making process and are inspired by something you've seen.  I'm very thankful that you've stopped by today!

Thank you so much for using my affiliate links (never any additional cost to you)!