Wednesday, April 26, 2023

Hey There Sweet Friend -- A Gatefold Card!

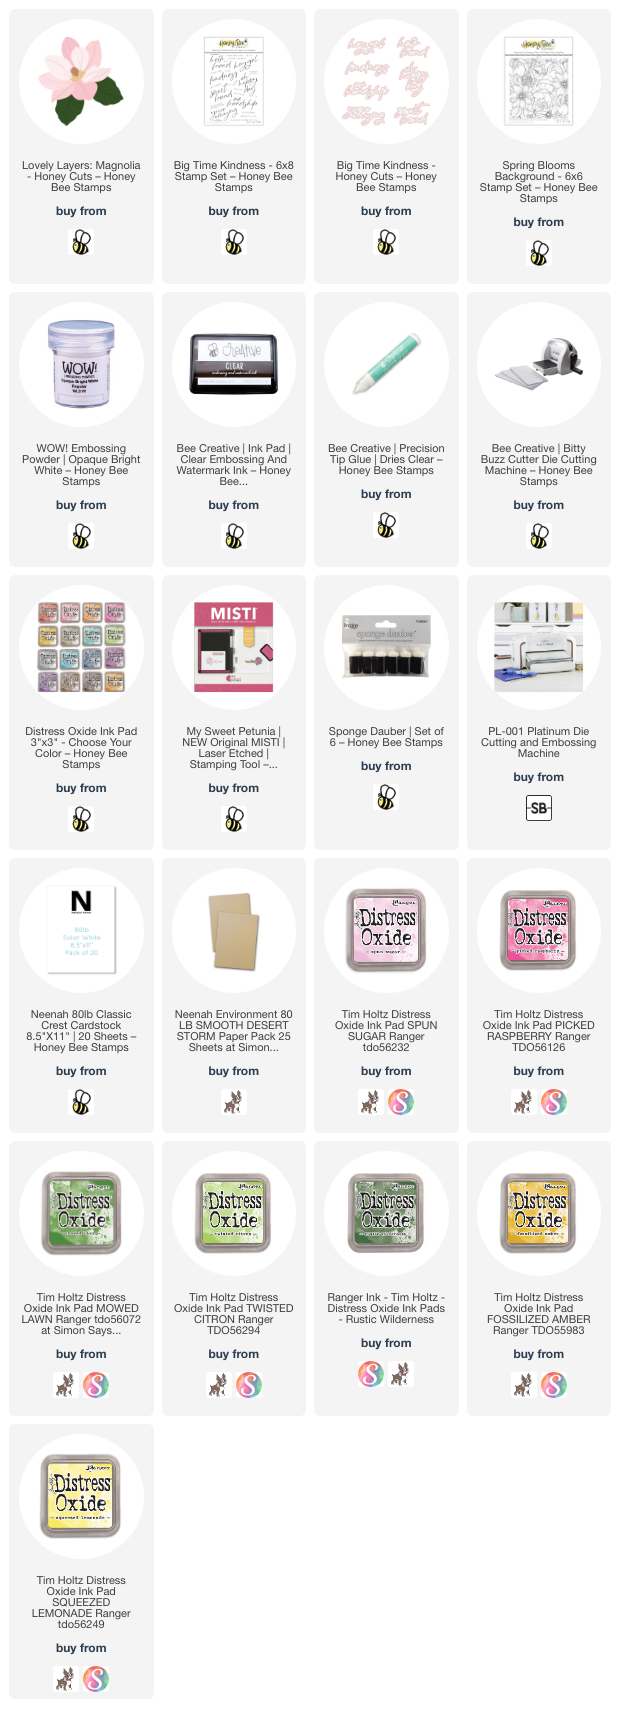
Happy Wednesday friends!  In my area, the magnolia trees are just beginning to bloom and are the inspiration for my springtime gatefold card! I used Honey Bee Stamps beautiful Lovely Layers: Magnolia and Spring Blooms Background stamp with the new Big Time Kindness set!

For the gatefold card base I cut 80# Neenah to 11" x 4-¼" and then scored from the ends at 2-¾". Next I stamped the Spring Blooms Background stamp with Clear Embossing Ink onto some Neenah Desert Storm cardstock. (Note: I used an anti-static tool before stamping.) I sprinkled on white embossing powder and heat set it. Then I trimmed it into two pieces measuring 2-½" x 4" and adhered the layers to the card front with Bee Creative glue.

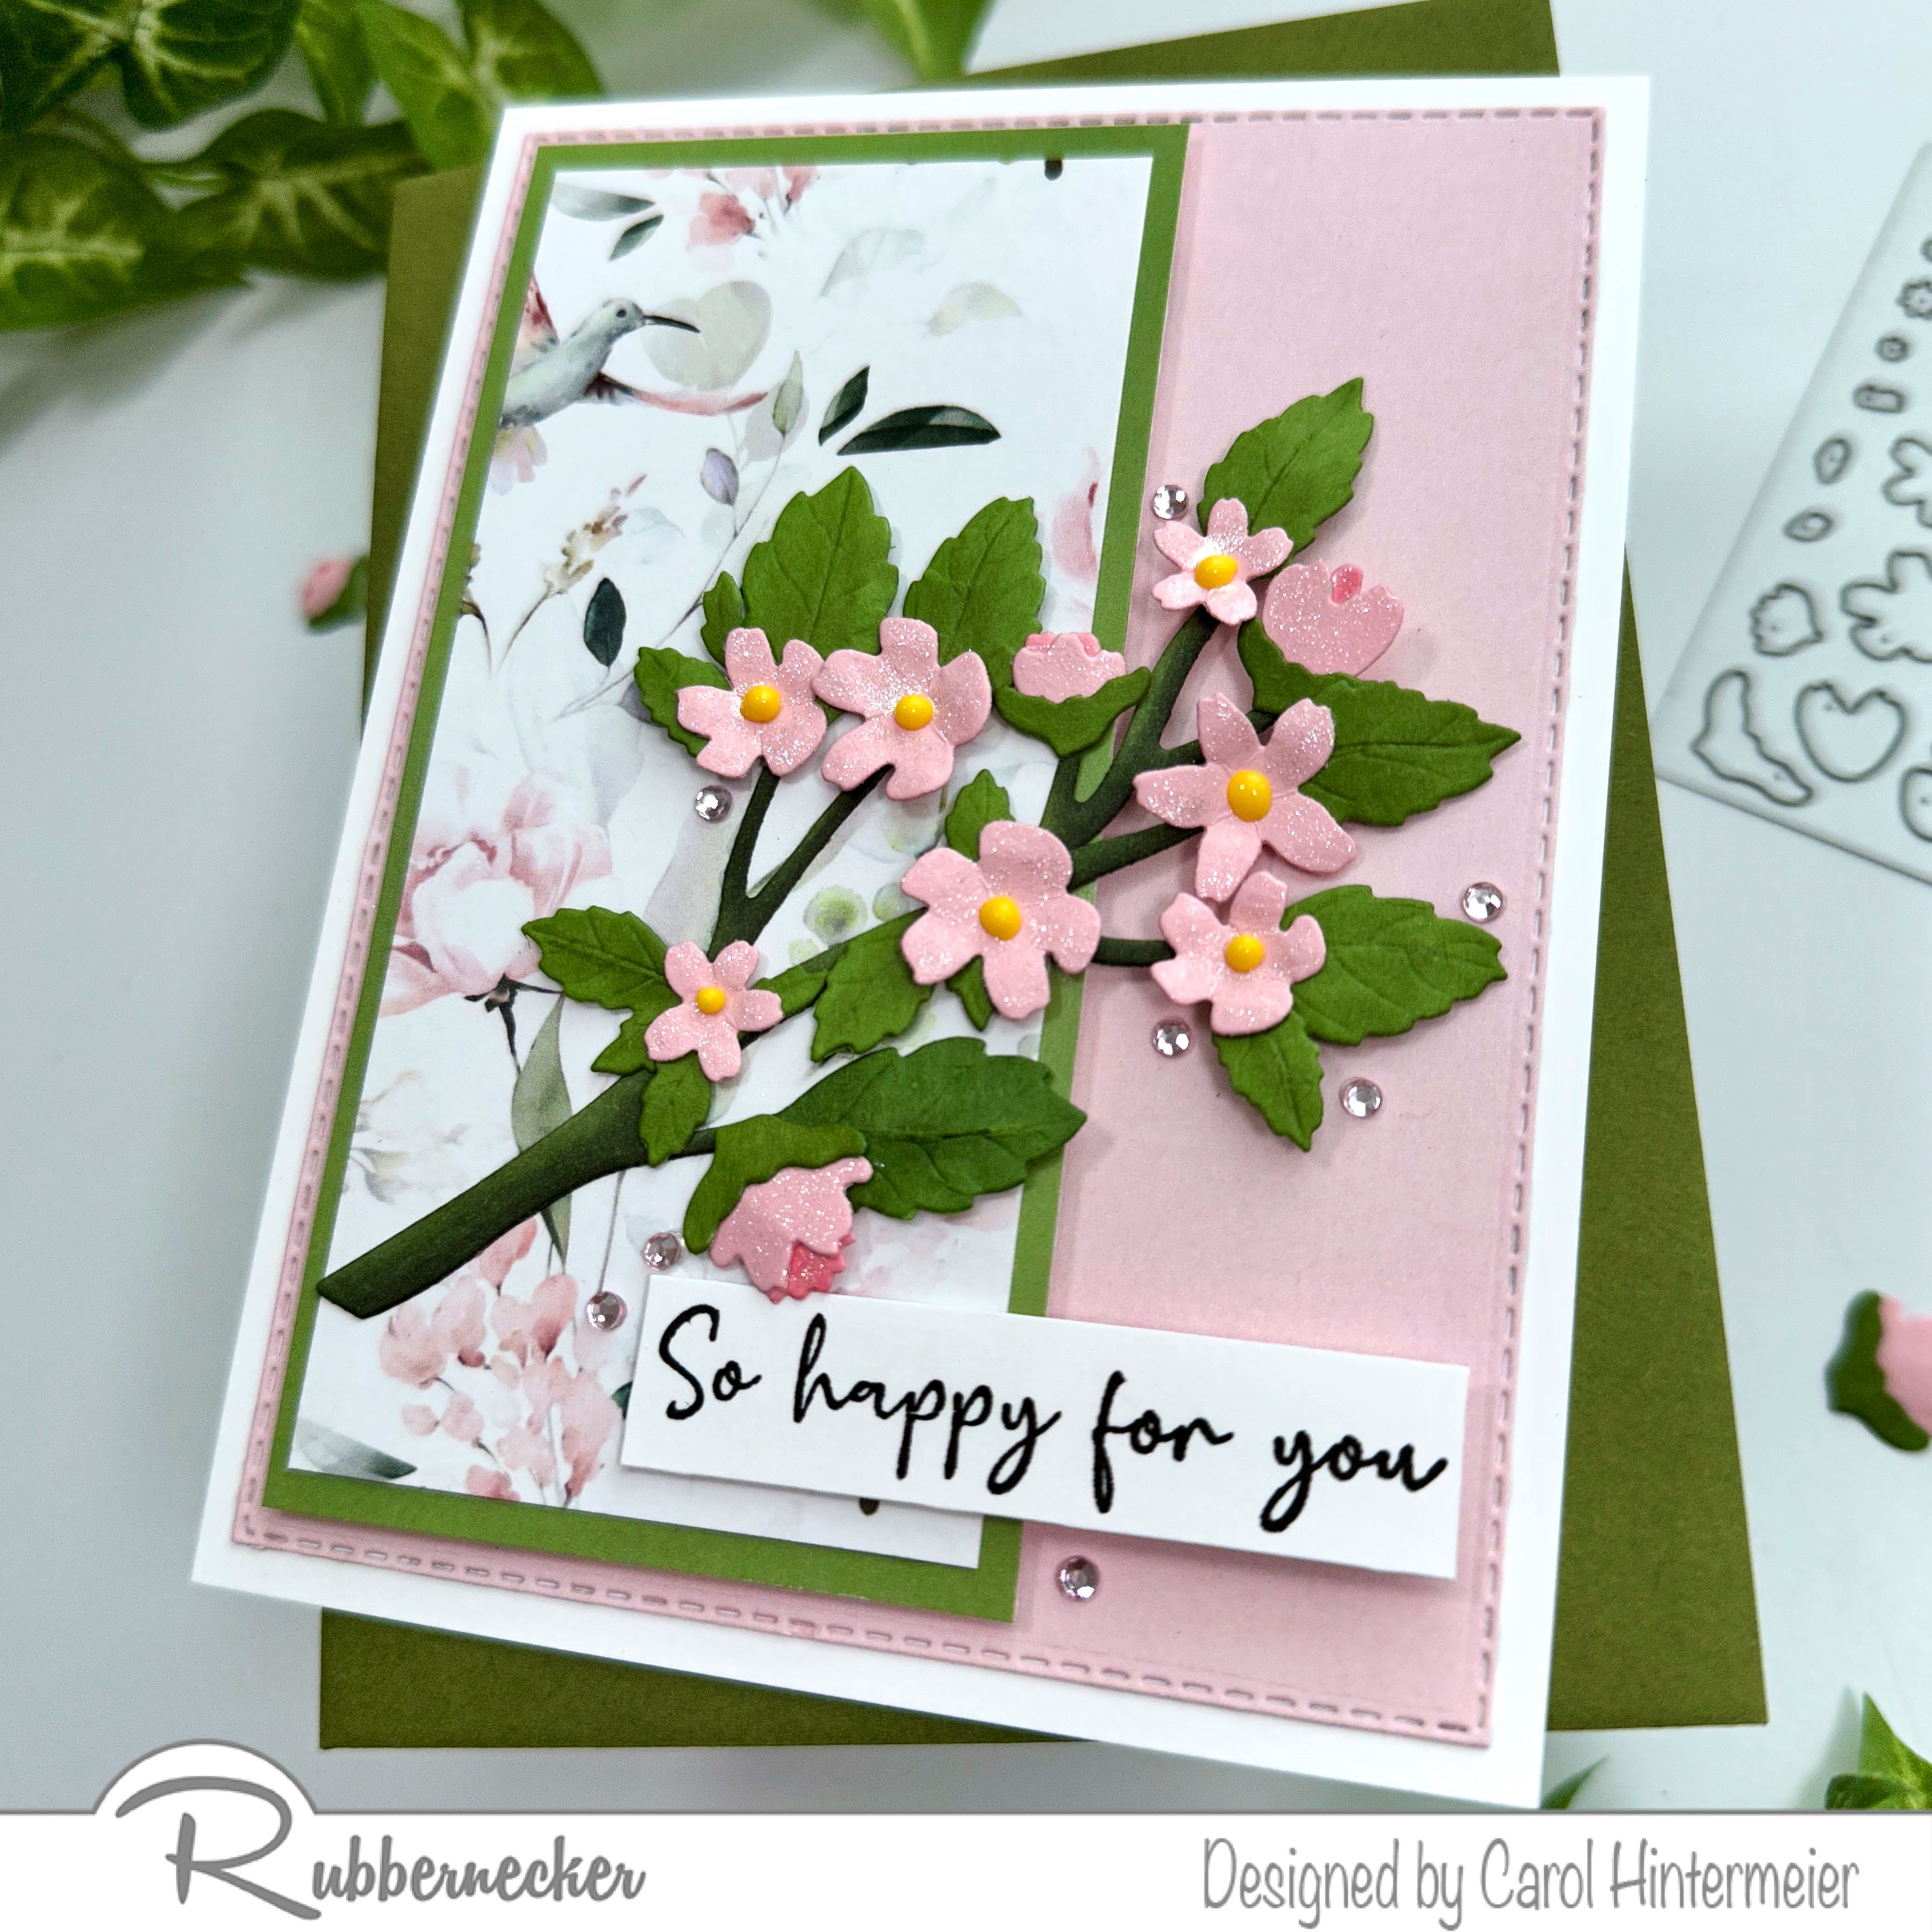
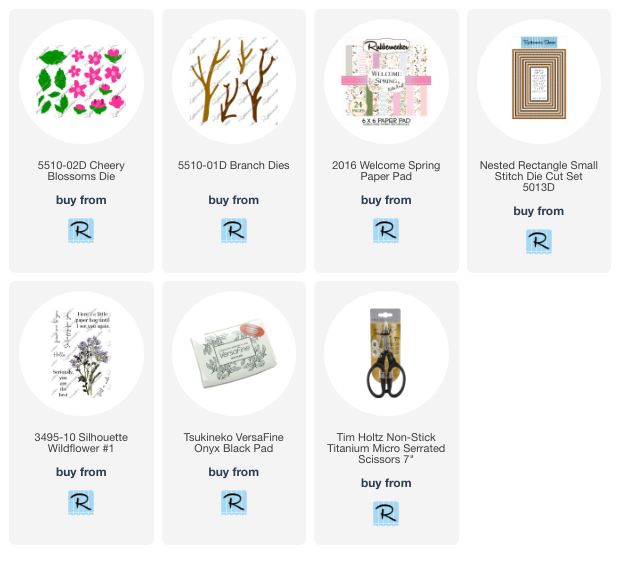
Next I die cut all of the pieces of the Lovely Layers: Magnolia from 80# Neenah. I used sponge daubers to color the flower and leaves with Distress Oxide inks. I used Picked Raspberry, Spun Sugar, Rustic Wilderness, Mowed Lawn, Twisted Citron, Fossilized Amber, and Scattered Straw.

After I adhered the flower layers together with Bee Creative glue, I added glue ONLY to the left back of the flower. I adhered it to the left side of the gatefold. I trimmed off the little stem of the leaves and tucked them under the flower with glue.

I stamped the sentiment from Big Time Kindness with clear embossing ink and heat set white embossing powder. I used the coordinating Honey Cut to die cut the large sentiment and trimmed the small one into a strip.

I decided that the sentiment on the inside looked really lonely. LOL! So I stamped the Spring Blooms Background again onto 80# Neenah with Spun Sugar Distress Ink. I cut it into two 2-¾" x 4-¼" pieces. After I adhered them inside the card, I added two thin strips of the Neenah Desert Storm cardstock.

I don't always decorate the inside of a card, but I do love the look! I think it adds another surprise element for the recipient. There's still plenty of room to write your sentiment too!

All of the details makes this look like a complicated card to make, but it really isn't! I hope I've inspired you to make your own gatefold card! Thank you so much for stopping by!

Thank you for shopping with my affiliate links (never any additional cost to you)!

Tuesday, April 25, 2023

So Happy For You - A Spring Card with Dimensional Flowers

 Today I'm using Rubbernecker Stamps newest Welcome Spring paper pad along with a Cheery Blossoms Die to make a....cheery card!!!  Haha!

I chose a patterned paper and two solid color papers from the new Welcome Spring paper pad.  (The floral papers in this paper pad are gorgeous!!)  I die cut the pink paper with the largest Nested Rectangle Small Stitch die and adhered it to my A2 card base.  The floral paper was trimmed to 2-¼" x 4-¾" and adhered to the 2-½" x 5" green paper.  I added foam tape to the back and adhered it to the card.

I die cut the Cheery Blossoms die from pink and green cardstock.  I shaped the flowers with a stylus and used the packaging image as a guide to assemble the flowers.  Next I die cut the Branch Dies from white cardstock.  Then I colored them with copic markers: BG99, BG96, and G85.

I stamped the sentiment from the Silhouette Wildflower #1 set with black ink.  After I trimmed it into a strip, I added foam tape to the back to pop it up.

I got the sparkles I love by adding coordinating pink gem stickers around the flowery branch.  I also added some sparkle to the flowers with a clear glitter pen.

I think my card turned out quite cheery! Haha!  The Cheery Blossoms die can be used for so many occasions too!  Thanks so much for stopping by today!

Thank you so much for using my affiliate links to shop (never any additional cost to you)!

Friday, April 21, 2023

Surprise Pop-Up Hummingbird Card

Hello!  I'm thrilled to share with you today this card featuring two of the beautiful sets in the collection called Bibi's Hummingbirds by Spellbinders!  I absolutely love hummingbirds, and could not wait to create with these gorgeous sets!  Keep reading to see the big surprise inside the card!

The card front features the stunning Delicate Floral Hummingbirds Etched Dies!


 I used my Spellbinders Platinum die cutting machine to cut out all of the pieces of the Delicate Floral Hummingbirds Etched Dies from 80# Neenah.  (FYI, I have found that Spellbinders dies cut perfectly in the Platinum machine in one pass with no extra shims.)  It's the only large die cutter I use, and have!

I have all of the colors of Distress Inks I used in the supply list below.  I used these Paper Pouncers to color 90% of all of these pieces!  The more I use these, the more I love them!  I did a blog post review  not too long ago, if you'd like to read more about these.

The image on the packaging is all you need to guide you through the assembly of this gorgeous die!  I used glue to adhere the pieces.  I inked up coordinating teal cardstock around the edges leaving the center without ink. I adhered the die cut piece to the teal layer and added gem stickers to the flowers for a bit of sparkle.

Oh, the overall size of my card measures 5-½" x 7-½"!  But that's okay!  I'll either mail it in a padded envelope, or tuck it inside a gift bag.

All right, are you ready to see the inside of the card???  I purposely left a sentiment off of the front to show off that image better and to make the surprise inside even better!

There she is!!  The gorgeous Pop-Up Hummingbird Etched Dies gives a fun 3D surprise when the card is opened!

I used the same Distress Ink colors for the Pop-Up Hummingbird and included flower/leaves.  I die cut the flower from the same teal cardstock I used for the outside card layer.

As you can see, you need to be sure to color the back sides of the hummingbird and flower!  I followed the very helpful PDF Instructions that you can download and find in the product description.

I stamped a sentiment from the Birthday Basics set before I attached the hummingbird and flower to the card inside layer.  Note:  I used a piece of 60# white cardstock for the inside panel that has the die cut slits (die included).  These slits are where you insert the tabs of the bird and flower for the pop-up effect.  I could tell the flower would add a good bit of bulk to the folded card so that's why I used the lighter weight cardstock.

After I stamped the sentiment, I followed the instructions to assemble the pop-up elements.  Then I glued the piece to the inside of the card.

I absolutely love how this turned out!!  I've never made a pop-up card before, but this won't be the last.  I hope you've enjoyed this post and card and that you've found inspiration to give these a try!  Have a wonderful day!

Thank you for using my affiliate links to check out the products I used (never any additional cost to you)!

Wednesday, April 19, 2023

You Make My Day Brighter! -- Rainbow Cottage Scene Card

 Happy Wednesday my friends! Today I'm sharing my card featuring Honey Bee Stamps' Spring Cottage Village Honey Cuts and the Rainbow Accents Honey Cuts!  Rainbows, to me, are a sign of hope after a storm, and I love this sentiment that fits my card perfectly!

The card base is layered with a piece of Neenah embossed with the Spring Medley embossing folder. After I used Bee Creative glue to adhere it to the A2 card I die cut the Layering Vintage Labels frame two times from 80# Neenah. On one of the frames I taped off the edges with removable tape and blended on some Tumbled Glass Distress Oxide ink with a detail blender brush. I added water and white paint splatters. When it was dry I used foam tape to pop it up on the card.

I trimmed the center from the second piece and then used my scissors to cut a hill shape. This piece is about 2 inches tall. I blended on Mowed Lawn Distress Oxide, added splatters of water and diluted ink.

I only used the three smallest piece of the rainbow in the Rainbow Accents Honey Cuts. I die cut it from 80# Neenah and then colored the pieces with pastel colors of Copic markers. These are the colors I used: RV10, Y00, YG11, B000, BV01, and V12.

I glued the rainbow pieces on, then the green grass layer. The Spring Cottage Village house is die cut from pink, white and gray cardstock scraps. After I glued the house onto the card, I arranged the tree, bushes and gate around the house. I decided to add a few clouds and the ones in the Cottage Countryside Honey Cuts are just the right size!

I stamped the sweet sentiment from one in the Daisy Layers Bouquet stamp set. I stamped it with Intense Black ink and then cut it out with the coordinating Honey Cut. Since I seem to really like all the dimension on my cards (LOL!) I popped up the sentiment with foam tape strips!

I love that I was able to take an idea I had in my head and make it work for this card!  I hope this makes your day brighter, and that you have found some inspiration too!  Thanks so much for stopping by!

Thank you for using my affiliate links to shop (never any additional cost to you)!

Saturday, April 15, 2023

Four Easy & Beautiful Cards with Spellbinders Floral Friendship Collection

Hello crafty friends!  Today I'm sharing four cards I made with elements from the new Spellbinders Floral Friendship Paper Suite.   I was able to make these four beautiful cards using just three of the seven products available in this collection.  And the awesome thing is, I could have made so many more cards with all of the products I have leftover.  I just ran out of time!  LOL!

I used different elements of the Floral Friendship paper pad, Printed Die Cuts, and the Chipboard Frames on each of the following cards.  I have a complete supply list at the end.

I used just a few basic supplies to make these cards such as the Matting Basics A and Matting Basics B die sets.  These make creating the perfect layers so easy!  Another basic shape die I used is the Essential Arches, which you will see on this first card.

Before I began to assemble these cards, I chose two different hot foil plates sets and used my Glimmer Hot Foil System to foil all of the sentiments in each set with Matte Gold Glimmer Foil.  This way, as I created the cards, I would have several different sentiments to choose from!  For this card I added a sentiment from the Hello, Friend Sentiments hot foil plates.  (Note: if you've not tried Spellbinders Glimmer Specialty Cardstock for your foiling, I highly recommend it.  I has a super smooth surface that gives flawless foiling!)

Of course, if you don't have the supplies for hot foiling, just use those wonderful stamps you have for your sentiments!!

I used a piece of the Floral Friendship paper pad and coordinating green cardstock to create the layers with the Essential Arches dies.

I also saved time by using the beautiful Flower Frenzy 3D embossing folder on two of the cards.  The card above and this next one!

I added matte gold foil layers to coordinate with the gold on the Printed Die cuts I used.  The Chipboard Frame looks so pretty with the butterfly die cut.  I love how the pack of Printed Die Cuts includes small embellishments like the flower and heart near the sentiment that can be used for a bit of bling!

The next two cards have sentiments from the Be Bold Glimmer Sentiments in Matte Gold Glimmer Foil.

The papers in the Floral Friendship paper pad are absolutely gorgeous!!  I used one piece of paper to create this card.  The flowers are actually printed on the left side of the paper so I was able to trim a rectangle to adhere behind the frame and then use what was left as the background layer!


More matte gold cardstock for the layer coordinates with the gold on the flowers, sentiment and butterfly!


There are several beautiful birds in the Printed Die Cuts set and this sweet bird coordinates very nicely with the patterned paper and floral elements I chose!  The matted blue layer and patterned paper were die cut with the Matting Basics A and B die sets.  I also used these dies to die cut the layers on the previous card.

I absolutely love how these cards turned out and hope you do too!  I think the Floral Friendship collection would be so fun to create cards with a church group or even a non-card making group of friends.  Who knows, you might just convert some friends into card makers!

Thank you so much for stopping by!  Have a wonderful and crafty weekend!!

Thank you for using my affiliate links to shop (never any additional cost to you)!

Wednesday, April 12, 2023

Enjoy Your Special Day -- Featuring Daisy Bouquet Coloring Stencils

 Hello crafty friends! Today my card features Honey Bee Stamps beautiful Daisy Layers Bouquet along with the coordinating stencils and Honey Cuts! Have you ever been inspired by just a piece of colored cardstock? Well, that's what inspired these colors for this special birthday card!

The soft yellow cardstock that is behind the Garden Lattice cover plate layers was my color inspiration. I die cut both the Garden Lattice top and base from 80# Neenah. After adhering the layers together with Bee Creative glue, I glued them to the A2 sized yellow cardstock. Then I added the layer to a top-folding A2 card base.

Using the cardstock I held it up to various inks in my stash and found a yellow that blended with the cardstock, then a couple of coral oranges, and the sage greens.  Check out the supply list below for the specific inks.  I used the Daisy Layers Bouquet stencil set and sponge daubers to add my chosen ink colors. This is a set of six easy-to-line-up stencils where you can build your flowers and leaves. I used a lighter and darker ink of each color in order to create a bit of depth in the coloring.

When I was finished with all of the stencils, I placed the image in my MISTI. Then I lined up the Daisy Layers Bouquetoutline stamp with the colored image and stamped it with Intense Black ink. When possible, I always stamp the image after using coloring stencils. Maybe it's just me, but I always smear the ink otherwise! It's not hard to line it up and you can always test out your alignment by first stamping onto a piece of acetate that covers the stenciled image.

Next I cut it out with the coordinating Daisy Layers Bouquet Honey Cut. I added foam tape to the back to adhere it to the card base.

Check out this next photo to see the inside of the card! I stamped the smaller image in the Daisy Layers Bouquet stamp set in the yellow ink in two corners. Then I stamped a sentiment from the Inside: Birthday Sentiments set with Intense Black ink. (And yes, in spite of me using my MISTI to stamp the flowers, the card shifted so that flower in the bottom left corner isn't perfect. But it actually doesn't bother me. What do you think?)

For the sentiment on the card front, I chose one of the several in the Daisy Layers Bouquet stamp set. After stamping it with black ink, I cut it out with the coordinating Honey Cut.

I added a few pearls from the Warm Pearls sticker set for a touch of bling!

I really enjoy using stencils to color these images!  It's really fun too!  Have you tried coloring stencils?  I hope you've found my card to be your inspiration to give them a try.  Thank you so much for stopping by.  Have a wonderful day!

P.S.:  Check out my Instagram reel to see some of the card making process!

Thank you so much for using my affiliate links to shop (never any additional cost to you)!

Tuesday, April 11, 2023

Congratulations Card with Floral Wreath

 Hello friends!  Today my card features Rubbernecker Stamps beautiful Floral Wreath set with the coordinating Floral Wreath stencil set.

First I created the stenciled background layer.  I add white opaque texture paste through the Tree Branch stencil, sprinkled it with glitter and set it aside to dry.

Next I added Color Fuse inks through the Floral Wreath stencils.   I used Fern, Juniper, Clover, Lavender Orchid and Magenta ink colors.  Then I used my MISTI to stamp the Floral Wreath outline stamp with Versamark and heat set it after sprinkling on silver embossing powder.  I cut the wreath out with the coordinating Floral Wreath die.

The silver heat embossed sentiment is a stamp from the Best Friends, Etc. set.  I trimmed it into a strip with fish tail ends.

I die cut the largest Nested Deckle Rectangle die from 80# Neenah, added thin foam tape to the back and adhered it to an A2 card base.

I added thin foam tape to all of the other elements and adhered them all to the card.

This beautiful card looks like a lot of work, but in reality it's so much easier to make than it looks!  If you plan ahead and stencil the texture paste ahead of time, it's super quick!

I always appreciate you stopping by, and I thank you!

Thank you for using my affiliate links to shop (never any additional cost to you)!

Monday, April 10, 2023

Stitched Numbers & More Collection

Hello friends!  Have you ever tried stitching on your cards?  It's so fun and a great way to add a totally different element to your cards!  Today I'm sharing three cards I made with Spellbinders new Stitched Numbers and More Collection!


All of the supplies I've used are linked in the supply list below.  I really enjoyed using the variegated thread and love all of the colors in this collection of threads!  I stitched flowers on all of the numbers and elements using a lazy daisy stitch, a wagon wheel rose, and French knots.

I created this sweet card for my grand-niece that will be 7 soon!  I think the foiled sentiment adds a pretty and sparkly touch!  The background is the fun Hand Drawn Scallops embossing folder.  The cute sparkly balloon is die cut from Color Block Balloons die set.

I chose a couple of the sentiments from the Birthday Unboxing Glimmer set.  Then I foiled them with my Glimmer Hot Foil System and Silver Holographic Speckle Glimmer Foil from the Variety Pack.

Next up is a 36th birthday card for our daughter!!

This is a mini slimline card with the beautiful Sweet Leaf Mini Slimline die.  The sentiment is from the Happy Occasions Words die set.  Here is a closeup photo so you can better see the stitching details.

My third card is an anniversary card for my sister and her husband.  I love having these occasions to use as my inspiration!

I added my stitched numbers and the exclamation point from the Stitched Punctuation and Symbols set to a die cut frame layer.  Many apologies, but I did not realize the A2 Filigree Marquis die had been retired.  I always check my products for availability and must have missed this one.  There are so many beautiful ways to show off these stitched numbers, so just check your stash!

I added another sentiment from the Happy Occasions Words set to the card.  (I die cut four layers and stacked them together with glue for extra dimension.)  A clear glitter pen swiped over the sentiments adds some pretty sparkle!

I hope I've given you some inspiration to try these fun stitching dies!  Thank you so much for stopping by!

Check out the products I've used by clicking the image; and thank you if you decide to purchase using my links (affiliate links, never any additional cost to you)!

Wednesday, April 5, 2023

Thank You For All You Do - Featuring Simon Says Stamp Beautiful Days Release

It's a beautiful day for the Beautiful Days release by Simon Says Stamp!  I'm so happy to be sharing my card using one of the awesome new products in this release!  This set is called Mother's Day Dogwood and it's great for Mother's Day cards and so many more!  There are sentiments for several other occasions too!

First I created my card base and layers.  I used the Layered Vines embossing folder with 80# Neenah for the first layer of my A2 card.  Then I stamped the sentiment from the Mother's Day Dogwood set in black in and trimmed it to 4-¼" x 1-¼".  I used glue to adhere it.  I added a thin strip of black cardstock just above the sentiment for extra detail.

Next I stamped the sentiment with Copic safe ink.  I colored it with some pink, green and yellow Copic markers.  Then I added a shadow around the image with light grey markers.  After I fussy cut it out, I added thin foam tape to the back and adhered it to the card.

Be sure to head on over to Simon Says Stamp to see all of the other fabulous new products in this release! Thank you so much for stopping by!

Thank you for using my affiliate links to shop (never any additional cost to you)!