Showing posts with label Distress Oxides. Show all posts

Monday, November 25, 2024

Fast & Easy Encouragement Card!

Happy Monday friends!  This card features a few new products from Picket Fence Studio's latest release!  Want to know the secret for this super quick card?  Read on for the details!

First I used Paper Pouncers and Distress Oxide inks with the On A Cloudy Day stencil to create the background.  I used Festive Berries, Kitsch Flamingo, Squeezed Lemonade, Mowed Lawn, Evergreen Bough, and Dusty Concord.

Before removing the stencil, I spread some Twinkle Lights Clear Paper Glaze with a palette tool.  You could skip this step to avoid the drying time for an even quicker make!

While the stenciled piece was drying, I chose two of the Adventures in Hot Air Ballooning Glossy A2 card fronts.  These are beautiful preprinted sets of 12 sheets with 3 different designs.  I used my scissors to cut out the balloons.

When the Paper Glaze was dry, I trimmed the piece and added it to an A2 card base with a black layer.  I popped up all but two of the hot air balloons with foam tape.

The sentiment from the Freckle Friends: Climbing Calliope set.  After I stamped it with black ink I cut it out with the coordinating die.  I added some of the pretty gems from the Starry Skies gem mix for a bit of fun sparkle!

Be sure to check out my reel for this card over on my Instagram (click the image in the left side of this blog).  Also, be sure to check out the 25% off the entire Picket Fence site (except the latest release items).


Saturday, November 11, 2023

Snow Globe Christmas Card

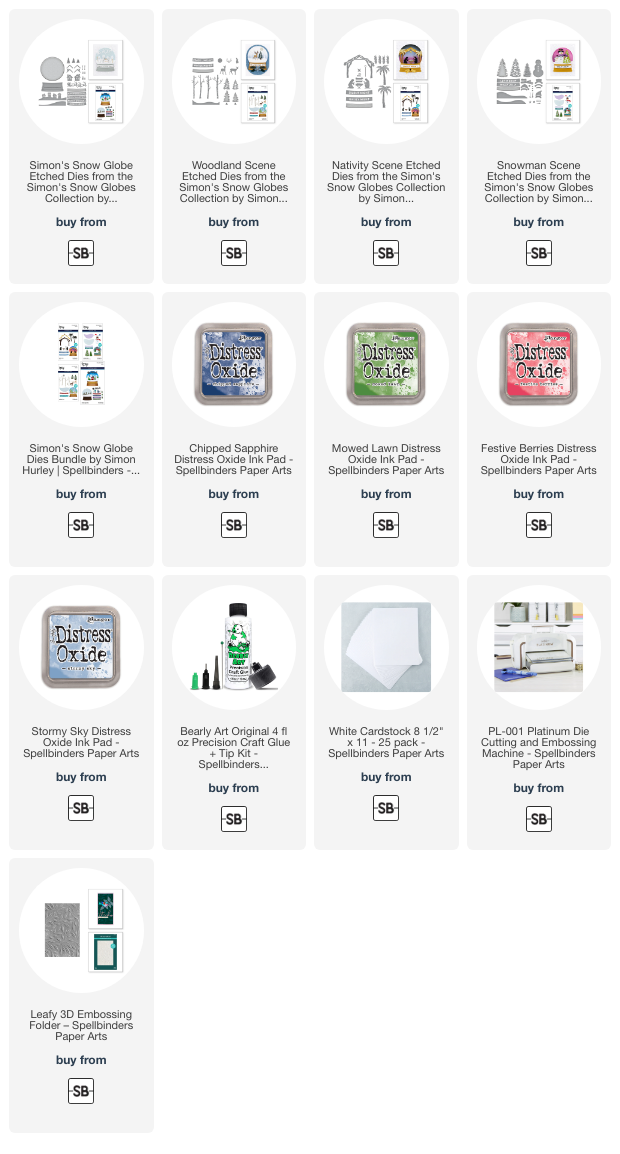
Hello crafty friends!  Today I'm sharing my card that features Spellbinders Simon's Snow Globe die set.  There are lots of fun included details to create your own snow globe with four sentiments to choose from!  There are also three more add-on sets to create scenes with different scenes:  1) Woodland Scene; 2) Nativity Scene; and 3) Snowman Scene.  Which scene would you choose?

I die cut most of the pieces of Simon's Snow Globe from 80# Neenah.  The base is die cut from matte silver cardstock and Santa and his reindeer from Glossy Black mirror cardstock.

I used Distress Oxide Inks and blending brushes for the coloring.  The colors I used are Chipped Sapphire, Stormy Sky, Rustic Wilderness, and Festive Berries.

Before I assembled my scene, I added lots of white splatters and sparkly splatters onto the background, trees, and houses.  It is a snow globe after all!  Haha!

I decided to make it appear that lights are on in the houses, so I used my Y08 Copic marker to color some scrap paper and trimmed the pieces to go behind the windows.  For dimension on the Santa and reindeers, I adhered two more layers of white cardstock behind the black layer.

I wanted some type of detail for the background layer, so I used the Leafy 3D embossing folder to achieve that for the card base layer.  

Such a fun card to make!  I hope you enjoyed my Snow Globe card today and are inspired to create your own snow globe!  Thank you for stopping by--have a fun and crafty weekend!

Thank you for using my affiliate links to shop (never any additional cost to you)!

Wednesday, August 9, 2023

Autumn Grapevine Wreath Card

Happy Wednesday crafty friends!  For my card today, I've used some previously release Honey Bee Stamps products that I still love! I've made an autumn wreath with the awesome and versatile Grapevine Wreath Honey Cut. Keep reading to see which other products I've used for this beautiful wreath.

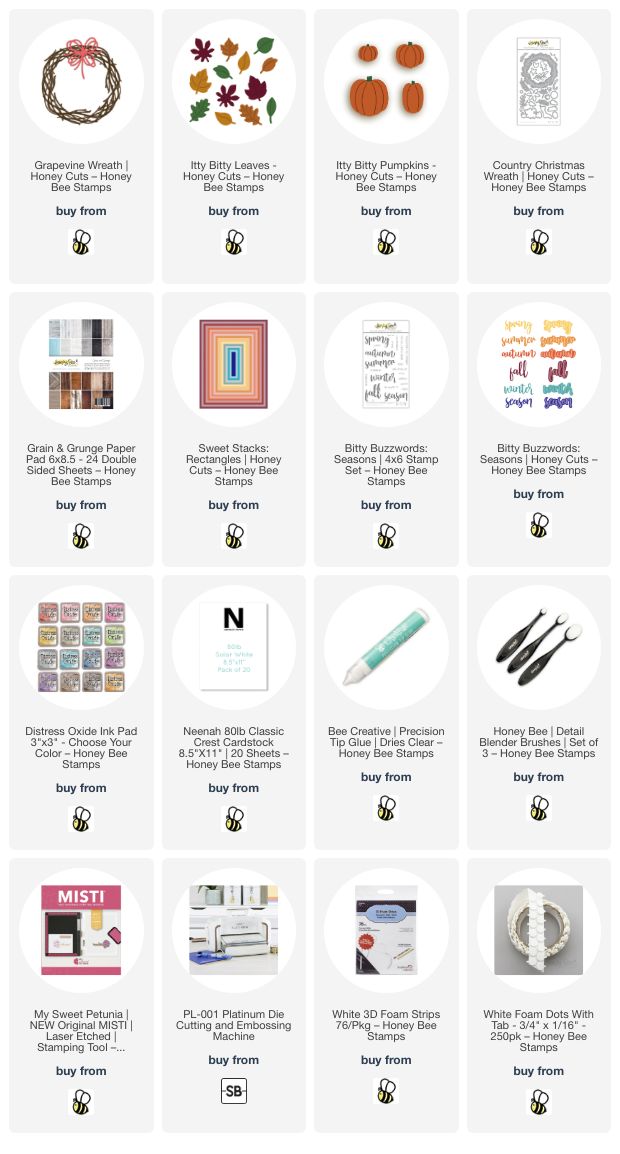
I started by die cutting two of the Grapevine Wreath Honey Cuts from light brown cardstock. Next I die cut the leaves and pumpkins found in the Itty Bitty Leaves and Itty Bitty Pumpkins sets. The berry stems are in the Country Christmas Wreath Honey Cuts (another favorite of mine), but you could use any branch and add berries to it too. The pieces were die cut from golden yellow, orange and white cardstock. 

I used the small ink blending brushes to add Distress Oxide inks to all of the pieces. Use any of the browns and warm autumn Oxides that you may have and it will be beautiful! Here's a list of the Distress Oxides I used:

  • Rusty Hinge
  • Fossilized Amber
  • Crackling Campfire
  • Spiced Marmalade
  • Wild Honey
  • Barn Door
  • Aged Mahogany
  • Fired Brick

Now, here is how I made the little berries! I inked Crackling Campfire Oxide onto some white cardstock. Then I used a 1/8" hole punch and punched until I had enough "berries" for my branches! Easy peasy!

I added layers of paper from the Grain and Grunge paper pad die cut with two of the Sweet Stacks: Rectangles to an A2 card base. I used Bee Creative glue to adhere the layers. This paper pad is filled with several different gorgeous wood plank and woodgrain papers!

Next I adhered the two Grapevine Wreaths together, offset, with dots of glue. Then first added a cute little orange gingham bow I made with ribbon from my stash. Then I began arranging and adhering the elements onto the wreath. I only added a drop or two of glue at the base of the leaves so I was able to tuck more leaves in.

I stamped the sentiment from the Bitty Buzzwords: Seasons stamp set in brown ink. I used the coordinating dies to cut the shadow once and the word "fall" three times from white cardstock. Then I die cut the stamped "fall" and adhered all of the layers together with glue. I added foam tape strips and dots to adhere the sentiment to the card.

To add a bit of shine, I added drops of Crystal Glaze to each berry.

In spite of all of the details, this really is an easy card to make--and it's fun too! I hope you've enjoyed this, and I so appreciate you stopping by today! Have a wonderful, and crafty day!!

Thank you for using my affiliate links to shop (never any additional cost to you)!

Saturday, July 29, 2023

Hey Hay Hey--You're A-Maize-ing Card -- Picket Fence Studios

Happy Saturday crafty friends!  Today I have a quick blog post to share the most adorable scarecrow set called Hey Hay Hey from Picket Fence Studio's July release!  This is my second card using products from this release.  Check out my blog post where I shared my card with the gorgeous Lemon Queen Sunflower, if you haven't seen it.

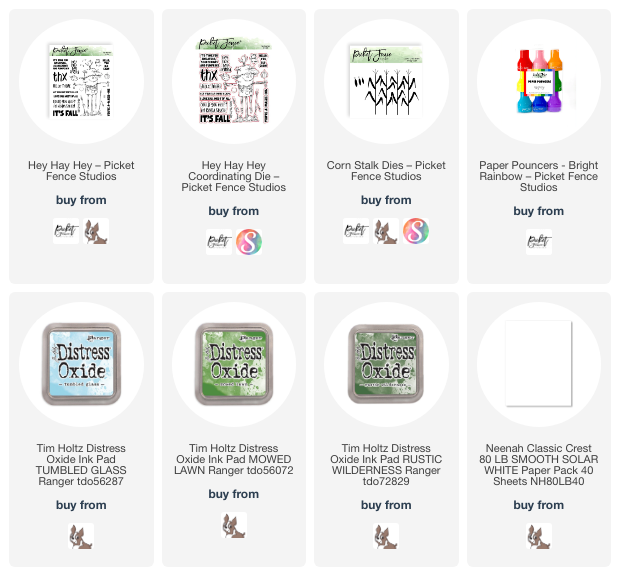
I stamped the scarecrow and pumpkins from the Hey Hay Hey set with Copic safe ink.  After I colored the images I cut them out with coordinating dies.  Then I added foam tape to the back of the scarecrow.

Next I die cut the corn stalks from the Corn Stalk dies set from green and yellow cardstock.  I used a dark yellow colored pencil to add details to the corn.  I set all of the images aside to create the card background.


I used the awesome Paper Pouncers to add Mowed Lawn and Rustic Wilderness Distress Oxide inks to a 5" x 7" card base for the grass.  I used Tumbled Glass Oxide for the sky.

First I adhered the cornstalks, then added the scarecrow and pumpkins.  There are little notes in the Hey Hay Hey set that I stamped above the bird.

The sentiments from the Hey Hay Hey set are stamped in black ink and cut out with the coordinating dies.  I love dimension on my cards, so I popped those up with foam tape.

I think that this scarecrow has such a unique look and is so adorable!  Be sure to check out Picket Fence's release to see the gorgeous fall florals available!  Thanks so much for stopping by.  I hope you have lots of crafty time this weekend!

Thank you for choosing to use my affiliate links (never any additional cost to you)!

Wednesday, April 26, 2023

Hey There Sweet Friend -- A Gatefold Card!

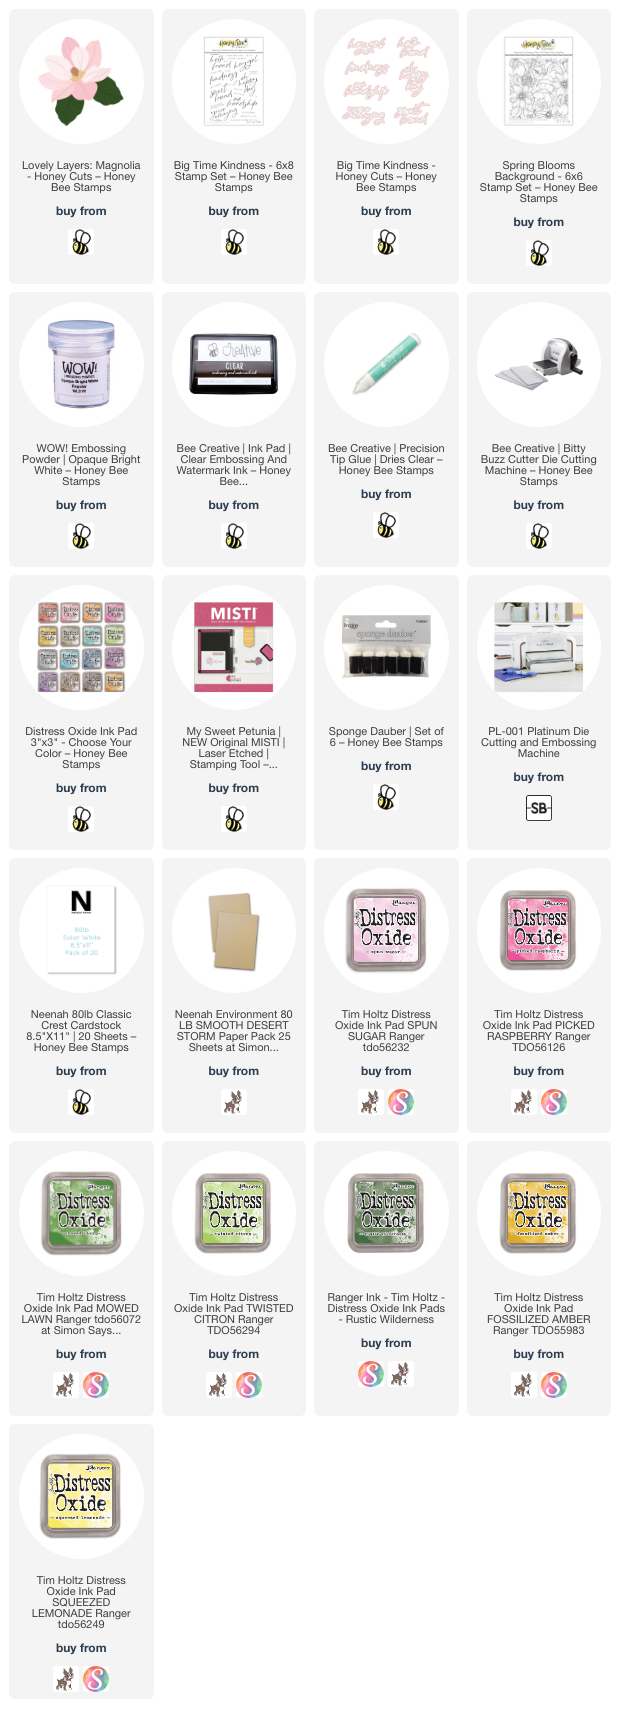
Happy Wednesday friends!  In my area, the magnolia trees are just beginning to bloom and are the inspiration for my springtime gatefold card! I used Honey Bee Stamps beautiful Lovely Layers: Magnolia and Spring Blooms Background stamp with the new Big Time Kindness set!

For the gatefold card base I cut 80# Neenah to 11" x 4-¼" and then scored from the ends at 2-¾". Next I stamped the Spring Blooms Background stamp with Clear Embossing Ink onto some Neenah Desert Storm cardstock. (Note: I used an anti-static tool before stamping.) I sprinkled on white embossing powder and heat set it. Then I trimmed it into two pieces measuring 2-½" x 4" and adhered the layers to the card front with Bee Creative glue.

Next I die cut all of the pieces of the Lovely Layers: Magnolia from 80# Neenah. I used sponge daubers to color the flower and leaves with Distress Oxide inks. I used Picked Raspberry, Spun Sugar, Rustic Wilderness, Mowed Lawn, Twisted Citron, Fossilized Amber, and Scattered Straw.

After I adhered the flower layers together with Bee Creative glue, I added glue ONLY to the left back of the flower. I adhered it to the left side of the gatefold. I trimmed off the little stem of the leaves and tucked them under the flower with glue.

I stamped the sentiment from Big Time Kindness with clear embossing ink and heat set white embossing powder. I used the coordinating Honey Cut to die cut the large sentiment and trimmed the small one into a strip.

I decided that the sentiment on the inside looked really lonely. LOL! So I stamped the Spring Blooms Background again onto 80# Neenah with Spun Sugar Distress Ink. I cut it into two 2-¾" x 4-¼" pieces. After I adhered them inside the card, I added two thin strips of the Neenah Desert Storm cardstock.

I don't always decorate the inside of a card, but I do love the look! I think it adds another surprise element for the recipient. There's still plenty of room to write your sentiment too!

All of the details makes this look like a complicated card to make, but it really isn't! I hope I've inspired you to make your own gatefold card! Thank you so much for stopping by!

Thank you for shopping with my affiliate links (never any additional cost to you)!

Wednesday, December 28, 2022

Thank You Card with Layered Chickadee

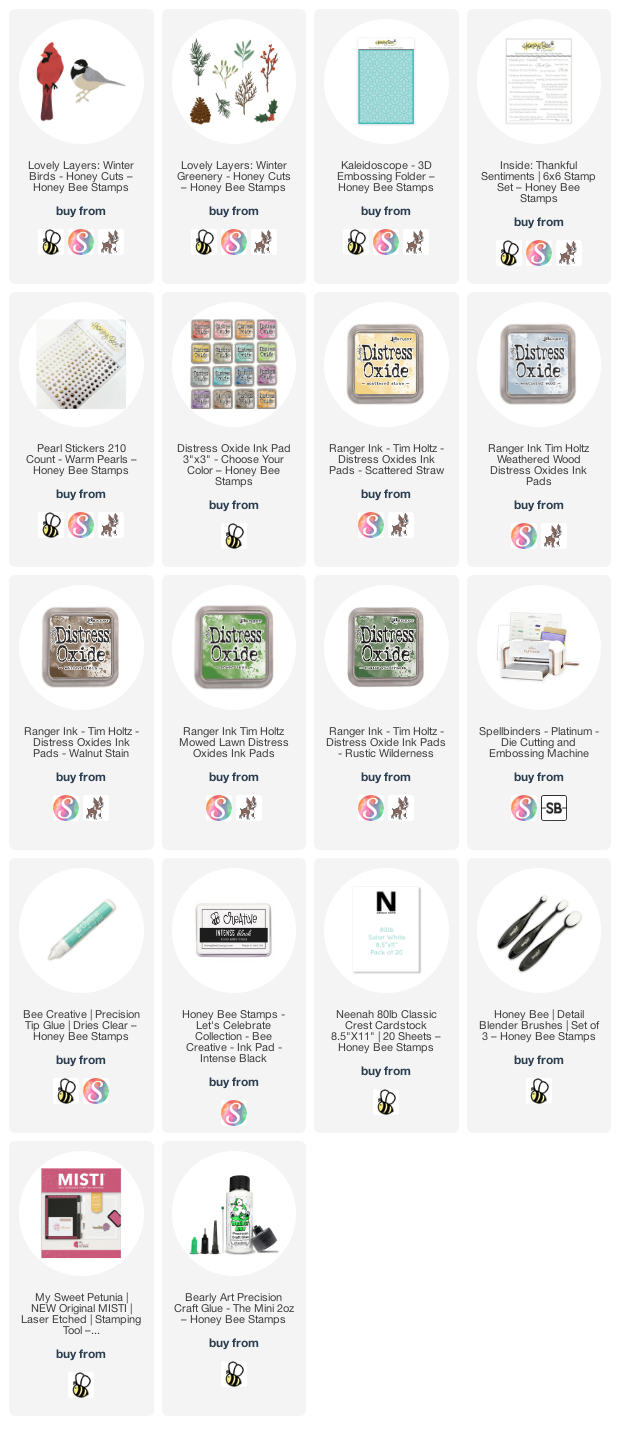
Hello crafty friends! I hope your holidays have been good! After all of the glitzed up cards of the holidays (which truthfully are my favorite-LOL) I'm sharing a more clean and simple thank you card featuring the Chickadee in the beautiful Lovely Layers: Winter Birds Honey Cuts by Honey Bee Stamps.

First I stamped the sentiment from the Inside: Thankful Sentiments set with black ink. The piece of 80# Neenah is A2 sized. I stamped the sentiment near the bottom in order to partially emboss it with the Kaleidoscope 3D embossing folder. You just place your card into the embossing folder with the stamped edge hanging out. Once you have it straight, then run it through your die cutting machine! I adhered it to an A2 card base with Bee Creative glue.

I die cut the branch and two leafy sprigs from the Lovely Layers: Winter Greenery from 80# Neenah.  Then I used Walnut Stain, Mowed Lawn, and Rustic Wilderness Distress Oxides to color them with detail blender brushes. I adhered the branch with glue, clipped apart the greenery and glued the pieces in place.

Next I die cut the pieces of the Chickadee from the Lovely Layers: Winter Birds. I used 80# Neenah and black cardstock. Then I quickly blended on some Weathered Wood and Scattered Straw Distress Oxide inks. Here's a photo for you to see what the individual pieces look like:

I used glue to adhere the chickadee layers and adhered it to my card with some foam squares. I added pearls from the Warm Pearls pearl sticker set to the branch for a bit of bling.

I hope I've given your some ideas for your thank you cards! I'll definitely be keeping these Winter Birds out to use year round (we have cardinals and chickadees all the time where I'm at). Thank you so much for stopping by today! See you next year!!

Wednesday, December 21, 2022

Sparkling Winter White Poinsettias Card

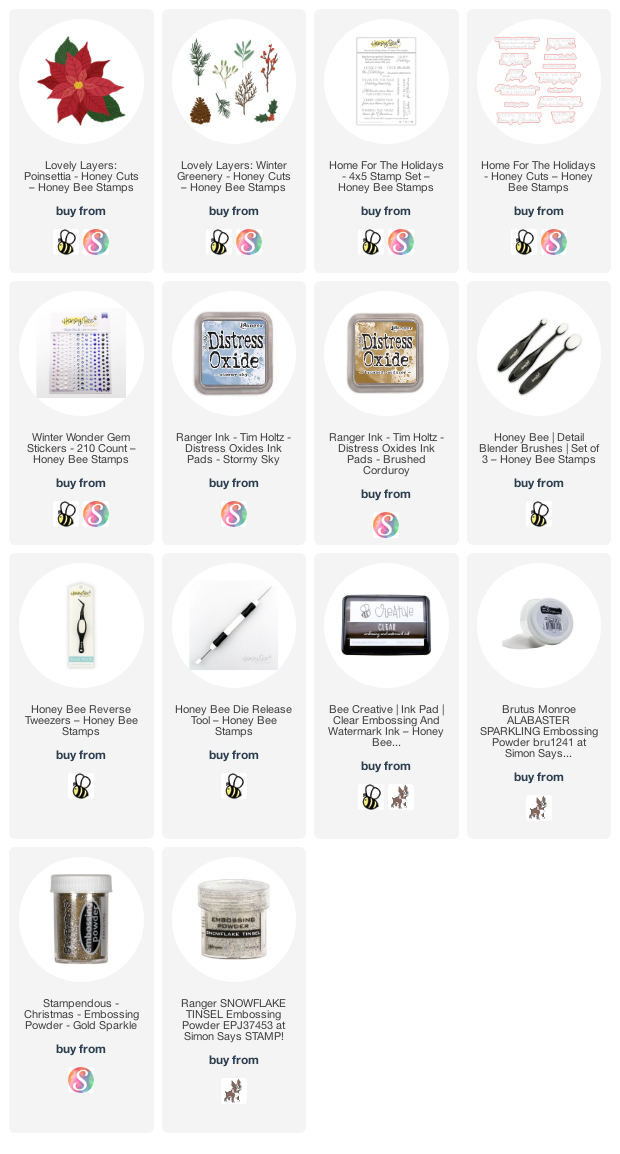
Hello crafty friends! Today I'm sharing my monochromatic winter card that features the Lovely Layers: Poinsettia Honey Cuts with lots of gorgeous sparkles! I love adding sparkles to cards anytime I can get away with it! Haha!

For the card base, I used a Detail Blender brush to add Stormy Sky Distress Oxide just around the edges of the folded card base. Then I used one of the papers that comes in the current "FreeBee" paper pack (free with a qualifying purchase). I used Bee Creative glue to adhere it to the card base.

Next I die cut the Lovely Layers: Poinsettia and Lovely Layers: Winter Greenery (pine sprigs, branch, and berries) from 80# Neenah. To add the sparkle to the poinsettia, I used an embossing dabber and swiped it along the edges of the petals. Then I added some embossing powder that I've had in my stash forever (and I just learned it is now discontinued) but I think that this sparkly gold embossing powder would be beautiful too.  I also linked a few at the end of my supply list below that would be very pretty!  I heat set the powder and repeated the steps for each layer of the poinsettia. I used glue to adhere the layers together.

Before I embossed the leaves and berries, I colored them with some Stormy Sky Distress Oxide using a Detail Blender brush. I repeated the embossing steps. My reverse tweezer made this easy and also protected my fingers from the heat!

I quickly colored the twigs with a blender brush and some Brushed Corduroy Distress Oxide.

I arranged the poinsettia and other die cuts on my card. I used a piece of Press N Seal to pick up all of the stems and branches to add glue to the back. Then just replace the Press N Seal to adhere the die cuts to the card. I added glue to the poinsettia to adhere it. Then I tucked in the leaves with some glue. To add more dimension, I used my fingers to slightly shape the twigs, sprigs, and leaves.

Next I colored a scrap of white cardstock with Stormy Sky Oxide. Then I brushed it with my anti-static tool and stamped the sentiment from the Home For The Holidays stamp set with clear embossing ink. I added white sparkle embossing powder and heat set it. Then I used the coordinating Honey Cut to die cut it out. I popped it up with a few foam squares.

I added a few gem stickers from the Winter Wonder gem sticker set to the center of the poinsettia.

I so wish cameras would pick up the gorgeous sparkle! It's so pretty in real life. If you celebrate Christmas, I wish you the happiest of holidays! If not, have a wonderful day, and I'll see you next week after Christmas! Thank you so much for stopping by--you are so appreciated! 

Wednesday, June 8, 2022

Two-for-One Father's Day Cards

Happy Wednesday!  Today I'm sharing two Father's Day cards I made with one inked and die cut piece! My inspiration for this design is the design of the new Happy Happy Happy A2 Cover Plate die. These cards were so fun and easy to make--read on for the details!

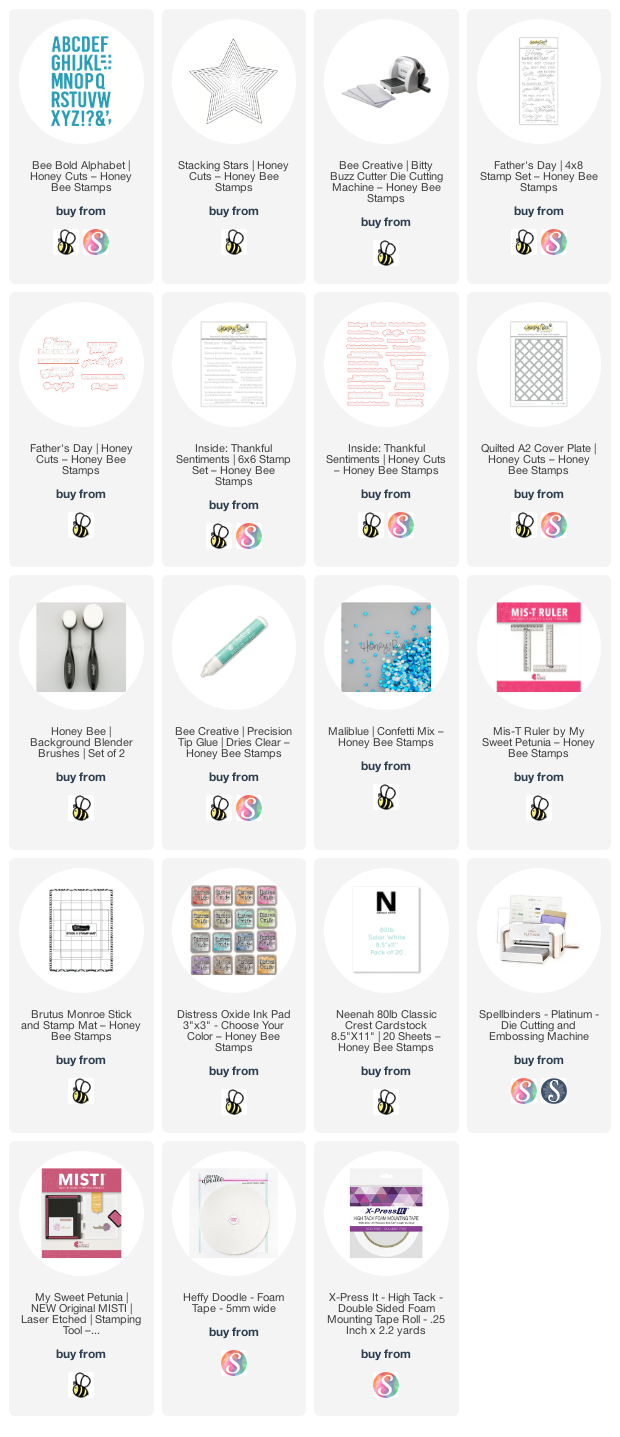
The first thing I did was use a Detail Blender brush to ink up a panel of white cardstock with blue Distress Oxide inks. I used Chipped Sapphire, Prize Ribbon, Blueprint Sketch, and Tumbled Glass. I mixed and blended the colors until I had the subtle ombre look I was going for. Then I used the letters "D" and "A" from the Bee Bold Alphabet Honey Cuts to die cut the word Dad three times on the inked panel. A t-square ruler helps to keep things straight for this design. I set the die cut letters aside while I worked on the shaker card.  BE SURE TO SAVE the little center pieces of the d's and a's!!!!

I added some clear acetate to the back of the inked, die cut panel with Bee Creative glue. Then I added foam tape along the edges of the card back and in-between the words. I sprinkled in some Maliblue confetti mix sequins into each section. Then I removed the adhesive backing and placed an A2 card base onto the piece. Such a fun shaker card for your guy!

I die cut some brushed silver metallic cardstock with stars from the Stacking Stars Honey Cuts and adhered them with Bee Creative glue and the small ones with foam tape. Then I stamped the sentiment from the Father's Day stamp set with black ink and die cut it with the coordinating Honey Cut. I used Bee Creative glue to adhere it to the card.

For my "bonus" card I die cut white cardstock with the Quilted A2 Cover Plate to add some detailed interest to the card background. I adhered it to an A2 card base.

Next I used my Bitty Buzz Cutter to die cut white cardstock with the letters D and A to have three white layers per letter.  I HIGHLY recommend this cute little die cutter! I decided to order it and just received it a couple days ago. It was so easy to use and made die cutting so many of the letters to stack up so easy! Glue all of the layers of letters together with Bee Creative glue.

Then I used my t-square ruler and this sticky mat to line up the letters. Next I placed removable tape over each word to pick it up all together and used Bee Creative glue to adhere the letters. I added a few extra stars I die cut with the Stacking Stars Honey Cuts to the card. Then I stamped the sentiment from the Inside: Thankful Sentiments set and die cut it with the coordinating die. I die cut two more of the sentiments from white cardstock and adhered the layers together before adding it to the card.

Thank you so much for stopping by!  Have a wonderful, and crafty, day!!


Thank you for choosing to use my affiliate links!  (never any additional charge for you)

Saturday, April 30, 2022

Happy Happy Happy Birthday Cards -- It's Honey Bee Stamps 7th Birthday!

Hello crafty friends!  Today is a fun day as we are celebrating Honey Bee Stamps' 7th birthday with an Instagram hop!  We are showcasing new products from their brand new release called Birthday Bliss!  I have two cards that I created from one fabulous cover plate die.  Read on for the details!

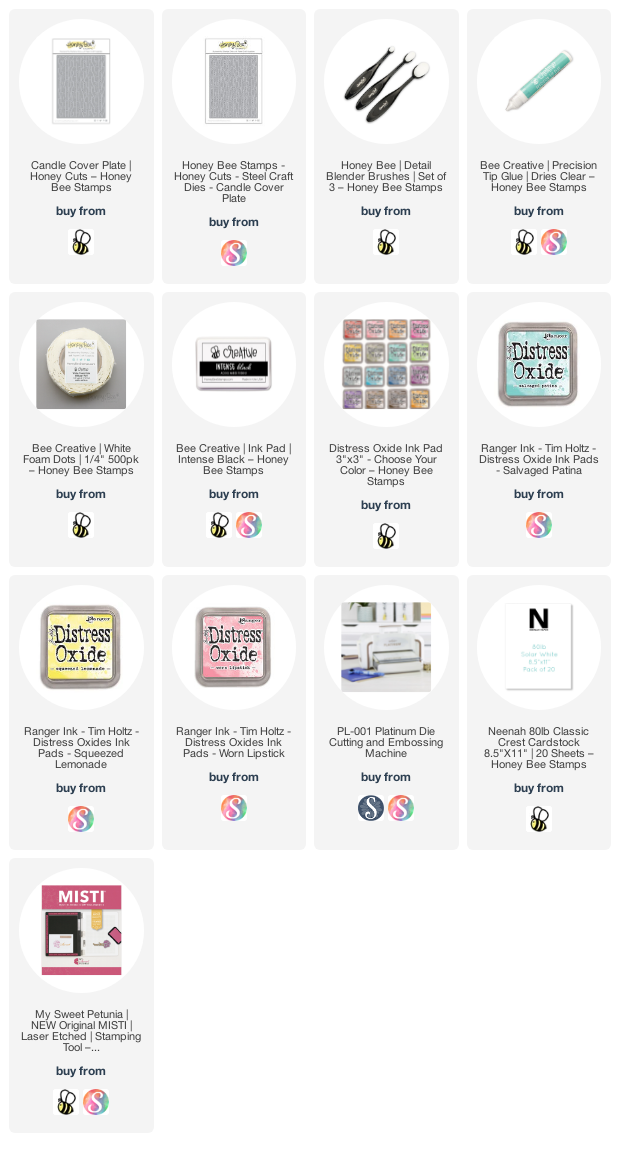
First I die cut the Happy Happy Happy A2 cover plate three times from 80# Neenah cardstock.  I kept all of the pieces of each die cut in place by sticking on a piece of Press N Seal.  Next I blended Distress Oxide inks on one of them.  I used an ink blender brush and Salvaged Patine, Squeezed Lemonade, and Worn Lipstick Distress Oxides.  I liked blending onto the die cut piece as I could better decide how far to bring each color down.

I peeled off the negative pieces of all three die cuts and glued them together.  Be sure to save the center pieces of the letters!!  I set that aside to dry while I began my first card.

First I dry embossed the Candle Cover Plate die onto an A2 sized white card.  (Dry embossing is a fun way to stretch your dies--just use the tan rubber mat and the embossing sandwich for your machine.)  I glued that onto my card base.

Next I adhered all three layers of the letters together.  I used removable tape to temporarily hold the negative Happy Happy Happy cover plate die cut onto the front of my card to be like a template for the letter placement.  Then I used that to perfectly position all of the letters.  When the glue was dry, I removed the negative piece.

I die cut one of the flowers from the new Lovely Layers: Wildflowers once from white cardstock, and another time from vellum.  I adhered them to the card with dots of glue.

I stamped the sentiments from the also new Birthday Wishes set in the same Distress Oxides.  I stamped "birthday" using sponge daubers to achieve the ombré effect.  I used the coordinating dies to cut them out (I love having dies for the sentiments!!)  Then I popped them up with foam tape.  For a bit of sparkle, I added used a clear glitter pen on the vellum flower (which is why the petals are curled up!)

My second card uses the negative pieces from the Happy Happy Happy Cover Plate die cuts.  I glued the layers together, and then glued them to an A2 card base.

Next I glued the middle pieces into the letters A, and the P's.  Then I die cut another flower from the Lovely Layers: Wildflowers and inked on some Worn Lipstick Distress Oxide onto the top flower layer.  I used the other two Oxide colors for the other pieces of the flower.  Then I adhered it to the card.

I stamped the sentiment from the Happy Happy Happy stamp set in black ink and die cut it with the coordinating die.  I popped it up with foam tape.

These were so fun to make!  I love the "happy" colors too!  Do you have a favorite?  I hope you'll pop over to my Instagram and leave me a comment there.  Honey Bee will be choosing two lucky people to win a $25 gift card to their shop!  Happy 7th birthday Honey Bee!

Thank you so much for stopping by!  Have a fabulous Saturday!
Wednesday, April 13, 2022

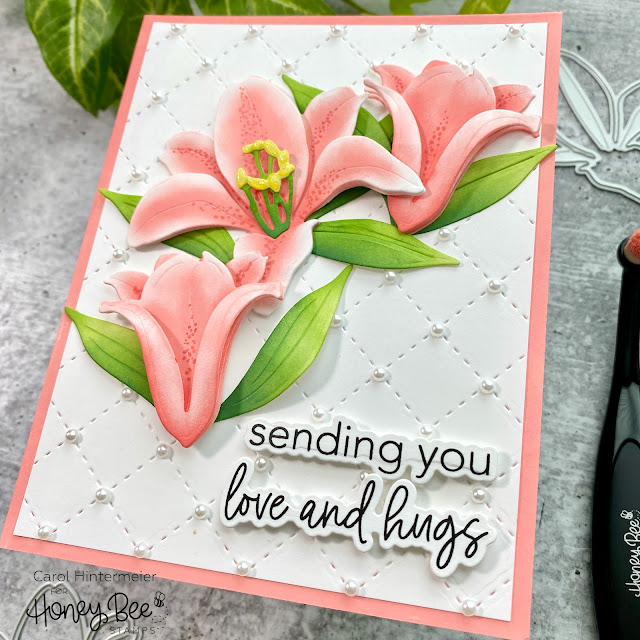
Sending You Love & Hugs Card Featuring the Lovely Layers: Easter Lily

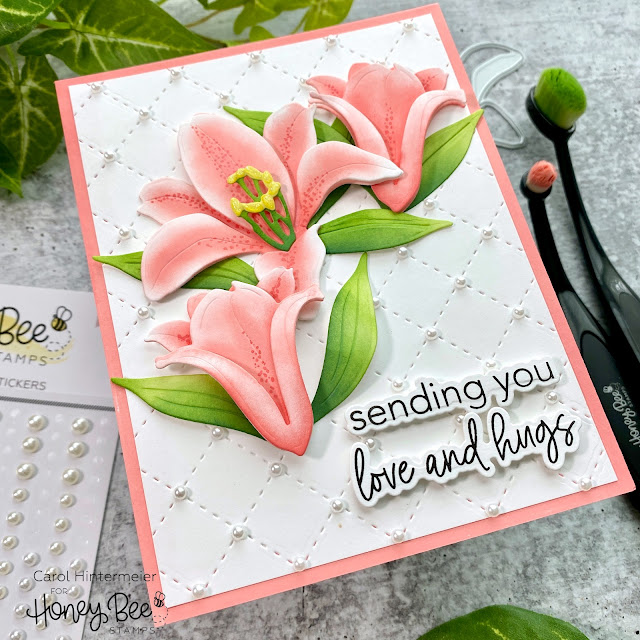
Hello crafty friends!  Today I'm sharing a sweet card featuring Honey Bee Stamps Lovely Layers: Easter Lily dies.  This is one of their early sets in the Lovely Layers line, and also one of my favorites!

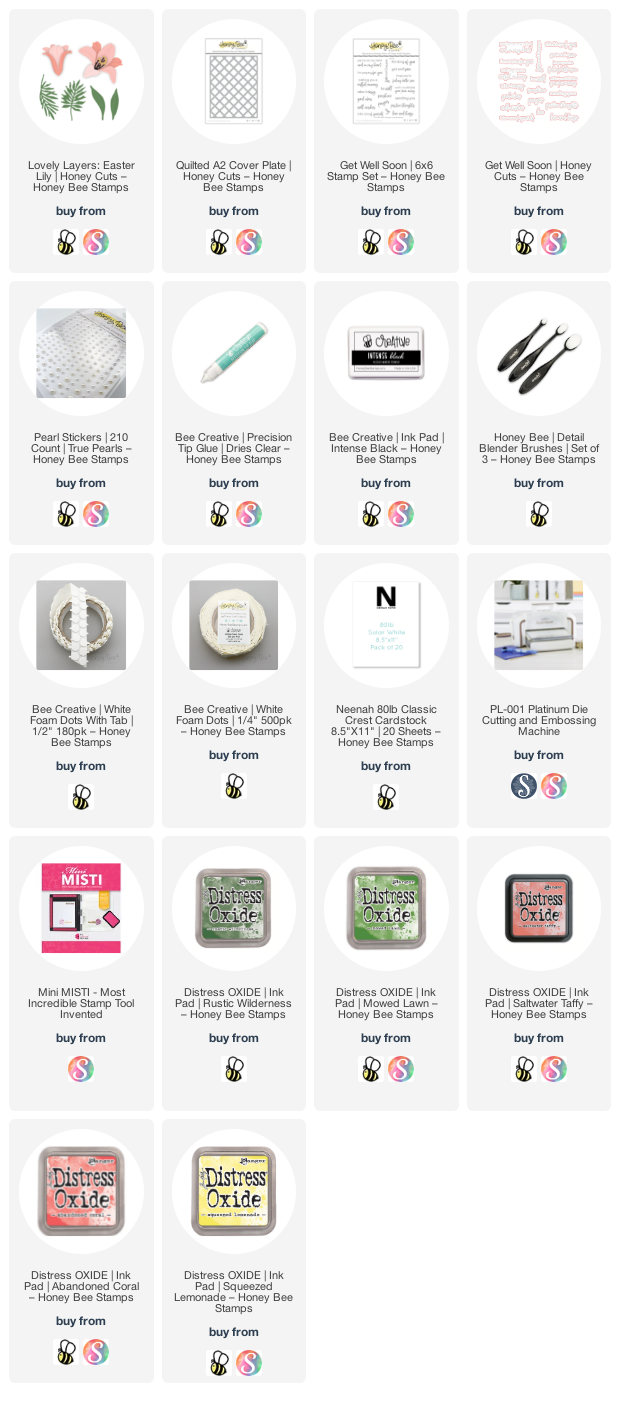
The card base is a top-folding A2 size with edges I inked up by dragging the Saltwater Taffy Distress Oxide pad along the edges.  This is a quick and easy way to have a perfectly coordinating layer!  Next I die cut some 80# Neenah Solar White cardstock using the Quilted A2 Cover Plate die and trimmed it down to 4" x 5-¼".  Then I adhered it to the card base with Bee Creative glue.

Next I die cut the Lovely Layers: Easter Lily dies from white cardstock.  I used the smallest of the Detail Blender brushes to add Abandoned Coral and Saltwater Taffy Distress Oxide to the flowers' petals.  Then I added some dots to the petals with a R14 Copic marker.

I used Rustic Wilderness and Mowed Lawn to color the leaves and stamen stems.  Squeezed Lemonade is the color I used for the stamen tips.  I used some small foam dots to adhere with center flower layers and Bee Creative glue for the other pieces.

Then I stamped the sentiments from the Get Well Soon set with Intense Black ink.  I used the coordinating dies to cut them out and added foam tape to adhere them to the card.

After I adhered the flowers and leave to the card with glue, I added white pearls from the True Pearl pearl stickers set to the intersecting lines of the die cut card panel.  I love the shine and the detail that these pearls add!

Thank you so much for stopping by today!  If you are interested, check out my Instagram where I will have a short "reel" posted of my card making process.  I will post it most likely sometime this morning.  Have a wonderful day--stay crafty!!

Thank you for using my links to check out the products I used today!