Showing posts with label Itty Bitty Leaves. Show all posts

Wednesday, September 10, 2025

Crafty Cart and Craft Room Decorated Autumn Card

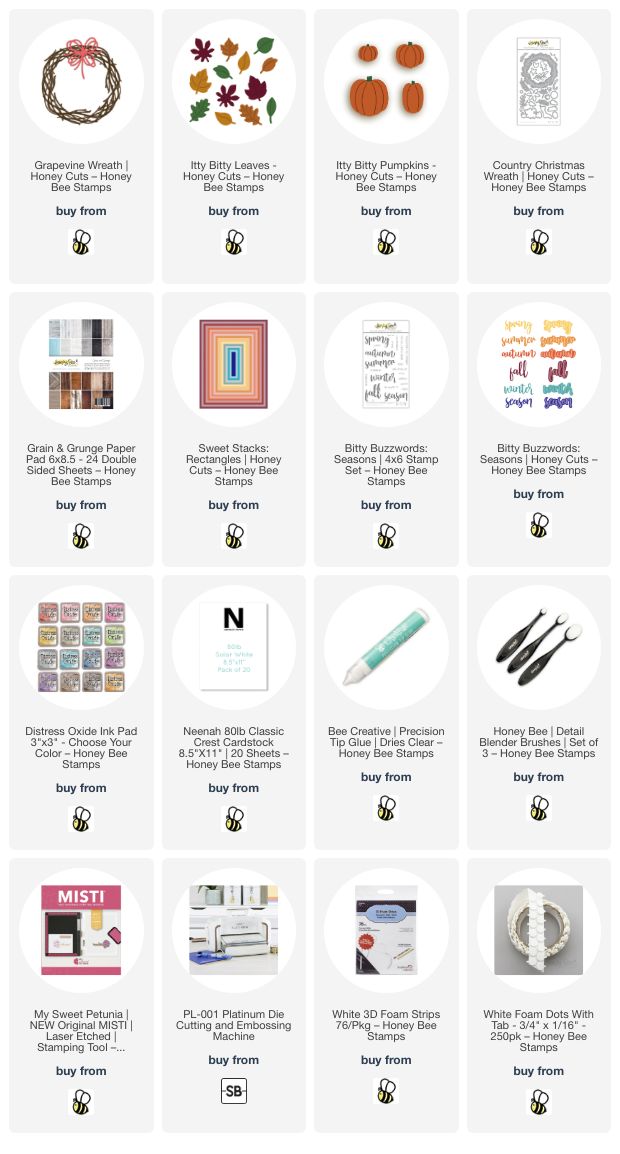
Hello, friends!   I really do love the colors of autumn and I've decorated Honey Bee Stamps Lovely Layers: Craft Cart in that style!  I've also used a few older favorites to add the autumn touches!

The A2 card base is layered with patterned paper from the Fall Is In The Air paper pad.  Then I scored a 4-¼" x 2-½" piece of white cardstock ¼" across the width and glued it to the card.  A white scored strip of cardstock tops off the paneled piece.  I added a wood patterned strip to the bottom of the card.  This is from the Grain And Grunge paper pad.

Then I die cut the Lovely Layers: Craft Cart from gray and green cardstocks and used glue to adhere the layers together.

The supplies in the cart are from the Lovely Layers: Arts & Crafts Supplies set.  I chose the ones with a knitting/crochet theme and die cut them from colored cardstock and white cardstock.  I colored the white pieces with Copic markers and also added shading to the colored cardstock pieces.  After I glued the layers together, I adhered them all to the Craft Cart.

The autumn elements are from the so cute Itty Bitty Leaves Honey Cuts and the Itty Bitty Pumpkins Honey cuts.  I die cut nine leaves from three different colors of cardstock.  TIP:  Place your twine onto a sticky mat, taping the ends down if needed.  I planned the spacing of the leaves and then added glue to the backs to adhere them to the twine.  I left the leaf banner on the sticky mat until the glue had dried.

I used more glue on the back of the leaves to adhere the banner to the card.  I added one of the Itty Bitty Pumpkins to a shelf of the Craft Cart.  Glue and foam tape adheres the other three pumpkins to the card.

I stamped a sentiment from the Heartfelt Hello stamp set in black ink and cut it out with the coordinating Honey Cut.  More foam tape adheres the sentiment to the card.

I love this fall version with the Lovely Layers: Craft Cart and hope you do too!  Thanks for stopping by and having an awesome day!

Thanks so much for using my affiliate links to shop (never any additional cost to you)!
Wednesday, August 9, 2023

Autumn Grapevine Wreath Card

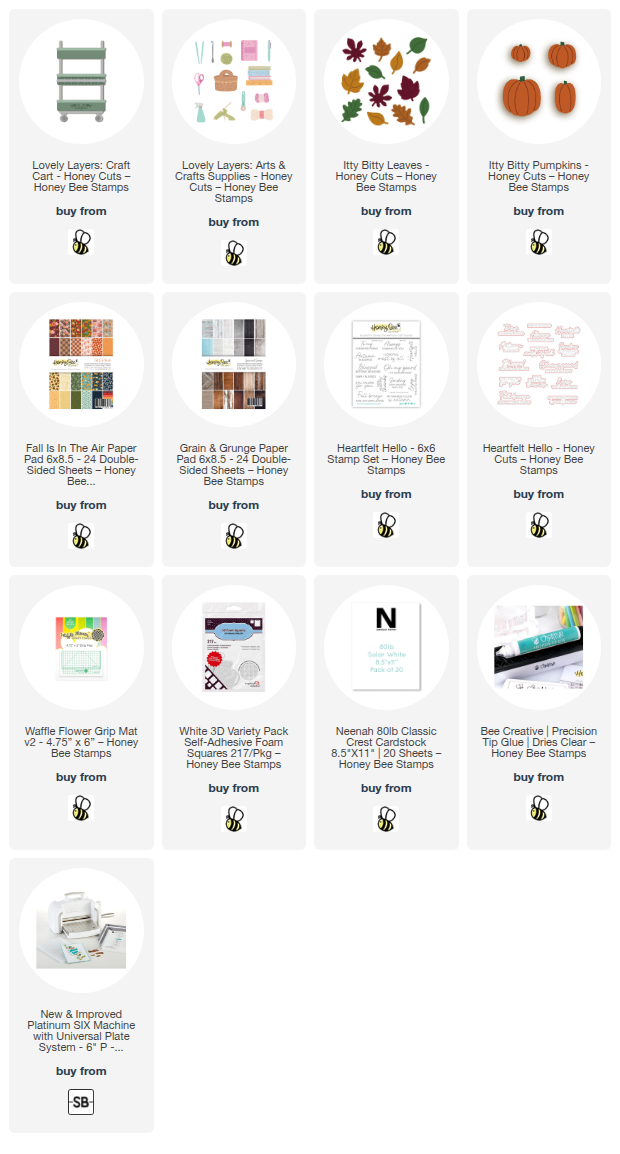
Happy Wednesday crafty friends!  For my card today, I've used some previously release Honey Bee Stamps products that I still love! I've made an autumn wreath with the awesome and versatile Grapevine Wreath Honey Cut. Keep reading to see which other products I've used for this beautiful wreath.

I started by die cutting two of the Grapevine Wreath Honey Cuts from light brown cardstock. Next I die cut the leaves and pumpkins found in the Itty Bitty Leaves and Itty Bitty Pumpkins sets. The berry stems are in the Country Christmas Wreath Honey Cuts (another favorite of mine), but you could use any branch and add berries to it too. The pieces were die cut from golden yellow, orange and white cardstock. 

I used the small ink blending brushes to add Distress Oxide inks to all of the pieces. Use any of the browns and warm autumn Oxides that you may have and it will be beautiful! Here's a list of the Distress Oxides I used:

  • Rusty Hinge
  • Fossilized Amber
  • Crackling Campfire
  • Spiced Marmalade
  • Wild Honey
  • Barn Door
  • Aged Mahogany
  • Fired Brick

Now, here is how I made the little berries! I inked Crackling Campfire Oxide onto some white cardstock. Then I used a 1/8" hole punch and punched until I had enough "berries" for my branches! Easy peasy!

I added layers of paper from the Grain and Grunge paper pad die cut with two of the Sweet Stacks: Rectangles to an A2 card base. I used Bee Creative glue to adhere the layers. This paper pad is filled with several different gorgeous wood plank and woodgrain papers!

Next I adhered the two Grapevine Wreaths together, offset, with dots of glue. Then first added a cute little orange gingham bow I made with ribbon from my stash. Then I began arranging and adhering the elements onto the wreath. I only added a drop or two of glue at the base of the leaves so I was able to tuck more leaves in.

I stamped the sentiment from the Bitty Buzzwords: Seasons stamp set in brown ink. I used the coordinating dies to cut the shadow once and the word "fall" three times from white cardstock. Then I die cut the stamped "fall" and adhered all of the layers together with glue. I added foam tape strips and dots to adhere the sentiment to the card.

To add a bit of shine, I added drops of Crystal Glaze to each berry.

In spite of all of the details, this really is an easy card to make--and it's fun too! I hope you've enjoyed this, and I so appreciate you stopping by today! Have a wonderful, and crafty day!!

Thank you for using my affiliate links to shop (never any additional cost to you)!