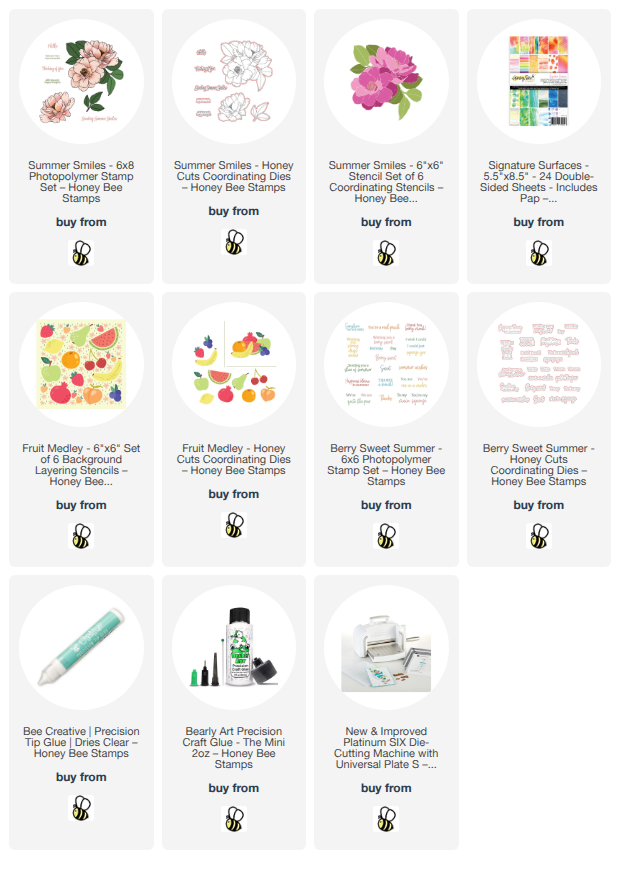
Hello crafty friends! Did you see all of the new summertime goodies from Honey Bee Stamps' Perfect Picnic Release? This release is so fun with lots of summer themed products to make cards for all of your gatherings! Also, there are two gorgeous floral stamp sets. I've used one here on my card. The Summer Smiles florals are so beautiful. Of course, I love that there are coordinating Summer Smiles coloring stencils and Summer Smiles Honey Cuts too! Some paper from the new Signature Surfaces paper pad made an awesome background!
Keep reading to see another card I've made with this awesome release!

There are two different ways to get started with the Summer Smiles stencils. You can stamp the Summer Smiles floral, and then stencil, or you can do as I did and do all of the stenciling first. Since I knew I was going to use a light colored ink, I just didn't want to risk smearing that stamped ink.
I chose a set of pink inks that are four shades from light to dark. A set of three inks would work too! I used a grip mat to hold my white cardstock and began with the first of six stencils and my lightest colored ink pad. I continued with blending brushes and each shade of ink for each stencil layer.
For the leaves I used three different shades of green ink. Ink blending these layers is so fun!
I added pink and then green splatters to the flower and the leaves. I just used some scrap paper to cover up what I needed to.

Next I used the coordinating Summer Smiles dies and cut out the floral image. I used a white gel pen to add white dots to the flower's stamen.
I stamped two of the sentiments from the Summer Smiles stamp set with black ink and cut them out with the included coordinating dies.
Instead of my typical white embossed background (which I do love!) I found a piece of patterned paper from the new Signatures Surfaces paper pad (a paper organizer is included!) that I think works wonderfully for the background. After I trimmed the paper to 4-¼" x 5-½" I used Bee Creative glue to adhere the paper to an A2 card base.
Did you know the papers in the Signature Surfaces paper pad were designed by several of us on the Honey Bee Design Team? And guess what? The paper I chose is one I designed with an ink smooshing technique!

The Summer Smiles flower and the sentiments are all popped up with foam tape and foam strips.
And a side note! Did you hear that there is an Instagram Hop to celebrate the Perfect Picnic release? You can join us on the hop and leave comments for your chance to win one of two Honey Bee gift cards! You have until July 10, 2026 for commenting for your chance to win. Click HERE to join us!
This is my card I have for the Hop:

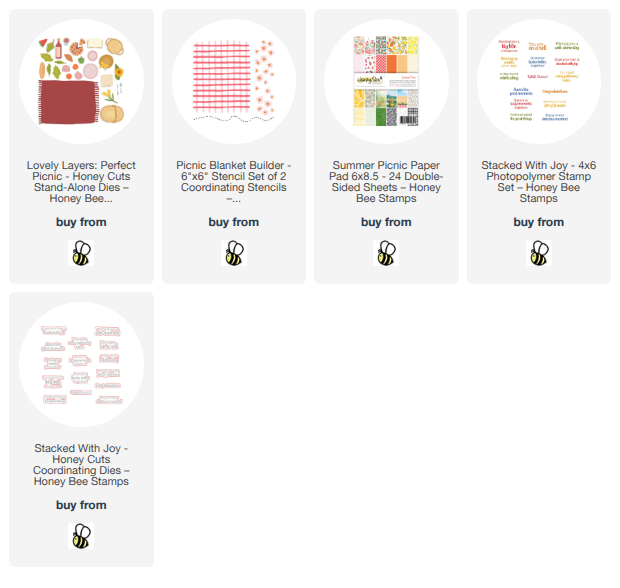
I used these products from the new release for this super sweet, fruity card!
- Fruit Medley stencil set
- Fruit Medley Honey Cuts
- Berry Sweet Summer stamp set
- Berry Sweet Summer Honey Cuts
I hope you've found some inspiration here today for the fabulous Perfect Picnic release! Thank you so much for stopping by. I hope your day is awesome and very crafty!
Thank you so much for using my affiliate links to shop (never any additional cost to you)!