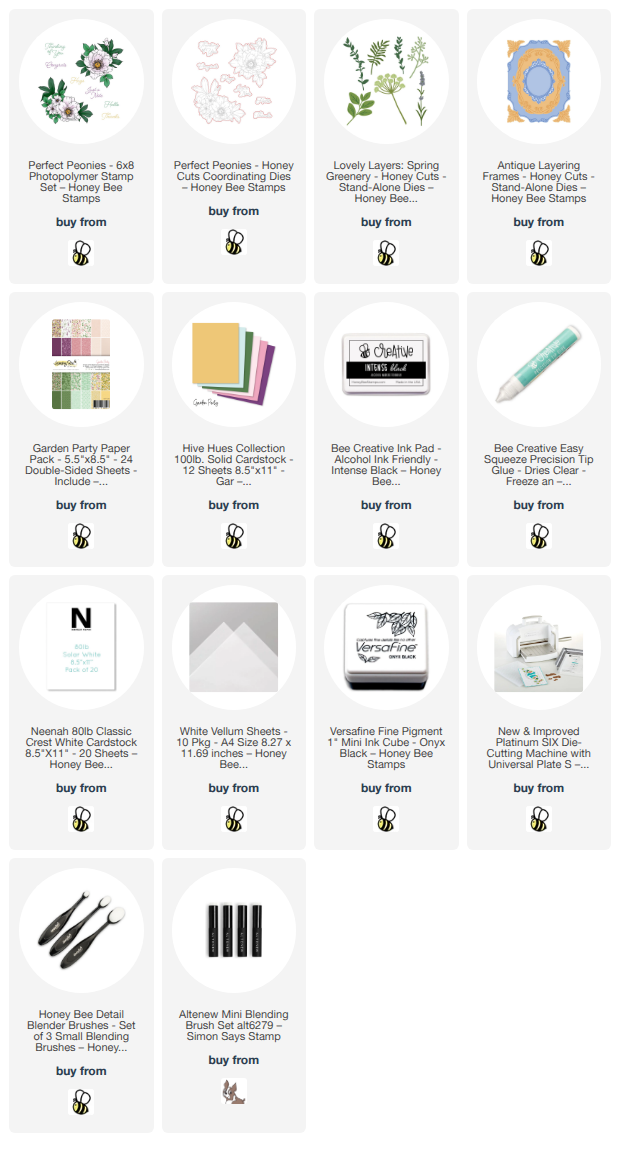
Hello crafty friends!! Today I am sharing this Copic marker colored card that features Honey Bee Stamps absolutely gorgeous Perfect Peonies stamp set and coordinating Perfect Peonies Honey Cuts. It's been a while since I colored an image and I really enjoyed taking my time with this and just enjoying the process!

First I stamped this image from the Perfect Peonies stamp set with Bee Creative Intense Black ink which is safe to use with alcohol markers. I used a BV31 Copic marker to "under-paint" the shadow areas of the petals where my darkest marker would be. I finished the coloring with just a touch of Y11 over the lightest marker shade. These are the colors I used for the flowers, buds, and leaves (I always color dark to light and have listed the markers in the order used):
- flower and buds: BV31, R14, R22, R43, R32, R11, Y11
- leaves: G29, YG67, YG17, YG25, YG03
With my coloring complete, I cut the images out with the coordinating Perfect Peonies dies.
Next I die cut some vellum three times with the leaf stem from the Lovely Layers: Spring Greenery dies. I used YG17 and YG25 to color the back of the vellum.

For the layers on the A2 card base I first die cut paper from the Garden Party paper pad with the largest die in the Antique Layering Frames set. I lightly inked the edges with a coordinating beige ink with a blending brush. I used Bee Creative glue to adhere the piece to the card base.
The smaller layer is die cut with the oval die in the Antique Layering Frames set and paper from the Hive Hues Garden Party cardstock pack. I also lightly inked these edges with a coordinating ink. I added foam tape to the back of the piece to adhere it to the card.
I decided on an arrangement for the Perfect Peonies image and the vellum leaves. First I glued the leaves to the card and adhered the peony image with foam tape.
The sentiment is one of several in the Perfect Peonies stamp set. After I stamped with black pigment ink, I cut it out with the coordinating die and adhered it with foam tape.

I think this sentiment is perfect for the tone and "feel" of this card! Do you enjoy coloring? I really hope I've given you some inspiration today to sit down, relax, and enjoy a good coloring session! Have a wonderful day, and I'll see you back here next week!!
Thank you so much for using my affiliate links to shop (never any additional cost to you)!