Thursday, September 28, 2023

Happy Halloween Owl and a Nighttime Background Scene

 Hello friends!  Today I'm sharing this cute, not spooky, Halloween card that features Rubbernecker Stamps so cute Build An Owl and with Halloween Add-on die set!

I created this night sky background by stamping the Framed Crows in Trees background stamp with black pigment ink, then heat embossing it with black embossing powder.  I used a circle die to cut out a circle from masking paper.  I placed the mask in the upper right corner and used ink blending brushes to color the sky.  I used Chipped Sapphire and Black Soot Distress inks.

I die cut the Build An Owl and Halloween Add-on pieces from white cardstock and used Rubbernecker's Color Fuse inks from Set #1 and #6 to color the owl pieces.  I assembled this cute owl with glue and added foam to to the back to adhere it to the card.  The little ghost is from the Ghosts die set and the sentiment is from the Pumpkin Dress Up stamp set.

I love how the night sky turned out and think it created a fabulous background for the cute owl!  Thanks so much for stopping by today!

Thank you so much for using my affiliate links to shop (never any additional cost to you)!

Wednesday, September 27, 2023

I Couldn't Have Picked A Better Friend Featuring Fun Coloring Stencils

Hello crafty friends! Today I'm sharing my sweet card featuring Honey Bee Stamps beautiful Awesome To The Core stampsHoney Cuts, and coordinating stencil set! I thought I'd create an unexpected green apple to coordinate with the patterned papers I chose. Read on for the details!

For the layers of my A2 card, first I added white cardstock that I embossed with the Burlap 3D embossing folder (I love that texture). Next I chose papers from the Pinstripes & Polka Dots: Outdoors paper pad and the Heartfelt Harvest paper pad and die cut them with two of the Fancy Fall Layering Frames dies.

I added foam tape to the back of the green layer to adhere it to the card. Before I adhered the pink layer, I glued an oval I die cut from a Sweet Stack: Ovals die to the back of it. I used thin foam tape strips to adhere this layer.

I stamped the images from the Awesome To The Core stamp set with Intense Black ink. I also stamped extra flowers and leaves to use for the card . I made sure the ink was dry before I began coloring the images with the coordinating stencils.  These stencils have some fabulous details in them and are so fun to use!

I used ink blender brushes to color the apple, the slice, and flowers with inks I have in my stash. For the leaves I used Mowed Lawn and Rustic Wilderness Distress Inks. The stem and seed are Gathered Twigs Distress Ink. I very lightly colored the apple slice with Antique Linen Distress ink. Once all of the images were colored, I cut them out with the coordinating Honey Cuts.

To adhere the pieces to the card I used Bee Creative glue and foam tape for a bit of extra dimension. Then I added three pretty pearl stickers from the Harvest Pearl Stickers.

I will be adding this card to my stash to use any time of the year for one of my sweet friends!  Thank you so much for stopping by!

Thank you so much for using my affiliate links to shop (never any additional cost to you)!

Friday, September 22, 2023

Honey Bee Stamps & Altenew Stampwheel Collaboration Hop

Happy Friday y'all!!  I'm sharing the details of my card that's in the Instagram hop today as part of the collaboration between Honey Bee Stamps and Altenew!  I was thrilled to be gifted the Stampwheel from Altenew to use in creating my card for the hop.  P.S.: There are some awesome gift cards to be chosen from the commenters over on the hop!  Be sure to check it out!

I'm guessing by now most of you have heard of and/or seen Altenew's Stampwheel.  It is a product that I have been wondering whether or not I "needed".  Haha!

Disclaimer:  I was gifted the Stampwheel with the only expectation being that I must feature it in my card making for this hop.  Any opinions I have are based solely on my use of this product.  I am not required to give any type of review.

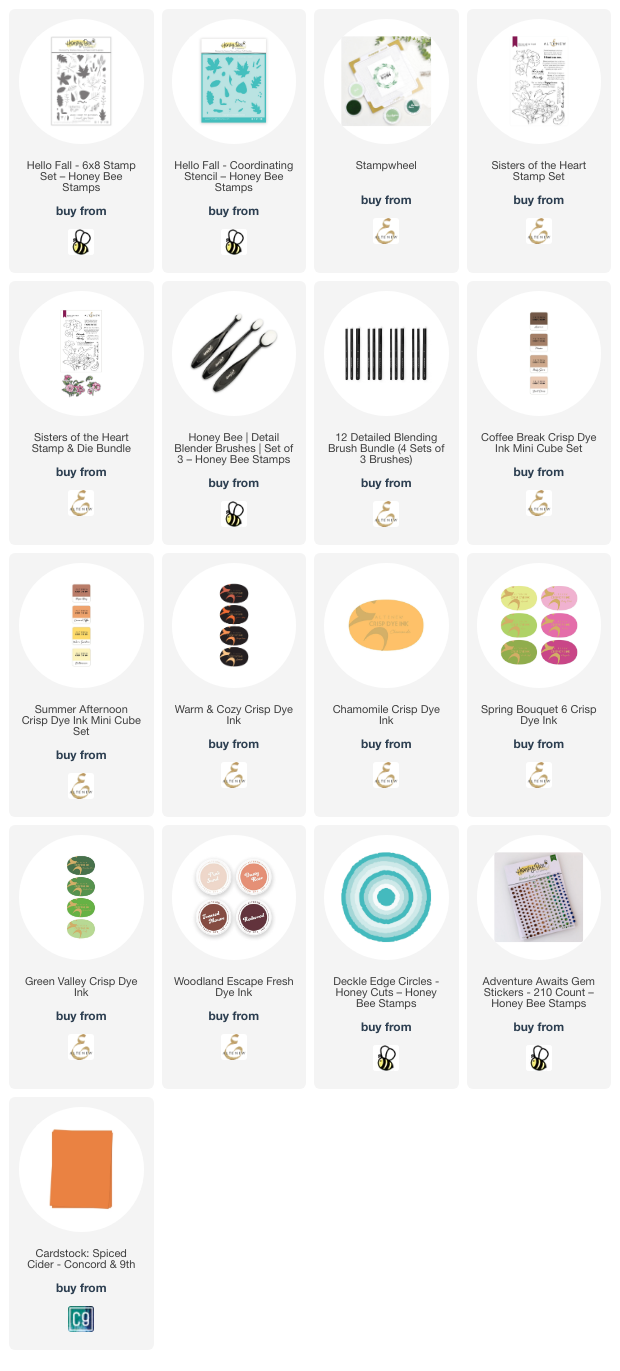
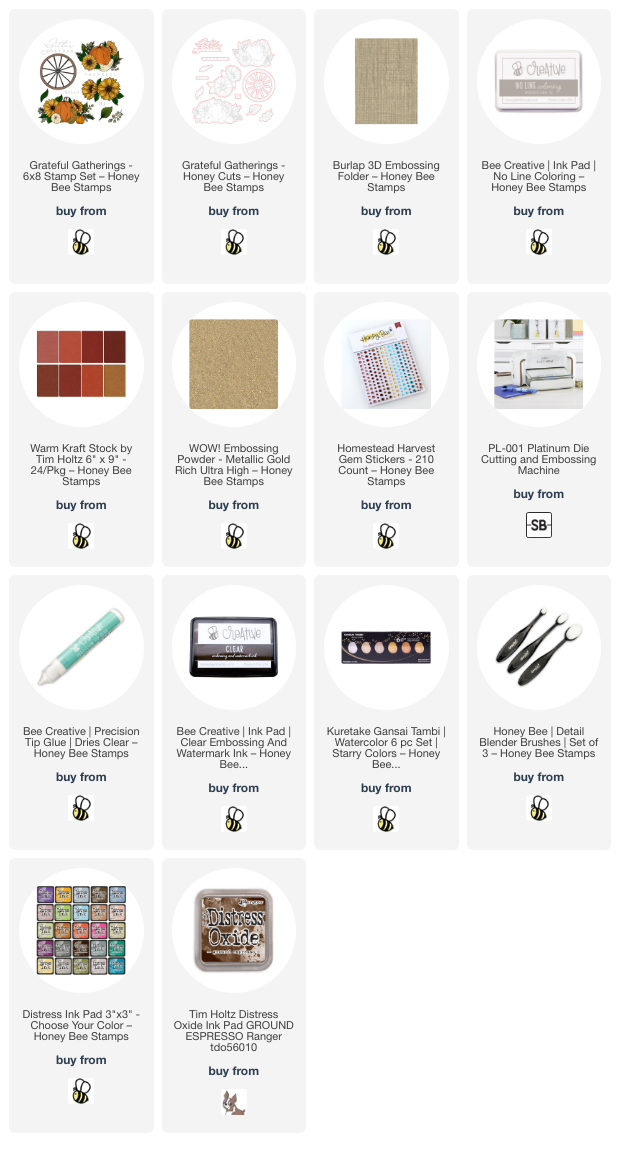
For this card I wanted to try out some of the techniques that I've read of that the Stampwheel is good for.  I chose Honey Bee Stamps' Hello Fall stamp set to use to create a circular stamped image.

The Hello Fall stamps are a solid image stamp and I wanted to use the coordinating stencil set to color the leaves.  To have a guide for the stencils, I stamped the leaves in a very light yellow ink.  I knew the light yellow would blend with any autumn colors I chose.

I found that the Stampwheel makes it very easy to leave the stamp on the clear top plate and rotate the plate to form a circle.  The sticky mat included with the Stampwheel held my A2 card panel in place with zero movement!

The next thing I wanted to test was using the sticky mat in the base of the platform to hold the stencils in place.  I used various inks (linked below) to color the leaves with the Hello Fall stencil.  The Stampwheel's sticky mat totally eliminated the need to use tape to hold the stencils!

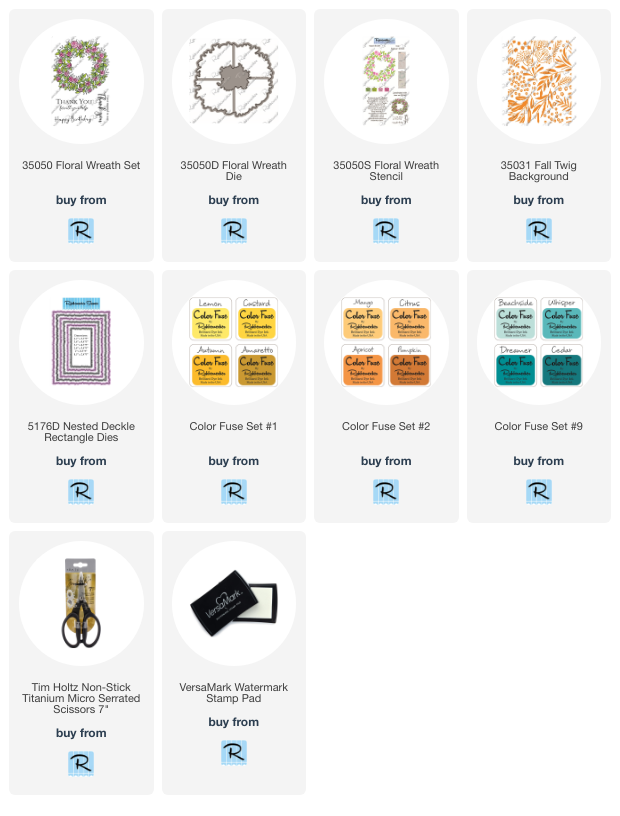
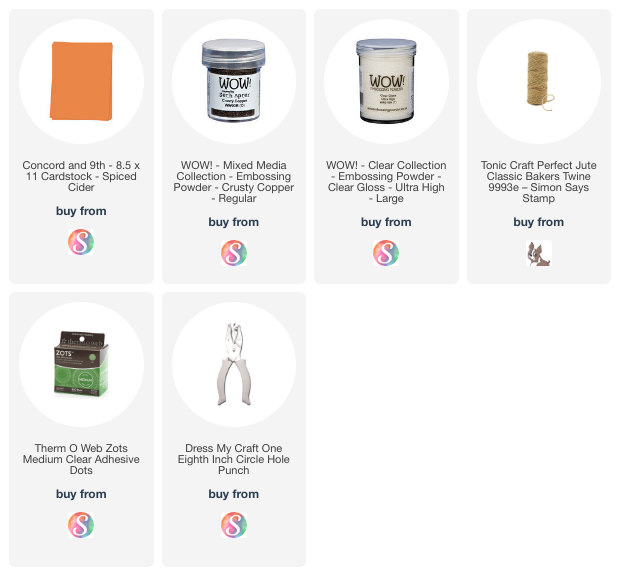
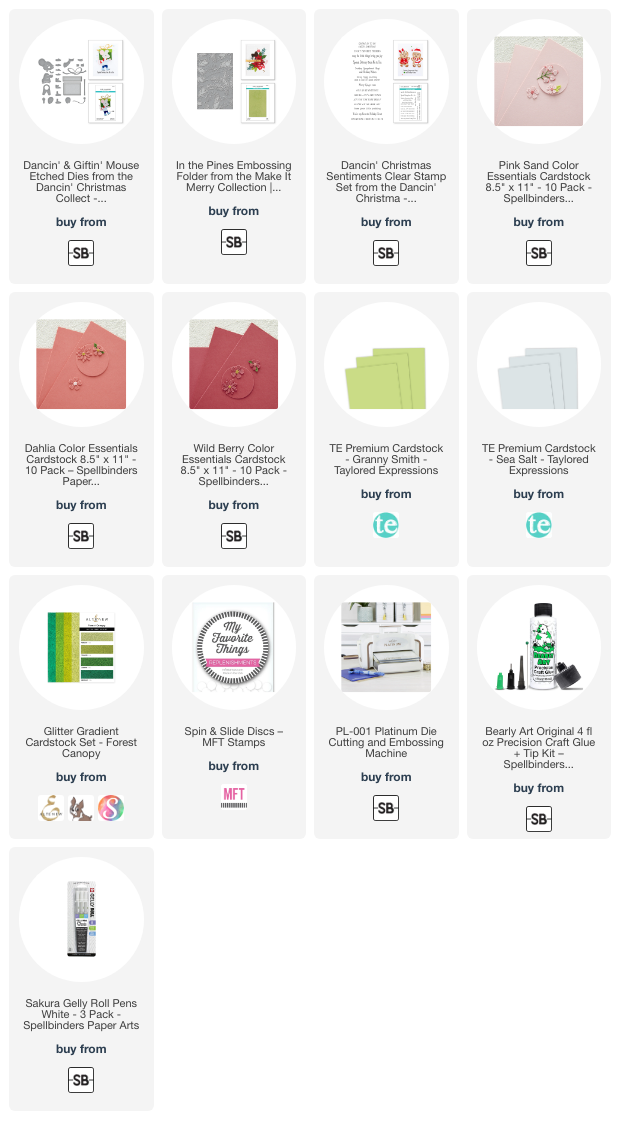
Before I adhered the stenciled piece to the card base, I wrapped some jute twine around it and then added foam tape to adhere it to the card.  I die cut two circles, one a Deckle Edge and the other a Stitched circle die.  The coordinating colored cardstock is listed below.  I stamped the sentiment from Altenew's Sisters of the Heart set with brown ink.  I added foam to the back to adhere it over the twine.

For a bit of bling I added coordinating gem stickers here and there on the front.

I really did enjoy using the Stampwheel in making this card.  I know that this will not be the last time I use this fabulous tool! Thank you for stopping by today!  I hope you will join me over on Instagram for the hop!

I really appreciate your shopping with my affiliate links (never any additional cost to you)!


Wednesday, September 20, 2023

To My Cherished Friend -- An Autumn Card Featuring Lovely Layers Dies

Happy Wednesday my friends! Today I'm sharing an autumn card that features several of the newest Lovely Layers sets from Honey Bee Stamps' Heartfelt Harvest release! Although we do not have the colorful autumn where I live, I still love the colors of leaves changing!

First I die cut the hay bale pieces from the Lovely Layers: Farm Cart from two shades of yellow cardstock and the wire from white (colored with Lost Shadow and Pumice Stone Distress inks). Next I die cut these Lovely Layers from white cardstock: I used the Lovely Layers: Apple BarrelLovely Layers: Fall Bounty, and Lovely Layers: Oak Branch. As you can see from my photo, I had pieces I did not use on the card, but will save for another project. I like to have lots of pieces to chose from when designing the layout.

I used ink blending brushes and a lot of Distress Inks to color the images.  I tried these flat blending brushes for the first time too.  I have to say that these brushes make adding shading to the edges quite easy! I hope you will find this list of the Distress Inks I used for each of the images helpful!

  • apples and leaves: Candied Apple, Fired Brick, Mowed Lawn
  • apple barrel: Antique Linen, Brushed Corduroy, Fired Brick, Lost Shadow, Pumice Stone
  • large pumpkin: Scattered Straw, and a touch of Carved Pumpkin on the edges
  • small pumpkin: a very light beige ink from my stash
  • autumn leaves: Aged Mahogany, Scattered Straw, Mowed Lawn
  • gourds: Shabby Shutters, Peeled Paint, Crackling Campfire, Dried Marigold
  • oak branch: Gathered Twigs, Ground Espresso and same colors as used on the leaves above

I used glue to assemble the hay baleOak Branch and Apple Barrel with the apples inside. Next I used the Fall Flourish Cover Plate to create the background layer and added it to an A2 card base.

After I glued the Oak Branch to the card, I used my scissors to clip off the overhanging bit. Then I played around arranging the pieces until I had them to my pleasing. I used a piece of Press N Seal to pick them all up and turn over. I worked in layers, back to front, first gluing the back pieces and then adding foam dots to the bottom front three pieces.

I stamped the sentiment from the Heartfelt Hello stamp set in Ground Expresso Distress ink. Then I cut it out with the coordinating Honey Cut and popped it up with foam strips.

I really do enjoy coloring die cuts with inks and blender brushes!  The ink colors can be layered to get so many different combinations!

Thank you for stopping by today!  I hope it's a good one with lots of crafty time!

Thank you so much for using my affiliate links to shop (never any additional cost to you)!

Tuesday, September 19, 2023

Altenew September 2023 Marvelous Monthly Series Release Blog Hop & Awesome Giveaway!

Hello, and welcome to my stop on the September 2023 Marvelous Monthly Series Blog Hop.  Be sure to keep reading until the end to hear about the awesome prizes and to leave a comment for another chance to win!

You should have arrived here from the blog of Agnieszka Malyszek.  If you would like to start at the beginning, you can head to the Altenew Blog, or check the list at the end of my post.

Before I get to my cards, be sure to check out the Marvelous Monthly Series!  Just click this image.

Or check out the Dynamic Duo: Wildflower Bouquet bundle here:

I have to say that I have become a huge fan of layering stencils and the beautiful Dynamic Duo: Wildflower Bouquet is now at the top of my favorites!  For my first card, I used cool, soothing colors that I feel worked well with the sentiment.

I used ink blending brushes to add various Distress Oxide inks through the Dynamic Duo: Wildflower Bouquet Layering Stencil Set.  These are the colors I used:  Tumbled Glass, Broken China, Uncharted Mariner, Mowed Lawn, Rustic Wilderness, Scattered Straw, and Shaded Lilac.  Altenew's blending brushes are so awesome to get the smooth blending!

The sentiment from the Dynamic Duo: Wildflower Bouquet Sentiment Stamp Set is stamped in a coordinating blue ink.  I just love the little :) that is part of the stamp!

I went with bright and vibrant colors for my next card.   Don't you think it makes the very same stencil look totally different?  I love the versatility!

This time I used several Crisp Dye inks to blend the colors through the Wildflower Bouquet Layering Stencil Set.  I used Fresh Leaf, Olive, Citrus Burst, Fresh Lemon, Pink Pearl, Coral Bliss, Purple Wine, Cosmic Berry, Volcano Lake, and Lagoon.

I die cut the florals with the coordinating Wildflower Bouquet Add-on Die Set.  I popped it up with foam tape onto a background I die cut with the Grid Cover Die.

This sentiment is also from the Wildflower Bouquet Sentiment Stamp set and is stamped with Obsidian ink and die cut with the coordinating die from the Add-on Set.

Thank you for stopping here along the hop!  Be sure to leave a comment before heading to the next stop!

Check out these awesome Giveaway Prizes!

$300 in total prizes! To celebrate this release, Altenew is giving away a $100 gift certificate to 1 lucky winner and a $40 gift certificate to 5 winners! Please leave a comment on the Altenew Card Blog and/or each designer’s blog post on the blog hop list below by 09/25/2023 for a chance to win. Altenew will draw 6 random winners from the comments left on each stop of this blog hop and announce the winners on the Altenew Winners Page on 09/27/2023.

*The winner of the $100 gift certificate will be chosen from comments left on the Altenew blog. 

You are invited to the Inlinkz link party!

Click here to enter
Thank you for using my affiliate links (never any additional cost to you)!

Saturday, September 16, 2023

Poinsettia Corner BetterPress Christmas Card

Hello!  I'm back today to share this card featuring a new BetterPress Letterpress plate by Spellbinders called Poinsettia Corner Press Plate & Die Set.  I love how this turned out, and it was so easy that this might be the card design I mass produce for Christmas cards to send to family and close friends!


Following the directions for the BetterPress Letterpress System, I inked the Poinsettia Corner Press Plate with Hydrangea BetterPress ink.  I pressed the image onto a piece of Porcelain cotton card.  I inked the press plate again, but this time rotated the Platen before I ran it through my Platinum die cutting machine.

I trimmed the image to 3-¾" x 5" and adhered it to an A2 piece of brushed silver cardstock.

Next I inked up the sentiment included in the Poinsettia Corner set with black BetterPress ink and pressed it onto a scrap piece of Porcelain cotton card.  I cut it out with the included coordinating die.

I die cut an oval from more brushed silver cardstock and added foam tape to the back to adhere it.  Then I added some thin foam tape to the back of the sentiment for just a bit more dimension.

A few silver metallic pearls adds just a bit more shine to my card.

And that's it!  For such minimal effort, I really feel this is a gorgeous card!  Thank you so very much for stopping by today!  Have a wonderful and crafty day!

Thank you so much for using my affiliate links to shop (never any additional cost to you)!

Friday, September 15, 2023

Gnome Hugs Christmas Card

Happy Friday crafty friends!  Today I'm sharing a card featuring Spellbinders adorable Gnome Hugs die set that's part of the Holiday Hugs Collection.  This cute set has one large gnome with hugging arms, a small gnome, snowflakes, and other cute extras!

I created the card base from a layer of Glacier cardstock die cut with the snowflake Winter Borders.  I added a strip of silver glitter cardstock and also die cut snowflakes from this too.

I die cut the Gnome Hugs dies from red glitter cardstock and red, black and white cardstocks.  I used a few W Copic markers to add some details to the gnomes' beards.  Before I glued the layers together, I added a bit of shading to the red pieces with an ink blending brush and Fired Brick Distress ink.

The candy cane and berry branch are from the Parcel & Post Christmas Decorations set.  I think this adds a fun bit of extra to the card!

I chose a sentiment from the Christmas Florals & Sentiments set and die cut it with white cardstock.  I die cut the rectangle from silver cardstock to add a sparkly shadow layer.  I added foam tape to the sentiment and the small gnome for some extra dimension.

The card was truly that easy to make!  These make such sweet holiday cards!  Be sure to check out all of the other cute sets in the Holiday Hugs collection.  Thanks so much for stopping by!

I so appreciate your shopping with my affiliate links (never any additional cost to you)!

Wednesday, September 13, 2023

Autumn Card with the Grateful Gatherings Sets

Hello crafty friends! Today my autumn card features Honey Bee Stamps beautiful new Grateful Gatherings stamps and Honey Cuts.  These are part of the awesome Heartfelt Harvest release. You do know this was illustrated by our so very talented team mate, Kelly Taylor, right?  I'm so thrilled to get to create with such talented people!

First I partially embossed an A2 sized piece of Warm Kraft Stock with the Burlap 3D embossing folder. I just let about 1-½" of the panel hang out of the embossing folder while I ran it through my machine. Now, raise your hand if you still have one of those sanders by Tim Holtz! I don't know if those are still available, but there are his sanding disks in the Honey Bee shop.

The cool thing about this Kraft Stock paper is that the core of it is kraft color so that when you sand it, you will see the kraft! After I sanded it, I lightly used a blender brush to add Ground Espresso Distress Ink around the edges. Then I splattered on some red gold and yellow gold metallic paint. (I used removable tape to mask off the smooth area while sanding, inking and splattering.)

Next I used another piece of the Kraft Stock paper to stamp the wagon wheel and the sentiment from the Grateful Gatherings set with clear embossing ink. I added gold embossing powder and heat set it. Then I cut them out with the coordinating Honey Cuts.

I love the no-line coloring look, so I stamped one of the floral images from the Grateful Gatherings set with Bee Creative No Line Coloring ink. I used quite a few Copic markers (LOL!) and some Prismacolor pencils to color the image. I like to use colored pencils with Copic coloring to add in some detail lines and more depth to the shadow areas. You can use these colors and stamp it in black ink to get the same beautiful look. Here is a list of the colors I used.

  • pumpkin: E15, YR18, YR15, YR13, E11, E18, PC944
  • gourd: YG0000, G85, G28, YG63, YG61, PC908
  • red flower: R59, R39, R29, Y00, E99, YR27, E09, PC1034, PC1095
  • leaves near flower: G28, YG17, YG25, PC908
  • yellow leaves: YR27, YR24, YR21, PC944
  • wispy leaves: G28, YG17, YG23, PC911, PC908
  • round leaves: YR21, PC946

Confession: I realized after I finished the coloring that I mistakenly colored two more petals for the top red flower that are actually leaves. It totally makes sense now that I "see" the leaves! Oh well, I still am happy with how it turned out. I cut it out with the coordinating die.

I adhered the wagon wheel to the back of the floral image with glue. Then I added foam tape to the back of it and the sentiment to pop them up on the card.

I added a few coordinating gem stickers from the Homestead Harvest Gem Stickers for a bit more sparkle!

I hope you've enjoyed my card making process and are inspired by something you've seen.  I'm very thankful that you've stopped by today!

Thank you so much for using my affiliate links (never any additional cost to you)!

Tuesday, September 12, 2023

Hooray For Fall!

 Hello crafty friends!  Today my card features Rubbernecker Stamps Floral Wreath stamps, die, and layering stencils with an autumn look!  I created a spring themed card with the same sets--check it out on this blog post.

My card base is A2 sized and I topped that with a Nested Deckle Rectangle die cut from white cardstock.  I tapped a Versamark ink pad around the edges and added copper embossing powder and heat set it.  This makes a nice coordinating layer!

For the next layer I stamped the Fall Twig Background stamp with Versamark onto an orange piece of cardstock.  I added clear embossing powder and heat set it.  I trimmed it to 3-¾" x 5" and adhered it to the card.

The Floral Wreath is stamped with Versamark with copper embossing powder heat set onto it.  I used the coordinating Floral Wreath stencils and ink blending brushes to add some Color Fuse inks.  I used these colors:  Autumn, Amaretto (#1); Apricot, Pumpkin (#2); Grass, Juniper (#11).  I cut the wreath out with the coordinating die.

The sentiment from the Autumn Harvest set is also heat embossed with gold embossing powder.  I made it look like a sign hanging in the wreath with jute twine knotted through two holes I punched on the corners of the sentiment.  I tied a double bow from the twine for the top.  I used a small glue dot to adhere it.

I'm so happy that our temps here have begun to trend down and that fall is almost here!!  Thank you for stopping by.  Have a wonderful and crafty day!

Thank you so much for using my affiliate links to shop (never any additional cost to you)!

Monday, September 11, 2023

Dancin' & Giftin' Mouse by Spellbinders

 Have you seen this so cute Dancin' & Giftin' Mouse by Spellbinders?  This die set makes such an adorable holiday card, AND the legs move!  How cute is that?!!

I die cut all of the pieces of the Mouse from various colors of cardstock.  If you click on the images in the product description, you will find a handy guide to help in assembly.  I used a white gel pen to add extra details.

I moved the legs for this next photo.  In real life the legs swing back and forth!

The background is created of layers of green cardstock on an A2 card base.  I partially embossed white cardstock with the beautiful In The Pines embossing folder.  This leaves a smooth surface to stamp the image from the Dancin' Christmas sentiments stamp set.  A strip of green glitter paper coordinates with the bow on the gift.

There are other adorable sets in the Dancin' Christmas line you should check out!

Thank you so much for stopping by!  I hope you have a wonderful week!

Affiliate links (never any additional cost to you)!