Showing posts with label Spellbinders. Show all posts

Monday, July 13, 2026

Stocking Filled With Holiday Cheer -- Spellbinders

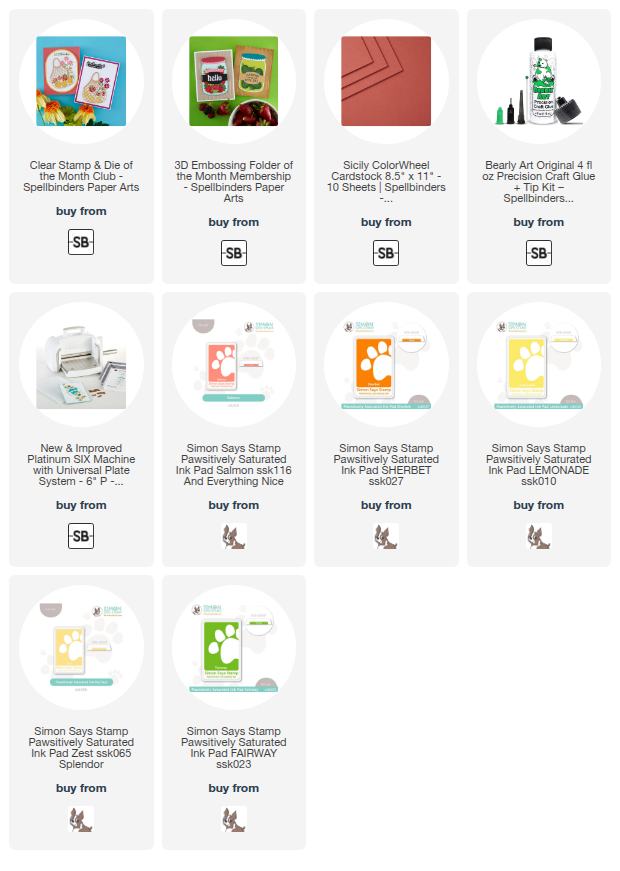
Hi, crafty friends!  Today I am sharing my card that features the adorable Spellbinders House-Mouse Designs Sweet Twist stamp set from the new House-Mouse Holiday Collection!  This Sweet Twist stamp set is one of the three in the Collector Bundle!

One thing I love about the House-Mouse stamps, other than they are SO adorable, is that the artist's images have shading that I use as a guide for my coloring!  After I stamped the Sweet Twist image with Copic safe ink, I colored it with my Copic markers and a few Prismacolor Pencils.  These are the colors I used:

  • candy cane:  R59, R29, RV25, R35, C2, C0
  • berries:  RV69, R39, R37
  • branches: Prismacolor Pencils PC1082, PC941
  • mouse:  E35, E33, E31, E93, E51, E50, R30
  • stocking:  G09, G17, G16, G02
  • stocking fur: Prismacolor Pencils PC1063, PC1060
  • background:  B93

I used the second largest Playful Stitched Panels die to cut the colored image into a cute shaped rectangle.

Next I used a white gel pen to add white accents to the berries, stocking, and candy cane.  Then I used some clear glaze to give the berries some shiny dimension.

When the clear glaze was dry, I diluted some Splatter White Opaque Watercolor with water and used a paint brush to add splatters for the snow.

I let the splatters dry and then I glued the Sweet Twist image to a 5" x 3-¾" white cardstock panel.  I added foam adhesive to the back to adhere it to my A2 card base.

The sentiment I used is one of three in the Sweet Twist stamp set.  After I stamped it with black pigment ink, I used my paper trimmer to cut it into a strip.  I added thin foam adhesive to the back of the sentiment to adhere it to the card.

These House Mouse sets make sweet cards for so many occasions, and they are easy to color too!  Thanks so much for stopping by!  I hope you have a wonderful day!

Thank you for using my affiliate links to shop (never any additional cost to you)!
Friday, July 3, 2026

Sending A Lot Of Merry Your Way -- Spellbinders

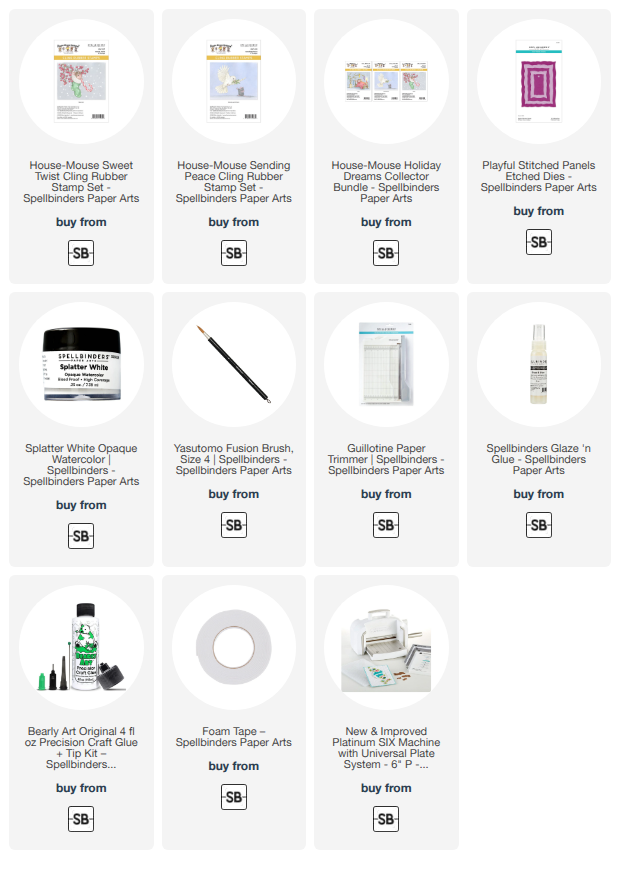
Hi friends!  For this month's Spellbinders Club Kits, we are having a bit of "Christmas in July" fun!  I've used three of the amazing kits to make this card here.  The star of this card are these adorable penguins from the Small Die Of The Month Club Kit, Snow Much Fun.  Read on for more details!

These Club Kits will be open for new subscribers on July 6.  You can preview each Club Kit until then.  But, if you are a current subscriber, you can add one or cancel one now!

First I began by die cutting colored and white glitter cardstocks (colors are in the list below) with the dies in the Small Die, Snow Much Fun.  There are two dies to cut out hills.  I made three hills--one from white glitter cardstock and two from white cardstock.  I glued the back hill to the card and used thin foam adhesive for the other two.

These were super easy to put together!  After I adhered the layers with glue I set them aside to work on the other card elements.

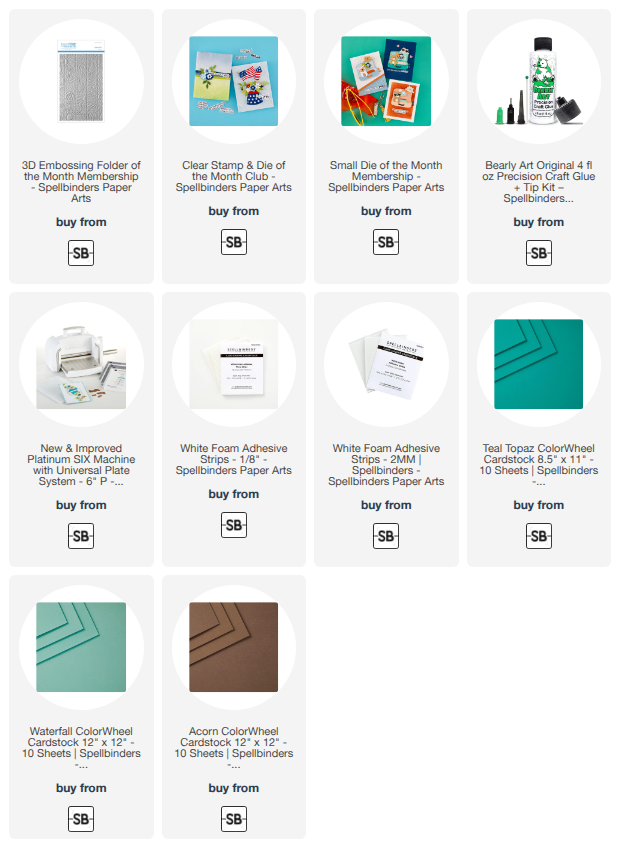
The embossed background layer on my A2 card was made with the Festive Greetings 3D embossing folder.  This 3D folder for July is just so very versatile for all of our Christmas cards!  I'd love to emboss gold or silver metallic cardstock to make a beautiful and elegant card!

The sentiments are from July's Clear Stamp + Dies Club Kit.  There are 13 sentiments and 3 snowflake stamps in the Cue The Merry stamp set.  Of course, each stamp has a coordinating die to cut it out.

I added a bit more sparkle with diluted shimmer watercolor and a paint brush.  Then I used some Nuvo glitter accents just along the top of the white cardstock hills.

Be sure to check out all that the Club Kits from Spellbinders has to offer.  What I love is that you can cancel at any time.  Scroll to the bottom of this page to read all of the FAQs, which should answer any questions you have.

Thanks so much for stopping by!  I hope you have a great day!

Thank you so much for using my affiliate links to shop (never any additional cost to you)!

Friday, June 26, 2026

Sending Sunshine Just For You -- Spellbinders

Hi, friends!  Today I'm sharing this card that features Spellbinders' beautiful Tassel Flowers and Ladybugs die set.  This is another gorgeous die set in a line designed by Susan Tierney-Cockburn for Spellbinders.

I die cut the yellow and green cardstock with the dies in the Tassel Flowers and Ladybugs die set.  Each of the larger flower layer dies has a number imprinted on it so you will know how many times to die cut that layer.

I added some shading to the die cuts with coordinating green and yellow inks.  Then I watched the instructional YouTube video for assembling this beautiful flower.  These are way easier than you might think!

I die cut the cute little ladybug in the Tassel Flower die set from white cardstock.  I colored it with a red Copic and a black pen.  Then I shaped it with a stylus.

I used my floral shaping tools to shape each layer and then glued all of the pieces together.

Next I embossed white cardstock with the Nature's Botanical Wreath 3D embossing folder (sold out at Spellbinders but available at the link provided and the one below).  I trimmed it to 3-¾" x 5", added foam tape to the back, and adhered it to an A2 card base.

To adhere the Tassel Flower to the card, I used glue and a few small foam squares (behind two of the flowers to prop them up).

The sentiment is one from the La Dolce Vita Sentiments set (currently at clearance price!). I had already pressed it from a previous crafting session and it was left over.  All I needed to do was add a foam strip to the back to adhere it to the card.

These dimensional flower dies are so gorgeous.  If you worry about mailed them, I just save these special cards for hand delivery.  Thanks so very much for stopping by!

I appreciate those of you that use my affiliate links to shop (never any additional cost to you)!

Sunday, June 7, 2026

Hula-ing Over To Say Hello. -- Spellbinders

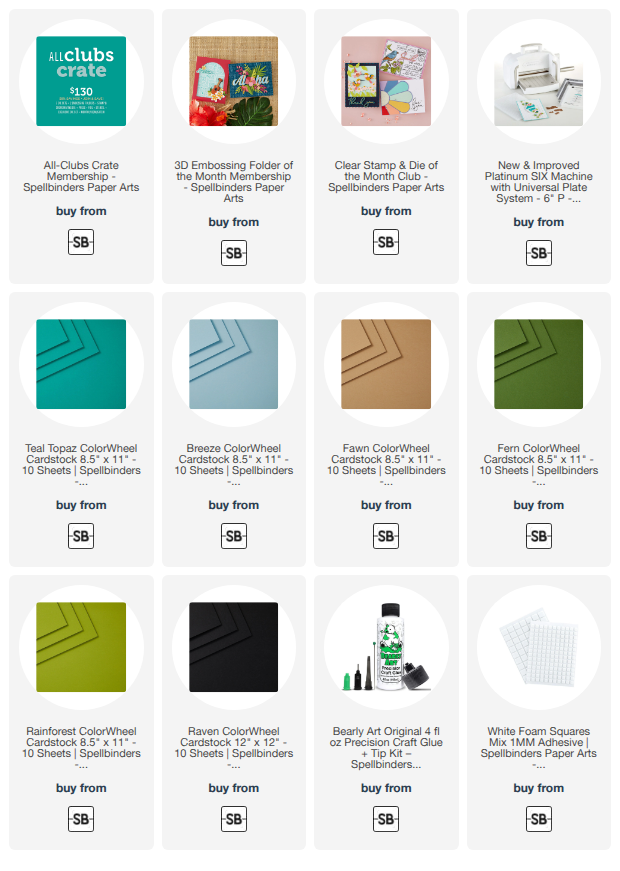
I'm back today with another card, this time featuring three of Spellbinders June Club Kits!  This card features an exclusive die set, Aloha Hula, that's only available with the subscription to the All-Clubs Crate Membership!  This membership has an approximate $315 value.  From the Spellbinders' website:

All-Clubs Crate Members will now receive:

    • 15% off select Spellbinders products, everyday  
    • 1 (one) Free Shipping Coupon to use every month. 
    • Glimmer & BetterPress have been combined into one Press & Foil Plate, and you'll still receive a roll of foil (or similarly valued complementary product)
    • Additional Crate Exclusive die or Press & Foil Plate that will only available during the monthly club window. 
    • 10 - 8.5 x 11 sheets of ColorWheel Cardstock that coordinates

Now, on to my card details!

The blue sky background is created with Breeze cardstock embossed with the awesome June 3D Embossing Folder, Island Style.  The tropical look of this fabulous embossing folder will be good for lots of summer/vacation type cards!  Next I hand cut the grassy layer from Rainforest cardstock and glued it to the embossed layer.

I cut various colored cardstocks with the dies from the Aloha Hula set (All-Clubs Exclusive).  I didn't even add any shading at all! (Not often that happens! Haha!). I did color the torch flame with my Copic markers though.  (The available cardstocks I used are in the list below.)

I love the Fawn cardstock color to give this hula dancer the perfect tan!  Oh, another spot of Copic marker is on the flower centers of the leis around her neck and waist.

The sentiment is another one included in the June Clear Stamp + Die set, This Way To Rainbows.  After I stamped it in black ink, I cut it out with the coordinating die.

This Aloha Hula girl is so cute and it would be super fun to make this an interactive type card by putting her grass skirt on a swinging element!

Thanks so much for stopping by today!  I hope you have lots of crafty time planned!

Thank you for using my affiliate links to shop (never any additional cost to you)!

Saturday, June 6, 2026

Sending You A Splash Of Happy

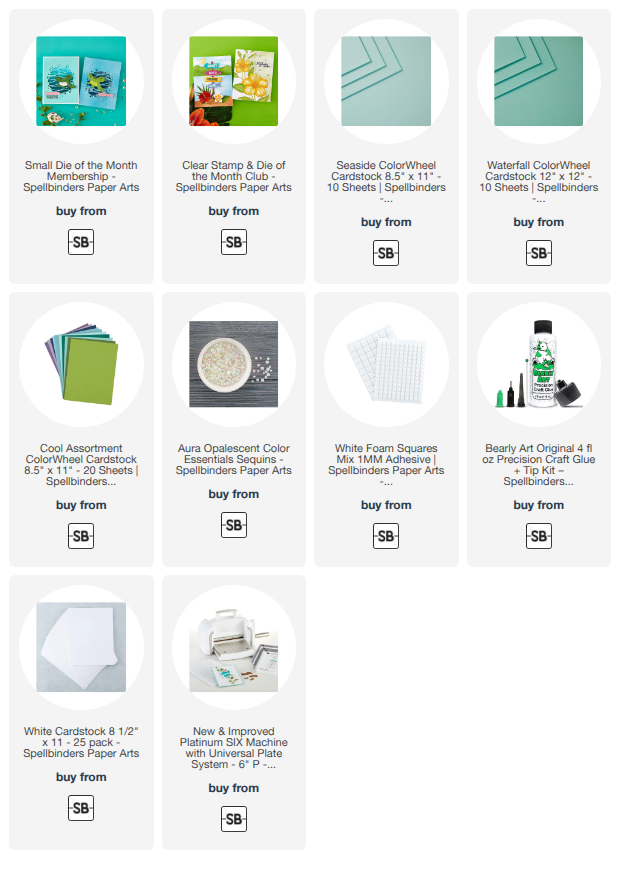
Today is the day that the June Club Kits by Spellbinders is open for sign ups!  My card to day features the adorable Small Die of the Month, Mahalo Sea Turtle.  The sentiment is one from the Clear Stamp + Die called This Way To Rainbows!

This card was so fun and easy to make!  I die cut the turtle from the Mahalo Sea Turtle set from white cardstock and colored it with my Copic markers.

I had thought about making a shaker card, but I wanted to get this card finished before I left on a short trip.  So I used two colored cardstocks, Seaside and Waterfall, for this card.

To give the card a similar look to a shaker card, I glued iridescent sequins to the card to imitate bubbles.

The This Way To Rainbows (Clear Stamp + Die) has 17 sentiments with included dies in the set!  There is also a pole sign with different shaped sign dies and a small die for a mound of sand included.  Click the link to see the set.

I stamped the sentiment in black ink, die cut it, and popped it up with foam squares.

The This Way To Rainbows stamp set can be used with all of the Club Kits and with lots of products you already have!  I love the adorable turtle in the Small Die Club Kit too!

Thanks for stopping by today!  I hope you have a great weekend with lots of crafting time!

Thank you so much for using my affiliate links to shop (never any additional cost to you)!

Sunday, May 10, 2026

Thanks For Being You -- Everyday City Holiday Collection by Yana Smakula For Spellbinders

Hello crafty friends!  Happy Sunday, and if you're a mom, happy Mother's Day!!  And happy release day for this new collection of add-ons for the City Holiday Collection die sets.  This collection is the Everyday City Holiday collection and was designed by the amazing Yana Smakula and these new sets give the adorable house all of the springtime feels!

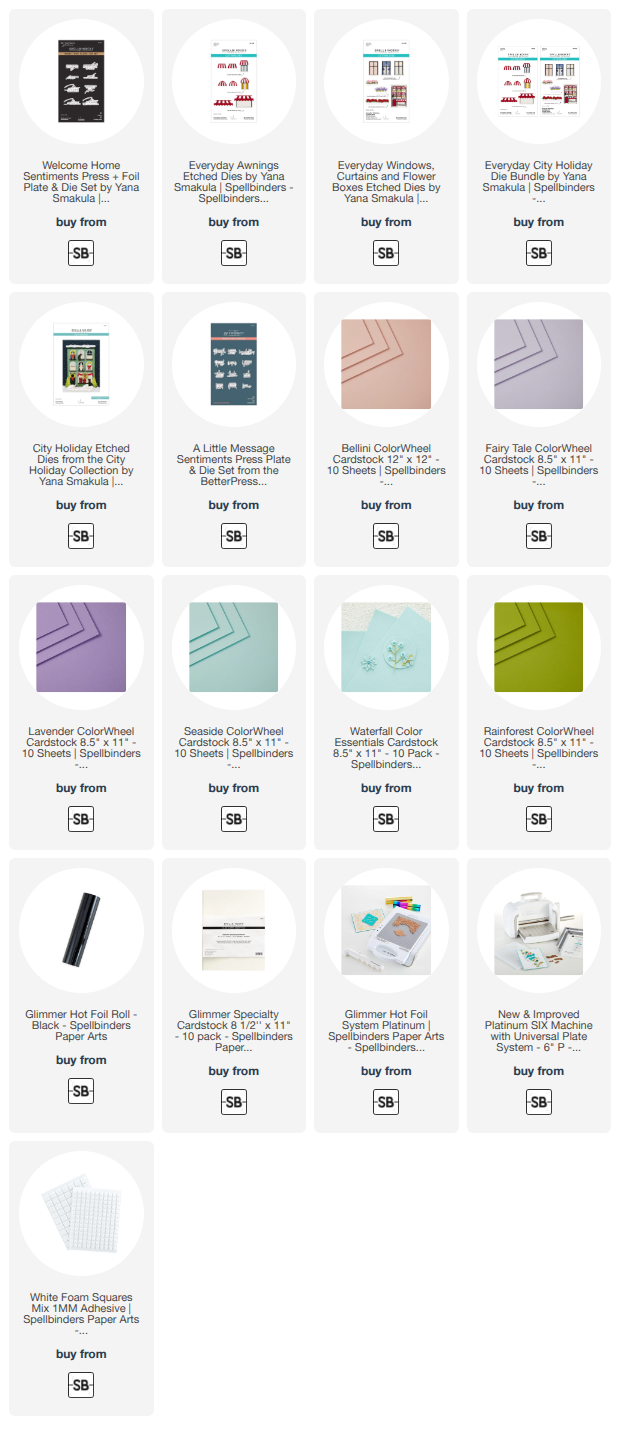
I die cut colored and white cardstocks using the dies in the City Holiday, Everyday Awnings, and Everyday Windows, Curtains and Flower Boxes set.  These two add-on sets are also available in a bundle with savings.   For once, and I do not remember the last time, I did not add any type of shading with ink or markers!!!  Haha!  All of the colors of available cardstock I used are in the list below.

I wanted to keep this sweet card on a more pastel side, and finally, I think I succeeded!  I got my bright color in by using a pretty bright blue cardstock for the layer behind the City Holiday piece.

There is a coordinating Welcome Home Sentiments Press + Foil Plates & Die Set.  I don't have this set, but it's definitely in my wish list!  I found a sentiment that I loved for this card in the A Little Message Sentiments Press Plates & Die Set.  This set also foils beautifully!

I used Black Glimmer Foil and Glimmer Specialty Cardstock with my Glimmer System to create this sentiment.  I love how this gives the appearance of a stamped sentiment, but it is just so crisp and neat!  I used a few foam squares to pop it up on the card.

This set is just so fun and makes a gorgeous holiday card as well!  Thanks for stopping by today.  I hope it's a great day for you!

Thank you for using my affiliate links to shop (never any additional cost to you)!
Thursday, May 7, 2026

Hope Your Summer Starts Off Right

Hello friends!  The Spellbinders May Club Kits are now open for new subscribers!!  This month's Club Kits are absolutely fun and perfect for the upcoming summer months of sun, fun, and travel!

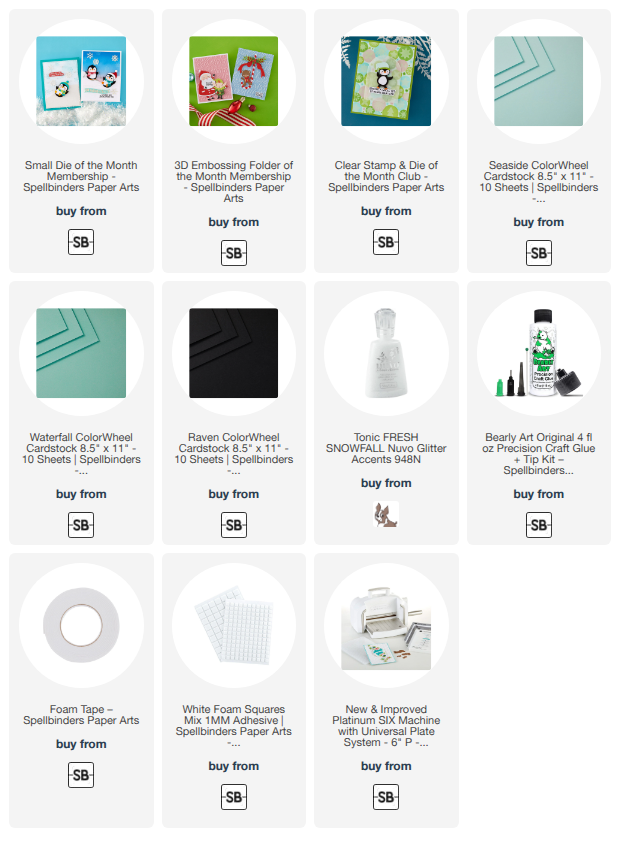
My card features three of the May Club Kits:  Radiant Day (3D Embossing Folder), Ready To Roll (Small Die Club), and Burst Of Summer (Clear Stamp + Dies).

I love this little pup in the suitcase!  Our sweet Baxter, a Maltese, ALWAYS knows when I/we are going on a trip!  I feel certain that, if he could, he'd be right inside my suitcase!!!

This awesome background is white cardstock embossed with the May 3D Embossing Folder called Radiant Day.  I used glue to adhere it to an A2 card base.

Next I die cut the Ready To Roll (May's Small Die set) from white cardstock and a few different colored cardstocks.  On a few of the pieces, I used some Copic markers to add just a bit of shading.

After I glued the layers together, I added foam tape to the back of the piece to pop it up on the card front.

There are 14 sentiments in the Burst Of Summer, May's Clear Stamp + Die set!!!  I stamped two of them with black pigment ink and cut them out with the coordinating dies.   There are dies for all 14 sentiments!!

I added foam strips to the back of the sentiments to adhere them to my card.

This card is so adorable!  Also, I forgot to mention that there is are die to add a cute cat to the scene!  I'm somewhat allergic to cats, so understandably, I'm not as inclined to use those.  Haha!

Be sure to check out the details of how easy a Club Kit membership is!  I have been thrilled to create with these three Club Kits each month!!

I am so grateful when you use my affiliate links to shop (never any additional cost to you)!

Saturday, April 25, 2026

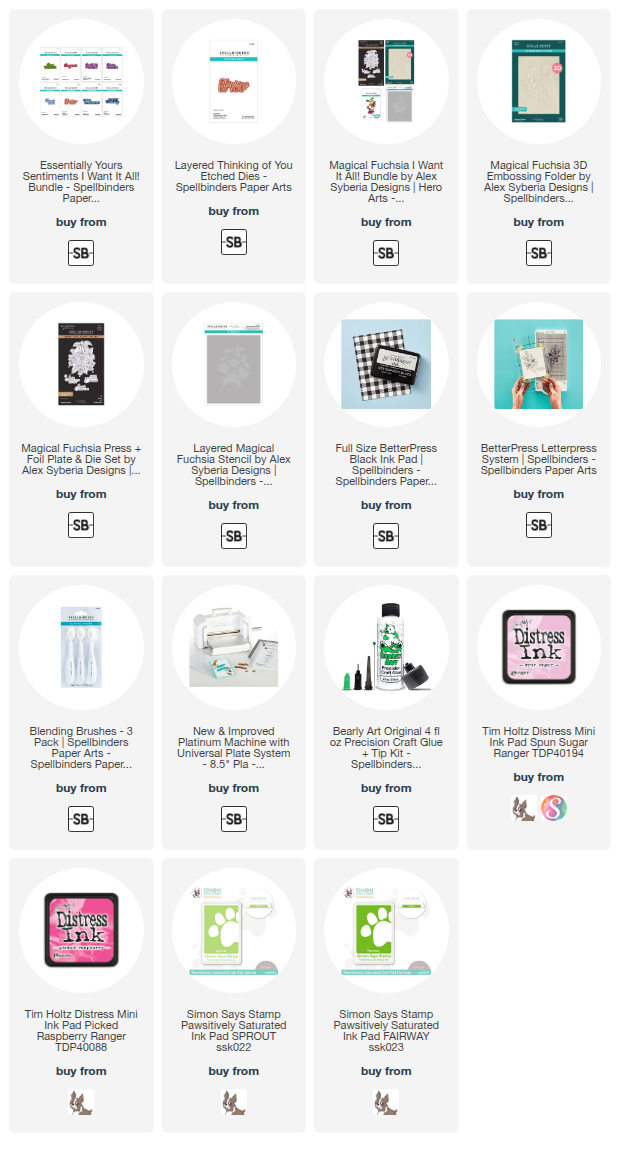
Thinking Of You Essentially Yours Sentiments Collection

Happy Saturday, crafty friends!  Today I'm sharing this card that features one of the eight sentiments in Spellbinders new Essentially Yours Sentiments Collection.

All of the Essentially Yours Sentiments die sets have two layers with one being a shadow layer.  I inked some scrap paper with Picked Raspberry Distress ink and cut the shadow layer of the Thinking Of You sentiment.  I die cut three of the top layer from white cardstock and glued those all together.

The Magical Fuchsias Collection by Alex Syberia makes a beautiful complimentary focal point for this sentiment.

I embossed the white panel with the Magical Fuchsia 3D embossing folder twice onto the edges of both sides of the cardstock.

The main image is made by pressing the Magical Fuchsia Press + Foil plate with BetterPress black ink onto white cardstock with my BetterPress Letterpress System.

I used the Magical Fuchsia stencils to ink on pink and green inks using blending brushes.  The inks I used are in the list below.  I love that there is a coordinating die in the Magical Fuchsia Press plate set!

I trimmed the embossed panel to 5-¼" x 4" and glued it to a coordinating pink panel and then to my A2 card base.  I added some foam tape to the stenciled fuchsia to adhere it to the card.

Be sure to check out all of the Essentially Yours Sentiments collection!  This is a great basic set to have on hand for all of your card making!

Thank you for stopping by today!  I hope you have a wonderful and crafty weekend!

Thanks so very much for using my affiliate links to shop (never any additional cost to you)!

Saturday, April 18, 2026

House Mouse Party Parade -- It's Time To Celebrate

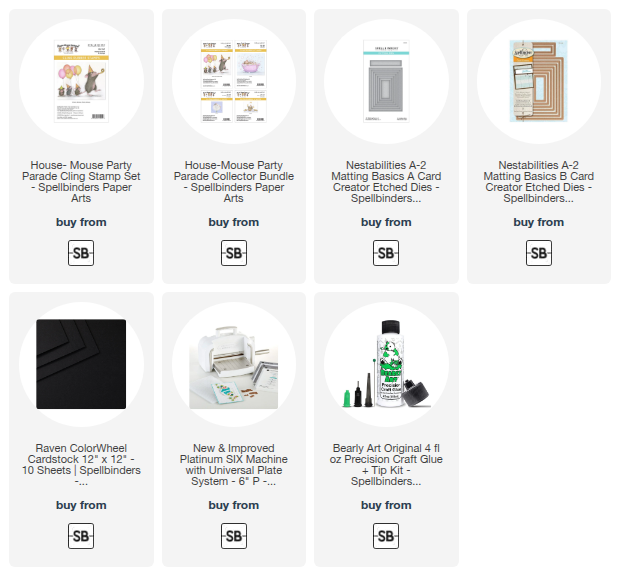
Happy Saturday, crafty friends!  So, I was cleaning up (finally!) my craft room and I found this sneaky little House Mouse Party Parade stamp set!!  Yep, buried!  I should have posted this last month, but here we are.  LOL!

These House Mouse sets are totally adorable and I do enjoy the simplicity of coloring the sweet mice.  I stamped the Party Parade image in a Copic safe black ink and colored it with my markers.

I used the A2 Matting Basics A and A2 Matting Basics B dies to trim the Party Parade panel, black cardstock, and white cardstock for the layers.  I glued the black panel to the back of the colored image and then added foam tape to the layered piece.

After I glued the die cut white panel to an A2 card base, I adhered the Party Parade image.

I chose one of the three sentiments in the Party Parade set and stamped it in black pigment ink.  I used the long narrow rectangle die in the A2 Matting Basics B to cut the sentiment in the strip.  Of course, this die is a good bit longer than the stamped sentiment.  I just shifted the die, held it in place with removable tape, and ran it through my die cutting machine again.

If you'd like to check out the other sets in this adorable collection, please click the link below.  Thank you for stopping by today!  I hope it's a great weekend for you!

Thank you for using my affiliate links to shop (never any additional cost to you)!

Friday, April 17, 2026

The Beautiful Magical Fuchsia Collection By Alex Syberia For Spellbinders

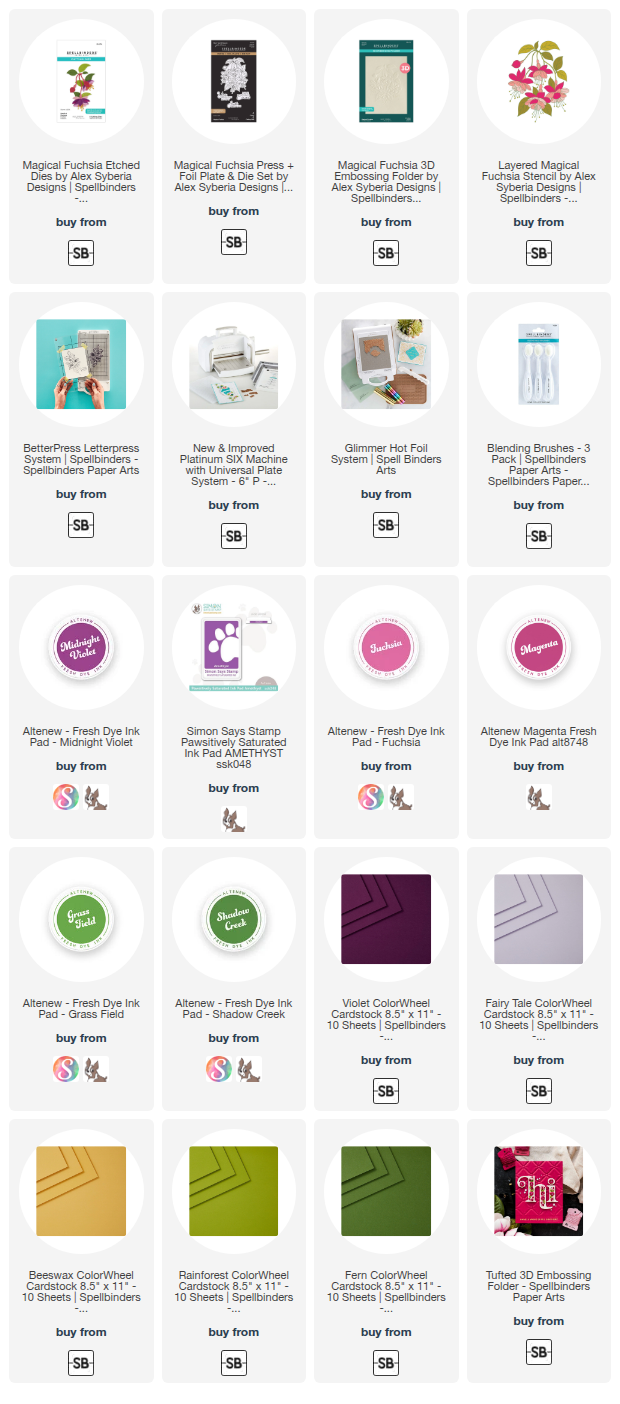
Hi, crafty friends!  Today I am happy to share two cards with you that I made featuring Spellbinders' gorgeous Magical Fuchsia Collection by Alex Syberia!  This collection has all of my favorites:  a 3D embossing folder, layered stencils, stand-alone die set, and a press + foil plate + die set!  Everything you need to make an assortment of gorgeous cards!!

For this first card I used the Layered Magical Fuchsia stencils and the Magical Fuchsia 3D Embossing Folder.

To begin, I first cut white cardstock with the outline die in the Magical Fuchsia Press + Foil + Die set.  This die not only cuts out the BetterPress image!  The cut shape also works with the Layered Magical Fuchsia stencils and can then be placed in the Magical Fuchsia 3D embossing folder!!

So I used the stencils to add various inks with blending brushes through each layer.  Then I placed the colored piece into the 3D Embossing Folder and secured it with small pieces of removable tape.  I ran it through my Platinum 6 die cutting machine.

This Fuchsia piece is so beautiful with all of the dimension added from the embossing folder!  I wish photos showed that better.

I wanted a bold dramatic background that wasn't too busy.  So I embossed Violet cardstock with the Tufted 3D embossing folder, one of my favorites.

The sentiment is one of three included with the Magical Fuchsia Press and Foil set.  Both elements are popped up on the card front with foam adhesive.

------------------------------------------------------------------------------

This second card features the Magical Fuchsia die set along with a background pressed from the Magical Fuchsia Press and Foil plate.

I die cut various ColorWheel cardstocks (in the list below) with the dies in the Magical Fuchsia die set.  I didn't worry about making these flowers realistic, but just arranged the layers how I liked.  A bit of an abstract look, maybe?

I do love a white background to make a focal point pop!  I really love this subtle interest I added by simply using my BetterPress Letter Press system to press the Magical Fuchsia press plate twice into white cardstock.  In real life, this adds not only beautiful visual details, but also tactile interest!  (I really hope to make a card using this with foil and my Glimmer Hot Foil System!)

Be sure to check out the entire Magical Fuchsia Collection!  Each item is also available to purchase separately at the Spellbinders' website.

I am thankful for you all that stop by for a look.  I hope your Friday, and weekend, are filled with rest, relaxation, and lots of crafty time!!

Thank you so much for using my affiliate links to shop (never any additional cost to you)!
Saturday, April 11, 2026

Pansy Birthday Cheer Card

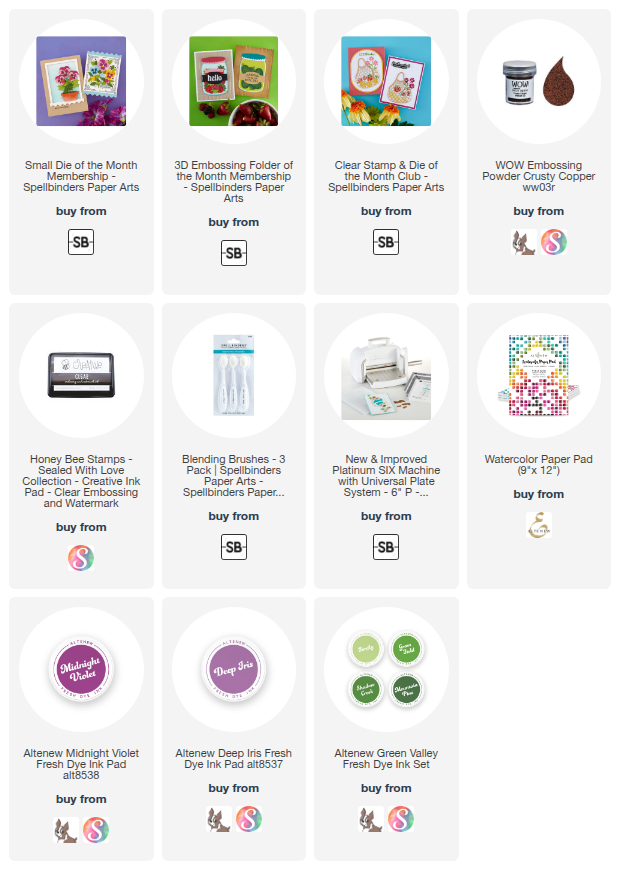
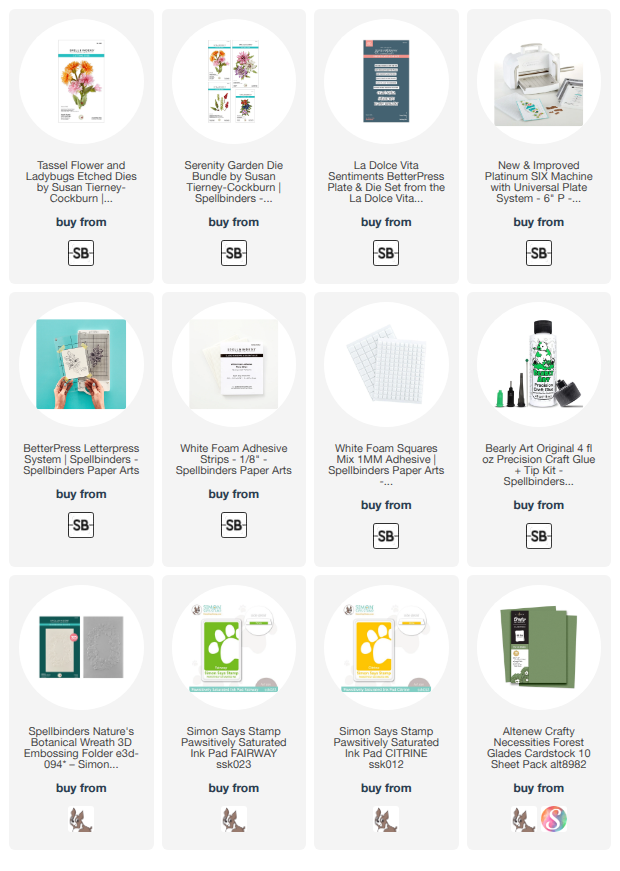
Hello friends!  I'm sharing my card today that features a few of Spellbinders' April Club Kits!  The main feature of the card is the Small Die of the Month, Pansy Seed Co. die set.

I cut white cardstock with all of the dies, (except the flower pot and border) in the Pansy Seed Co. Small Die of The Month for April.  I die cut watercolor paper with the remaining two dies

I did a fun technique for create an aged looking flower pot for the pansies.  I ink smooshed the watercolor paper into diluted Peeled Paint and Black Soot Distress Inks.  I dried and repeated until I was happy with the look.  I die cut this with the flower pot and border dies.

Then I used my finger to tap clear embossing ink here and there onto the pot and border.  Next I sprinkled on WOW! Crusty Copper embossing powder.  I used a dry paint brush to remove some of the powder and soften the edges.  The trick to the aged look is to heat the embossing powder longer until it loses its shine!  Such a cool look!

I used blender brushes and green, purple and yellow inks to color the leaves and petals of the pansies.  Then I glued the flowers together.

I embossed white cardstock with the Market Crates 3D embossing folder (April's Club Kit).  I glued it to an A2 card base.  I used glue and foam adhesive to place the pieces onto the card front.

The sentiment is from the Fresh-Packed Clear Stamp + Die for April.  The sentiment dies are included and I used one to cut out the sentiment.

The Pansy Seed Co. is the sweetest little die set!  We grow pansies here in the fall and they last through our winters, so I will look forward to using this set again for autumn cards!

Thanks so much for stopping by today!  Have a fabulous and crafty Saturday!

Thank you for using my affiliate links to shop (never any additional cost to you)!

Thursday, April 9, 2026

A Tote Full Of Thanks

Have you seen the Spellbinders' Club Kits for April?  I had so much fun creating this card with the Clear Stamp & Die, Fresh-Packed, and the 3D Embossing Folder of The Month, Market Crates.

The Fresh-Packed Clear Stamp + Die of The Month includes the stamps for the fruit and flowers with eight sentiment stamps.  In the included die set you get dies for all of the sentiments, plus a die for the cute market tote!

I die cut the Fresh-Packed tote three times from white cardstock.  I inked up one layer with a blending brush and then glued all three layers together.

To get the placement correct for the fruits and flowers, I very lightly traced around the die cut tote with a pencil.  I used various inks from my stash to stamp the fruits and flowers.

I embossed Sicily colored cardstock with the Market Crates 3D embossing folder and glued it to an A2 card base.  I trimmed the stamped panel to 3-½" x 4-¾" and glued it to the card front.

The sentiment is one of the eight in the Fresh-Packed stamp set and cut out with the included coordinating die.

If you have never checked out Spellbinders Monthly Club Kits, I would encourage you to do so.  There are several options to choose from to fit whatever products you like to craft with!  The sign-up window for the April Club Kits goes through April 27.

Thanks so much for stopping by!  Have a wonderful day!

Thank you very much for using my affiliate links to shop (never any additional cost to you)!