Showing posts with label 3D embossing folders. Show all posts

Wednesday, September 16, 2026

Warm Wishes Autumn Card With Stencils and Embossing -- Honey Bee Stamps

Hello crafty friends!  Does it feel like fall where you are?  Where I am it's still hot as blazes so I'm channeling all the autumn feels inside my craft room!  I filled this card featuring Honey Bee Stamps  Gather & Give Thanks stamp set, coordinating dies, and stencil set with warm autumn colors and gold touches.  Keep reading for all of the fun details!

You can also purchase a bundle of the Gather & Give Thanks stamp set, dies, and stencil set or the Gather & Give Thanks stamp set and dies.

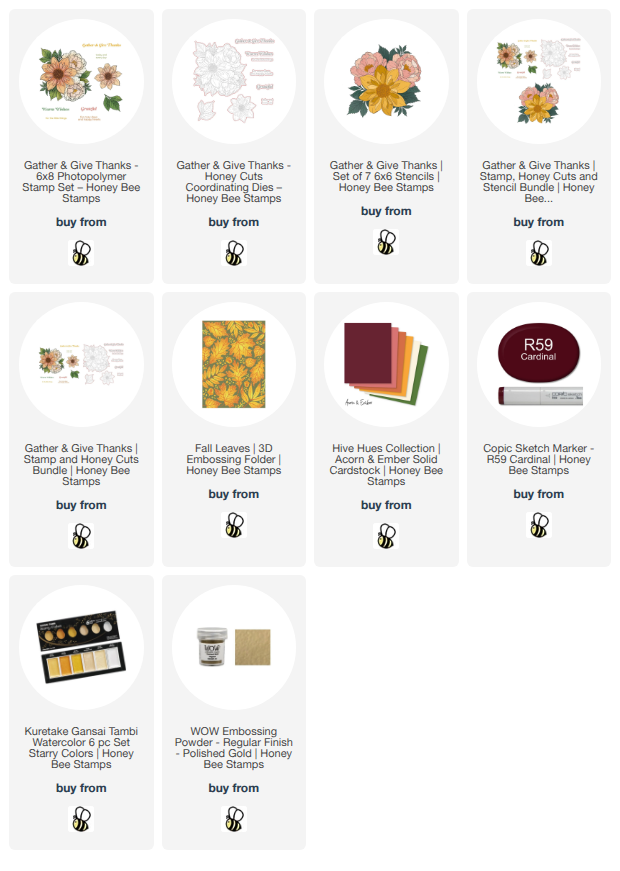
If you've seen my stenciled cards before, you may remember that I like to stencil first, then stamp the image.  I began with white cardstock and the first of the seven stencils in the Gather & Give Thanks stencil set.  I used ink blending brushes to add 2-3 shades of purple, yellow, and green inks I have in my stash.

Be sure to use a stamp positioning tool for this next step.  I placed the stenciled Gather & Give Thanks piece into my MISTI.  Then I carefully positioned the Gather & Give Thanks stamp over the stenciling, then picked it up with the MISTI door.  Next I placed a piece of acetate over the image, then inked up the stamp with black ink and stamped it onto the acetate.  If the stamped image lines up with the stenciling, remove the acetate and stamp it again over the floral image.

Next I cut it out with the coordinating Gather & Give Thanks die.

For the A2 card base layer, I chose a piece of beautiful merlot cardstock from the Hive Hues Acorn & Ember cardstock pack.  I embossed an 4-¼" x 5-½" piece with the Fall Leaves 3D embossing folder.

I knew I wanted to color the white edges of the Gather & Give Thanks floral to match the merlot cardstock.  I was super happy to discover that the R59 Copic marker was almost a perfect match!!

I added some beautiful gold metallic watercolor splatters to the Fall Leaves embossed panel and just a few splatters to the Gather & Give Thanks floral.

Since I did not want a white sentiment with these rich autumn colors, I stamped two of the sentiments that are included in the Gather & Give Thanks stamp set onto merlot cardstock with clear embossing ink.  (Be sure to treat the cardstock with your anti-static tool first.)  I added polished gold embossing powder and used my heat tool to set the powder.  I cut the sentiments out with the coordinating dies.

To finish up, I added black foam tape adhesive to the back of the floral image and the sentiments to adhere them to the card base.

I love the rich colors and gold splatters of this card with the Gather & Give Thanks sets!  I hope you've been inspired by this!

Thank you so much for stopping by!  Also, be sure to check out my reel on Instagram to see some of my steps.  I hope your day is a good one with fun crafty time!

I so appreciate that you use my affiliate links to shop! (Never any additional cost to you.)  It helps me with the expenses of posting my creative content, thank you.
Friday, July 3, 2026

Sending A Lot Of Merry Your Way -- Spellbinders

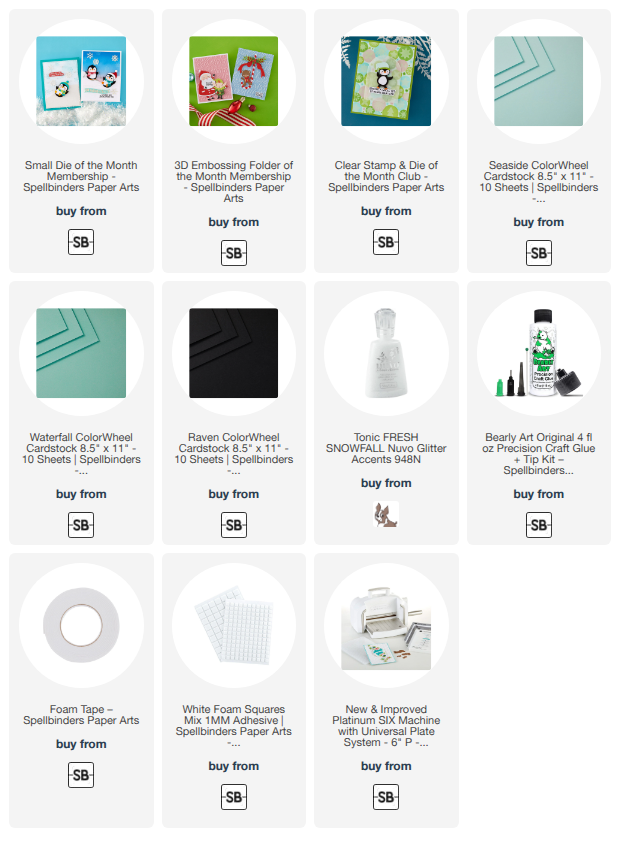
Hi friends!  For this month's Spellbinders Club Kits, we are having a bit of "Christmas in July" fun!  I've used three of the amazing kits to make this card here.  The star of this card are these adorable penguins from the Small Die Of The Month Club Kit, Snow Much Fun.  Read on for more details!
These Club Kits will be open for new subscribers on July 6.  You can preview each Club Kit until then.  But, if you are a current subscriber, you can add one or cancel one now!

First I began by die cutting colored and white glitter cardstocks (colors are in the list below) with the dies in the Small Die, Snow Much Fun.  There are two dies to cut out hills.  I made three hills--one from white glitter cardstock and two from white cardstock.  I glued the back hill to the card and used thin foam adhesive for the other two.

These were super easy to put together!  After I adhered the layers with glue I set them aside to work on the other card elements.

The embossed background layer on my A2 card was made with the Festive Greetings 3D embossing folder.  This 3D folder for July is just so very versatile for all of our Christmas cards!  I'd love to emboss gold or silver metallic cardstock to make a beautiful and elegant card!

The sentiments are from July's Clear Stamp + Dies Club Kit.  There are 13 sentiments and 3 snowflake stamps in the Cue The Merry stamp set.  Of course, each stamp has a coordinating die to cut it out.

I added a bit more sparkle with diluted shimmer watercolor and a paint brush.  Then I used some Nuvo glitter accents just along the top of the white cardstock hills.

Be sure to check out all that the Club Kits from Spellbinders has to offer.  What I love is that you can cancel at any time.  Scroll to the bottom of this page to read all of the FAQs, which should answer any questions you have.

Thanks so much for stopping by!  I hope you have a great day!

Thank you so much for using my affiliate links to shop (never any additional cost to you)!

Thursday, May 7, 2026

Hope Your Summer Starts Off Right

Hello friends!  The Spellbinders May Club Kits are now open for new subscribers!!  This month's Club Kits are absolutely fun and perfect for the upcoming summer months of sun, fun, and travel!

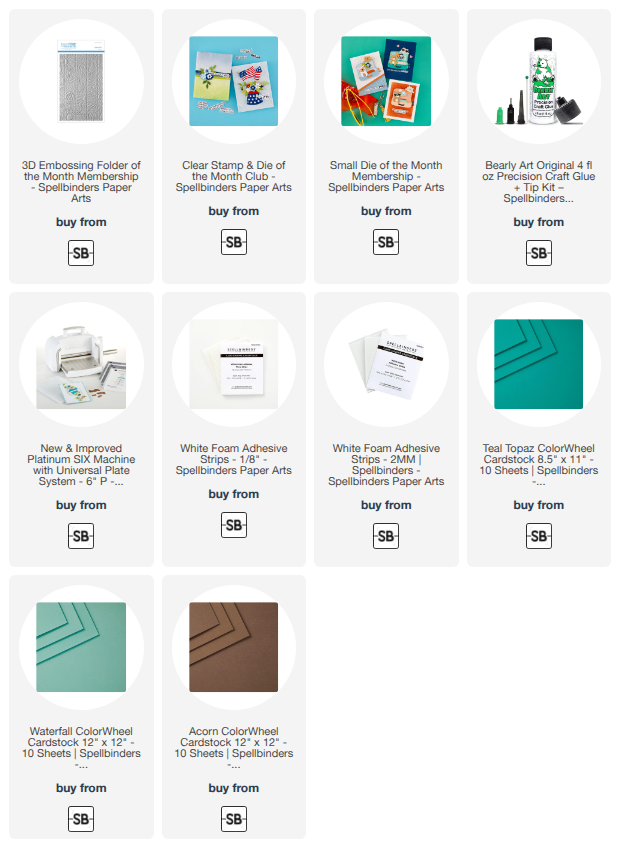
My card features three of the May Club Kits:  Radiant Day (3D Embossing Folder), Ready To Roll (Small Die Club), and Burst Of Summer (Clear Stamp + Dies).

I love this little pup in the suitcase!  Our sweet Baxter, a Maltese, ALWAYS knows when I/we are going on a trip!  I feel certain that, if he could, he'd be right inside my suitcase!!!

This awesome background is white cardstock embossed with the May 3D Embossing Folder called Radiant Day.  I used glue to adhere it to an A2 card base.

Next I die cut the Ready To Roll (May's Small Die set) from white cardstock and a few different colored cardstocks.  On a few of the pieces, I used some Copic markers to add just a bit of shading.

After I glued the layers together, I added foam tape to the back of the piece to pop it up on the card front.

There are 14 sentiments in the Burst Of Summer, May's Clear Stamp + Die set!!!  I stamped two of them with black pigment ink and cut them out with the coordinating dies.   There are dies for all 14 sentiments!!

I added foam strips to the back of the sentiments to adhere them to my card.

This card is so adorable!  Also, I forgot to mention that there is are die to add a cute cat to the scene!  I'm somewhat allergic to cats, so understandably, I'm not as inclined to use those.  Haha!

Be sure to check out the details of how easy a Club Kit membership is!  I have been thrilled to create with these three Club Kits each month!!

I am so grateful when you use my affiliate links to shop (never any additional cost to you)!

Friday, April 17, 2026

The Beautiful Magical Fuchsia Collection By Alex Syberia For Spellbinders

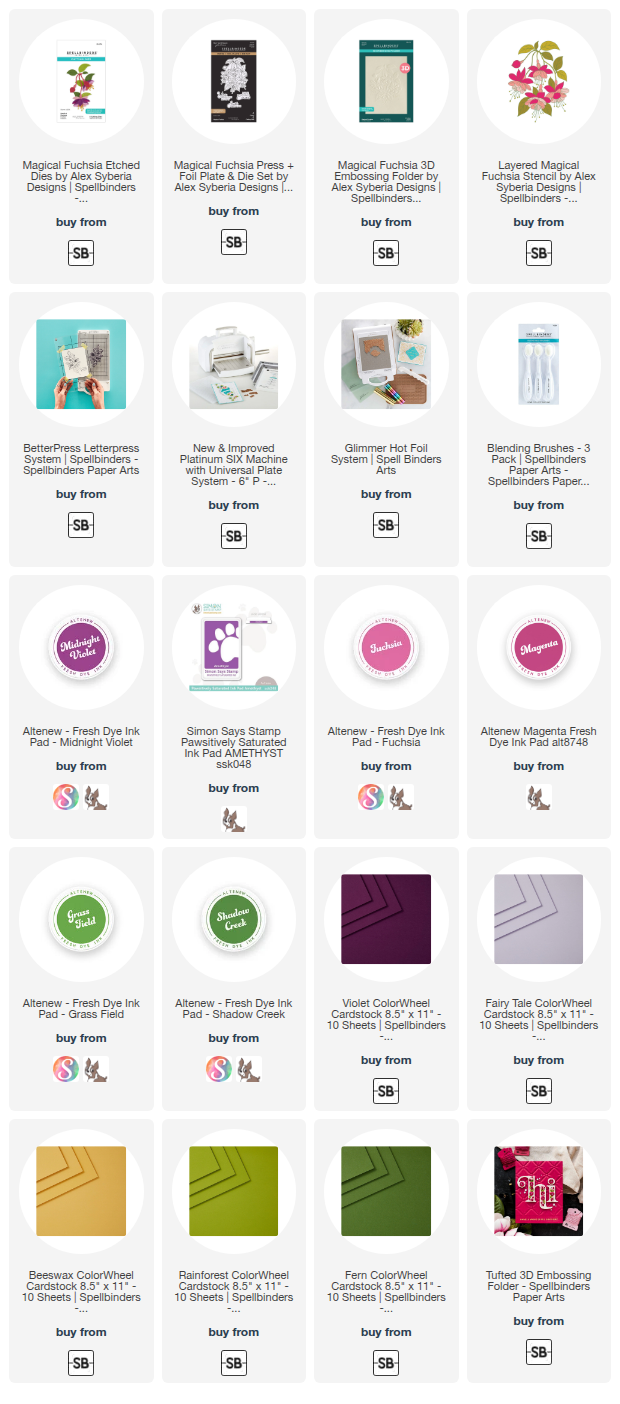
Hi, crafty friends!  Today I am happy to share two cards with you that I made featuring Spellbinders' gorgeous Magical Fuchsia Collection by Alex Syberia!  This collection has all of my favorites:  a 3D embossing folder, layered stencils, stand-alone die set, and a press + foil plate + die set!  Everything you need to make an assortment of gorgeous cards!!

For this first card I used the Layered Magical Fuchsia stencils and the Magical Fuchsia 3D Embossing Folder.

To begin, I first cut white cardstock with the outline die in the Magical Fuchsia Press + Foil + Die set.  This die not only cuts out the BetterPress image!  The cut shape also works with the Layered Magical Fuchsia stencils and can then be placed in the Magical Fuchsia 3D embossing folder!!

So I used the stencils to add various inks with blending brushes through each layer.  Then I placed the colored piece into the 3D Embossing Folder and secured it with small pieces of removable tape.  I ran it through my Platinum 6 die cutting machine.

This Fuchsia piece is so beautiful with all of the dimension added from the embossing folder!  I wish photos showed that better.

I wanted a bold dramatic background that wasn't too busy.  So I embossed Violet cardstock with the Tufted 3D embossing folder, one of my favorites.

The sentiment is one of three included with the Magical Fuchsia Press and Foil set.  Both elements are popped up on the card front with foam adhesive.

------------------------------------------------------------------------------

This second card features the Magical Fuchsia die set along with a background pressed from the Magical Fuchsia Press and Foil plate.

I die cut various ColorWheel cardstocks (in the list below) with the dies in the Magical Fuchsia die set.  I didn't worry about making these flowers realistic, but just arranged the layers how I liked.  A bit of an abstract look, maybe?

I do love a white background to make a focal point pop!  I really love this subtle interest I added by simply using my BetterPress Letter Press system to press the Magical Fuchsia press plate twice into white cardstock.  In real life, this adds not only beautiful visual details, but also tactile interest!  (I really hope to make a card using this with foil and my Glimmer Hot Foil System!)

Be sure to check out the entire Magical Fuchsia Collection!  Each item is also available to purchase separately at the Spellbinders' website.

I am thankful for you all that stop by for a look.  I hope your Friday, and weekend, are filled with rest, relaxation, and lots of crafty time!!

Thank you so much for using my affiliate links to shop (never any additional cost to you)!

Wednesday, April 1, 2026

Sending Easter Blessing

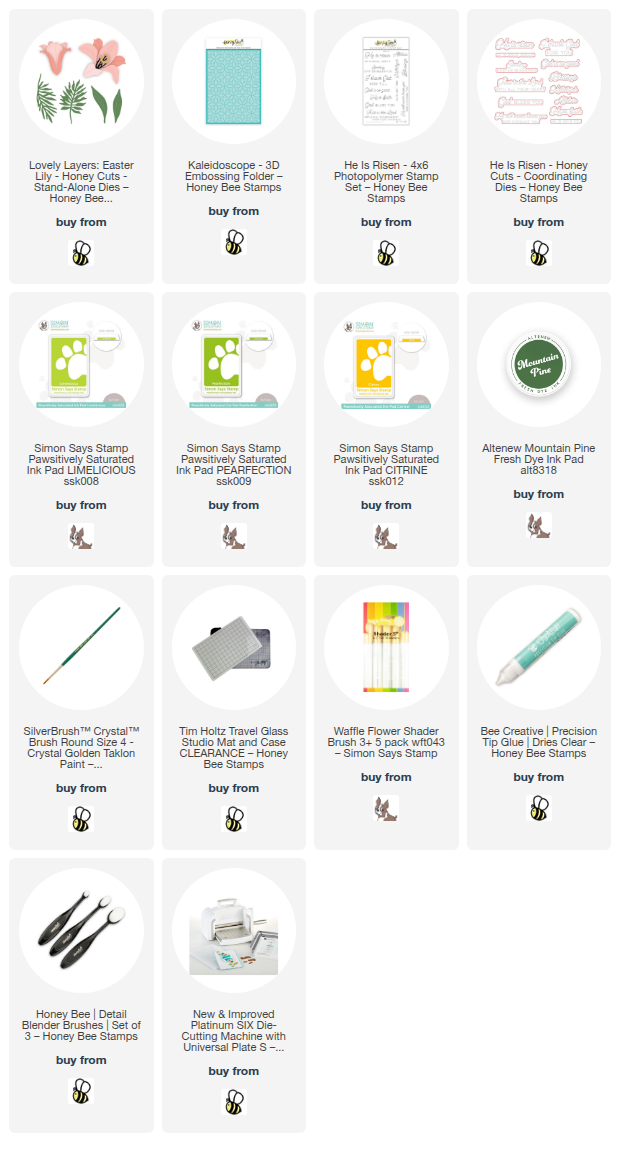
Hello crafty friends!  It's April, spring has sprung, and it's Easter weekend coming up!  All of that has inspired my card today that features Honey Bee Stamps' beautiful Lovely Layers: Easter Lily Honey Cuts!  This could easily be made into a springtime card for any occasion by changing out the sentiment!

First I worked on the A2 card base layer first.  I placed a piece of white cardstock into the Kaleidoscope 3D embossing folderand ran it through my die cutting machine.

Next I added yellow-green splatters to the panel.  I did this by smooshing my ink pad onto my craft mat and added a few drops of water.  Then I picked it up with a paint brush and splattered away!

I cut white cardstock with the dies from the Lovely Layers: Easter Lily set.  I repeated the die cutting for the lily so I can have two.

Next I picked two shades of yellow green inks and used a small ink blending brush to add some light green shading near the base of each layer of the lilies.  The flat tipped blender brushes (linked in the list below) really help to add ink in a narrow strip!  I used those inks plus a darker green ink to color the leaves and palm fronds.

The assembly is super easy for the Easter Lilies.  I used Bee Creative glue to adhere all of the layers.  I used glue and foam adhesive to adhere my Lily arrangement to the card.

The sentiment is from the He Is Risen stamp set and stamped with black pigment ink.  I cut it out with the coordinating die.

I totally love how Honey Bee's previously released products remain so timeless and I enjoy using them so much!

Thank you so much for stopping by today!  I hope your day is wonderful and that Easter is filled with many blessings for you!

Thanks so very much for using my affiliate links to shop (never any additional cost to you)!

Saturday, February 28, 2026

Make It, Bake It Sweet Card

Hello, friends!  After 14 hours of travel on Wednesday, I'm home and back to my card making!  I made this card today that features a few of the new products from Spellbinders Make It, Bake It collection.  Be sure to click the links in the supply list to see all of the products in this collection along with supplies I used.

First I used the dies from the new Magic Mixer die set.  I cut various colored cardstock and white cardstock with the dies.  I used a Copic marker to color the "dough" a light color for my chocolate chip cookie dough.

These are super easy to assemble with glue.  I added foam tape to the back of the bowl and mixer.

The embossed background layer is made by embossing white cardstock with the new Confection Companions 3D embossing folder.  I love the look of a crisp white embossed background!  I used more of the light teal cardstock (linked below) for the layer on the A2 card base.

The two-layer sentiment die is also in the Magic Mixer die set.  I die cut it from teal and gray card stock.  The letters are easy to glue to the base since it is only two pieces!

If you want to make a super sweet card that's also quick to make, give this one a try!   The single sentiment on the front makes it so versatile.

Thank you for stopping by today!  I hope you have a wonderful weekend!

Thank you for using my affiliate links to shop (never any additional cost to you)!

Wednesday, February 18, 2026

Have An Amazing Birthday

Hello crafty friends!  Today I'm sharing this sweet birthday card that features more of my favorite older sets from Honey Bee Stamps!  I used the Friendship Frame Stencil Set to create this window for the bear from the Heart Hugs die set.

First I created my card base and layer.  I embossed a 5" x 7" piece of white cardstock with the Eyelet Lace 3D embossing folder.  (I am so sorry, but I just discovered that this folder is retired.)

I have two folders that would be my next choices.  One is the versatile Rustic Brick Wall 3D embossing folder.  Another awesome choice would be the pretty Spring Medley 3D embossing folder.  Both of these are two of my favorites!

Next I used ink blending brushes to ink through the stencils of the Friendship Frame stencil set.  I used various shades of coral, pink, green, and yellow inks.

There is a coordinating Friendship Frame stamp set that includes a stamp for the stenciled image.  I chose not to use that stamp to have more of a no-line coloring look.  I used the coordinating Friendship Frame dies to cut out the stenciled piece.

Next I die cut the small bear in the Heart Hugs die set from a Kraft colored cardstock.  I used a blending brush and Gathered Twigs Distress Ink to add shading.  The balloons, also in the Heart Hugs set, are die cut from white cardstock and ink blended with some of the same inks used on the stenciled Heart Frame.

I glued the bear to the back of the stenciled frame, then added foam tape to the back of the frame to adhere it to the card.  I used glue or foam tape for the balloons, depending upon where there was room for the foam.

I wanted this to be a birthday card, so I used a sentiment from the Inside: Birthday Sentiments stamp set.  After I stamped it in black pigment ink, I die cut it with the coordinating die.  Foam tape strips adhere it to the card.

Be sure to try out this card with your favorite embossing folder!  It will be so adorable!

I see you back here next week with a card featuring Honey Bee stamps AWESOME Foundry & Field new release!!  As always, I really appreciate you stopping by and checking out my card!  Have a wonderful day!

Thanks so very much for using my affiliate links to shop (never any additional cost to you)!

Friday, October 24, 2025

Happy Holidays With Classic Mouse Dies

Hi friends!  Today I am sharing this adorable card featuring Spellbinders 3D Embossing Folder of October.  This embossing folder made a fabulous background for the SO cute classic mice!  These sets are part of Spellbinders' fabulous Say Cheese Classic Mouse Collection! 

I totally love the Brick By Brick 3D embossing folder of the month!  It is such a versatile folder to use for so many backgrounds!  I embossed white cardstock and glued the panel to my A2 card base.

Then I pulled out a few of the sets in the Classic Mouse Collections.  These all coordinate perfectly together!  The sets I used are:

I pulled out the dies for the pieces I wanted on my card and used them to cut cardstock in black, two greens, red, and red glitter colors.

I used glue to adhere the layers of each piece together.  Then I used my new, and now favorite, white gel pen to add dots and stripes to the scarf and skirt.

This Brick By Brick embossing folder is SO dimensional and adds so much to cards!  The Club Kits are so easy to join, and cancel, if needed!  Be sure to check them out HERE.

Thanks for stopping by today to see my card that is perfect for any classic mouse fan!  Have a great day!

Thank you for using my affiliate links to shop (never any additional cost to you)!

Saturday, May 10, 2025

May The Wind Always Be At Your Back...

 Happy Saturday!!  Today I'm sharing my card that features several of the products from Spellbinders beautiful Field Notes Collection.

The Field Notes 3D embossing folder makes such a gorgeous background in white.  I used my old corner rounder to round all four corners for a bit of a different look!  This embossing folder will be used many times for my cards, I predict!

Next I die cut the Field Notes Twine from light brown cardstock.  I folded the tabs around to the back of the embossed panel and used glue to secure.  Then I glue the piece to a rounded-corner A2 card base.

Then I used some pretty teal, yellow, green, and purple cardstocks (available colors in the list below) to die cut all of the pieces from the Field Notes Tools and the Field Notes Wildflowers die set.

There is a die that resembles washi tape in the Field Notes Wildflowers set.  I put some black and white polka dot washi tape from my stash onto a piece of white cardstock.  Then I die cut two washi tapes from this.  So fun!

I die cut a piece of vellum for the magnifying glass center and silver cardstock for its handle.  I die cut more silver cardstock with the scissors die.

After I glued the various layers of all of the die cuts together, I tucked them umber the twine die cut and adhered with glue.

The sentiment is from the Hummingbird Sentiments stamp set.  After I stamped it with black ink, I trimmed the piece and adhered it with foam tape.  Then I adhered the washi tape die cuts with small pieces of foam tape.

I finished the card up by adding the cutest Butterfly Mini 3D wax seal to the center of the twine die cut bow.  Two wax beads from the Teal Mix was just the right amount for this mini seal.

I love how this turned out and hope you do too!  I think there are so many ways to use these Field Notes Collection sets for many different occasions.  Have a wonderful weekend!!

Thank you for using my affiliate links to shop (never any additional cost to you)!

Thursday, October 17, 2024

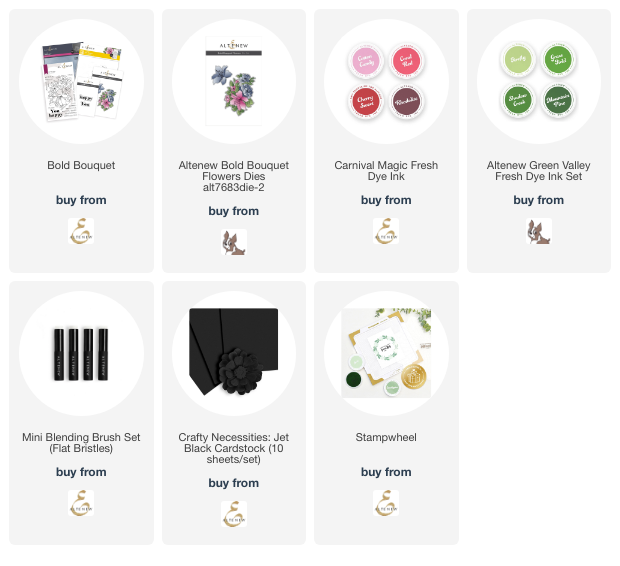
Bold Bouquet Birthday Card

Y'all, I am super thrilled to be a guest designer over on Altenew's blog!  I'll show you a photo, but you will need to join me on their blog for more photos and all of the fabulous details.

Also, if you'd like to go ahead and check out the products I used, I linked them below.

Be sure to leave a comment over on Altenew's blog so I'll know you stopped by!  I sure appreciate you!

Here's a list of the products for my card (thank you for shopping with my affiliate links-never any additional cost to you)!

Wednesday, May 1, 2024

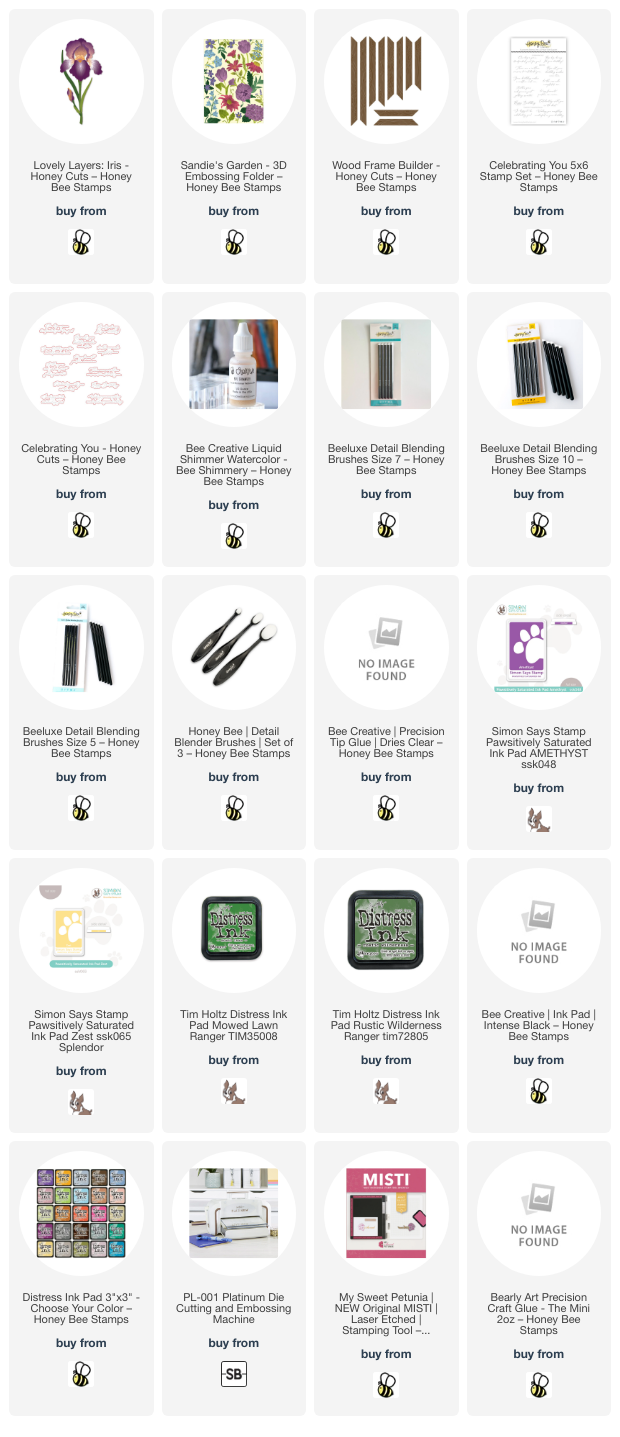
Birthday Card with the Gorgeous Layering Iris Die Set

Hello my friends! Happy first day of May! One of my most favorite flowers to bloom in spring is the bearded iris and my goodness, the Lovely Layers: Iris is just as gorgeous as real irises!!

First I die cut all of the pieces of the Lovely Layers: Iris from 80# white cardstock. Then I used the new BeeLuxe Detail Blending Brushes to add yellow and purple inks to the layers. Let me say this, I was so very pleased with how these brushes swiped on the color! I wanted to imitate real irises I've seen that have that dark edge of color fading to white. These brushes made it way easier than I imagined!

When I'm coloring any of the Lovely Layers sets, I always begin with the bottom layer, placing the next layer over it to check it, and adjusting the coloring as needed. To smooth out the purple edges just a bit, I used a Detail Blending Brush to add a bit more purple ink. I used the Layering Guide to assist in the assembly as this is my first time to use these. All of the layers are adhered with glue.

Next I embossed 80# white cardstock with the beautiful Sandie's Garden 3D embossing folder. I added splatters of purple ink and diluted with water. When the droplets dried I added splatters of Bee Shimmery Liquid Shimmer Watercolor. When that was dry, I adhered the panel to my A2 card base.

Then I pulled out one of my older favorites, the Wood Frame Builder Honey Cuts, and adhered the die cut frame with foam tape. I trimmed the stem of the iris just a bit so it would fit under the frame. Next I added foam dots to the back of the flower and glue to the bottom of the stem to adhere it to the card.

I stamped the sentiment from the Celebrating You stamp set in black ink. Then I cut it out with the coordinating die and popped it up with foam strips.

I will have my reel posted over on Instagram soon and you'll be able to see the amazing coloring I did with the BeeLuxe brushes. I hope you will check it out! Thanks so very much for stopping by today. Have a wonderful day!

Thank you for shopping with my affiliate links (never any additional cost to you)!