Showing posts with label birthday cards. Show all posts

Monday, July 27, 2026

Happy Birthday Card -- Simon Says Stamp Every Happiness Release

Hello, friends!  Today I'm sharing this card that features three of the awesome new products in Simon Says Stamp Every Happiness release!  I love this new Flourish Hummingbird die set and I've given it a lovely background with the Daisy Frame stamps set and Daisy Frame stencil set.

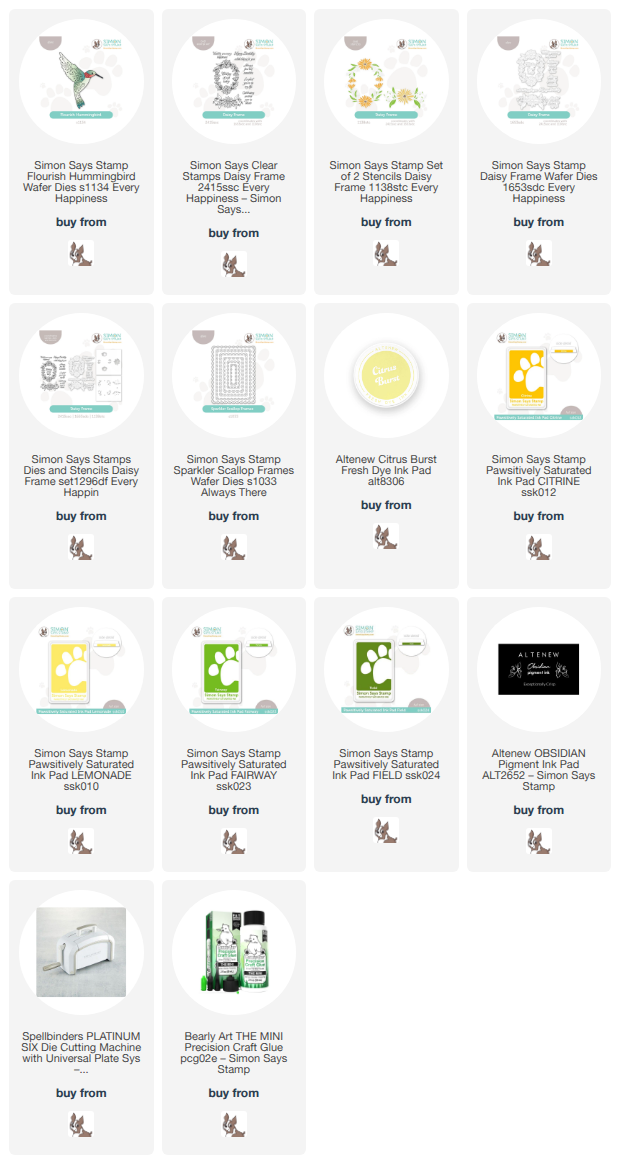
First I die cut the Flourish Hummingbird dies from white cardstock.  Then I used my blending brushes and a few different inks to color this beautiful bird!  I've linked the brushes I love and the inks I used in the list below.

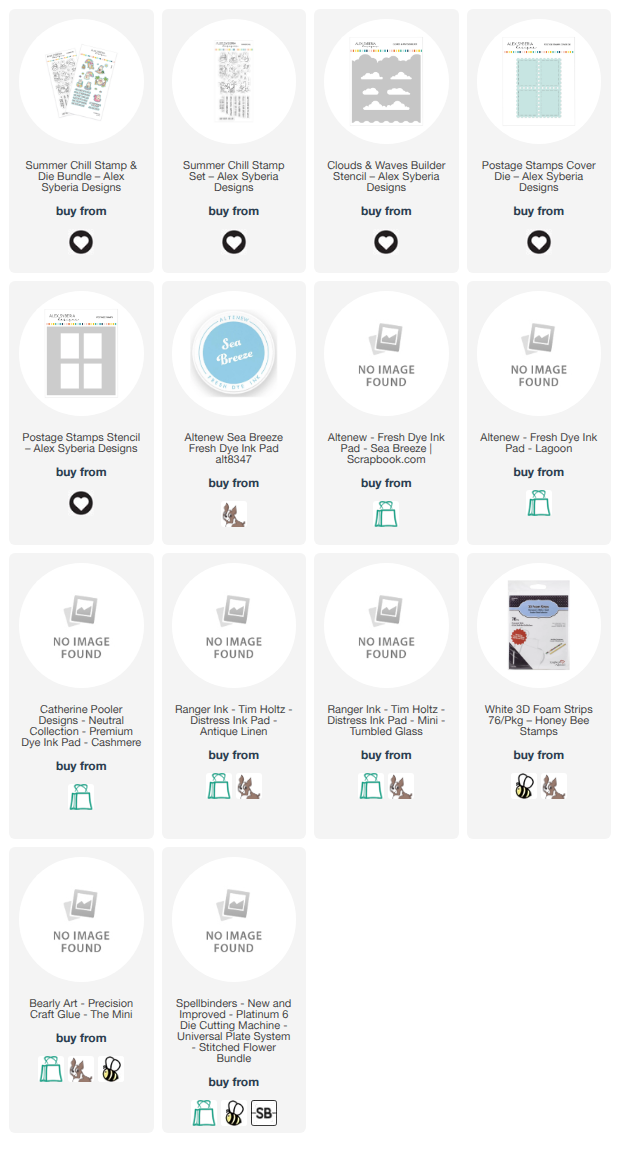
After I glued the hummingbird layers together, I set it aside to work on the background made with the Daisy Frame stamp set and the Daisy Frame stencil set.  If you are a regular here, you may remember that, when possible, I like to stencil my image first.  I used ink blending brushes and some Pawsitively Saturated Inks (listed below) to color this easy image.  

Then I placed the stenciled panel into my MISTI.  I placed the Daisy Frame stamp over the stenciled image.  I took just a bit of time to get it aligned just right.  I've shared this tip before, but if you missed it, next I place a piece of acetate over the stenciled image.  I ink up the stamp with my black ink and stamp it onto the acetate.  It's super easy to tell if you have it aligned!!  I removed the acetate and stamp again.

The Daisy Frames stencils are a set of two and don't have openings to color the tiny flowers.  Which is certainly no big deal!  I just took a pink Copic to color those in.

Next I used the largest die from the Sparkler Scallop Frames set to cut this pretty stenciled panel to add a decorative edge.  I added foam tape to the back and adhered it to an A2 card base.

I stamped one of the sentiments in the Daisy Frame Stamp Set with black pigment ink.  I used my paper trimmer to cut it into a rectangle shape.  (There are coordinating Daisy Frame dies available.)  I popped it up on the card with foam adhesive.

Be sure to check out all of the other wonderful products available in the Every Happiness release!

Thanks so much for stopping by!  I hope you have a great week!

Thank you very much for using my affiliate links to shop (never any additional cost to you)!

Monday, March 23, 2026

Born To Shine Year After Year

Happy Monday, crafty friends!  Today I'm sharing a card I made featuring Spellbinders beautiful Windmills and Tulips Press + Foil Plate and Stencil Bundle by Yana Smakula.  I love how Spellbinders is now making plates that can be pressed and/or foiled!  You get to choose!

I am a huge fan of layering stencils and so enjoy the process of adding ink layer by layer!  Every time I pull off a stencil seeing the new layer of ink just makes me smile!

This time, I chose to foil the Windmills and Tulips press plate.  I used 80# Neenah and Black Glimmer Foil with my Glimmer Hot Foil Machine to achieve the super crisp and slightly shiny outline of the images.

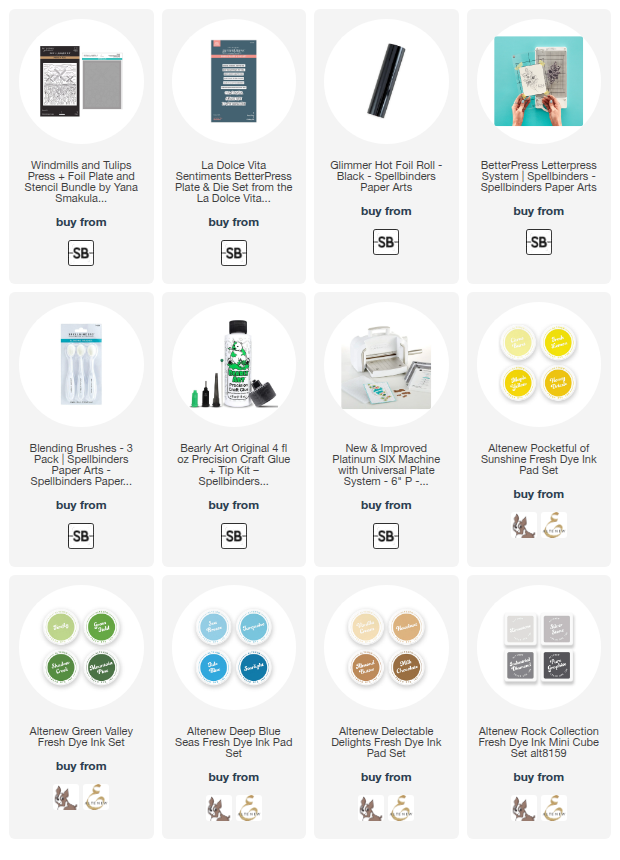
Next I used blending brushes to add various inks through each layer of the six layers of the Layered Windmills and Tulips stencil set.  All of the ink colors I used are in the list below.  I used sets of coordinating inks to achieve shading with the darker inks.

I used a brown Copic marker to make the doors and windows on the windmills a bit darker.  I think adding these small details make cards that more special!

I added a sentiment that is from the La Dolce Vita Sentiments that is a sweet birthday sentiment.  This is a Press Plate that will press/foil nine sentiments in one pass.  There is a die included that cuts out each sentiment in one pass!  I love having multiple sentiments already created and ready to use!

A trip to see a field of tulips with windmills in real life is certainly a bucket-list item!  I hope I have time to use this Windmills and Tulips set again--I'm thinking maybe pink tulips!!

Thanks so much for stopping by today.  I hope you have a wonderful week ahead!

Thank you for using my affiliate links to shop (never any additional cost to you)!

Wednesday, March 4, 2026

How To Make a Masculine Birthday Card with Stencils and Die Cuts

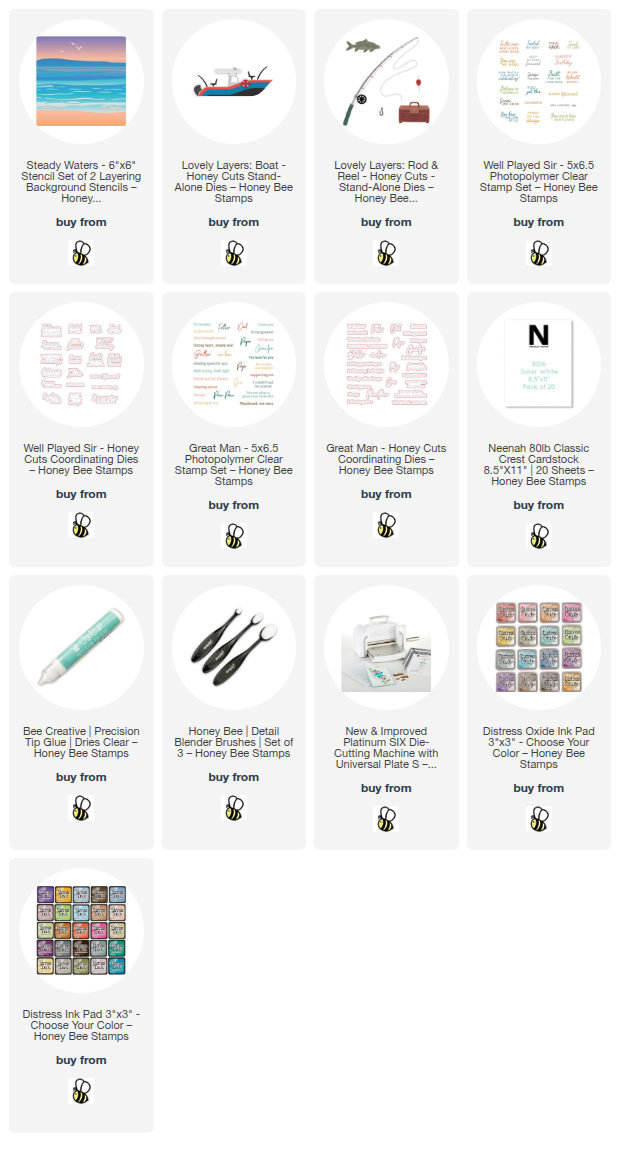
Hello crafty friends!  Today I am sharing this masculine birthday card that features a few of Honey Bee Stamps new products from the Foundry & Field release.  I have also used another older set that coordinates perfectly with the new Lovely Layers: Fishing Boat.  Read on for the details!

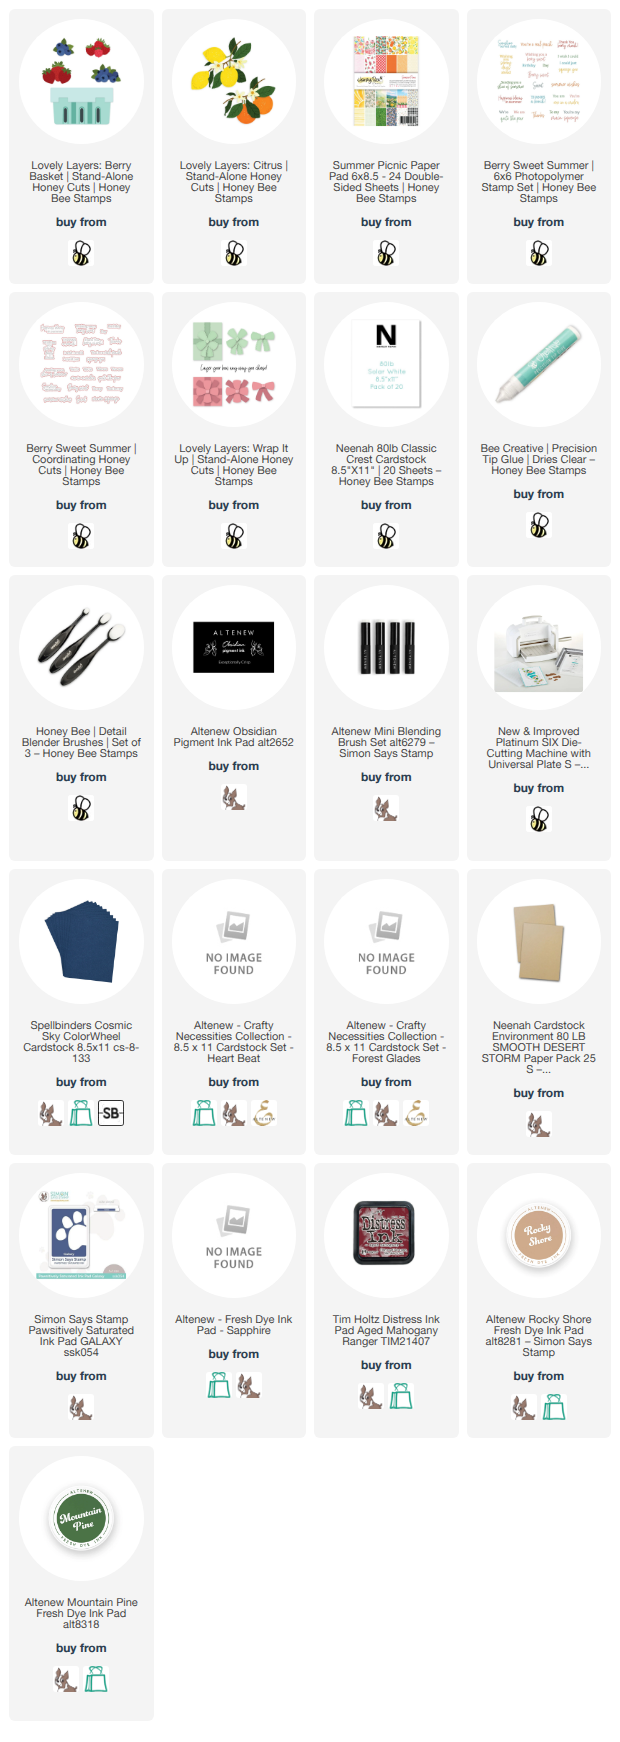
First I created the background layer with the new Steady Waters stencil set.  I sprayed the back of the stencils with Pixie Spray as there are some smaller parts of the stencils.  I used blending brushes to add several Distress Oxide Inks through both stencil layers.  For the water I used Salvaged Patina and Peacock Feathers.  I blended on Antique Linen Oxide ink for the sand, and then I added splatters with diluted Gathered Twigs Distress ink.

The sky and hill are Chipped Sapphire, Black Soot, Spiced Marmalade, Antique Linen, and Tumbled Glass Distress Oxide inks.  To add some sparkle to the waves, I spread a clear glitter texture paste through the Steady Waters stencil.  I used removable tape to protect the sky and sand from the paste.  I set it aside to dry and immediately cleaned up the stencil and palette tool.

I die cut the dies in the Lovely Layers: Fishing Boat from white, dark and medium blue, black and gray cardstocks.  Then I used Bee Creative glue to adhere the layers together.  I used a white gel pen to add the detail on the life preserver.

I added foam tape strips to the back of the Fishing Boat to adhere it to the card layer.

Next I die cut the fishing pole that's in the Lovely Layers: Rod & Reel die set.  I used a few Copic markers to quickly color it.  I used a craft knife to cut a small slit into the stenciled layer to insert the Rod & Reel into the sand.

The sentiment is from the new Well Played Sir stamp set.  After I stamped it with black pigment ink, I cut it out with the coordinating Well Played Sir die.  I adhered it to the card with foam adhesive.

There are many sentiments to use in the Well Played Sir stamp set, or you can make it into a Father's Day card by using a sentiment from the new Great Man stamp set and coordinating dies.

Thank you so much for stopping by today!  I hope you have a great one!

Thanks, always, for using my affiliate links to shop (never any additional cost to you)!

Wednesday, February 18, 2026

Have An Amazing Birthday

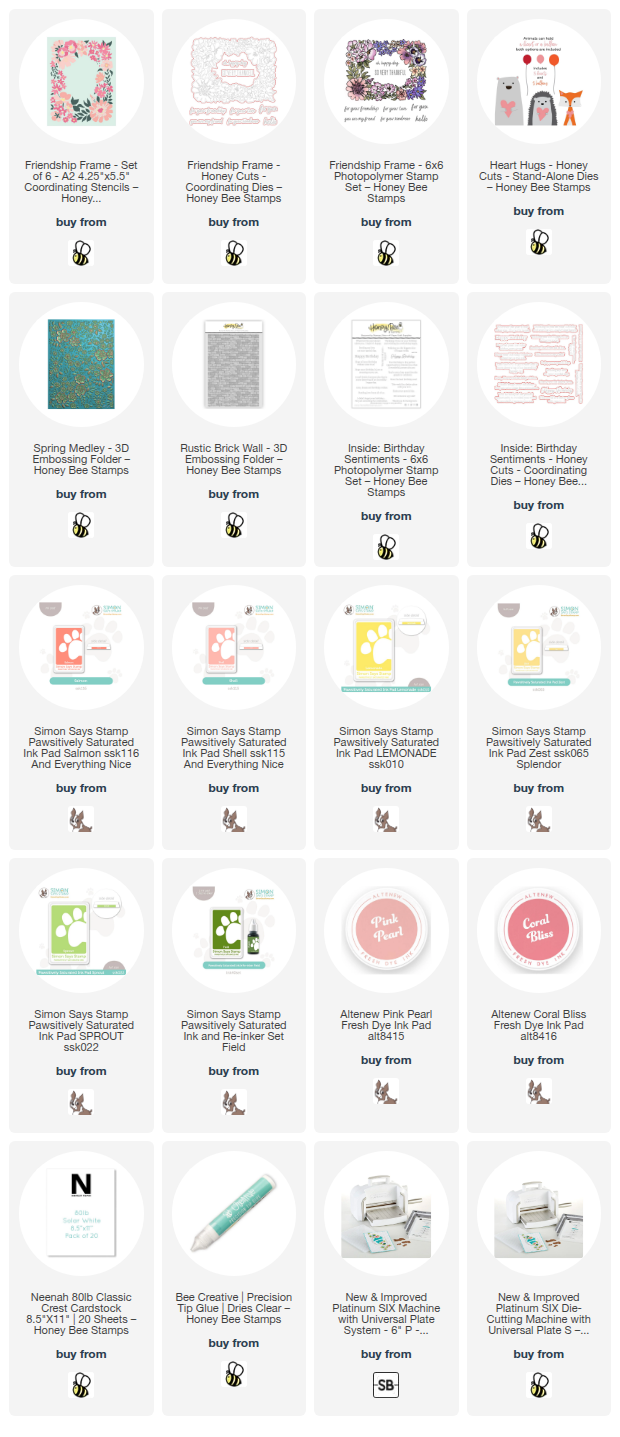
Hello crafty friends!  Today I'm sharing this sweet birthday card that features more of my favorite older sets from Honey Bee Stamps!  I used the Friendship Frame Stencil Set to create this window for the bear from the Heart Hugs die set.

First I created my card base and layer.  I embossed a 5" x 7" piece of white cardstock with the Eyelet Lace 3D embossing folder.  (I am so sorry, but I just discovered that this folder is retired.)

I have two folders that would be my next choices.  One is the versatile Rustic Brick Wall 3D embossing folder.  Another awesome choice would be the pretty Spring Medley 3D embossing folder.  Both of these are two of my favorites!

Next I used ink blending brushes to ink through the stencils of the Friendship Frame stencil set.  I used various shades of coral, pink, green, and yellow inks.

There is a coordinating Friendship Frame stamp set that includes a stamp for the stenciled image.  I chose not to use that stamp to have more of a no-line coloring look.  I used the coordinating Friendship Frame dies to cut out the stenciled piece.

Next I die cut the small bear in the Heart Hugs die set from a Kraft colored cardstock.  I used a blending brush and Gathered Twigs Distress Ink to add shading.  The balloons, also in the Heart Hugs set, are die cut from white cardstock and ink blended with some of the same inks used on the stenciled Heart Frame.

I glued the bear to the back of the stenciled frame, then added foam tape to the back of the frame to adhere it to the card.  I used glue or foam tape for the balloons, depending upon where there was room for the foam.

I wanted this to be a birthday card, so I used a sentiment from the Inside: Birthday Sentiments stamp set.  After I stamped it in black pigment ink, I die cut it with the coordinating die.  Foam tape strips adhere it to the card.

Be sure to try out this card with your favorite embossing folder!  It will be so adorable!

I see you back here next week with a card featuring Honey Bee stamps AWESOME Foundry & Field new release!!  As always, I really appreciate you stopping by and checking out my card!  Have a wonderful day!

Thanks so very much for using my affiliate links to shop (never any additional cost to you)!

Tuesday, January 27, 2026

Born To Dink -- It's A Pickleball Clear Stamp & Die Set!

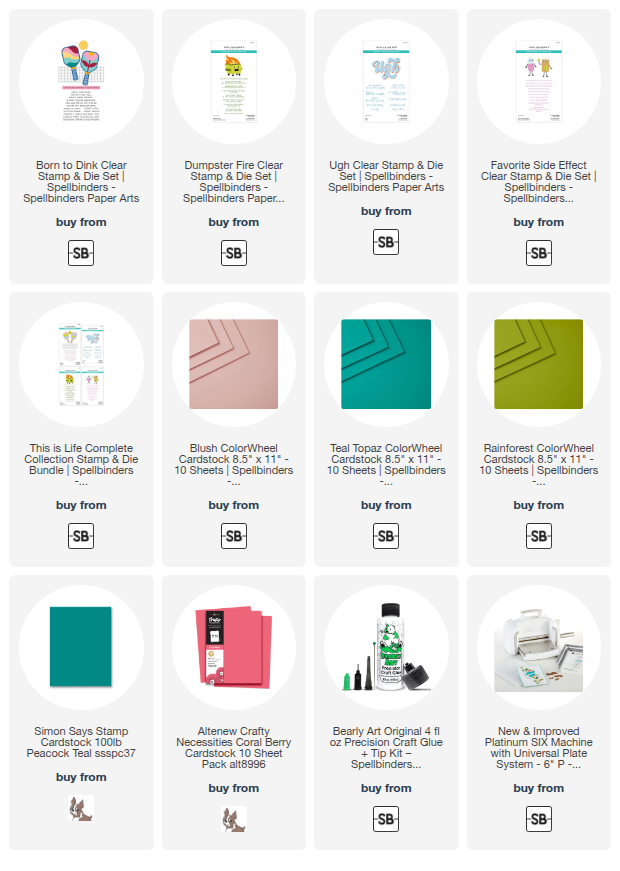
A fun fact about me that you may not know is that I love to play pickleball!!  When I saw this new Born To Dink Stamp and Die Set by Spellbinders, I knew would have so much fun making cards with it!  I'm sharing three fun pickleball cards I made to save to have on hand when it's one of my friend's birthday!

The Born To Dink set is part of the Spellbinders This Is Life Collection!  I have the other sets linked in the list below for you to check out.  Note:  The Dumpster Fire set is currently out of stock, but we have been told it will definitely be restocked soon!

For all three cards, I die cut the Born To Dink dies from scraps of colored cardstock in my stash.  I've linked any available cardstock in my list below.  This was a great way to use up those small pieces of cardstock that I seem inclined to save!  Haha!

Of course, if you don't want to make as many cards, then I would die cut all of the pieces from white cardstock.  Then you could color the pieces with inks, markers, or anything. you want.

For this card I used the little flower dies to make a row of flowers at the bottom of the card.  I just rotated the flowers to have the petals on the top.  With the dies in the Born To Dink you can make any kind of decorated paddle you want.  These flowers can be used on the paddle too as you will see in the next card.

The pickleball is die cut with the two dies included in the Born To Dink set as is the die for the net.

This next card uses all of the same colors of cardstock, but just has a totally different design!

This time I put the pickleball net on a fun angle.  As you can see I've used that flower from the Born To Dink on the paddle.

By die cutting the Born To Dink wavy paddle face die from multiple colors of cardstock, I was able to make five paddles!

The flower die cuts can be glued directly onto the paddle, or you can use that flower die to cut the opening on the paddle face, like I did, to be able to inset the die cuts.

These sentiments are perfect for this card that I plan on giving to a friend I play pickleball with.  Today is her birthday and she certainly is a "court queen" in that she has the most cute outfits to play in and makes me feel like a frump!  LOL!

My final card, was more of a clean and simple design.

I placed the net die cut just below the center of the card front.  I used one more of the paddles and popped it up with foam tape.

I die cut three of the pickleballs to place around the card as embellishments.  The bottom two are glued to the card with the upper one popped up with foam tape.

So, whether you actually play pickleball, or just know friends that do, this Born To Dink set makes such fun cards to give to those who do play!

Now I just need our icy Texas roads to thaw out!  We are on day three of not being able to go anywhere!  Including me not being able to go play pickleball!!

Thanks so very much for stopping by!  I hope you are staying warm where you are and are getting in some good crafty time!

Thanks so much for using my affiliate links to shop (never any additional cost to you)!

Wednesday, January 21, 2026

A Beautiful 3D Heart Embossed Birthday Card (or Valentine Card)

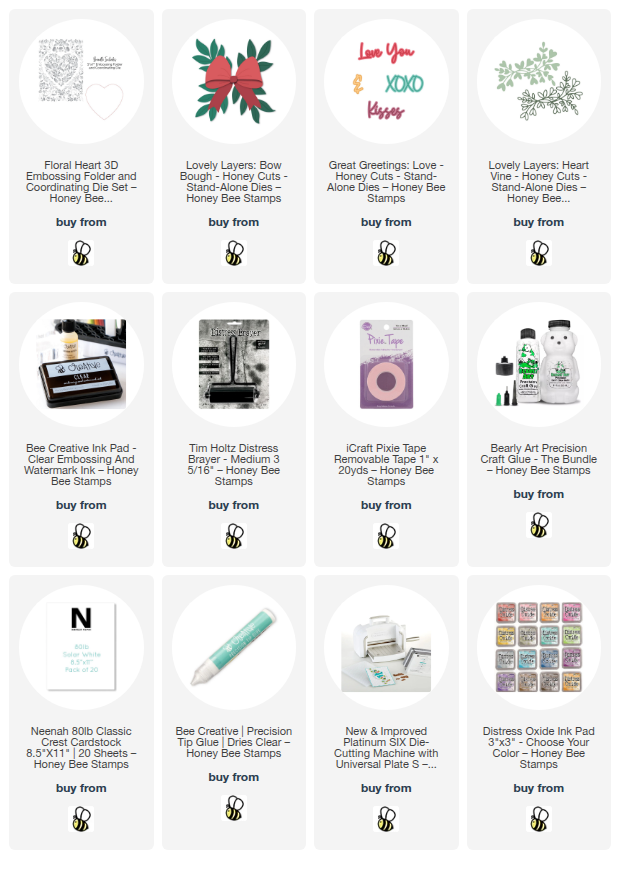
Hello Honey Bee friends!  Today I'm sharing my card that features the gorgeous Floral Heart Embossing Folder and Honey Cuts die.  This would certainly make a wonderful Valentine's Day card, but I may save it to give to our daughter for her birthday in February!  P.S.:  She loves pink!

I used the Floral Heart 3D embossing folder for the background and a brayer to make the two-color background.  For an easier read, I am putting the steps in a list for you.  

  • Before I added the ink to the folder, I prepped the de-bossed side by pressing the Bee Creative Clear Embossing Ink pad over the surface.  Then I used a clean paper towel to lightly wipe away any excess.
  • Next I rolled my brayer over the Spun Sugar Distress Ink pad repeatedly to ink it up, and then rolled the ink onto the embossed folder (de-bossed side).
  • I repeated this step until the folder was fully inked.
  • Next I placed a 5" x 7" piece of white cardstock into the embossing folder and ran it through my die cutting machine.
  • Remove the panel from the embossing folder and place the Floral Heart die onto the embossed heart.  Use removable tape to hold it in place while die cutting.
  • Die cut another heart from white cardstock, place it into the Floral Heart embossing folder.  Hold it in place with tape and then emboss it.
  • Run through your die cutting machine to cut out the heart.
  • This will flatten the embossing.  If you want, (and I did), I carefully fit the panel back into the Floral Heart embossing folder.  I used some tape to hold the panel in place while I ran it through my machine again.
  • Now you have a beautiful two-color embossed panel and heart!

Next I cut the Lovely Layers: Bow and Bough dies from white cardstock.  I used ink blending brushes with Spun Sugar and Kitsch Flamingo Distress Oxide inks to color the pieces.  The leaves were die cut from green cardstock.  All of the bow layers are adhered with glue.

I die cut the Lovely Layers: Heart Vine twice from white cardstock.  I colored the bottom layer with Kitsch Flamingo Oxide ink and adhered the layers with glue.

The Floral Heart embossed panel is adhered to a 5" x 7" card base with foam tape with the white embossed heart glued to the card.

I arranged the Bow and Bough Pieces with the Heart Vine pieces near the top of the heart and adhered them in place with glue.  Note:  I snipped each Heart Vine into two pieces for the arrangement.

The sentiment is from the Great Greetings: Love Honey Cuts.  I die cut the base from white cardstock and colored them with Kitsch Flamingo.  The top layer is die cut three times each.  I adhered all of the layers together with glue.

What do you think?  Would you use this as a birthday card or a Valentine card?  I hope you are inspired by my card and have enjoyed reading about my process!

 Thank you very much for stopping by!  Have a wonderful and crafty day!

Thanks so much for using my affiliate links to shop (never any additional cost to you)!

Thursday, September 11, 2025

Autumn Birthday Wishes Card

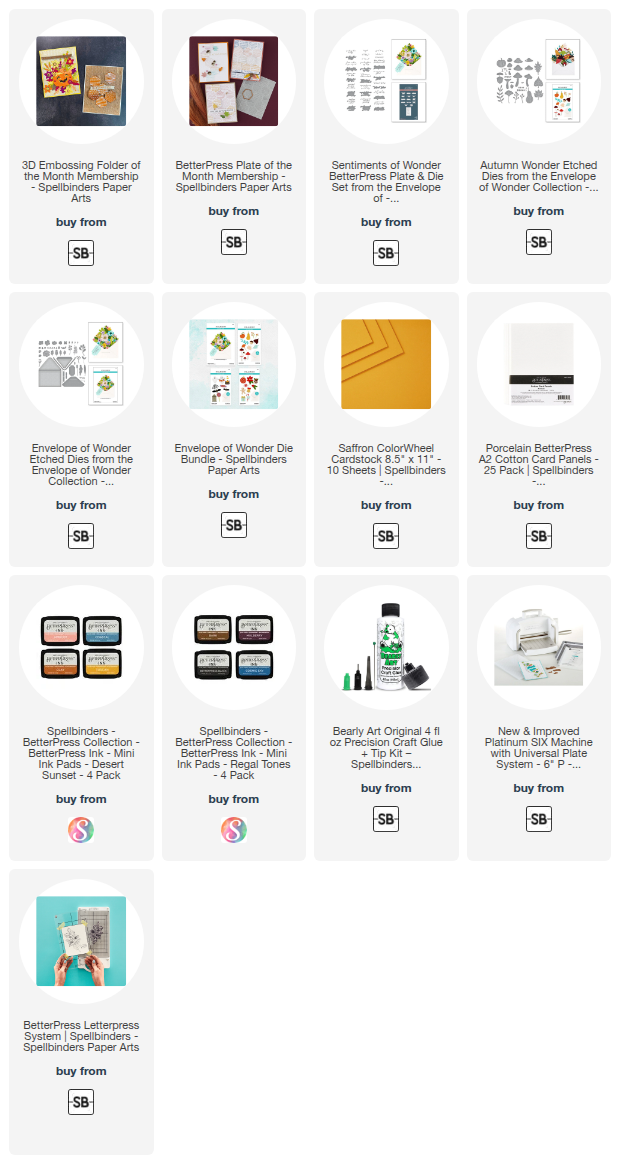
 This is my last card I've made with Spellbinders September Club Kits.  This one features the beautiful 3D Embossing Folder called Patchwork.


This card has another piece of a panel I made with the Sketchy Hexi press plate.  It's layered on top of a piece of Saffron cardstock that I embossed with the Patchwork 3D embossing folder.

I glued a strip of brown cardstock against the edge of the Sketchy Hexi piece.  If you saw the first card using this, you saw that I pressed a piece of Porcelain cardstock with the Sketchy Hexi plate with no ink.  I still had some of that, so I die cut leaves from it with the dies from the Autumn Wonder set.

I pressed a sentiment from the Sentiments of Wonder Press Plate set with brown ink.  Then I used a die from the Envelope of Wonder die set to cut it out.  As of the date of this post, the Envelope of Wonder collection sets are on clearance!

I tied a bit of twine onto the tag, then used foam tape to adhere it to the card.

This is an easy card to make with few elements, but with the press plate and embossed pieces, not much more is needed!  Be sure to check out the Club Kit details to decide if one (or more) of these would be good for you.

Thanks for stopping by today.  I hope you are having a wonderful week so far!

Thank you for shopping with my affiliate links (never any additional cost to you).

Wednesday, June 19, 2024

Summer Birthday Card with Ink Blended Plumerias

Hello crafty friends! Today I have a card for those that have a summer birthday! I've used Honey Bee Stamps gorgeous Bold Background: Plumeria for this summery birthday card!  Plumerias are one of my favorite flowers and I was excited to use this set today!

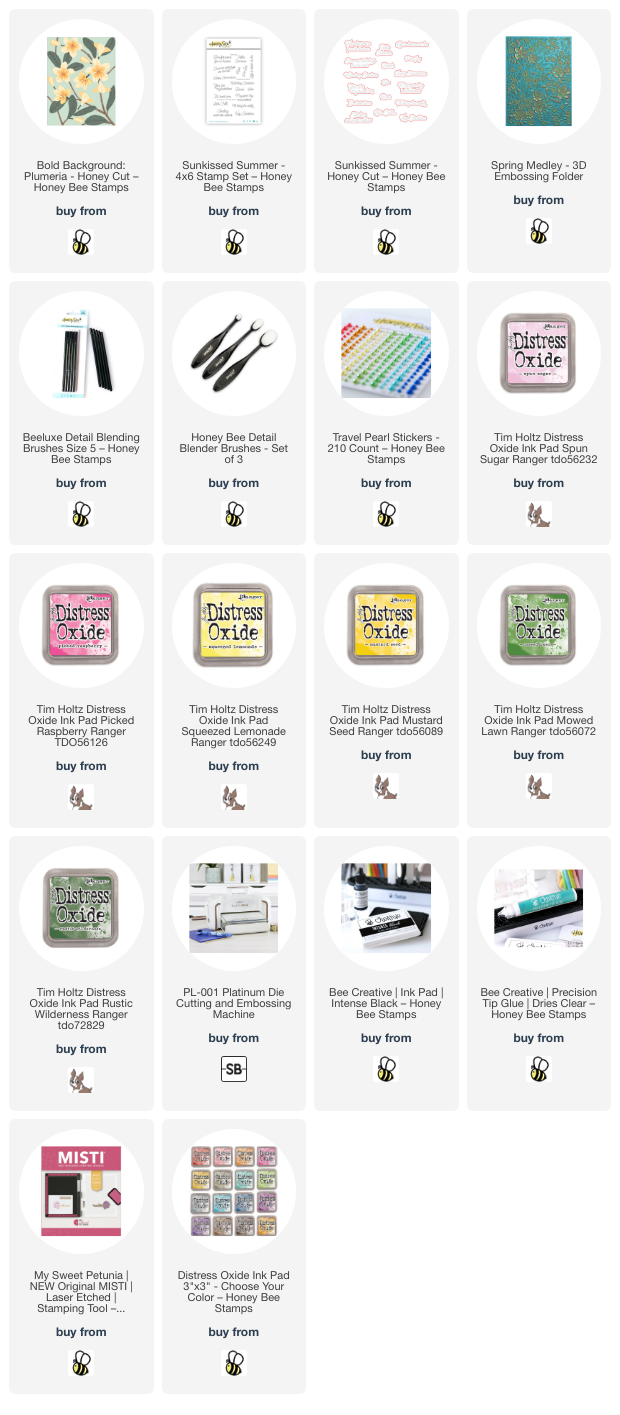
I die cut all of the flower layers of the Bold Background: Plumeria Honey Cuts from 80# white cardstock. Then I used various small ink blending brushes to color the layers with Distress Oxide inks. My inspiration for the colors came from a web search of plumeria images! First I brushed on Spun Sugar Distress Oxide with a small blending brush. Then I added Picked Raspberry Oxide ink to the edges. I was able to achieve the detailing by using a size 5 Beeluxe Detail Blending Brush. I love how that tiny brush makes it easy to color a small area!

I used another size 5 brush to dab on Squeezed Lemonade and Mustard Seed Oxide to the centers of the flowers.

I die cut the background and leaves of the Bold Background: Plumeria from green cardstock. This made it super easy and quick to blend on Mowed Lawn and Rustic Wilderness to add a bit of shading to the pieces.

I used glue to adhere the layers of the flowers. The Layering Guide was very helpful for assembling the flower layers. I noticed a great tip on the Guide that said to adhere the leaves to the background first!

I embossed white cardstock with one of my favorite -- the Spring Medley 3D embossing folder. I trimmed it to A2 size and glue it to a card base. Then I adhered the background with leaves to the card. Next I adhered the Plumerias to the base with glue.

I chose one of the sentiments from the Sunkissed Summer stamp set and stamped it with black ink. Then I cut it out with the coordinating die and glued it to the card.

I added a few coordinating pearls from the Travel Pearl Stickers set to the center of the open plumeria.

I really appreciate you stopping by to check out my card!  Have a wonderful and crafty day!

Thank you for using my affiliate links to shop (never any additional cost to you)!

Wednesday, June 12, 2024

Wishing You An Adventurous Birthday - An Interactive Card

Hello crafty friends! Have you checked out the fabulous new Sunkissed Summer release by Honey Bee Stamps?  I love how there are several items for making cards for the guys! I struggle with masculine cards but not anymore. Today I'm sharing this fun interactive birthday card for our guys that features the Born To Fly and Aviator stamps. This was super easy and fun to make!  If you would like to see the card in action, check out my reel on Instagram!

Still photos don't show you that the two airplanes from the Born To Fly stamp set that I heat embossed in silver actually swing back and forth! I will have a reel posted to my Instagram soon today that will show it in motion.

First I make the background layer by stamping the Aviator background stamp with clear embossing ink onto 80# Neenah. Be sure to treat the cardstock with your anti-static powder first! Then I added white embossing powder and heat set it.

Next I used blender brushes to add Lucky Clover, Cracked Pistachio, and Twisted Citron Distress Oxide inks over the panel. I repeated the inking to get it blended just right. When I finished, I rubbed a clean paper towel over the embossing to remove the excess ink and restore the whiteness of the embossing.

I trimmed the piece to 4" x 5-¼" and glued it to an A2 card base.

Next I die cut two strips of white cardstock with the cloud die from the Horizon Slimline Borders die set. The shorter strip of clouds is about 1" tall and the wider one is 1-½". I glued the wide cloud strips to the card, one at the top and the other at the bottom of the card base.

Before proceeding, smoosh the Lucky Clover Distress Oxide ink pad onto your craft mat. Dilute with some water. Then use a paintbrush to add splatters onto the card base and cloud pieces.

I added foam dots to the back of one of the other cloud strips and adhered it over the other cloud layer at the bottom of the card.

To make the interactive part you will need two pieces of clear nylon string or fishing line, if you have that around the house. As mentioned above, I stamped and silver heat embossed two of the airplanes from the Born To Fly set. I cut them out with the coordinating Born To Fly dies.

To attach the airplanes to the nylon string, I placed the end on the back of the plane and secured it with foam tape pieces. NOTE: DO NOT remove the foam tape backing if you want the airplanes to swing! The smooth backing will help the planes glide over the card surface. Repeat for the other plane.

I adhered the top of the nylon string to the back of the upper cloud strip with foam dots. If you have extra string above the cloud, just trim it with your scissors. Remove the backing of the foam tape on the cloud strip to adhere to the card.

To finish I added a sentiment from the Plane Awesome stamp set that was die cut with the coordinating die.

Of course, you can totally simplify these steps by omitting the string and adhering the airplanes directly to the card. But I think the interactive aspect make for a fun surprise for the recipient!

I hope you have been inspired by my card today! Thank you so much for stopping by. Have a wonderful and crafty day!

Thank for using my affiliate links to shop (never any additional costs to you)!

Wednesday, January 31, 2024

Birthday Card Featuring New Lovely Layers: Sweetheart Roses

 Hello crafty friends! Today I'm sharing my card featuring some of the gorgeous new products from Honey Bee Stamps Vintage Love release that is available now!!

This card features the gorgeous Lovely Layers: Sweetheart Roses set along with the Vintage Flora background stamp, the Lovely Layouts: Posted dies, Love Is A Rose stamps (for the sentiment) and the Textiles & Texture: Vintage paper pad. As you can see in the photo background, I've also used some new Vintage Love wax melts and the Rose Stem Wax Stamper to create a pretty seal for the envelope.

First I stamped the Vintage Flora background stamp with light brown ink onto paper from the Textiles & Texture: Vintage paper pad. Then I die cut the piece with a die from the new Lovely Layouts: Posted die set. I set that aside to work on the other card elements.

I die cut the Lovely Layers: Sweetheart Roses from 80# Neenah. Then I used ink blending brushes to color the rose layers and stems with dusty pink ink and some green inks from my stash.

As this was my first time to use these gorgeous dies, I printed the layering guide to assist me in assembling the flower layers with glue. You can view, and download for printing, this layering guide found in the product description.

Next I created my perfectly coordinated ribbon by dying it with the same dusty pink ink I used on the flowers. I smooshed the ink pad onto my craft mat, spritzed the ink with a bit of water, and the pressed the ribbon into the ink. You can repeat the steps until you're happy with it. Then I dried the ribbon with my heat tool by holding it with my reverse tweezers. Be careful to not hold the heat tool too closely to the ribbon so it doesn't scorch!

I tied the ribbon around the Vintage Flora background panel and added foam tape to the back. I adhered it to a coordinating pink A2 card base.

Next I adhered the Sweetheart Roses to the card front with glue. I chose a sentiment from the Love Is A Rose stamp setand stamped it with black ink. I cut it out with the coordinating die and popped it up with foam tape strips.

Next I used the Vintage Love wax melts and the Rose Stem wax stamper to create the seal. Honey Bee has a wax melting spoon and a wax melting furnace in their shop to create these pretty seals with.  I actually use my heat tool to melt the wax in the spoon--I'm kind of impatient.  LOL!   I really like to use this silicone mat when making seals as it is extra thick and you can pour the hot wax onto it and set the hot spoon on it to protect your crafting surface.

This was the first time I tried this two-tone seal. I saw someone on Instagram make them this way and have been wanting to try it. Your wax stamper needs to be very warm and then you pour the melted wax from the spoon directly into the rose portion. Having it warm allows you to use a straight edge to scrape off the excess and level it to just leave wax in the rose. Then melt another color, pour it onto your surface and press the stamper into the wax. Wait a half minute or so and you will have a beautiful two-color seal!

Be sure to check out all of the other beautiful new products of the Vintage Love release over on Honey Bee's website.  Thanks so much for stopping by!

Thank you for using my affiliate links to shop (never any additional cost to you)!

Wednesday, October 4, 2023

Two Adorable Birthday Cards Featuring the New It's Your Birthday Stamp Set

Hello friends!  Simon Says Stamp has a new release called Season of Wonder 2023, is available now!  And I absolutely adore the sweet images of the It's Your Birthday stamp set that I have featured in my cards for this post!

If you would like to check out the huge variety of products in this release, just click the photo!

My cards for today's post feature two of the five adorable images in the It's Your Birthday stamp set.  

I stamped each of the sweet images with Copic safe black ink onto 80# Neenah.  Both are colored it with various Copic markers.  I also stamped each image onto masking paper, cut it out, and placed the mask over the images.  Then I used an ink blending brush to add light blue ink around each image.

For this first card I created an embossed frame layer.  First I used a stitched rectangle die to cut out the opening in the pink cardstock.  I did need to do some partial die cutting with the rectangle die to lengthen the rectangle opening.

Then I embossed the piece with the Floating Balloons 3D embossing folder.

The sentiments for both cards are one of several included in the It's Your Birthday stamp set.

My next card features the most adorable little unicorn ever!

I plan on giving these cards to my two young grandnieces.  I think they will really like these cards.

I used a white gel pen to add a few extra details.  Even though it doesn't show in the photos, there is some fun sparkle on the unicorn that I added with a clear glitter pen.

There are so many different styles of products in the Season of Wonder release!  Be sure to check it all out!  Thanks so very much for stopping by today!

Thank you for using my affiliate links to shop (never any additional cost to you)!