Showing posts with label Distress Oxide ink. Show all posts

Wednesday, December 25, 2024

Wishing You Much Joy, Love & Peace!

Merry Christmas, friends! Today I'm sharing a beautiful card I made for this Christmas day using Honey Bee Stamps' Artsy Angel stamps and Honey Cuts, along with the newer Floral Noel stamp set and coordinating dies.

I stamped the beautiful Artsy Angel first with No Line Coloring ink using my MISTI onto a panel of white cardstock. I left the stamp in the MISTI and colored the angel with some Copic markers.

Then I placed the panel back into my MISTI and treated it with an anti static powder. Then I inked up the stamp with Clear Embossing ink. I stamped it a few times to be sure to get good ink coverage, then I poured some gold glitter embossing powder (one I've had in my stash quite a while) and heat set it using my heat tool.

I cut the Angel out with the coordinating die and set it aside to work on the background panel.

I wanted a kind of aura of light behind the angel, so first I used blending brushes to add Antique Linen and Scattered Straw Distress Oxide inks in the center of an 80# white cardstock panel in a triangle pattern.

Then I blended Prize Ribbon, Chipped Sapphire and a bit of Black Soot Distress Oxide inks around the edges.

Next I added some diluted gold paint splatters with a paint brush to the background. After it dried, I used glue to adhere it to an A2 card base.

For the sentiment I used the Joy and the sub-sentiment from the Floral Noel stamp set. I heat embossed both on a dark blue cardstock with the same gold glitter embossing powder. I used the coordinating die to cut out Joy and trimmed the other sentiment into a banner with fish tail ends.

The Artsy Angel is popped up on the card with foam dots. Do you ever cut your foam dots into little strips? That's what I did for the sentiment! I just added a few strips to the top of the "j" and the "y" and added glue to the right side of the "o" to adhere it. More glue adhered the banner sentiment.

TIP: Does your white foam stand out sometimes on a dark background? I used a dark blue Copic marker to color the sides of the foam tape so it doesn't show! Try it!

Whatever holiday you celebrate this season, I wish you all the joy, peace, and love today and all of the next year! See you in 2025!!

Thank you so much for choosing to use my affiliate links to shop (never any additional cost to you)!

Friday, November 8, 2024

Cheers, It's Your Special Day

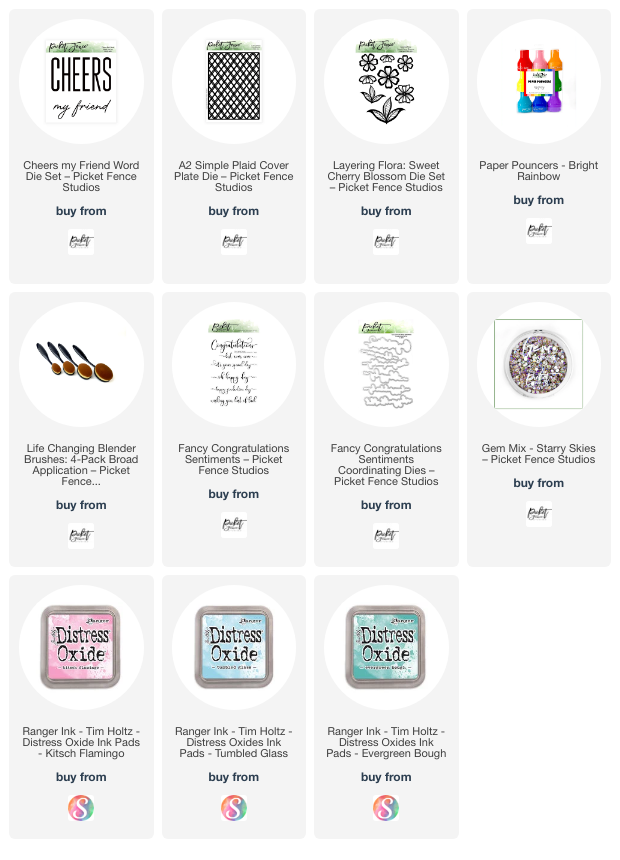
Happy Friday crafty friends!  Today I'm sharing this card I made that features Picket Fence Studios Cheers My Friend die set!  I love ink blending and this card has plenty of that!

The background ink blended panel was created with three Distress Oxide inks.  I used blending brushes for adding Kitsch Flamingo, Tumbled Glass, and Evergreen Bough.  I glued the layer to an A2 card base.

Next, from white cardstock, I die cut the A2 Simple Plaid Cover Plate, the "cheer" die from the Cheers My Friend die set (x4), and a few leaves from the Layering Flora: Sweet Cherry Blossom die set.

Then I used a Paper Pouncer to add Kitsch Flamingo Oxide ink to one layer of "cheer".  I glued all of the layers together and set them aside.

I stamped a sentiment from the Fancy Congratulations Sentiments and cut it out with the coordinating die.

For easy alignment of Cheers, I used the negative piece to position and glue each letter to the card.  The leaves and sentiment are adhered with glue.

Then I added a few sparkles from the Starry Skies gems.

Super easy, right?!  Thanks so much for stopping by today.  I hope you have a fabulous and crafty weekend!

Thank you for choosing to use my affiliate links to shop (never any additional cost to you)!

Wednesday, October 30, 2024

Noel Christmas Card

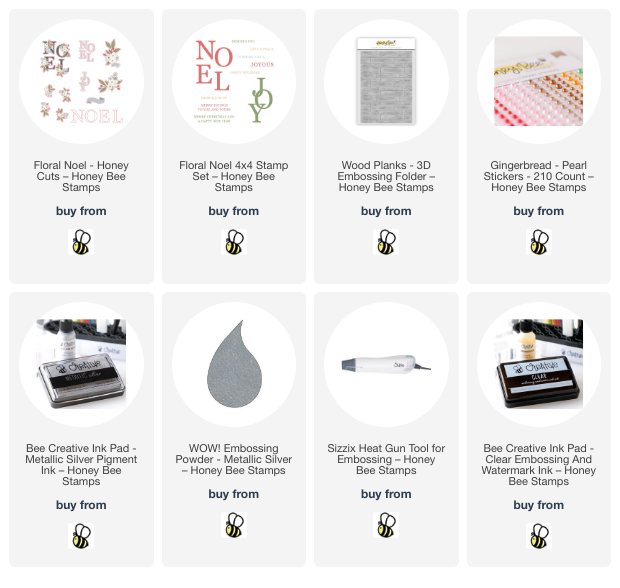
 Hello crafty friends! Have you been as amazed by the Honey Bee Stamps new Cozy Christmas release as I am? One of my favorites (one of many) is the Floral Noel set of stamps, Honey Cuts, and coordinating stencils. So I reached for that set to make my card for this post.

Please note: After I made this card, I was getting links and discovered that the stencils are currently out of stock. The good news is that there will be more available in about a week. So please come back here and click THIS link to check.

I placed a 6" x 6" piece of white cardstock onto my sticky mat. Then I used my ink blending brushes and a few Distress Oxide Inks to color through each of the Floral Noel stencils. I used these colors: Spun Sugar, Worn Lipstick, Festive Berries, Candied Apple, Bundled Sage, and Rustic Wilderness. The flower centers are stenciled with Bee Creative Metallic Silver ink.

When I finished the stenciling, I cut out the images with the coordinating Honey Cuts.

I chose a sentiment from the Floral Noel stamp set to stamp with clear embossing ink onto the inked banner. After sprinkling on silver embossing powder, I used my heat tool to set it.

Next I embossed white cardstock with the awesome Wood Planks 3D embossing folder! I just love the detail!! I trimmed it to 4" x 5-¼" and glued it to an A2 card base.

I added foam dots to the back of each letter of Noel. Tip, I use my nonstick scissors to cut strips of the large foam dots to whatever size I need! Before adhering the letters, I used glue to add the floral cluster.

To finish the card and add a bit of bling, I added pearls from the Gingerbread Pearl Stickers set.

I absolutely love this Floral Noel set! There are so many options to use this with different colors and arrangements! Be sure to check out all of the Cozy Christmas release to find your favorites!

Thank you so much for stopping by!!

Affiliate links (never any additional cost to you)!

Wednesday, October 9, 2024

Sweet Autumn Card For Our Friends

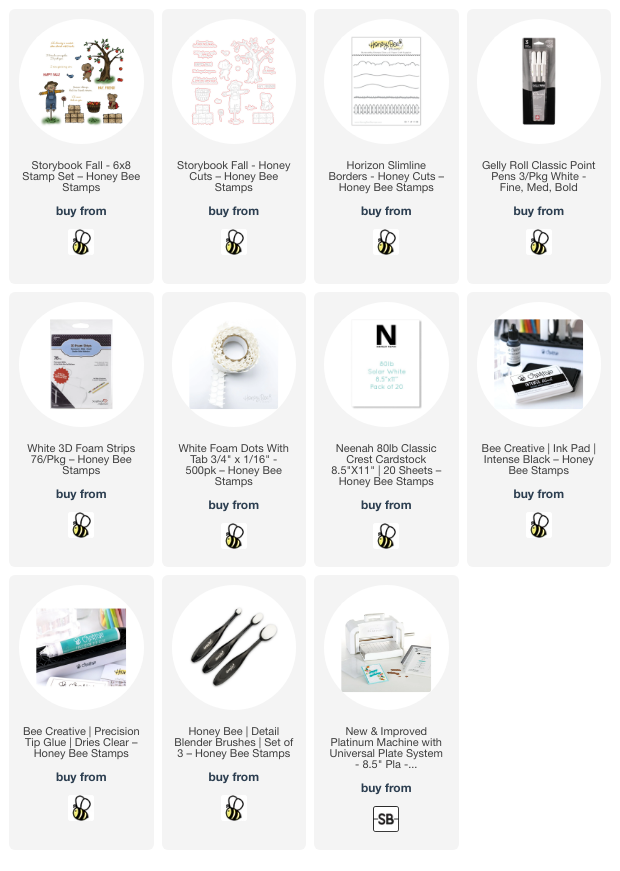
Hello crafty friends! Today I'm sharing my sweet card I made with Honey Bee Stamps adorable Storybook Fall stamps and coordinating Honey Cuts. I love the sentiments in this set that are so perfect for a card for that special friend!

I created the scene by first stamping some of the images from the Storybook Fall stamp set with Intense black ink, an alcohol marker safe ink. There's the cutest scarecrow in this set but I just didn't have room for him on my card!

I used a variety of Copic markers to color the images. Then I cut them out with the coordinating Storybook Fall dies. I used a white gel pen to add highlights to the apples and stripes on the pup's scarf.

Next I used one of the hill dies that is in the Horizon Slimline Borders die set to cut a strip of white cardstock. I used an ink blending brush to color it with Mowed Lawn and Rustic Wilderness Distress Oxide inks. Then I used the little grass stamp in the Storybook Fall set to add the grass to the piece by stamping with Rustic Wilderness Oxide.

Before I glue on the grass piece, I added Tumbled Glass Oxide ink with a blending brush to my A2 card base. I used glue and some foam dots to adhere the cute images to the scene.

Then I stamped the two sentiments from the Storybook Fall set with black ink and cut them out with the coordinating dies. I added foam strips to the back to pop the sentiments up on the card.

And that's it! A super sweet card made with one stamp set and two die sets! I sure do appreciate you taking a few minutes to stop by today! Have a fabulous day!

Thank you so much for using my affiliate links to shop (never any additional cost to you)!

Wednesday, September 4, 2024

Are You Team Sweet or Spooky For Halloween?

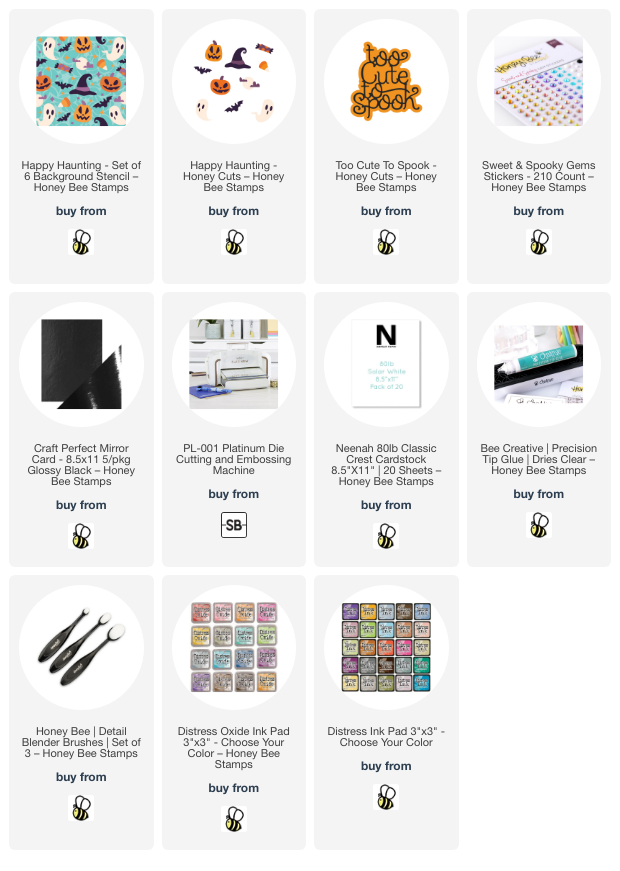
Hello card making friends! Today I'm sharing this sweet and not too spooky Halloween card that features a few of the products from the Honey Bee Stamps Falloween Release.  I used the adorable Happy Haunting Stencil set for the background and the Too Cute To Spook Honey Cuts for the sentiment.

I started out with a 5-½" square piece of white cardstock. The Happy Haunting Stencil Set has six stencils. I used five of them, omitting the stencil with the spider web. I used ink blending brushes to add a mix of Distress Inks and Distress Oxide inks through the stencil layers.

On a scrap piece of white cardstock I stenciled two of the pumpkins (only used one), a ghost, bat, and hat.

I cut these out with the coordinating Happy Haunting Honey Cuts.

Here is a list of the inks I used:

  • Distress Inks:
    • Squeezed Lemonade
    • Saltwater Taffy
    • Salvaged Patina
  • Distress Oxide Inks:
    • Wilted Violet
    • Mowed Lawn
    • Antique Linen
    • Lost Shadow
    • Black Soot

Next I die cut the shadow layer of the Too Cute To Spook dies from more teal cardstock. The top layer of the sentiment is die cut from glossy black cardstock. I used glue to adhere the two together.

I added foam dots to the back of the sentiment and adhered it to my card. Then I added foam tape to the back of the Happy Haunting die cuts and placed them around the sentiment

To finish up, I added black and white gems from the Sweet and Spooky Gem Stickers to the eyes of the ghosts and pumpkins. I placed a few turquoise gems around the sentiment.

I love stencil sets (if you can't tell--haha!) and the Happy Haunting stencil set is so versatile! It can be used for a more traditional holiday card, or just stencil the items you want and then die cut those out!

Thank you, always, for stopping by. I hope your day is a good one with fun crafty time!

There are many options for shopping and I really appreciate it when you use my affiliate links (never any additional cost to you)!

Wednesday, June 19, 2024

Summer Birthday Card with Ink Blended Plumerias

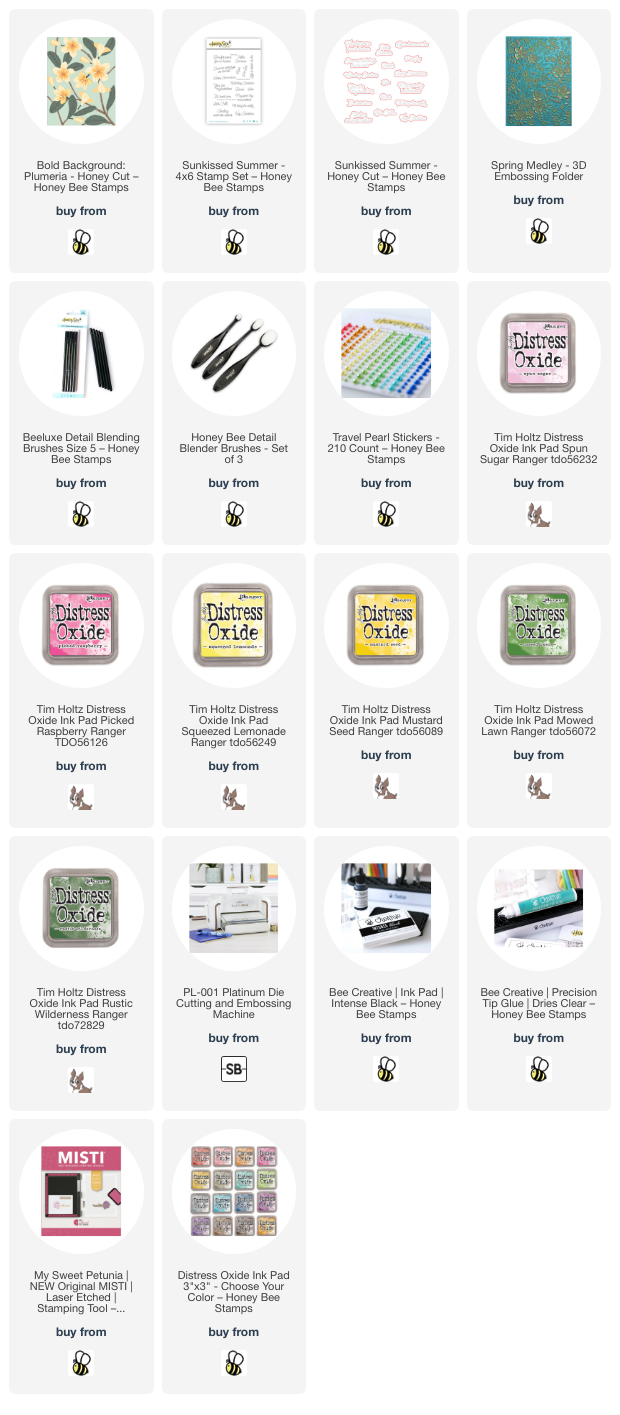
Hello crafty friends! Today I have a card for those that have a summer birthday! I've used Honey Bee Stamps gorgeous Bold Background: Plumeria for this summery birthday card!  Plumerias are one of my favorite flowers and I was excited to use this set today!

I die cut all of the flower layers of the Bold Background: Plumeria Honey Cuts from 80# white cardstock. Then I used various small ink blending brushes to color the layers with Distress Oxide inks. My inspiration for the colors came from a web search of plumeria images! First I brushed on Spun Sugar Distress Oxide with a small blending brush. Then I added Picked Raspberry Oxide ink to the edges. I was able to achieve the detailing by using a size 5 Beeluxe Detail Blending Brush. I love how that tiny brush makes it easy to color a small area!

I used another size 5 brush to dab on Squeezed Lemonade and Mustard Seed Oxide to the centers of the flowers.

I die cut the background and leaves of the Bold Background: Plumeria from green cardstock. This made it super easy and quick to blend on Mowed Lawn and Rustic Wilderness to add a bit of shading to the pieces.

I used glue to adhere the layers of the flowers. The Layering Guide was very helpful for assembling the flower layers. I noticed a great tip on the Guide that said to adhere the leaves to the background first!

I embossed white cardstock with one of my favorite -- the Spring Medley 3D embossing folder. I trimmed it to A2 size and glue it to a card base. Then I adhered the background with leaves to the card. Next I adhered the Plumerias to the base with glue.

I chose one of the sentiments from the Sunkissed Summer stamp set and stamped it with black ink. Then I cut it out with the coordinating die and glued it to the card.

I added a few coordinating pearls from the Travel Pearl Stickers set to the center of the open plumeria.

I really appreciate you stopping by to check out my card!  Have a wonderful and crafty day!

Thank you for using my affiliate links to shop (never any additional cost to you)!

Tuesday, June 11, 2024

You Melt My Heart - Spellbinders June Stitching & Embossing Clubs

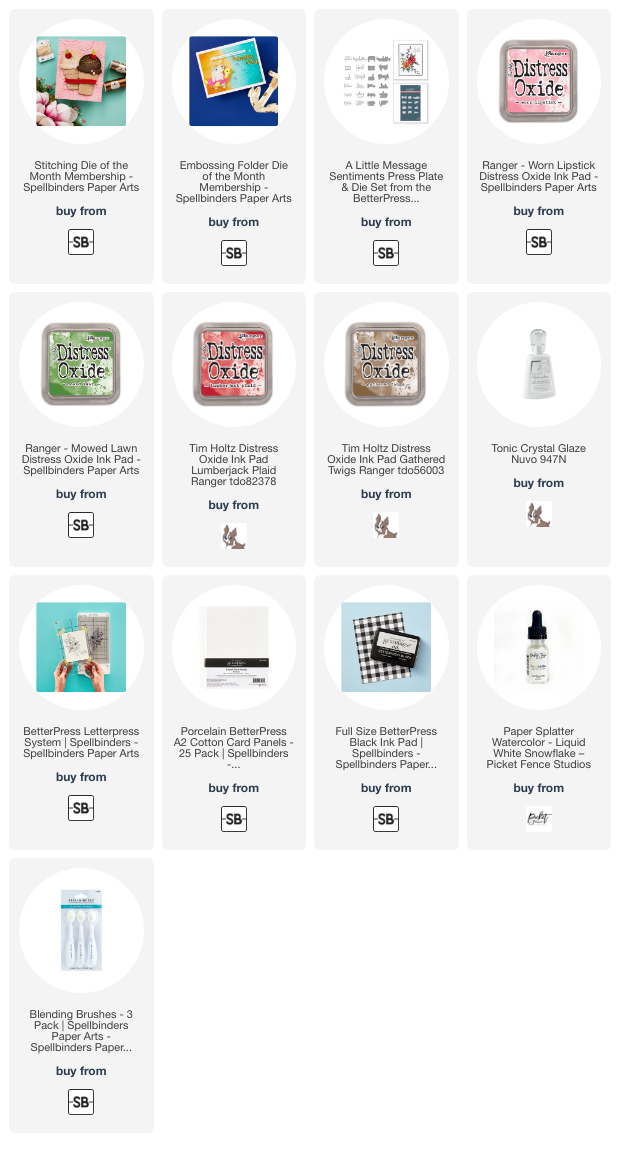
Today I'm sharing my card featuring the Spellbinders Stitching Die and Embossing Folder June clubs!  This month's Stitching Die is an easy and quick stitching session too!

First I inked a piece of 80# Neenah with Worn Lipstick Distress Oxide with an ink blending brush.  Then I added water splatters and after several seconds, used a clean paper towel to blot the excess.  Next I added white watercolor splatters with a paint brush.  I set the piece aside to dry.

The June Stitching Die of the Month called "Stitched Ice Cream", contains all of the dies to make this sweet ice cream cone, plus two sentiment dies and the cherry!  The cardstock and thread I used are all from my stash.  The pink floss is DMC 957.  The off white is leftover from and old embroidery project and is more like a heavier DMC Pearl thread.

I inked up scraps of white cardstock with Lumberjack Plaid, Mowed Lawn, and Gathered Twigs Distress Oxide inks.  I die cut the cherry pieces and assembled it with glue.  To make it really stand out, I added Crystal Glaze to the cherry.

When the ink blended panel was dry, I used the June Embossing Folder (called Summertime Waves) to emboss it and then adhered it to an A2 card base with glue.

The sentiment I used is from the A Little Message Sentiments Press Plate & Die Set.  I used BetterPress black ink to press it into Porcelain Cotton cardstock with my BetterPress Letterpress system.  I cut it out with the included coordinating die.

Why didn't I use one of the sentiments in the Stitching Die set?  Ummm....lame brain, I guess! LOL!  I just totally spaced, but I do like the sentiment I used!

That's it for my sweet and yummy card!  If you'd like to check out all of Spellbinders clubs, click HERE to see all of the options!  Thank you so much for stopping by!

Thank you for using my affiliate links to shop (never any additional cost to you)!

Thursday, May 16, 2024

Thank You, You're The Best

Today I'm sharing my card featuring Picket Fence Studios new and so gorgeous Blooming Trumpet Flowers stamps and coordinating dies.

For the background I white heat embossed the individual flowers and leaves from the Blooming Trumpet Flowers stamp set.  Then I ink blended on Distress Oxide inks (colors in list below) in an ombre pattern.  I used a clean paper towel to lightly wipe the ink off of the embossing.  Then I glued it to an A2 card base.

Then I white heat embossed the large floral image in the Blooming Trumpet Flowers stamp set onto vellum.  I cut it out with the coordinating die.

Before I added anything else to the card front, I stamped the large flower on the inside of the card with Spun Sugar and Kitsch Flamingo Distress Oxide inks.

After I stamped in black ink and die cut the two sentiments from the Blooming Trumpet Flowers, I glued one on the inside of the card.

I glued together four layers of white cardstock die cut with the window die from the Basic Die Cutting Set 1 and then glued it to the card front.

Next I used tape runner to adhere the sentiment to the die cut vellum.  Then I glued Gradient Flat Back Pearls in Lime Green and Pale Pink here and there on the vellum floral.  Now I can add dots of glue behind the sentiment and pearls to adhere the vellum to the card.  No adhesives will show!

Check out my Instagram for the reel I posted today if you'd like to see more!  Thanks so much for stopping by!

Thank you for shopping with my affiliate links (never any additional cost to you)!
Wednesday, April 17, 2024

A Floral Shaker Card for Your Friend With A Mailable Card Stand

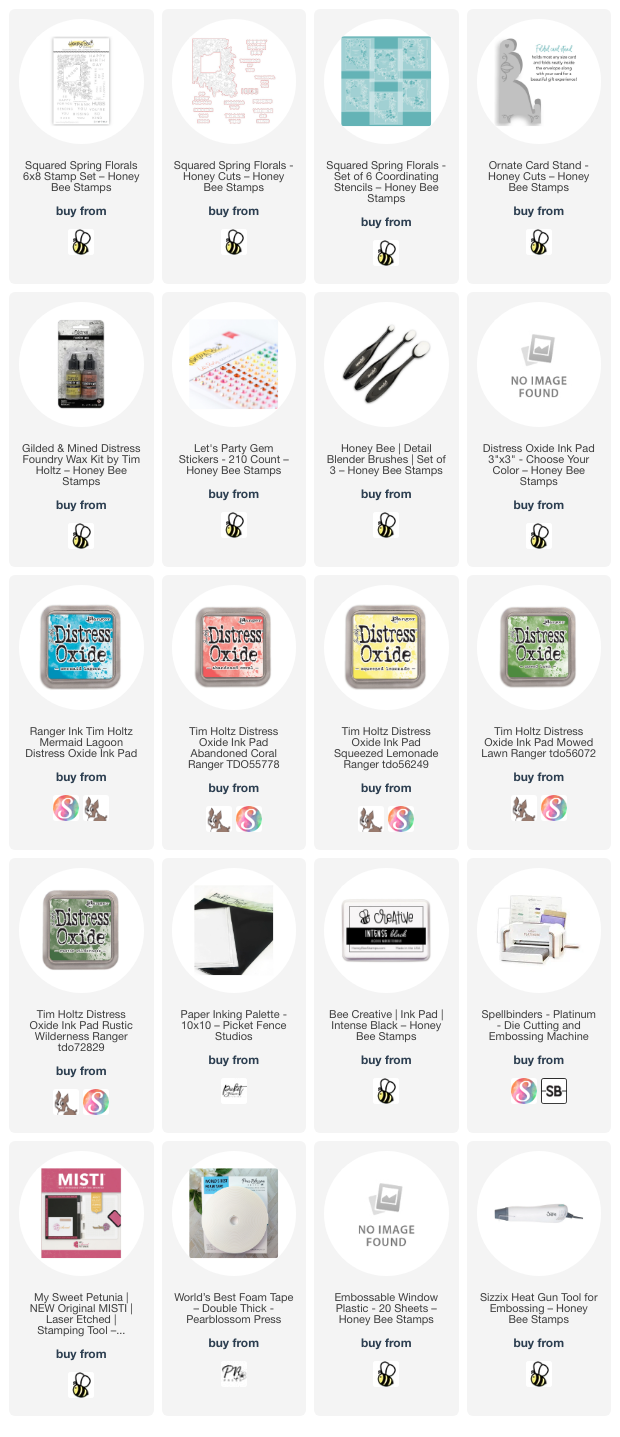
Hello crafty friends!  Today I'm sharing my shaker card that features Honey Bee Stamps new Squared Spring Florals stampsHoney Cuts, and coordinating coloring stencils.  I love the design of this stamp with the flowers spilling from the upper left corner! I've also made a card stand with the new Ornate Card Stand Honey Cut that can be mailed with the card! How fun it would be to receive a card with a matching stand to display it? Read on for all of the details.

First I used the Squared Spring Florals stencil set and blender brushes to color the image.  I used Distress Oxide inks in the colors of Abandoned Coral, Peacock Feathers, Squeezed Lemonade, Mowed Lawn, and Rustic Wilderness. Then I placed the piece into my MISTI and centered the Squared Spring Florals stamp over the image. I stamped it with Intense Black ink.

The Squared Spring Florals Honey Cuts have dies for all of the sentiments as well as a die to cut out the floral image and a die to cut out just the center square. So many options! As you can see from the photos, I just used the center square die to cut the opening for my shaker window. After I added a piece of acetate to the back of the opening, I added The World's Best foam tape around the opening and all of the edges. I sprinkled in my sequins and closed the opening with another piece of acetate. This makes it easy to adhere the card to your card base.

After I stamped the sentiment in black ink and cut it out with the coordinating die, I used Bee Creative Glue to adhere it to the shaker window. I added pretty yellow gems from the Let's Party Gem Stickers.

Next I die cut the Ornate Card Stand from some coordinating teal cardstock. Since I've had this Gilded Distress Foundry Wax for quite some time (and have NOT even tried it!) I thought I'd add some gold touches to the stand. I followed the directions on the bottle and added the wax with an old paint brush. TIP: I held the brush almost sideways to the cardstock to lightly brush it on in a more natural looking way. To set the wax, you use your heat tool over it and it becomes so pretty and shiny!

This was super fun to make! It was so easy and quick, that I am going to try to make more to send with the cards I mail. This next photo shows how pretty it looks with the card!

I hope you've enjoy my post today and have been inspired to try out the Ornate Card Stand for your cards! Thanks so very much for stopping by!

Thank you so much for shopping with my affiliate links (never any additional cost to you)!

Thursday, February 8, 2024

Spellbinders Beautiful February 2024 Embossing Folder of the Month

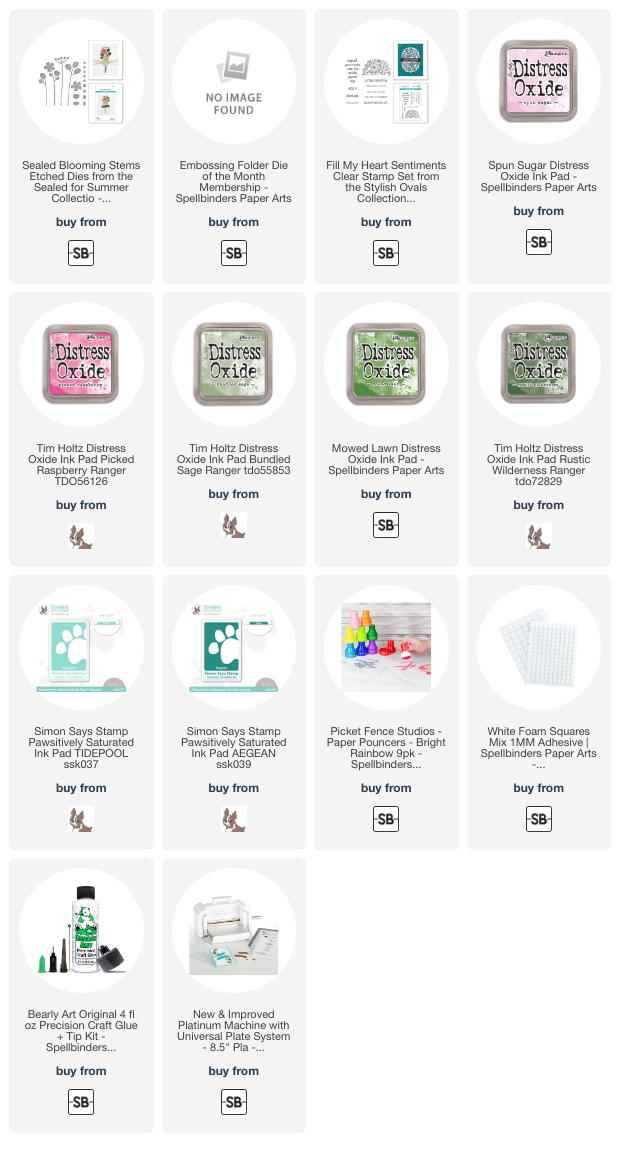
The Spellbinders' February Embossing Folder called "Swirling Blooms" is part of their amazing club kits, and I love it!  I created a simple, sweet and so pretty get well card -- keep reading for the details!

I used my brayer to ink up the smooth side of the Swirling Blooms embossing folder with a lovely shade of teal ink.  I placed 80# Neenah inside and ran it through my Platinum die cutting machine.  I love how this shows off the beautiful embossed detail!

Next I die cut white cardstock with the die in the Sealed Blooms Stems die set.  I used these awesome Paper Pouncers to color them with a few different inks (listed below).

I adhered the arranged blooms with glue and some small foam squares.

The sentiment is from the Fill My Heart Sentiment set and stamped in a darker teal ink.  After I trimmed it into a strip, I used foam tape strips to adhere it to the card.

I hope you will check out all of the monthly Club Kits by Spellbinders.  I love the broad selection of club kits that suit everyone's favorite product!

Thank you so much for using my affiliate links to shop (never any additional cost to you)!

Saturday, July 15, 2023

Three Beautiful Christmas Cards with Spellbinders Classic Christmas Collection

Today I'm sharing three beautiful Christmas cards I made with four of the products from Spellbinders newest release called Classic Christmas.  I honestly can't choose a favorite!  Let me know which one you like the best!

This first card featuring the Vintage Ornaments 3D embossing folder with the Classic Merry Christmas dies would be easy to mass produce!

The Vintage Ornaments embossing folder is so beautiful and I think it would stand out with any color cardstock.  On this card I used a brushed gold metallic cardstock.

I die cut the Classic Merry Christmas dies from 80# Neenah and more brushed gold cardstock two times.  (I saved the second set of layers for another card.)  After I adhered the layers together, I added strips of foam tape to the back to pop it up.  You definitely could save time by just gluing the sentiment directly to the card.

This next card takes a bit more time, but overall was pretty quick to make.

First I embossed a piece of Fern cardstock with the Vintage Ornament embossing folder.  I trimmed it to 4" x 5-¼" and then took a metallic gold ink pad a very lightly swiped it over the raised portions of the embossed piece.  Then I layered it onto gold mirror cardstock and added the layers to an A2 card.

Next I added Distress Oxide inks with blending brushes through each of the stencils in the beautiful Christmas Florals stencil set.  The colors I used are in the supply list below.  Next I used the coordinating Christmas Florals die to cut the image out.

Then I did something I rarely do!  I cut the piece into two pieces.  It's trimmed just a bit more than half way.  I added foam tape to the back to adhere it to the card.  I used one of the three sentiment dies included in the Christmas Florals die set to die cut the sentiment from gold mirror cardstock.

My final card took the most time, but I think it's my favorite!  I don't usually use these colors for greenery in florals, but I really like this!

I used the Christmas Florals stencils again with Distress Oxide inks.  This time though, with stencil #5 (yes, they are numbered!) I wanted to add pretty gold texture paste.  After I positioned the stencil and secured it with removable tape, I inked all areas but the pinecones, berry and flower centers.  Next I masked off areas I wanted to protect from the gold paste.  This did take a bit of time!  I spread the gold texture paste through the openings, removed the stencil, and set the piece aside to dry.  Don't forget to clean the stencil and tools immediately!

I adhered the dry panel to an A2 card and then I popped the Classic Merry Christmas sentiment up with foam tape.

The extra time this card took was worth it to me!  Thank you for stopping by today.  I hope you have a fun and crafty weekend!!!

Thank you so much for using my affiliate links to shop (never any additional cost to you)!