Showing posts with label Halloween card. Show all posts

Saturday, August 15, 2026

Buzzy Pup-Bee Halloween Card

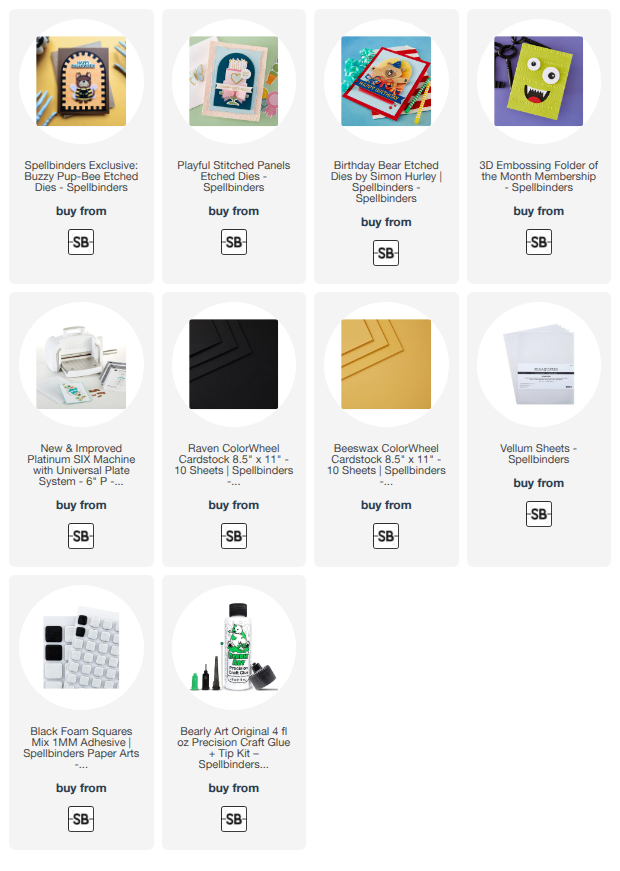
Happy Saturday, friends!  Today I'm sharing this adorable Halloween card that features Spellbinders new Buzzy Pup-Bee die set!

This adorable little Buzzy Pup-Bee is so cute dressed up in his bee costume!  I die cut the dies from white, black, and yellow cardstock.  The wings are die cut from vellum.

I used Copic markers for the eyes and ears of the pup.  For his candy bucket, I colored green and pink Copic colors onto a scrap piece of white cardstock.  I trimmed it to fit behind the top layer of the bucket and used glue to adhere the two layers together.

The Buzzy Pup-Bee is easy to assemble, and if you need a bit of help, there's a guide you can see in the photos on the product page.

For the layers of the A2 card base, I first die cut black cardstock with the second largest die from the Playful Stitched Panels die set.  Then I placed the die cut panel into the Spooky Web 3D embossing folder.  This is from the August 3D embossing folder club kit, and is still available!  This folder has two different embossing patterns perfectly sized for your A2 card layers.

I glued the die cut and embossed piece to some yellow cardstock that I trimmed to 4" x 5-¼".

The sentiment is from the Birthday Bear die set.  After I die cut it from white cardstock, I glued a piece of black cardstock to the back and popped it up with foam squares.

Next I popped up the Buzzy Pup-Bee with foam squares for more fun dimension.

I think this turned out super cute!  I hope you do too!  Thanks for stopping by.  I hope you are having a great weekend with lots of crafty time!

I so appreciate that you use my affiliate links to shop! (Never any additional cost to you.)  It helps me with the expenses of posting my creative content, thank you!

Wednesday, October 23, 2024

Boo To You! and Happy Halloween Shaped Card

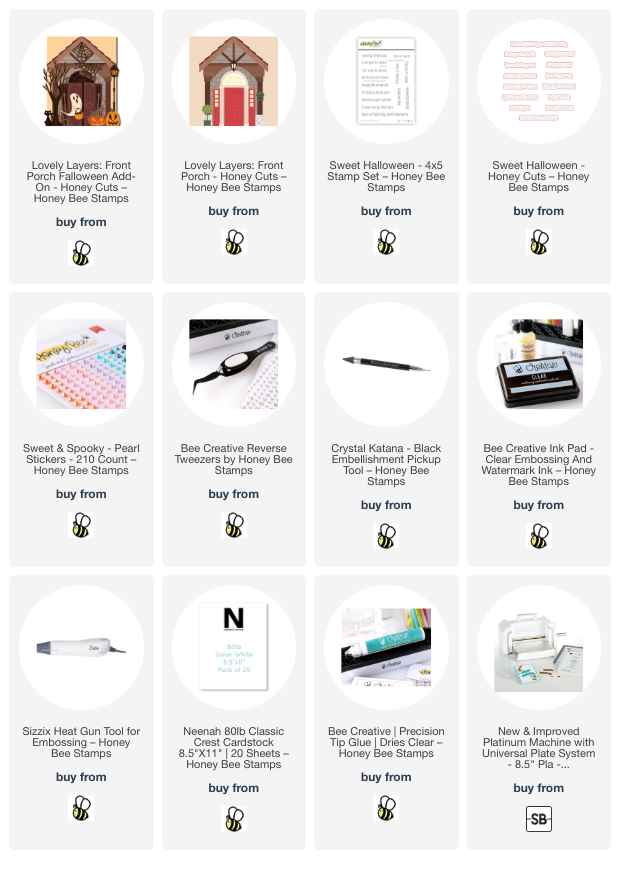
Hello crafty friends! Today I'm sharing my cute Halloween card that features Honey Bee Stamps Lovely Layers: Front Porch Falloween Add-on Honey Cuts! This pairs with the previously released Lovely Layers: Front Porch dies.

Before I begin how I made this, I wonder if you, like me, feel overwhelmed with a lot of dies like the Lovely Layers: Front Porch Falloween Add-on? I found a way to break it down to make it so much easier! I printed off the Layering Guide that is available to download and found in the product description.

Then I looked at the first section of the Layering Guide and just focused on the layers for the door, as shown. I just continued through the guide and the pieces were assembled in no time! I used two shades of gray cardstock, and black, white, orange, brown, and yellow cardstocks to die cut the elements in the Front Porch and the Front Porch Falloween Add-on sets.

The cat's eyes and the pumpkin stems are white cardstock that I colored with a YG25 Copic marker.

Using my reverse tweezer and pick-up tool made it easy to glue the layers together.

For the card base, I took a folded A2 card and placed the large die from the Front Porch dies with the folded edge of the card just below the top of the die. I ran that through my die cutting machine to create the shaped card base.

Then it was just a matter of arranging and gluing the elements to the base.

I stamped three sentiments from the Sweet Halloween stamp set with clear embossing ink onto more of the dark gray cardstock. I added white embossing powder and then set it with my heat tool. I cut the sentiments out with the coordinating dies.

I glued one sentiment inside the card.

I adhered the other two sentiments to the front of the card with foam strips.

Then I added Sweet and Spooky pearl stickers to the tree, pumpkins, and door. Did you notice how one of the pumpkins is on the planter? Haha!

Thanks so very much for stopping by!  I hope you have a wonderful day!

Thank you for using my affiliate links to shop (never any additional cost to you)! 

Sunday, October 13, 2024

Happy Halloween, Friend!

 I'm over on the blog at Brass & Bliss today to share the details of my Halloween card that features the Jack O Lanterns stamps and coordinating dies.

I used patterned paper from the Spook-tacular paper pad to frame the stamped and Copic colored scene within the Nested Square die cut opening.  The tree stamp is in the Jack O Lantern stamp set.

I stamped the string of pumpkins and the other pumpkin images and colored them with my Copics.  The images are die cut with the coordinating Jack O Lantern dies.

There are five sentiments in the Jack O Lantern stamp set and I chose one to stamp and trim for my card.

I was so dismayed to discover some mysterious smudges on the patterned paper and actually tossed this in the trash!  However, after other attempts to save this card I ended up retrieving it from the trash.  I hid the smudges by creating the two frames you see on the card!  Two dies nested together from two set (Nested RC Squares and Classic Nested Rectangle dies) created the frames and saved the card!

Get lots more details and progress photos over on the Brass & Bliss blog.  Thank you so much for stopping by!

Wednesday, September 25, 2024

I'm Batty For You! A Sweet Halloween Card

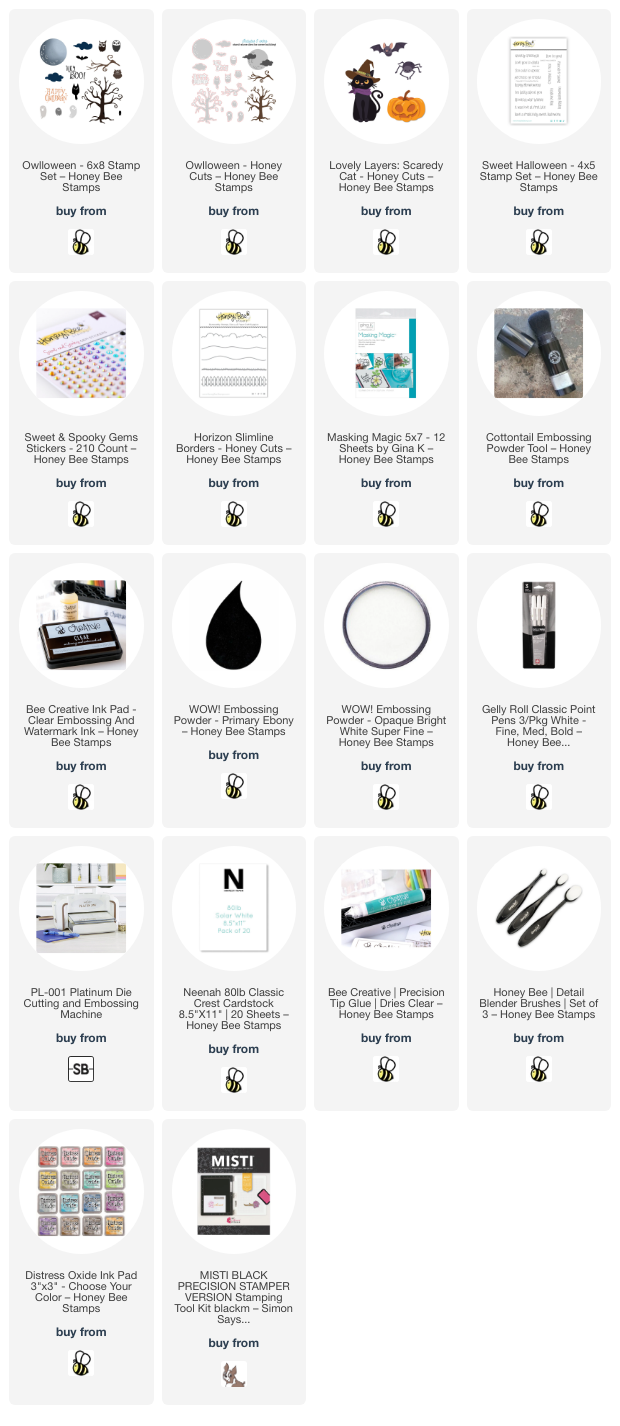
Hello crafty friends! Since it's almost October (I can't believe how time flies!) I've made a not too spooky card for Halloween featuring a few of the new sets in the Honey Bee Stamps' Falloween release! I love how so many of Honey Bee's sets work together such as the Owlloween stamps and coordinating dies with the Lovely Layers: Scaredy Cat dies.

Before I began, I die cut the moon in the Owlloween Honey Cuts from masking paper. Be sure to save the negative part to use later. Then I die cut a 4-¼" x 5-½" piece of masking paper with a hill die from the Horizon Slimline Borders dies. These will be used to mask the sky and the ground.

All of the inks I used for this background panel are Distress Oxide inks. I placed the mask for the moon onto an A2 sized piece of 80# white Neenah. I placed the mask for the ground at the bottom of the A2 white Neenah panel. Then I used ink blending brushes and the following colors to create the night sky around the moon: Prize Ribbon, Chipped Sapphire, Villainous Potion, and Black Soot.

Next I placed the negative moon mask around the moon. Using my MISTI, I inked up the moon stamp from the Owlloween stamp set with Lost Shadow. I used a blending brush to wipe away a lot of the ink in the center of the stamp so that the edges of the moon would be darker than the rest of it. I stamped the moon, then repeated this step as much as needed until I was happy with the look. Before I removed the mask, I inked on Antique Linen just around the edges of the moon.

I removed the negative moon mask and put the mask for the moon back over it. I blended on a bit more Antique Linen around the edges of the mask blending out into the sky. Then I covered the sky with the other mask and blended on Black Soot, Chipped Sapphire and Prized Ribbon for the hill. I left a portion of the ground lighter to look like the light of the moon.

I know that sounds like a lot a lot of steps, but it was actually very easy to do. If you are more visual, like me, I will have a reel posted on my Instagram soon that will demonstrate these steps.

Note: I did the following step the next day to allow lots of time for the Oxide inks to dry thoroughly. I added anti-static powder to the inked nighttime panel. Then I stamped the tree from the Owlloween stamp set with clear embossing ink and added black embossing powder. I used my heat tool to set the powder. I love the bit of dimension and shine this adds!

Then I stamped the small bat in the Owlloween set with black pigment ink onto the background piece, some hanging from the tree branches and a couple sitting on branches.

The large bat and the pumpkin are from the Lovely Layers: Scaredy Cat Honey Cuts. I die cut black cardstock with the bat die. The bat's nose/ears die and the pumpkins layers are die cut from white cardstock. After coloring the white layers with Carved Pumpkin and Crackling Campfire Oxides, I used glue to adhere the pieces together.

I used foam tape to adhere the bat and pumpkin to the card. Then I stamped a sentiment from the Sweet Halloween stamp set with clear embossing ink onto black cardstock. I added white embossing powder and heat set it. I cut it out with the coordinating Honey Cut and adhered it with a foam strip.

I added gems from the Sweet and Spooky Gem Stickers to the pumpkin's eyes. I used a white gel pen to add dots to the stamp bats' eyes.

I'm definitely on team "not too spooky" for Halloween! Are you like me, or are you more "give me all the creepiness"? Either way, you can create your preferred style with these sets!

Thank you so much for stopping by! Have a wonderful and crafty day!

I know you have lots of choices for shopping and I thank you for using my affiliate links (never any additional cost to you)!
Wednesday, September 4, 2024

Are You Team Sweet or Spooky For Halloween?

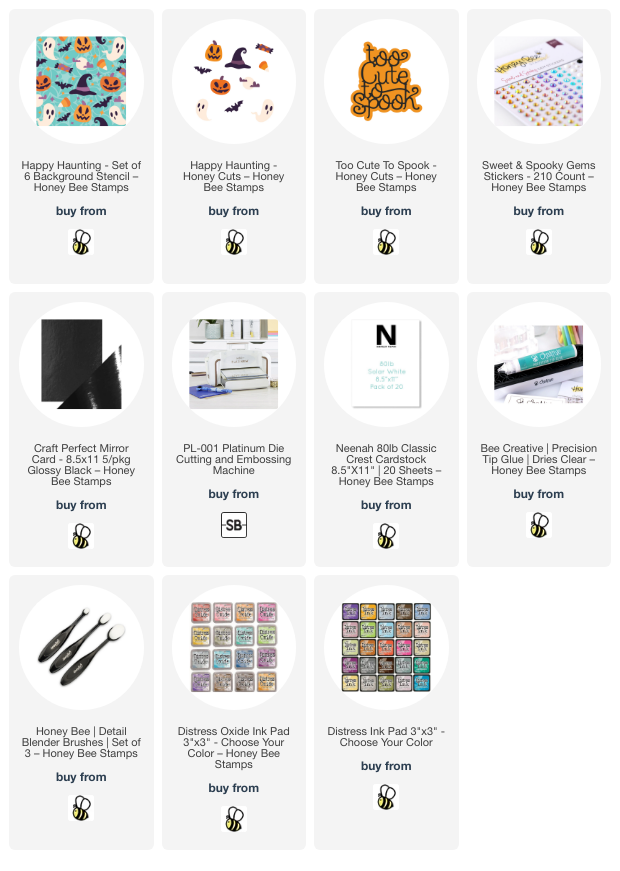
Hello card making friends! Today I'm sharing this sweet and not too spooky Halloween card that features a few of the products from the Honey Bee Stamps Falloween Release.  I used the adorable Happy Haunting Stencil set for the background and the Too Cute To Spook Honey Cuts for the sentiment.

I started out with a 5-½" square piece of white cardstock. The Happy Haunting Stencil Set has six stencils. I used five of them, omitting the stencil with the spider web. I used ink blending brushes to add a mix of Distress Inks and Distress Oxide inks through the stencil layers.

On a scrap piece of white cardstock I stenciled two of the pumpkins (only used one), a ghost, bat, and hat.

I cut these out with the coordinating Happy Haunting Honey Cuts.

Here is a list of the inks I used:

  • Distress Inks:
    • Squeezed Lemonade
    • Saltwater Taffy
    • Salvaged Patina
  • Distress Oxide Inks:
    • Wilted Violet
    • Mowed Lawn
    • Antique Linen
    • Lost Shadow
    • Black Soot

Next I die cut the shadow layer of the Too Cute To Spook dies from more teal cardstock. The top layer of the sentiment is die cut from glossy black cardstock. I used glue to adhere the two together.

I added foam dots to the back of the sentiment and adhered it to my card. Then I added foam tape to the back of the Happy Haunting die cuts and placed them around the sentiment

To finish up, I added black and white gems from the Sweet and Spooky Gem Stickers to the eyes of the ghosts and pumpkins. I placed a few turquoise gems around the sentiment.

I love stencil sets (if you can't tell--haha!) and the Happy Haunting stencil set is so versatile! It can be used for a more traditional holiday card, or just stencil the items you want and then die cut those out!

Thank you, always, for stopping by. I hope your day is a good one with fun crafty time!

There are many options for shopping and I really appreciate it when you use my affiliate links (never any additional cost to you)!

Saturday, September 2, 2023

Simon Says STAMPtember® 2023 Blog Party!!

Woohoo!!!  Simon Says Stamps' STAMPtember® Blog Party is here!!!   Do you know what STAMPtember® is?  Here is a description from Simon Says Stamp's blog:

We kick off this special, month-long celebration with a GIANT Simon Says Stamp brand release on the 1st! These exclusive products are not limited edition; all of the Simon branded products released on STAMPtember® 1st (like all Simon branded releases) become a part of the Simon catalog and are restocked as needed.

All STAMPtember® long exclusive collaboration stamp sets (many with coordinating dies) will be unveiled—designed by your favorite brands! These special sets are limited edition and only available while supplies last, so if you love it you’ll want to make sure to order it right away! Each collaboration set release date is a secret. This is what makes STAMPtember® so fun—every day is like a new present to unwrap!

You can read about even more here:  STAMPtember® Did You Know?

Next, continue reading until the end because I have an exclusive offer Simon gave me to share with you!  There are many different promotions being offered on the blog's of the designers in this Party today, so be sure to go to as many as you can and find the offer that works best for you!

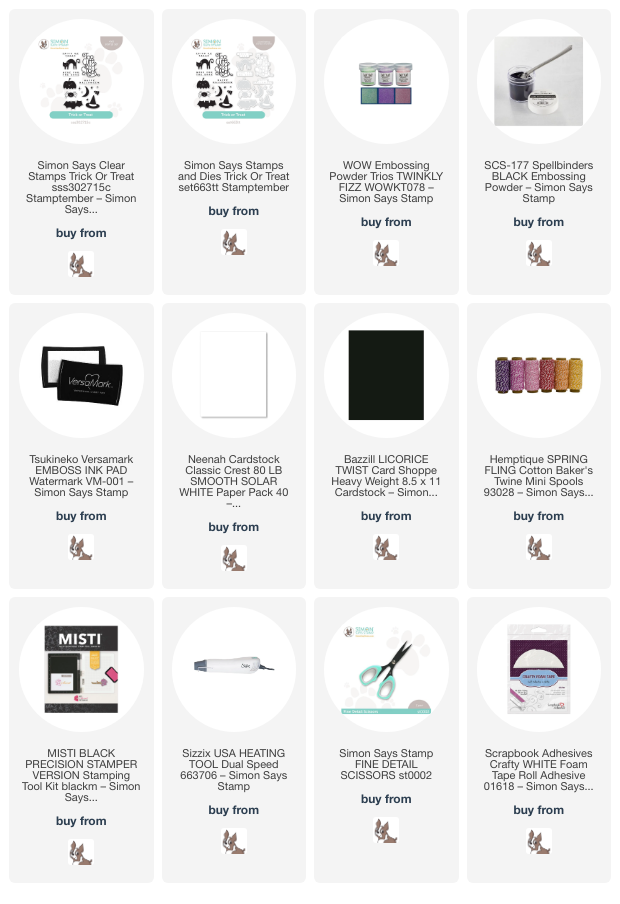
My card that I'm sharing today is a cute, not spooky, Halloween card!  This features Simon's new Trick or Treat stamp set.  Be sure to check it out because there are several more images in this set that I did not use!

I heat embossed the spider and sentiment with black embossing powder.  I cut them out with my detail scissors.

For the background, I did repeat stamping of the cat.  I used my MISTI to stamp one cat with clear embossing ink.  I heat embossed black embossing powder on that one.  Then I stamped the other cats and embossed them with pink sparkle embossing powder.

I added a black mat layer to the embossed panel and adhere them to an A2 card base.  Then I added foam tape to the back of the sentiment and spider to adhere them to the card.  I tied a string of twine for the spider's web for a touch of fun!

If you would like to stock up on several new goodies from STAMPtember®, or just want other items, this is the coupon code for you!  (Be sure to follow the directions on this image.)  Just click the image to head over to Simon's shop!

Thank you so much for stopping by!  Be sure to head back over to the Simon Says Stamp blog to check out the links in the blog party for lots more awesome inspiration and other shopping codes.

I really appreciate you using my affiliate links to shop (never any additional cost to you)!

Tuesday, September 27, 2022

Cute, Not Spooky, Pumpkin Halloween Card

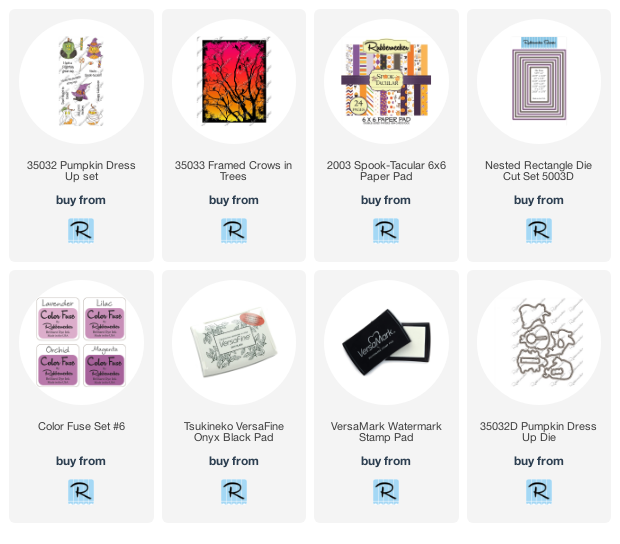
Today I'm sharing a cute, and not too spooky, Halloween card using Rubbernecker Stamps' adorable new Pumpkin Dress Up stamp set.  And I love this new Framed Crows In Trees background stamp too!  I'm using another of their new paper pads, this one called Spooktacular!

First I chose some patterned paper from the new Spooktacular paper pad and trimmed it to A2 size.  I adhered it to my card base and adhered orange paper from the pad that I die cut with a Nested Rectangle die over the top.

Next I used some purple paper from the Spooktacular paper pad and trimmed it to 3-¾" x 5".  I inked up the edges of it with inks from the Color Fuse set #6 set.

Then I stamped the Framed Crows In Trees background stamp onto the inked purple paper.  I used my anti-static pouch before stamping with Versamark ink.  I sprinkled on black glitter embossing powder and heat set it.  Note:  These papers have a smooth coating and to keep it from warping I kept my heat tool moving quickly around.  Then I blended on some Black Soot distress ink just around the edges for further impact.  I adhered the piece to the card.

I stamped the cute little image from the Pumpkin Dress Up set in Copic safe black ink and colored it with my markers.  I fussy cut the image out a popped it up with foam tape on the card front.  I stamped the sentiment from the set with Versamark onto a scrap of the orange paper, heat set it and added a purple layer.

This was such a fun and cute card to make!  Thanks so much for stopping by!!


Thank you for using my affiliate links (never any additional cost to you).

Sunday, October 11, 2020

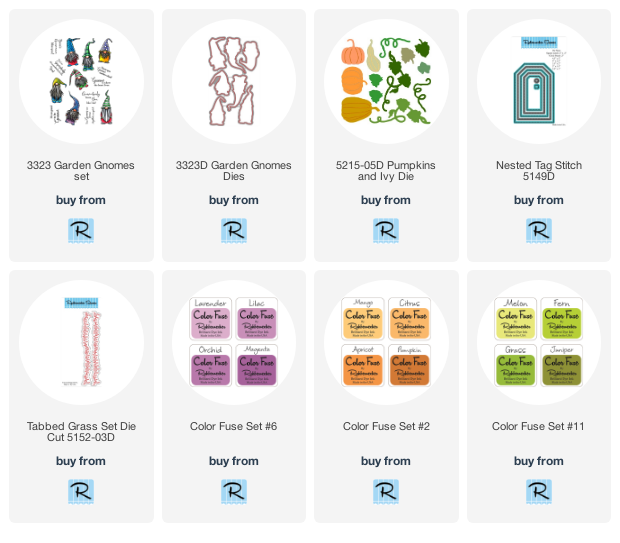
Halloween Gnomes | Rubbernecker Stamps

 Happy Sunday my friends!  It's getting really close to Halloween and I wanted to make these adorable gnomes from Rubbernecker Stamps into Halloween gnomes!  These are from the Garden Gnomes set and there's several included sentiments.  This sentiment "True Gnomes are alway together in spirit" was just perfect for this setting!  Read on for the steps to make this fun card!

Card base:

  • The base is an A2 size at 4-¼" x 5-½".  I used a cloud stencil, ink blending brushes and Color Fuse inks to create the cloudy background.  I used Basil ink from Set 10 and Magenta ink from Set 6.  I inked up the outer edges with Black Soot Distress ink.
  • Next I hand cut two hill layers from white card stock.  I inked them up with Fern, Basil, and Juniper inks.
  • Adhere the taller hill with glue and the shorter hill with foam tape.
  • Die cut grass with one of the Grass dies.  Ink it up with Fern and Grass inks.  Adhere it to the bottom of the card layer.

Card elements:

  • Die cut white card stock with the Pumpkin and Ivy die.  I used sponge finger daubers to color the pumpkins with Citrus and Pumpkin inks.  I colored the vines with Fern ink.
  • I'm not sure if you can tell from the photo, but I added some shine to the pumpkins and vines, which really made the colors pop!  I did this by squeezing a bit of Glossy Accents onto my craft mat and barely diluted it with water.  I brushed it onto the pumpkins and vines and set them aside to dry.
  • I stamped three of the adorable gnomes in Copic safe ink and colored them in Halloween colors with my Copic markers.  I used the coordinating dies to cut them out.  I used a clear sparkle pen to add some shimmer to their hats and clothes.  You can kind of see it in the next two photos.
  • I added the gnomes and pumpkins to the card with glue and some with foam tape.
  • I finished it off by stamping the sentiment with Versamark clear ink onto black card stock.  I sprinkled on some white embossing powder and heat set it.
  • I found that the smallest Nested Tag Stitched die was just the right height to die cut the sentiment.  It was a bit long, so after I die cut it the first time, I shifted the die (using just the squared off end) to make it the length I wanted and die cut just that end.  I popped it up with foam tape.


I love how versatile these gnomes are and how you can color them to suit whatever your need is!  It's great when a set can be used year round!!  Thank so much for stopping by!!


Thursday, September 17, 2020

Jack-o-Lantern Patch Surprise Card | Honey Bee Stamps

 Happy Thursday my friends!  Today I have a fun surprise slider card using Honey Bee Stamps Pumpkin Patch, The Name's Jack, and FaBOOlous Sentiments.  This is the first surprise slider card I've ever made and I really had fun with it!


And the fun part when the tab is pulled up!

Let's create the fun elements of the card:

  • Using a 4" x 5-¼" piece of white card stock, the cloud stencil from the Outdoor Scene Builder stencil set, and Background Blender brushes, blend Distress Oxide Inks to create the clouds.  I used Wilted Violet, Seedless Preserves, and Black Soot.
  • Use a ½" circle die to cut a half circle from the center of the top edge.  Save the die cut half circle and stamp "pull" on it with clear embossing ink, add white embossing powder and heat set.  You will find "pull" and many other great interactive sentiments in the One-Of-A-Kind stamp set.
  • Die cut some bats from the Haunted House Add On die set using glitter card stock.
  • Die cut green card stock with the Grass Border Honey Cut.  Stamp the sentiment from the FaBOOlous Sentiments set in Versamark, add black embossing powder, and heat set.
  • Stamp pumpkins, leaves and vines from the Pumpkin Patch set.  Use the Pumpkin Patch stencil and Distress Oxide Inks to color them.  I used a Blender Brush and Crackling Campfire, Carved Pumpkin, Spiced Marmalade, Mowed Lawn, Twisted Citron and Vintage Photo Distress Oxide inks.  I used the jack-o-lantern faces from The Name's Jack and stamped them onto the pumpkins with black ink.  Die cut them with the coordinating dies.
  • Die cut the ghost from The Name's Jack die set.  Stamp a ghost face stamp from the coordinating stamp set in black ink.  Die cut two of the little arms and add glue just to the top edge.

Before I worked on the slider portion, I needed to get my pumpkins arranged to make sure they would cover the ghost in its hidden position.  When I had them arranged, I put a piece of Press N Seal over them, flipped it over, and used the Bee Cre    ative glue to adhere them where they overlapped.  Trim any pieces that overlap the 4" base.

To create the slider channel, I used my craft knife and cut a 3/8" channel in the cloud base. (I did some researching on Pinterest and YouTube for ways to do this.)  If you have Honey Bee's Straight Interactive Slider dies, this would be very easy!  (This set is in my wish list!)

I die cut two ½" circles with a die from my stash.  Add a round foam circle to one die cut circle, place it under the channel, and adhere the other circle on top.

Sit your pumpkin scene on the cloud layer (without adhering) and decide where the ghost needs to be so it will be hidden behind the pumpkins with the pull strip down. Adhere the ghost to the top die cut circle.

Cut a ¾" x 4" strip of white card stock and adhere an end of it to the circle on the back.  Trim any extra even with the top of the card layer.  Add foam tape on either side of the strip to keep it steady when pulling up.

Pull the strip up and stamp EEK, from the FaBOOlous Sentiments set, in black ink.

Stamp BOO on black card stock with Versamark, add white embossing powder and heat set.  Trim it to a rectangle shape and adhere under the ghost's arm.

Adhere the half circle that says "pull" to the top of the strip.  

Add foam tape around the edges of the cloud layer and secure it to a top folding black A2 card base.

I finished it up by adhering the bats and adding Glossy Accents to the eyes and mouths of the pumpkins and ghost.


Monday, October 7, 2019

Three Sheets to the Wind | Art Impressions

Happy Monday!  I'm over on the blog at Art Impressions today with my card featuring the SO fun Fright Night Set.  These ghosts with their wine glasses just crack me up! LOL!  They are having so much fun they don't even notice the black spider dangling down towards them!


To begin, I stamped the ghosts and the pumpkin onto masking paper and fussy cut them out.  I then stamped them onto Neenah 80# paper with Copic safe ink.  I stamped the pumpkin first, applied the mask, and then stamped the ghosts.  I put the mask onto the ghosts and added Distress Oxide inks with background blender brushes.  All of the colors are listed in the supplies below.  Before I removed the masks, I added splatters of some white ink spray for that starry look.  It's hard to see in the photos, but I also sprayed on some iridescent Glitter Dust for some subtle sparkle.  I also used a white gel pen to add a few more stars.  I colored the stamped images with my Copics (colors listed below) and finished it off with some clear sparkle on the ghosts. I die cut the panel out with a Rectangle Double Stitched die.


The spider is actually part of another stamp in this set.  I just cut it off as it will be easy to piece back in place to use with that stamp.  After I stamped it a few times in black ink, I used my Micron black pen to extend the line up to the sentiment.  I stamped the sentiment and trimmed it into a banner shape with a layer of patterned paper from my stash.


Thank you so much for stopping by!


Copic markers:
C00, CO, C1, C3, E13, E15, E17, E18,
N0, N2, R22, R35, R37, R39, Y17, YG05, YG17, YR16

Supplies:
Distress Oxide Inks:  Squeezed Lemonade, Carved Pumpkin, Picked Raspbertty,
Lucky Clover, Wilted Violet, Chipped Sapphire, Black Soot, Mowed Lawn

Monday, September 30, 2019

Autumn Owl Cubbies | Art Impressions

Happy Monday friends!  I'm over on the blog at Art Impressions today with another Cubbie card.  This one uses the so cute Autumn Owl Cubbies.


I have a few photos here for you today, as well as the Copic markers and supplies I used listed below. For more details, join me over on the Art Impressions blog.


Thank you for stopping by today!  Have a wonderful, crafty week!

Copic Markers:
YR27, YR18, YR16, YG17, YG25, YG67,
W1, W3, W5, W7, W9, Y17, C0, C1, C2, C3, C4, C5,
T0, T2, R20, E15, E23, E39, E57, E59, Blender

Supplies:
Art Impressions Autumn Owl Cubbies
Art Impressions Rectangle A2 Double Stitched dies
Art Impressions Tag Stitched dies 
Recollections Hocus Pocus 6x6 paper pad

Monday, September 23, 2019

Happy Halloween | Art Impressions

Happy Monday friends!  I'm over on Art Impressions blog today with this fun Halloween card.  I've used one of the stamps in the Halloween Magic set for my card.


This card was very easy to create.  I used the two spider web stamps that are from the HM Accessory Set to create the background.  I stamped them with some kraft colored ink onto a 5-1/2" x 4-1/4" piece of Neenah Desert Storm cardstock.


I stamped the main image onto some Neenah 80# cardstock with Copic safe ink and colored it with the Copic markers that I've listed below.  I trimmed it down to a rectangle shape that ended up being 5" x 1-7/8".  I used some coordinating patterned paper from my stash for the layers behind it.


The sentiment inside the card is also from the Halloween Magic set.  I added a few of the spider webs  for interest.  


Thank you so much for stopping by today!  Happy crafting!


Copic markers:
E17, E18, E71, E74, E77, G29,  R20, T2, T3, T5, T7, 
Y08, Y35, Y38, YG03, YG17, YG67,
YR04, YR09, V05, V06, V09

Supplies:
Neenah Solar White 80#
Neenah Desert Storm 80#