Showing posts with label Sweet Halloween stamps. Show all posts

Wednesday, October 23, 2024

Boo To You! and Happy Halloween Shaped Card

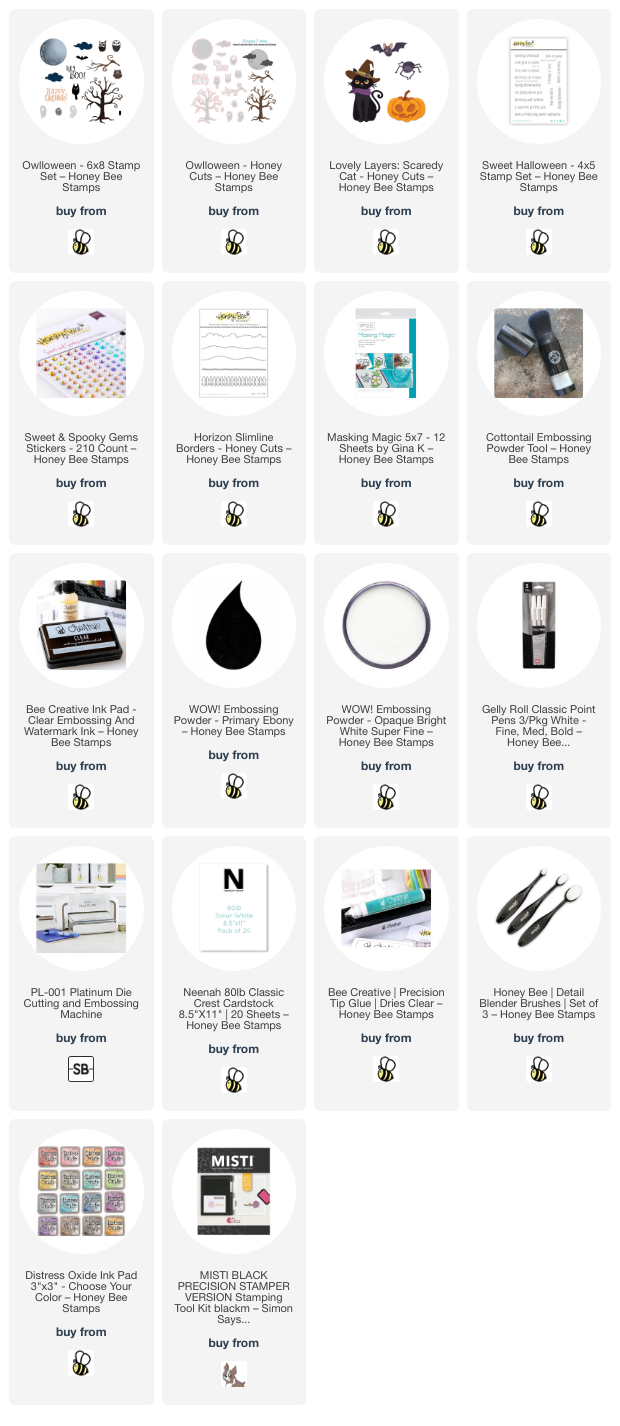
Hello crafty friends! Today I'm sharing my cute Halloween card that features Honey Bee Stamps Lovely Layers: Front Porch Falloween Add-on Honey Cuts! This pairs with the previously released Lovely Layers: Front Porch dies.

Before I begin how I made this, I wonder if you, like me, feel overwhelmed with a lot of dies like the Lovely Layers: Front Porch Falloween Add-on? I found a way to break it down to make it so much easier! I printed off the Layering Guide that is available to download and found in the product description.

Then I looked at the first section of the Layering Guide and just focused on the layers for the door, as shown. I just continued through the guide and the pieces were assembled in no time! I used two shades of gray cardstock, and black, white, orange, brown, and yellow cardstocks to die cut the elements in the Front Porch and the Front Porch Falloween Add-on sets.

The cat's eyes and the pumpkin stems are white cardstock that I colored with a YG25 Copic marker.

Using my reverse tweezer and pick-up tool made it easy to glue the layers together.

For the card base, I took a folded A2 card and placed the large die from the Front Porch dies with the folded edge of the card just below the top of the die. I ran that through my die cutting machine to create the shaped card base.

Then it was just a matter of arranging and gluing the elements to the base.

I stamped three sentiments from the Sweet Halloween stamp set with clear embossing ink onto more of the dark gray cardstock. I added white embossing powder and then set it with my heat tool. I cut the sentiments out with the coordinating dies.

I glued one sentiment inside the card.

I adhered the other two sentiments to the front of the card with foam strips.

Then I added Sweet and Spooky pearl stickers to the tree, pumpkins, and door. Did you notice how one of the pumpkins is on the planter? Haha!

Thanks so very much for stopping by!  I hope you have a wonderful day!

Thank you for using my affiliate links to shop (never any additional cost to you)! 
Wednesday, September 25, 2024

I'm Batty For You! A Sweet Halloween Card

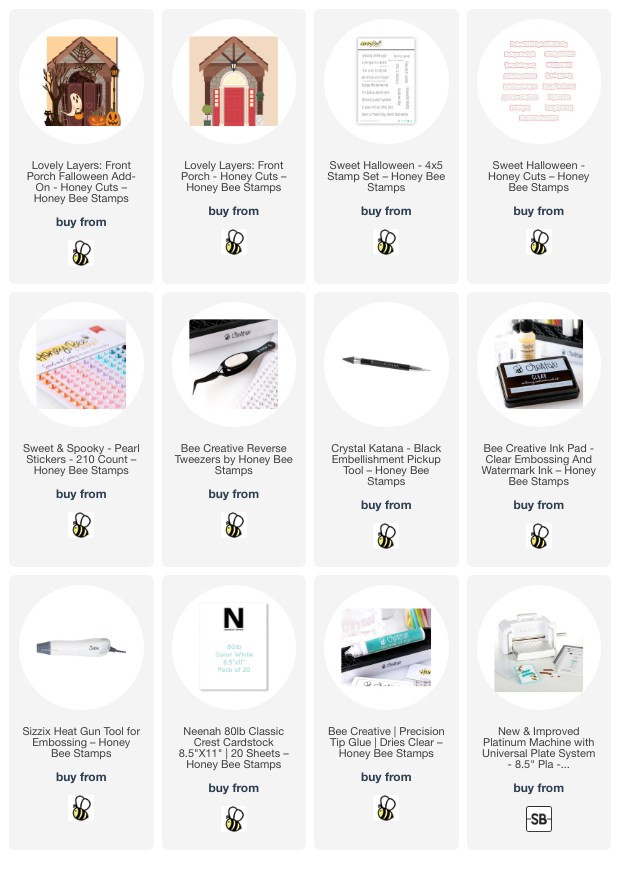
Hello crafty friends! Since it's almost October (I can't believe how time flies!) I've made a not too spooky card for Halloween featuring a few of the new sets in the Honey Bee Stamps' Falloween release! I love how so many of Honey Bee's sets work together such as the Owlloween stamps and coordinating dies with the Lovely Layers: Scaredy Cat dies.

Before I began, I die cut the moon in the Owlloween Honey Cuts from masking paper. Be sure to save the negative part to use later. Then I die cut a 4-¼" x 5-½" piece of masking paper with a hill die from the Horizon Slimline Borders dies. These will be used to mask the sky and the ground.

All of the inks I used for this background panel are Distress Oxide inks. I placed the mask for the moon onto an A2 sized piece of 80# white Neenah. I placed the mask for the ground at the bottom of the A2 white Neenah panel. Then I used ink blending brushes and the following colors to create the night sky around the moon: Prize Ribbon, Chipped Sapphire, Villainous Potion, and Black Soot.

Next I placed the negative moon mask around the moon. Using my MISTI, I inked up the moon stamp from the Owlloween stamp set with Lost Shadow. I used a blending brush to wipe away a lot of the ink in the center of the stamp so that the edges of the moon would be darker than the rest of it. I stamped the moon, then repeated this step as much as needed until I was happy with the look. Before I removed the mask, I inked on Antique Linen just around the edges of the moon.

I removed the negative moon mask and put the mask for the moon back over it. I blended on a bit more Antique Linen around the edges of the mask blending out into the sky. Then I covered the sky with the other mask and blended on Black Soot, Chipped Sapphire and Prized Ribbon for the hill. I left a portion of the ground lighter to look like the light of the moon.

I know that sounds like a lot a lot of steps, but it was actually very easy to do. If you are more visual, like me, I will have a reel posted on my Instagram soon that will demonstrate these steps.

Note: I did the following step the next day to allow lots of time for the Oxide inks to dry thoroughly. I added anti-static powder to the inked nighttime panel. Then I stamped the tree from the Owlloween stamp set with clear embossing ink and added black embossing powder. I used my heat tool to set the powder. I love the bit of dimension and shine this adds!

Then I stamped the small bat in the Owlloween set with black pigment ink onto the background piece, some hanging from the tree branches and a couple sitting on branches.

The large bat and the pumpkin are from the Lovely Layers: Scaredy Cat Honey Cuts. I die cut black cardstock with the bat die. The bat's nose/ears die and the pumpkins layers are die cut from white cardstock. After coloring the white layers with Carved Pumpkin and Crackling Campfire Oxides, I used glue to adhere the pieces together.

I used foam tape to adhere the bat and pumpkin to the card. Then I stamped a sentiment from the Sweet Halloween stamp set with clear embossing ink onto black cardstock. I added white embossing powder and heat set it. I cut it out with the coordinating Honey Cut and adhered it with a foam strip.

I added gems from the Sweet and Spooky Gem Stickers to the pumpkin's eyes. I used a white gel pen to add dots to the stamp bats' eyes.

I'm definitely on team "not too spooky" for Halloween! Are you like me, or are you more "give me all the creepiness"? Either way, you can create your preferred style with these sets!

Thank you so much for stopping by! Have a wonderful and crafty day!

I know you have lots of choices for shopping and I thank you for using my affiliate links (never any additional cost to you)!