Wednesday, January 25, 2023

Waffle Flower Sneak Peak Club 2023 Blog Hop

 Hello friends!  I'm excited to be a Waffle Flower guest designer to help kick off their new Sneak Peek Club!  This is a new monthly subscription service that allows the club members (subscribers) to play with new items about a month before they are released!

The card that I'm sharing below was made with 2023 Kit #1, and if you leave a comment below, you will be entered to win this same adorable January Sneak Peek kit!  On 1/30/2023, I will choose one person from all comments as a winner!  AND for a second entry, go comment on my Instagram post!

Also, be sure to visit the Waffle Flower Blog for more inspiration and links to other designers that will also offer a giveaway!

For your information, this is not a complete kit!  Check out all of the details here.  It is a sampling, for valued customers, of some not-yet-released items that will coordinate with the next release.  If you sign up over at Waffle Flower, you will receive the upcoming Sneak Peek Kit, not the one I'm using today.

PLEASE NOTE:  If you leave a comment, I need your email to contact you if you are the winner. Because of the way Blogger (my blog platform) is set up, I get a lot of comments that I cannot reply to because their email shows up as "noreply-comment@blogger.com".  It will do this if you have an established blog profile, but have no actual blog.  Not your fault, I know, but it's how Blogger is.  To be certain I can contact you if you are the winner and send your email to Waffle Flower, please use the "Contact me here" form in the left column with your comment!  I will keep a list of all received and enter you into the drawing.  So sorry, but thank you!!

-----------------------------------------------------------------

Now for my card!  This particular Sneak Peek Kit includes:  Bunny Ears Die, Layered Bows stencils, 1 piece of Shaker Cover - 3.75" x 5" oval, and 1 piece of Shaker Cover - 2.5" x 3.75" oval.  Plus an awesome Waffle Flower storage pouch to keep it all in!  These fabulous products will also be available for everyone over in the Waffle Flower shop on 2/5/2023.

I know this post is full of details, so I'll keep my card description brief!  I used the adorable Layered Bows Stencil (which can be used for lots of occasions) and added Saltwater Taffy and Abandoned Coral Distress Inks through the two layers with ink blender brushes.  Easy peasy, but so totally adorable!

I used two Nesting Circle dies for my layers to stamp a sweet sentiment from the Little Birdies Sentiments.  I layered the die cut bunny ears from the Sneak Peek Kit around the circle layers and popped it all up with foam tape.

For an extra cute touch, I used the two Layered Bows stencils from the Sneak Peek Kit to ink one more bow.  I fussy cut it out and glued it on between the two bunny ears.

I sure do thank you for stopping by today!!  After you leave a comment, or fill out the "Contact me here" form in the left column, be sure to go back to the Waffle Flower Blog to see more wonderful inspiration with this new Sneak Peek Kit!

To My Bestie -- Coloring With Stencils

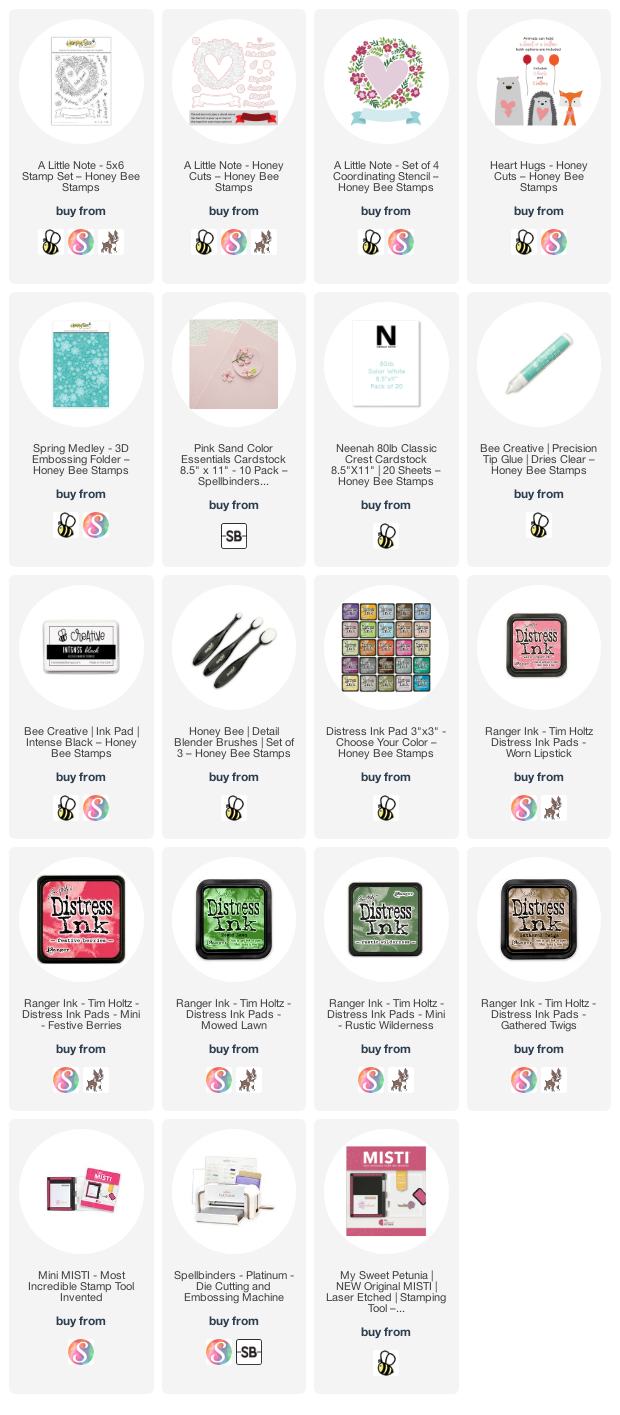
 Hello crafty friends! Today I'm sharing a sweet card for all the besties out there that features the beautiful new set called A Little Note. This is from the newest Happy Hearts release and also has coordinating Honey Cuts and a set of stencils to color the image!

First I placed some pink cardstock in the Spring Medley 3D embossing folder and ran it through my die cutting machine. This embossing folder is absolutely beautiful and is definitely at the top of my favorites!! I used Bee Creative glue to adhere it to an A2 card base.

Then I placed a piece of 80# Neenah into the corner of a stencil mat. I selected some Distress Inks to color through the A Little Note coordinating coloring stencils with my Detail Blender brushes. I used Worn Lipstick, Festive Berries, Rustic Wilderness, and Mowed Lawn. I decided to not used the outline stamp so the image would have a softer look to it. I used the coordinating A Little Note Honey Cuts to die cut the floral image and the banner image.

I chose a sentiment from the A Little Note set and stamped it onto the banner with black ink. I added foam dots to the back of the banner and set it aside to finish the other card elements.

Next I used the body of the hedgehog from the Heart Hugs Honey Cuts and die cut some kraft cardstock. I love that you can use this for a small bear too! I die cut the eyes and nose from black cardstock. To add some shading to the little bear I used a blender brush and some Gathered Twigs Distress ink. I die cut three of the small hearts and one larger one that's also in the Heart Hugs set. I blended on Festive Berries Distress ink and then added sparkle with a pink glitter pen I've had in my stash forever!

I used a white gel pen, a black pen and a pink Copic marker to add details to the bear. Then I used a craft knife to cut a slit right at the edge of the large heart and slipped the bear in! So cute! I added the heart under his hands with small foam dots.

I adhered the floral image to the card with glue and added foam dots to the back of the small hearts and placed them on the card.

I really had fun making this sweet and adorable card! The A Little Note stencils make such a beautiful image and I hope you've found some inspiration here today! Thank you so much for stopping by--you are so appreciated!

Thank you if you choose to use my affiliate links to shop (never any additional cost to you).

Thursday, January 19, 2023

Simon Says Stamp Damask Hot Foil Plate from the new "Kisses" Release

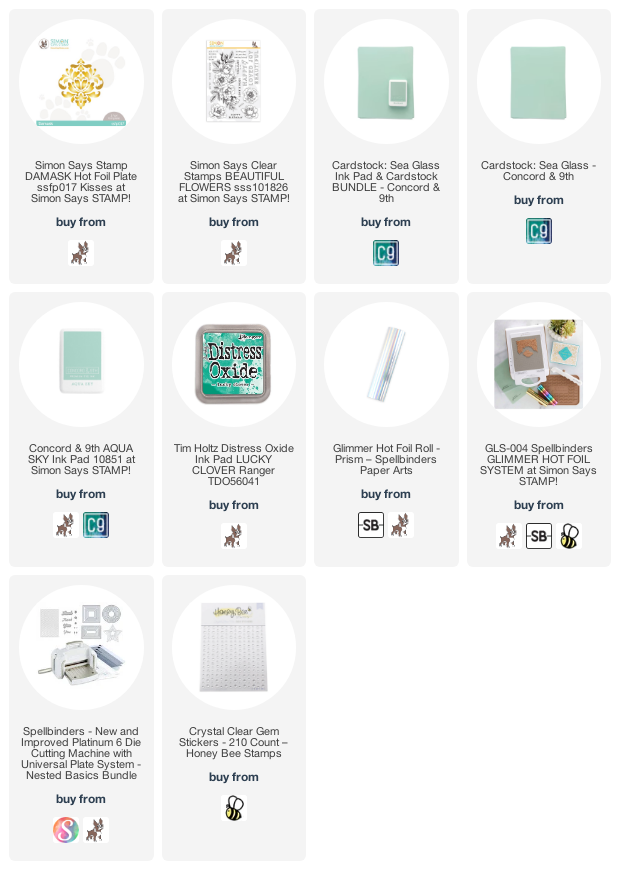
Today's the day for Simon Says Stamps' newest release called "Kisses" and I'm so happy to share this card with you today!  There are so many awesome new crafty products in this release, including this Damask Hot Foil Plate I've used on my card today!

I've used the new Damask Hot Foil Plate with foil, as expected, but I also used the plate to dry emboss additional details on the card layer!  Check out the details

For the dry embossing, I positioned the Damask Hot Foil Plate at one corner of a 4" x 5-¼" piece of cardstock.  I used the tan rubber embossing mat with the sandwich for embossing on my die cutting machine.  I repeated the steps for the other three corners.  Before I adhered the panel to an A2 card base I used an ink blending brush to add some coordinating ink around the edges of the piece.

Next I used my Glimmer Hot Foil System to foil the Damask Hot Foil Plate onto white cardstock with Prism Glimmer hot foil.  Then I just used my scissors to fussy cut it out.  I added some foam tape to the back to pop it up on the card front.

The sentiment is from the Beautiful Flowers stamp set.  I stamped it with Lucky Clover Distress Oxide ink, trimmed it into a strip, and popped it up on the card.  I decided to add a bit more bling by placing some Crystal Clear gem stickers on the base layer--I do love my bling!  Haha!

This was certainly the easiest and fastest card I've made in a while, yet is so beautiful with the gorgeous Damask Hot Foil Plate!  Be sure to check out all of the other products and inspiration for the Kisses release over at Simon Says Stamp!

Thank you for stopping by today!  I hope it is a good and crafty one!

Thank you for shopping with my affiliate links (never any additional cost to you).

Wednesday, January 18, 2023

Hello, My Friend--New Lovely Layers: Pansy

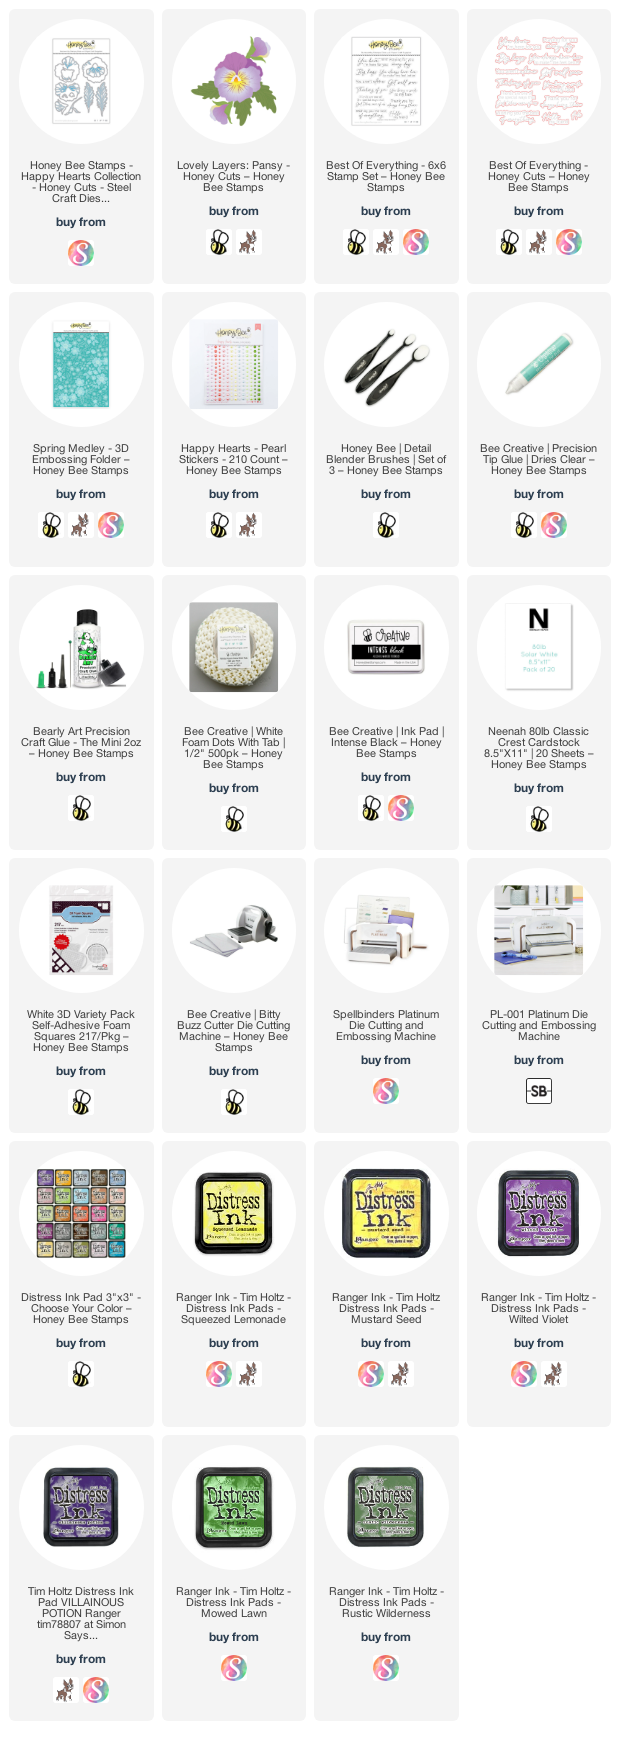
Hello crafty friends!! I'm sure by now you've seen the awesome new products in the Happy Hearts release! If not, be sure to check it all out in the Honey Bee shop! My card today features the gorgeous new  Lovely Layers: Pansy Honey Cuts! You can see peaks of the most gorgeous Spring Medley 3D embossing folder too! Check out the details below!  And, if you are on Instagram, I have a reel posted showing a bit of the process in making it!  Click HERE to see it!
First I created my card base and layer by running the Spring Medley 3D embossing folder and a piece of 80# Neenah through my die cutting machine. The results from using this beautiful embossing folder is just stunning!!! I really did hate to cover up so much of it with the pansies! LOL! I trimmed it to 4" x 5-¼" and used Bee Creative glue to adhere it to my A2 card base.

Next I die cut the layers for the pansy in the Lovely Layers: Pansy Honey Cuts. I die cut each one three times from yellow, purple, and green cardstock I have in my stash. Then I used some Distress Inks and Details Blending Brushes to add shading to each one. I used these Distress Inks: Wilted Violet, Villainous Potion, Mustard Seed, Squeezed Lemonade, Mowed Lawn and Rustic Wilderness.

When you begin with colored cardstock, it is so easy to just add the shading you want to bring the flowers to life! Another tip is to do a web search for your inspiration. I searched pansy images and there are so many beautiful color combinations. I was inspired by the colors of some pansies I've grown in my flowerbeds for my paper pansies. I used the blender brush for the purple ink to add just a touch of purple to the edges of the yellow petals.

Before I glued the layers together, I used a Prismacolor Imperial Violet pencil to add the purple veins on the yellow petals. I curled the petal edges with my fingers and glued them all together.

The sentiment is from the Best of Everything stamp set, stamped in black ink, and die cut with the coordinating Honey Cut. I used glue and foam dots to adhere the flowers, leaves and sentiment to my card. For a touch of bling, I added a few Happy Hearts Pearl Stickers around the flowers.

Are you on Instagram? If so, I sure hope you will join me in the Instagram hop celebrating the Happy Hearts release with lots of inspiration from the team.  AND, if you leave comments along the way, you will have a chance to win a $50 gift card to Honey Bee's shop!! Find me on Instagram at: @c.ann.h where you will find the entire hop list in my post.  (NOTE: January 20, 2023 is the final day for commenting for your chance to win.)

Thank you so much for stopping by!  I hope your day is awesome!

Thank you if you choose to use my affiliate links to check out the products (never any additional cost to you).

Friday, January 13, 2023

Spellbinders & Simon Hurley Birthday Basics Card

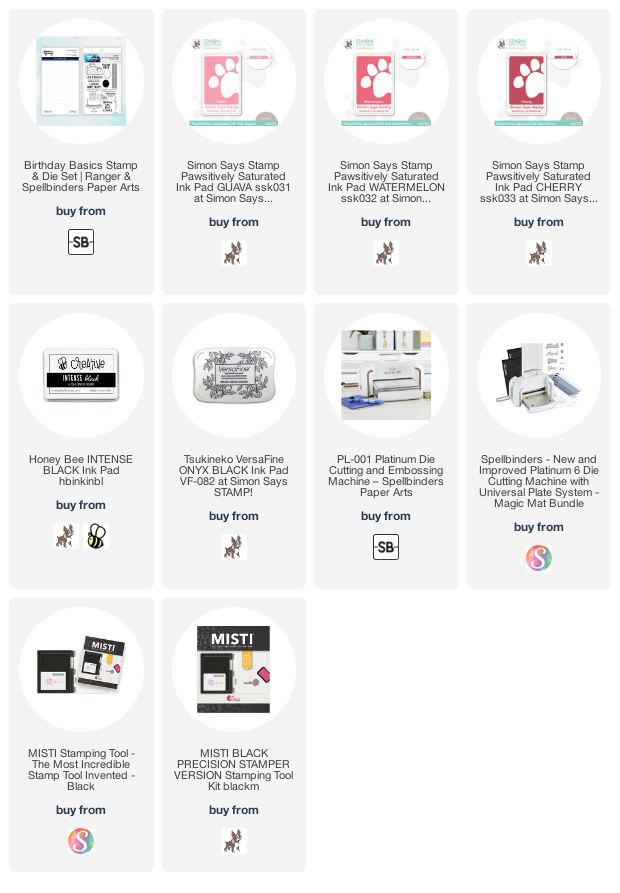
 Hey crafty friends!  I'm thrilled to be sharing a new release by Simon Hurley for Spellbinders that's part of the January Stamps & Dies Collection!  Not only is there this fun Birthday Basics stamp set and dies, but many other types of sets!

I began my card by stamping the "confetti strip" stamp from the Birthday Basics stamp set with three pink shades of ink along the bottom of my A2 card base.  (The ink colors are in the supply list below.)  I used sponge daubers to add each shade of pink ink to the stamp.  Having the stamp in my MISTI let me repeat each color until I liked the results.  Then I used a t-square ruler and a Copic Multiliner to draw a line across the top.  I have all of the ink colors in the supply list below.

Next I stamped out the cake and flower image with a black Copic safe ink.  Then I colored it with some pink, green, and yellow Copic markers and cut them out with the coordinating dies.

Before I added anything to the card front, I used two of the included sentiments in the set and the flower stamp to stylize the inside of the card.  I used the same Copic markers to color up the flowers and leaves.

I added foam tape to the back of the cake to pop it up on my card.  I also used a thin foam square to add the flower to the cake.

Then I placed the card into my MISTI and stamped the sentiment with Versafine Onyx black ink.  This is one of six awesome sentiments included in the set!

A few pink rhinestones on the cake stand add a bit of sparkle!

Thanks so very much for stopping by!  Be sure to check out the rest of the release over at Spellbinders!

Thank you for using my affiliate links (never any additional cost to you).

Wednesday, January 11, 2023

Poppy Bouquet Birthday Card

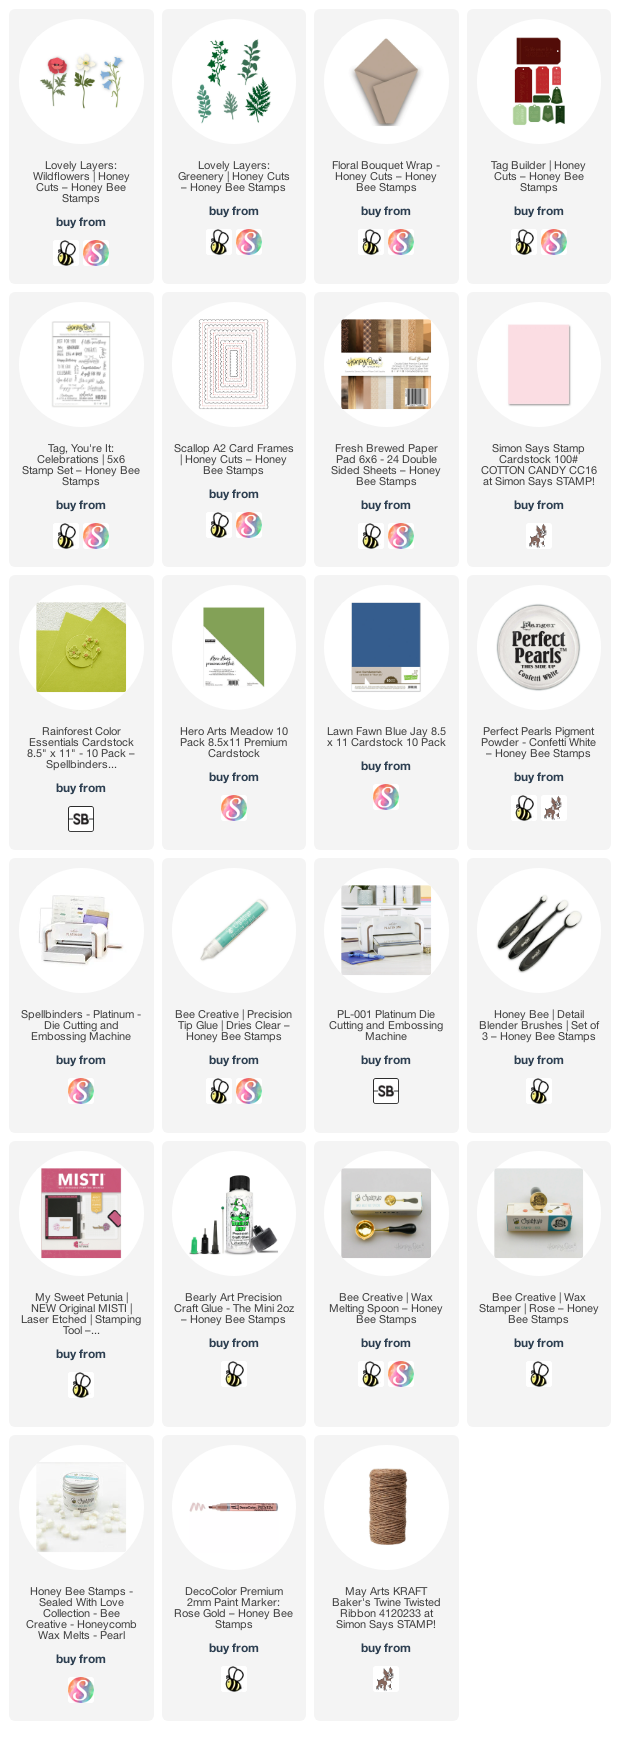
 Hello my friends!! Today I'm sharing a sweet birthday card I made using the Honey Bee Stamps Lovely Layers: WildflowersLovely Layers: Greenery, and the Floral Bouquet Wrap. This was lots of fun to make and I even added a wax seal! I have all of the fun details below.

First I die cut some dark blue cardstock with the second largest Scallop A7 Honey Cut. Then I mixed a bit of Confetti White Perfect Pearls with water and added splatters to the panel. When it was dry, I used Bee Creative glue to adhere it to an A7 card base.

Next I die cut the Floral Bouquet Wrap from a piece of paper in the Fresh Brewed paper pad. I folded it at the score lines and glued the edges to form the wrap. To make it easier to add the jute twine, I added double sided tape to the back of the wrap. The tape will hold the twine in place as you wrap it. Next I stamped the sentiment from the Tag, You're It: Celebrations stamp set with Worn Lipstick Distress ink. I used my MISTI to stamp it a few times and then die cut it with a tag from the Tag Builder Honey Cuts.

I added a little piece of ribbon (from my stash) to the tag and slipped the ends under the twine. Then I made my wax seal by heating Pearl Wax Melts in the Melting Spoon.  Note:  I used my heat tool to melt the wax--so much faster than a tea light!  I poured it onto the twine and stamped it with the Rose Wax Stamper. While it's not a perfect circle, I am totally okay with it! I used a DecoColor Rose Gold paint pen to color the rose.

Next I die cut the poppy from the Lovely Layers: Wildflowers and the greenery pieces from the Lovely Layers: Greenerywith pink, green, and black cardstock in my stash. I used a small detail blender brush to add shading to the poppies and greenery with Worn Lipstick and Rustic Wilderness Distress ink. After I glued the poppy layers together, I did snip off some leaves from the bottom of the stems and also from the greenery stems to make it easier to arrange them in the Floral Bouquet Wrap. I used Bee Creative glue to adhere the stems in the wrap as I arranged them all.

I used all of the leaves I had snipped off and tucked them here and there with some glue. To adhere the bouquet to my card, I added foam dots to the back of the bouquet and the poppies.

I really love how this turned out and hope that you've found some card making inspiration here!  Thank you so much for stopping by.  Have a fun and crafty day!

Thank you for choosing to use my affiliate links (never any additional cost to you).

Thursday, January 5, 2023

Waffle Flower January 2023 Release & Blog Hop

Welcome to the Waffle Flower January Release Blog Hop! I’m happy to be hopping with the folks from Waffle Flower to show you all the fun new stuff awaiting you on the Waffle Flower website! Be sure to check out each stop in today’s blog hop for fun, inspiration, and chances to win some of these new release goodies!

You should have arrived here from the blog of Delay Nacar.  If you'd like to start at the beginning of the hop, head on over to the Waffle Flower blog.

Now for my card!  I've used several different awesome new products for this sweet card!

First I created my background by running some 80# Neenah through my die cutting machine with the new Quilted Zigzag Texture die.  Then I used the coordinating Zigzag Stencil Trio to add Spun Sugar, Kitsch Flamingo, and Picked Raspberry Distress Oxide inks.  I trimmed it to 4" x 5-¼" and adhered it to an A2 card base.

I die cut the pieces of the Little Branches and Little Birdie die sets from white cardstock.  I used a blender brush and Mowed Lawn, Rustic Wilderness, Squeezed Lemonade, and Mustard Seed Oxides to color the pieces.  I colored the bird with a few blue Copic markers.  (B24, B26, B12).  I added some details with a white gel pen.  After I adhered the flowers and branches together, I added gem stickers to the flower centers and adhered the pieces to the card.

The sentiment is from the Little Birdie Sentiments set and is stamped with Versafine Onyx Black ink.  I popped it up on the card with some foam tape.

Thank you for stopping by!  Be sure to leave a comment for your chance to win a fabulous prize before hopping to the next stop.

Your next stop will be Jeanne Jachna!

Giveaways:

For today’s hop, Waffle Flower is giving away $25 gift certificate to THREE lucky winners. You can leave a comment on this blog and along the hop by 11:59pm EST on Tuesday January 10th, 2023 for your chances to win. Winners will be chosen at random from the comments left on any of the posts in this blog hop and will be announced on the Waffle Flower Blog on 01/11/2023.

Check out these specials:

From now till January 8th, 2023, all orders placed at waffleflower.com will receive a mysterious gift (No code required!).

For those of you who are new to Waffle Flower, they have a Last Chance section on their website that lists many goodies for 25% off until they are gone! This would be a great place to start your collection!

Wednesday, January 4, 2023

Fun Floral Gift Card Holder With A Felt Bow!

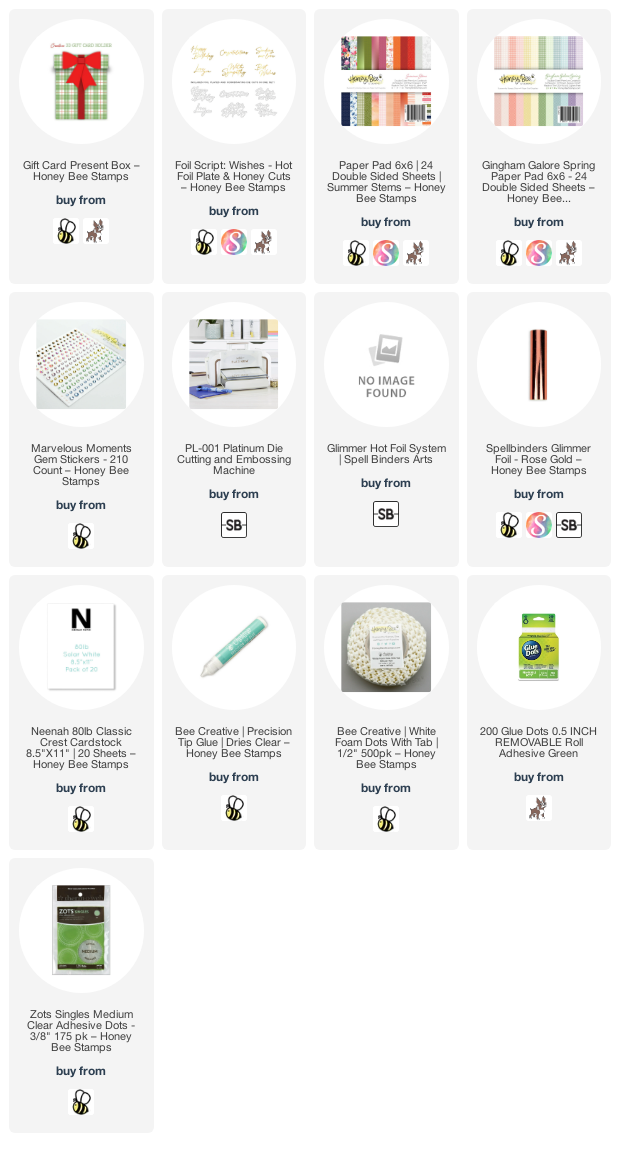
Hello crafty friends, and a very happy 2023 to you! Now that the holidays are over, I noticed that my birthday card stash is almost nonexistent! I've always adored the Honey Bee Stamps Gift Card Present Box Honey Cuts that was released a few holiday seasons ago. This set is absolutely perfect for any occasion and makes the most wonderful gift card holder too! I've made this look current by adding a hot foiled sentiment from the Foil Script: Wishes set. Check out the details!

I used some of my most favorite (and hoarded!) paper from the Summer Stems paper pad to die cut the pieces of the Gift Card Present Box. I used Bee Creative glue on the tabs to adhere the front and back together. I die cut the gift card insert from white cardstock. The box top is die cut with paper from the Gingham Galore Spring paper pad. I folded it at the score line and adhered the gift card holder inside the box top. (Note: just add glue to the top of the gift card holder to keep the box top open at the bottom.)

Here's a look at the gift card insert as it is opened. There is plenty of room on the back of the insert to write a greeting! (I attached the gift card with a small glue dot.)


Next I die cut the pieces of the box (also in the Gift Card Present Box die set) from coordinating felt. I have lots of this wonderful wool felt in my stash! I definitely recommend using the wool felt, if at all possible, as it die cuts beautifully and holds its shape well. I used glue dots and double sided sticky red tape to adhere the bow together and add the pieces to the box.

NOTE: Because of the bulk of the wool felt, I found that the die cut piece that wraps around the middle of the bow wouldn't reach around the bow. So I die cut another ribbon strip of felt and then wrapped that around the middle of the box and cut off the excess.

Now, if you do not have any wool, just use some coordinating cardstock for your bow! It will be just as beautiful!

I used rose gold Glimmer foil and my Glimmer Hot Foil System to foil the sentiment from the Foil Script: Wishes set. The cardstock I used is Glimmer Specialty Cardstock, which is ultra smooth, and foils like a dream! I used the coordinating die cut cut out the sentiment. Some thick foam dots popped it up for dimension. I added a few sparkly gem stickers from the Marvelous Moments gem stickers.

I hope you've enjoyed my post today and hope you are inspired to give this a try! Thank you for stopping by today. I hope you are having a wonderful, and crafty, 2023 so far!

Thank you so much for using my affiliate links (never any additional cost to you).