Showing posts with label stencils. Show all posts

Wednesday, July 8, 2026

Sending Summer Smiles -- Perfect Picnic Release by Honey Bee Stamps

Hello crafty friends!  Did you see all of the new summertime goodies from Honey Bee Stamps' Perfect Picnic Release?  This release is so fun with lots of summer themed products to make cards for all of your gatherings!  Also, there are two gorgeous floral stamp sets.  I've used one here on my card.  The Summer Smiles florals are so beautiful.  Of course, I love that there are coordinating Summer Smiles coloring stencils and Summer Smiles Honey Cuts too!  Some paper from the new Signature Surfaces paper pad made an awesome background!

Keep reading to see another card I've made with this awesome release!

There are two different ways to get started with the Summer Smiles stencils.  You can stamp the Summer Smiles floral, and then stencil, or you can do as I did and do all of the stenciling first.  Since I knew I was going to use a light colored ink, I just didn't want to risk smearing that stamped ink.

I chose a set of pink inks that are four shades from light to dark.  A set of three inks would work too!  I used a grip mat to hold my white cardstock and began with the first of six stencils and my lightest colored ink pad.  I continued with blending brushes and each shade of ink for each stencil layer.

For the leaves I used three different shades of green ink.  Ink blending these layers is so fun!

I added pink and then green splatters to the flower and the leaves.  I just used some scrap paper to cover up what I needed to.

Next I used the coordinating Summer Smiles dies and cut out the floral image.  I used a white gel pen to add white dots to the flower's stamen.

I stamped two of the sentiments from the Summer Smiles stamp set with black ink and cut them out with the included coordinating dies.

Instead of my typical white embossed background (which I do love!) I found a piece of patterned paper from the new Signatures Surfaces paper pad (a paper organizer is included!) that I think works wonderfully for the background.  After I trimmed the paper to 4-¼" x 5-½" I used Bee Creative glue to adhere the paper to an A2 card base.

Did you know the papers in the Signature Surfaces paper pad were designed by several of us on the Honey Bee Design Team?  And guess what?  The paper I chose is one I designed with an ink smooshing technique!

The Summer Smiles flower and the sentiments are all popped up with foam tape and foam strips.

And a side note!  Did you hear that there is an Instagram Hop to celebrate the Perfect Picnic release?  You can join us on the hop and leave comments for your chance to win one of two Honey Bee gift cards!  You have until July 10, 2026 for commenting for your chance to win.  Click HERE to join us!

This is my card I have for the Hop:

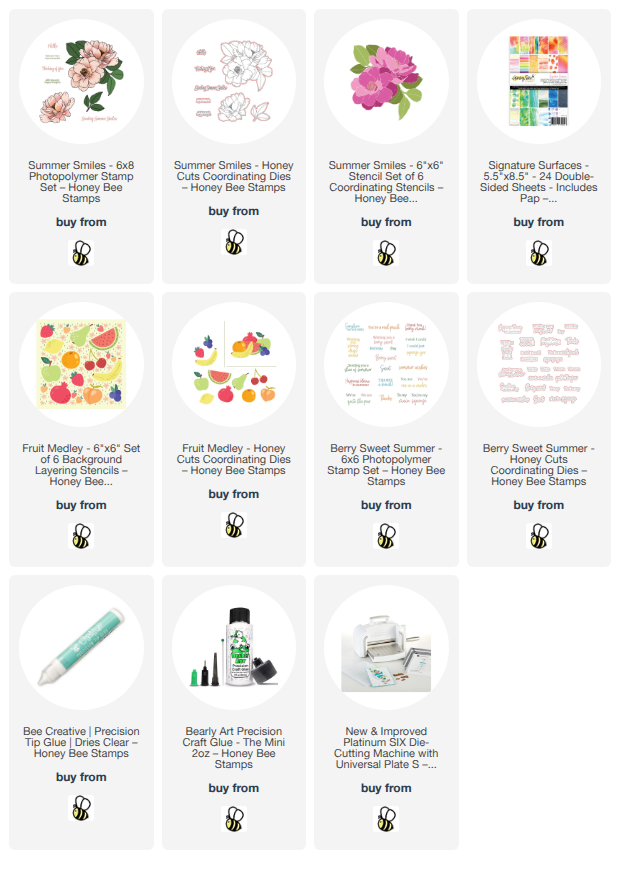
I used these products from the new release for this super sweet, fruity card!

I hope you've found some inspiration here today for the fabulous Perfect Picnic release!  Thank you so much for stopping by.  I hope your day is awesome and very crafty!

Thank you so much for using my affiliate links to shop (never any additional cost to you)!
Saturday, June 27, 2026

Chinoiserie Thank You Card

Hi friends!  I'm so happy to be a part of an Instagram Hop happening today for My Pretty Things new release called Life InDex.  There are lots of fun products for your memory keeping and these can also be used in your card making too!  I've used the gorgeous Chinoiserie Stamp set with coordinating stencils and dies.

If you don't know about My Pretty Things, this is a small company owned by Erin Thompson.  She also hosts the most awesome craft retreat.  The Nashville Craft Retreat is held annually in Franklin, TN, which is just outside of Nashville.  Erin also has crops and virtual retreats that you should check out!  I've been to the Nashville Craft Retreat this year and the previous three.  It is SO much fun and you get to learn new things and bring home so much swag and products from her sponsor companies!  Information about and registration for the 2027 retreat is open now!

First I stamped the Chinoiserie images.  Then I used a few pink and green inks in my stash to color these with the Chinoiserie stencils and blending brushes.  A brand new tool, available from My Pretty Things, are these awesome blender brushes that I used with the inks and stencils!

I seriously would not recommend these if I did not like them.  I know there's lots of choices we have for ink blending brushes, but I definitely recommend these!

When I finished the stenciling, I cut out the images with the coordinating Chinoiserie dies.  I used glue and some foam adhesive to adhere them to a 4" x 5-¼" pink cardstock panel.  Then I added foam tape to the back of the panel to adhere it to my A2 card base.

The sentiment is one of two included in the Chinoiserie stamp set.  I stamped it with black pigment ink and cut it out with the coordinating die.  A few foam squares were used to adhere the sentiment to the card.

I added some pretty and so sparkly sequins from the Chandelier Shaker Mix.

I hope you will join me over on the Instagram Hop.  There will be a prize of a $25 gift certificate given away to two lucky commenters!  If you can't join the hop, then I hope you will check out the new release and all of the other fabulous products in the My Pretty Things shop.

Saturday, April 25, 2026

Thinking Of You Essentially Yours Sentiments Collection

Happy Saturday, crafty friends!  Today I'm sharing this card that features one of the eight sentiments in Spellbinders new Essentially Yours Sentiments Collection.

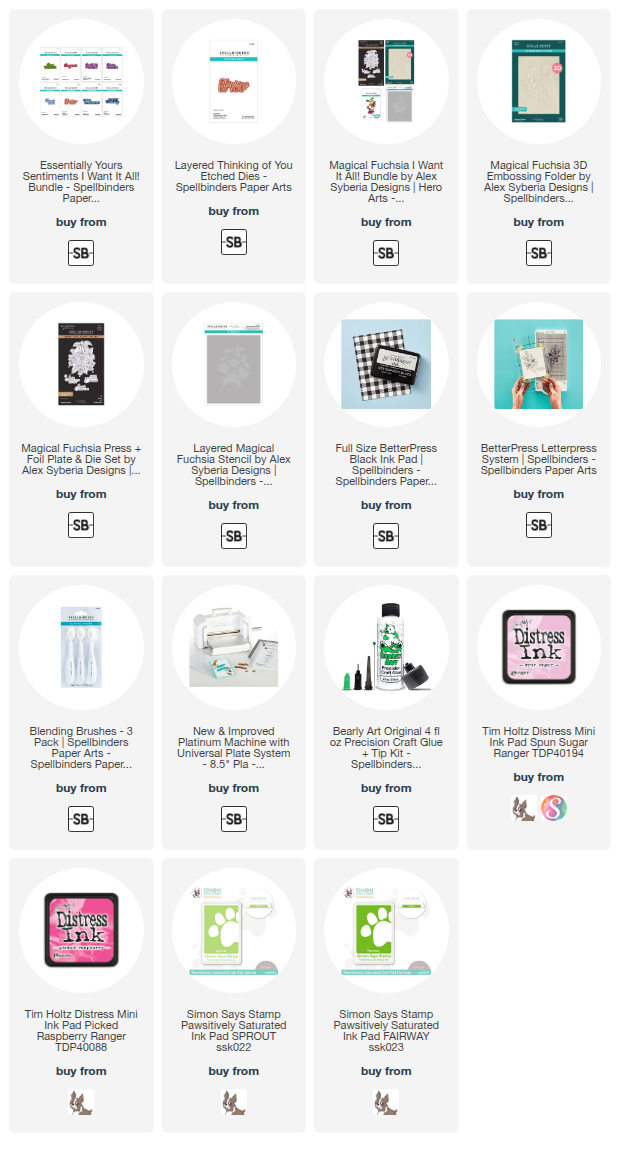
All of the Essentially Yours Sentiments die sets have two layers with one being a shadow layer.  I inked some scrap paper with Picked Raspberry Distress ink and cut the shadow layer of the Thinking Of You sentiment.  I die cut three of the top layer from white cardstock and glued those all together.

The Magical Fuchsias Collection by Alex Syberia makes a beautiful complimentary focal point for this sentiment.

I embossed the white panel with the Magical Fuchsia 3D embossing folder twice onto the edges of both sides of the cardstock.

The main image is made by pressing the Magical Fuchsia Press + Foil plate with BetterPress black ink onto white cardstock with my BetterPress Letterpress System.

I used the Magical Fuchsia stencils to ink on pink and green inks using blending brushes.  The inks I used are in the list below.  I love that there is a coordinating die in the Magical Fuchsia Press plate set!

I trimmed the embossed panel to 5-¼" x 4" and glued it to a coordinating pink panel and then to my A2 card base.  I added some foam tape to the stenciled fuchsia to adhere it to the card.

Be sure to check out all of the Essentially Yours Sentiments collection!  This is a great basic set to have on hand for all of your card making!

Thank you for stopping by today!  I hope you have a wonderful and crafty weekend!

Thanks so very much for using my affiliate links to shop (never any additional cost to you)!

Monday, March 23, 2026

Born To Shine Year After Year

Happy Monday, crafty friends!  Today I'm sharing a card I made featuring Spellbinders beautiful Windmills and Tulips Press + Foil Plate and Stencil Bundle by Yana Smakula.  I love how Spellbinders is now making plates that can be pressed and/or foiled!  You get to choose!

I am a huge fan of layering stencils and so enjoy the process of adding ink layer by layer!  Every time I pull off a stencil seeing the new layer of ink just makes me smile!

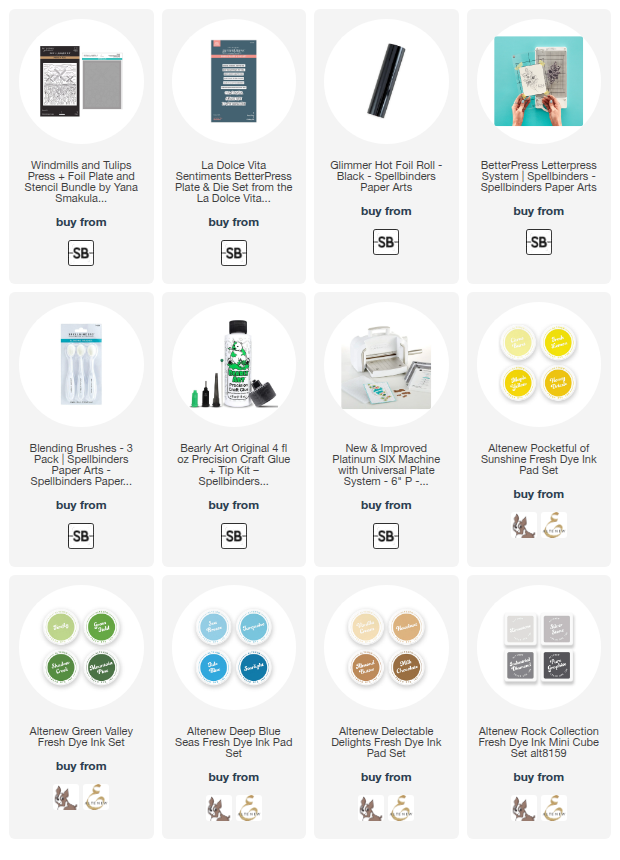
This time, I chose to foil the Windmills and Tulips press plate.  I used 80# Neenah and Black Glimmer Foil with my Glimmer Hot Foil Machine to achieve the super crisp and slightly shiny outline of the images.

Next I used blending brushes to add various inks through each layer of the six layers of the Layered Windmills and Tulips stencil set.  All of the ink colors I used are in the list below.  I used sets of coordinating inks to achieve shading with the darker inks.

I used a brown Copic marker to make the doors and windows on the windmills a bit darker.  I think adding these small details make cards that more special!

I added a sentiment that is from the La Dolce Vita Sentiments that is a sweet birthday sentiment.  This is a Press Plate that will press/foil nine sentiments in one pass.  There is a die included that cuts out each sentiment in one pass!  I love having multiple sentiments already created and ready to use!

A trip to see a field of tulips with windmills in real life is certainly a bucket-list item!  I hope I have time to use this Windmills and Tulips set again--I'm thinking maybe pink tulips!!

Thanks so much for stopping by today.  I hope you have a wonderful week ahead!

Thank you for using my affiliate links to shop (never any additional cost to you)!

Wednesday, February 18, 2026

Have An Amazing Birthday

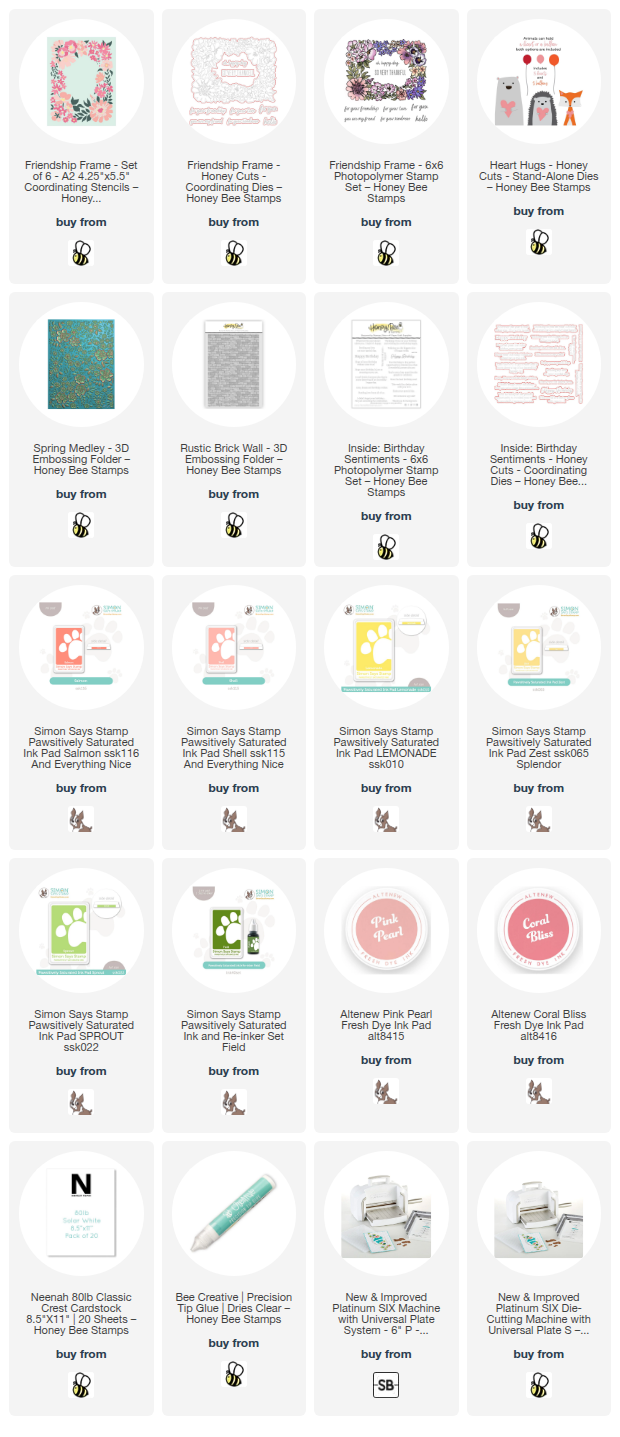
Hello crafty friends!  Today I'm sharing this sweet birthday card that features more of my favorite older sets from Honey Bee Stamps!  I used the Friendship Frame Stencil Set to create this window for the bear from the Heart Hugs die set.

First I created my card base and layer.  I embossed a 5" x 7" piece of white cardstock with the Eyelet Lace 3D embossing folder.  (I am so sorry, but I just discovered that this folder is retired.)

I have two folders that would be my next choices.  One is the versatile Rustic Brick Wall 3D embossing folder.  Another awesome choice would be the pretty Spring Medley 3D embossing folder.  Both of these are two of my favorites!

Next I used ink blending brushes to ink through the stencils of the Friendship Frame stencil set.  I used various shades of coral, pink, green, and yellow inks.

There is a coordinating Friendship Frame stamp set that includes a stamp for the stenciled image.  I chose not to use that stamp to have more of a no-line coloring look.  I used the coordinating Friendship Frame dies to cut out the stenciled piece.

Next I die cut the small bear in the Heart Hugs die set from a Kraft colored cardstock.  I used a blending brush and Gathered Twigs Distress Ink to add shading.  The balloons, also in the Heart Hugs set, are die cut from white cardstock and ink blended with some of the same inks used on the stenciled Heart Frame.

I glued the bear to the back of the stenciled frame, then added foam tape to the back of the frame to adhere it to the card.  I used glue or foam tape for the balloons, depending upon where there was room for the foam.

I wanted this to be a birthday card, so I used a sentiment from the Inside: Birthday Sentiments stamp set.  After I stamped it in black pigment ink, I die cut it with the coordinating die.  Foam tape strips adhere it to the card.

Be sure to try out this card with your favorite embossing folder!  It will be so adorable!

I see you back here next week with a card featuring Honey Bee stamps AWESOME Foundry & Field new release!!  As always, I really appreciate you stopping by and checking out my card!  Have a wonderful day!

Thanks so very much for using my affiliate links to shop (never any additional cost to you)!

Wednesday, November 19, 2025

Merry and Bright Christmas Card

Happy Wednesday, friends!!  Today I'm sharing my elegant holiday card that features Honey Bee Stamps Lovely Layers: Bow & Bough and the Snowflake Symphony stencil!  Check out all of the details below.

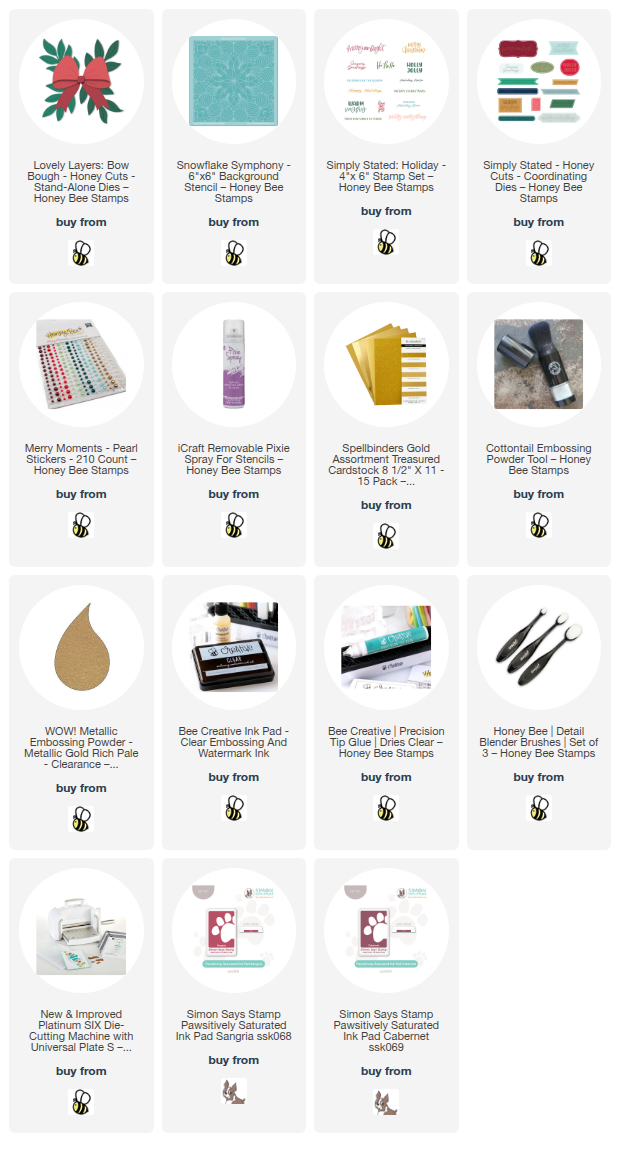
To begin, I sprayed the back of the Snowflake Symphony stencil with Pixie Spray.  This is a beautiful, but delicate stencil and the temporary adhesive will lightly adhere all of the stencil to the cardstock.   After placing the stencil over a 4-¼" x 5-½" piece of red cardstock, I used Detail Blending brushes to blend two shades of darker red inks through the stencil.

I went over the edges a second time with the darkest red ink for more depth.  I carefully removed the stencil and glued the piece to an A2 card base.

Next I used the dies in the Lovely Layers: Bow and Bough set to cut the Bough pieces from two shades of green card stocks.  I die cut the Bow layers from gold glitter and mat gold cardstocks.  I used glue to assemble the layers of the bow and added a few foam squares to the back to adhere it to the card.

I used glue to adhere the die cut Bough pieces around the bow as shown in the photo.

The sentiment is from the Simply Stated: Holiday stamp set.  As you may know, this is a single stamp that stamps all of the sentiments together.  I didn't really think that I will need that many sentiments embossed in gold on red cardstock, but it is really easy to get just one sentiment too!

I placed a small piece of red cardstock into my MISTI.  I positioned the sentiment I wanted from Simply Stated: Holiday stamp over the red cardstock.  Then I added some anti-static powder to the cardstock, inked up just the one sentiment with clear embossing ink and stamped it.  Then I added gold embossing powder to the stamped sentiment and used my heat tool to set it.

Next I used the Simply Stated die to cut out my sentiment.  It was very easy to do!  I added a few foam squares to the back of the sentiment to adhere it to my card.

I added a bit of bling to the card with a few pearls from the Merry Moments Pearl Stickers set.

I do love stencils and this Snowflake Symphony stencil is definitely one of my favorites!  I hope you've enjoyed this elegant, but also easy, card and have found some inspiration here.  Thanks so much for stopping by!

Thank you so much for using my affiliate links to shop (never any additional cost to you)!

Wednesday, September 24, 2025

Hope Your Birthday Is Tea-rrific! A New Release By Honey Bee Stamps

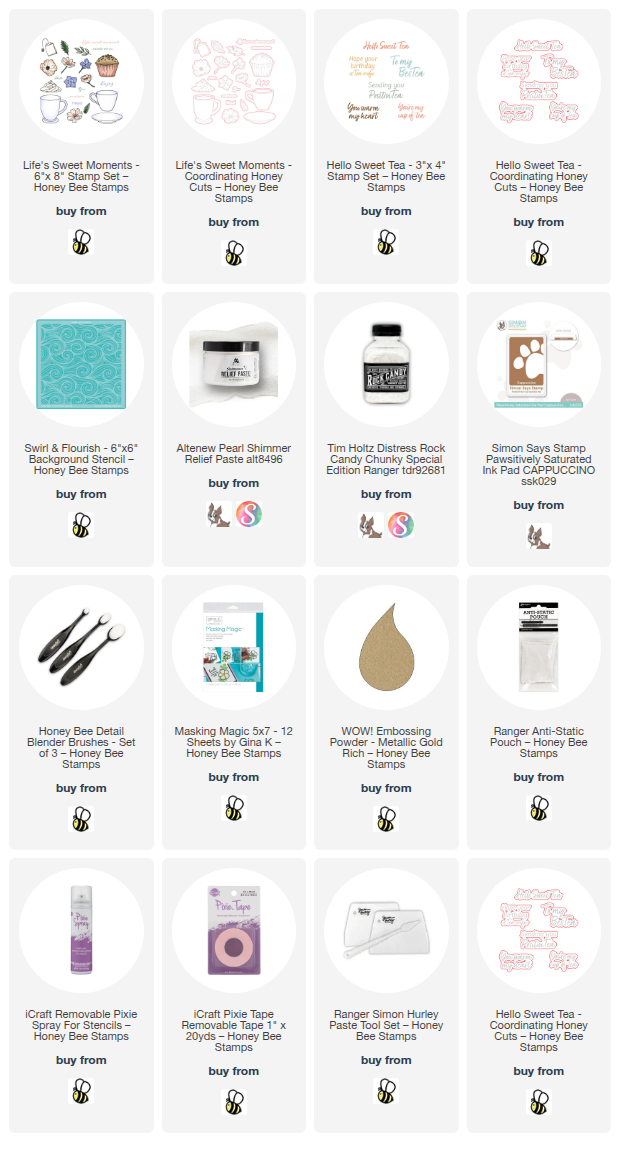
Hello crafty friends!  Are you ready for Honey Bee Stamps newest release?  It's available now and is called Hello Harvest and is filled with so many awesome products including the Life's Sweet Moments stamp set and coordinating dies that I've used on this card.

Do you enjoy creating backgrounds with masked images?  If so, this one's for you!

First I created the background.  You will need a stamp positioning tool like the MISTI to do this technique.

Place a 4-¼" x 5-½" piece of white cardstock into a corner of your stamping tool.  Ink up the cup from the Life's Sweet Moments stamp set with Intense black ink and then stamp the ink off onto scrap paper once.  Next I stamped it onto my 80# white cardstock piece.  (I didn't want the lines to be too dark as I plan to come back and gold heat emboss the image.)

Very important:  DO NOT remove the stamp from the lid of the stamping tool.

Next I stamped the cup onto masking paper and cut it out with my scissors.  Set aside the cup portion of the masking paper.  Adhere the negative portion of the mask onto the cardstock panel around the stamped cup.  I placed one of the flower stamps from the Life's Sweet Moments set onto a stamp block.  I inked it up with Intense black ink and stamped it near the edge of the coffee cup.  I repeated these steps with one more flower.

I stamped a mask for the upper right flower, cut it out, and placed it over the stamped image.  Then I stamped a leaf and removed the mask.  Next I colored the cup with Copic markers.  I used the warm grays of W3, W1, and W00 to color the cup.

Place the panel back into the stamp positioning tool.  Add some anti-static powder and stamp the cup again with clear embossing ink.  Add gold embossing powder and set with a heat tool.

Next I placed the mask for the cup over the cup.  After I sprayed the back of the NEW Swirl & Flourish Stencil with Pixie Spray I put on onto the masked panel.  Then I added a strip of masking tape about 2" above the bottom edge of the panel.  Then I carefully spread some pearl texture paste through the stencil with a palette tool.

Carefully remove the stencil, masking tape, and cup mask and set the piece aside to dry.

While panel is drying, I stamped more flowers, the saucer, and cupcake from the Life's Sweet Moments stamp set with Intense Black Ink.  I colored the images with my Copic markers and cut them out with the coordinating dies.  (NOTE:  I also added gold embossing powder to the saucer using the same technique as described above.)

When the texture paste was dry, I added a piece of masking tape to mask off the bottom of the stenciled area and inked on brown ink with a blender brush.  I used a brown pencil and t-square ruler to draw lines to emulate wood planks.

I adhered the images with foam tape.  The sentiments are from the Hello Sweet Tea stamp set, stamped in black ink, and cut out with the coordinating dies.  I popped them up with foam strips.

I really enjoyed making this scene!  It is really fun to mask off images and creates a unique card!  Be sure to check out all of the NEW Hello Harvest products to see what you like.

Thank you so much for stopping by!

Thank you for using my affiliate links to shop (never any additional cost to you)!

Wednesday, September 17, 2025

A Day To Remember -- A Fun Stenciled and Die Cut Autumn Card

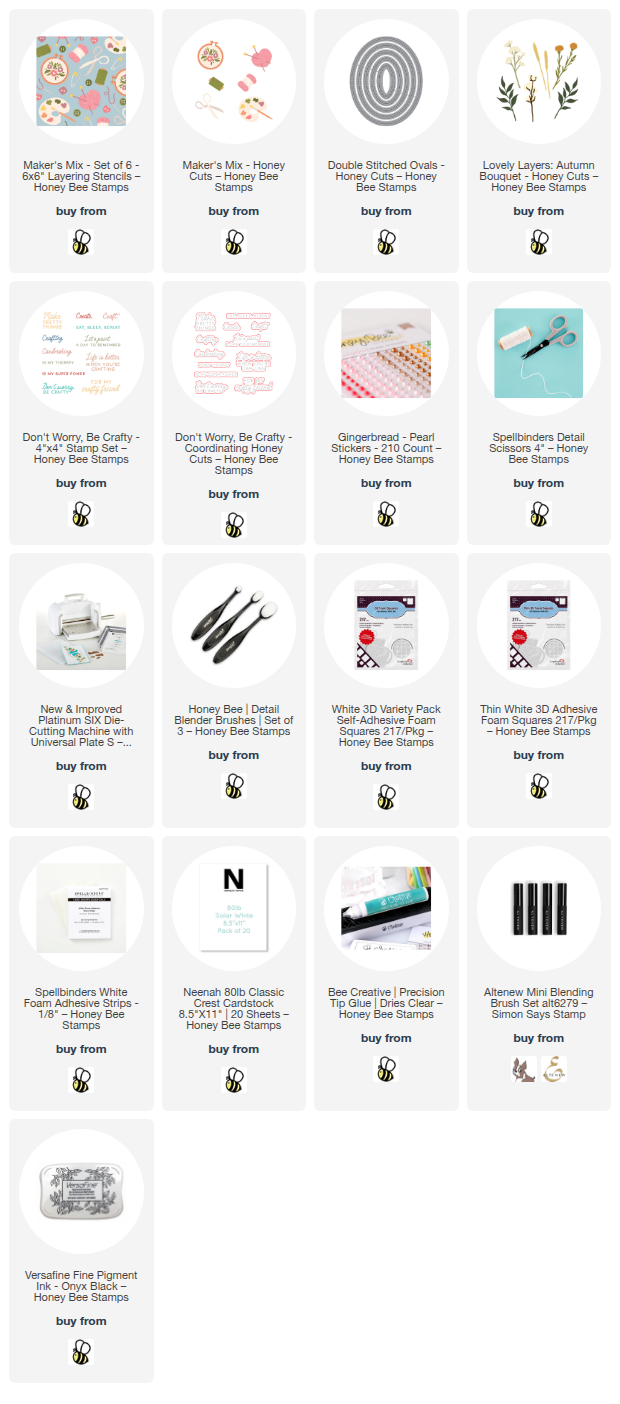
Hello, crafty friends!  I'm still loving to create autumn themed cards and I've made one today with Honey Bee Stamps Maker's Mix stencil set and coordinating dies!  I've added in a favorite older set called Lovely Layers: Autumn Bouquet for the floral details.

I began with an A2 sized piece of colored cardstock for my stenciling with the Maker's Mix stencil set.  I used mini blending brushes to add coordinating autumn colored inks through each of the six stencils.  Then I trimmed the piece to 4" x 5-¼".  I have all of the cardstock and inks in the list below.

Next I die cut colored cardstock with the middle sized Double Stitched Oval die.  I added foam tape to the back and adhered it to the stenciled panel.  Then I used my scissors to trim off the oval overhanging the panel.  I used glue to adhered this to an A2 sized piece of cardstock in the same color and then glued it to an A2 card base.

Next I die cut several different colored cardstocks with the dies in the Lovely Layers: Autumn Bouquet Honey Cuts.  Then I used glue to adhere the layers together.  I played around with various arrangements of the florals and then used a piece of Press N Seal to pick them all up.  I LOVE doing this to retain the arrangement I made!  I used foam squares and glue to begin adhering the bottom most die cuts.  I continued until all of the florals were adhered to the oval.

I die cut white cardstock with the pallet die from the Maker's Mix .  Then I used the Maker's Mix stencils to add color to the pallet with inks in colors that coordinate with the Autumn Bouquet die cuts.  I added thin foam tape to the back to adhere it at the bottom of the floral arrangement.

The sentiment is from the Don't Worry, Be Crafty stamp set and is stamped in black ink.  I cut it out with the coordinating Honey Cut.  To adhere it the sentiment, I added a double layer of foam strips on the right back and glue to the left to bring the sentiment to the same height as the paint palette.

I added a bit of bling with pearls from the Gingerbread Pearl Stickers set.

Would you have thought to create an autumn card with the Maker's Mix stencils?  If not, I hope you've been inspired to try this out!  Thanks so much for stopping by!  I hope your day is wonderful and filled with fun crafty times!

Thank you so much for using my affiliate links to shop (never any additional cost to you)!

Wednesday, July 16, 2025

Back In The Saddle -- Get Well Scene Card

Hello crafty friends!  Today I'm sharing my card that features Honey Bee Stamps new Lovely Layers: Tack Honey Cuts along with a new stencil set.  Read on for all of the details!

I started by die cutting the dies in the Lovely Layers: Tack from white and teal cardstocks.  I used a few Copic markers to color the white cardstock.  See how I managed to keep the debossed areas of the die cuts white?  To do that, I laid the nib of the marker almost flat and lightly colored over those areas.  I was very happy it worked out!!

I used glue to adhere all of the Lovely Layers: Tack pieces together.  Be sure to refer to the handy layering guide while you assemble the saddle!

Next I created the background layer with the Range Scene stencil set.  I used blending brushes and Distress Inks on an A2 white cardstock panel.  The colors I used are Mowed Lawn, Rustic Wilderness, Lost Shadow, and Tumbled Glass.  NOTE:  I intentionally did not stencil the fence post section.

The idea in my head was to have the saddle hanging over a fence.  So I die cut white cardstock with the Lovely Layers: Barn Wood Fence dies.  Then I used my scissors to trim off the top picket sections even with the top rail.  Then I colored it with a blender brush and Walnut Stain Distress Ink.

I glued the rails onto the fence, added foam tape to the back, and then adhered it to the card with a portion of the bottom of the fence hanging off.  I just used my scissors to trim it even with the bottom of the card.

The sentiment stamped in black pigment ink is from the Saddle Up stamp set.  I cut it out with the coordinating die and popped it up on the card with foam strips.

I blinged out the saddle with some pretty coordinating gems I found in the Vitamin Sea Gem Sticker set.

I love it when I have an idea for a card actually turns out to be like I wanted!  I hope I've given you some inspiration too!  Thanks so very much for stopping by!!!

Thank you for choosing to use my affiliate links to shop (never any additional cost to you)!

Wednesday, February 5, 2025

Lilacs and Roses Card With Stencils and Copic Markers

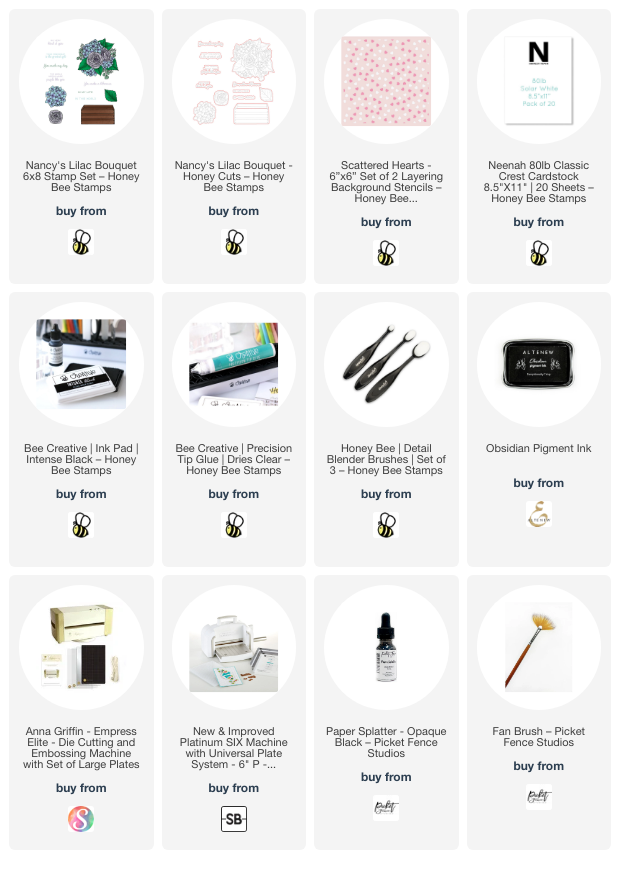
Hello crafty friends! Today I'm sharing my card featuring the so beautiful Nancy's Lilac Bouquet stamps and Honey Cuts. These were so fun to color! I used stencils to create a subtle heart background--read on for the details!

First I stamped all of the images from Nancy's Lilac Bouquet stamp set with Intense Black ink onto 80# Neenah. I colored them with various shades of pink, purple, and green Copic markers. Here's a list of the markers I used:

  • Lilacs: RV66, V06, V05, RV63 (Altenew marker R705)
  • Roses: RV17, RV13, RV23, RV02, RV10
  • Leaves: G28, YG67, YG17, YG25, YG03
  • Crate: E59, E27, E25

I cut them all out with the coordinating Nancy's Lilac Bouquet dies.


Next I made the background layer. I trimmed 80# Neenah to 4" x 5-¼". Then I used ink blending brushes to add two shades of pink ink through the Scattered Hearts stencils in the upper left and bottom right corners of the panel. I used a very light hand to keep the pink inks a light shade so it wouldn't distract from the main image.

Then I added black splatters to the piece. You can use a drop or two of a black ink pad re-inker or diluted black acrylic paint to do this.

When the paint splatters were dry, I used glue to adhere it to an A2 card base. Then I used foam dots to adhere the colored images of Nancy's Lilac Bouquet to the card. I adhered the extra leaf and lilac bunch with glue behind the main image.

The sentiments are two of seven that are included with the stamp set. After I stamped them with black ink, I cut them out with the coordinating dies.

Can you believe that this card was with created with one stamp set, one die set, and one stencil set? And with the Nancy's Lilac Bouquet set there are so many possibilities for different looks you can make using the extra florals and leaf that's included!

Thank so very much for stopping by today. I hope your week has been a good one!

Thank you for using my affiliate links to shop (never any additional cost to you)!
Wednesday, January 22, 2025

You're My Queen Of Hearts Valentine Card

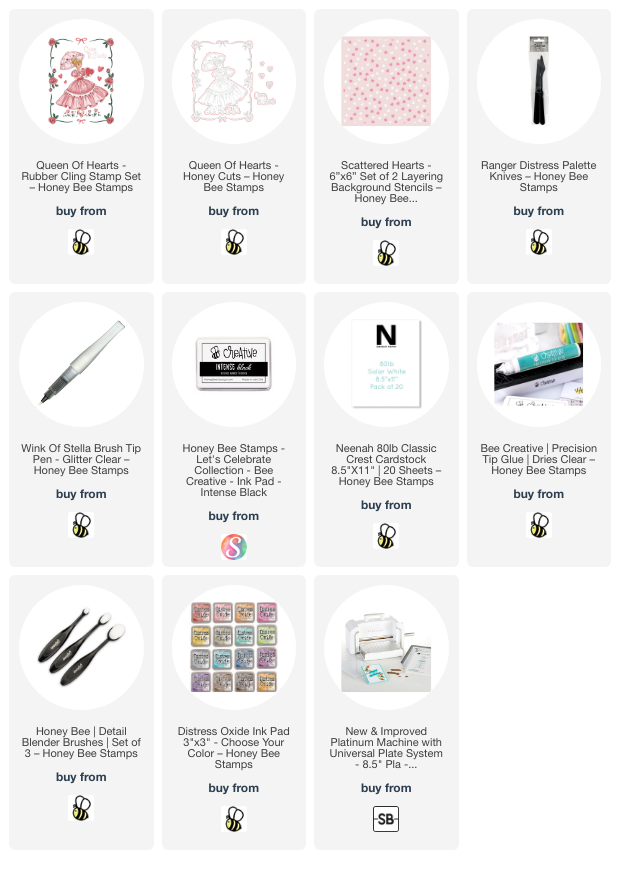
Hello crafty friends! Today I'm sharing my vintage Valentine card that features Honey Bee Stamps' beautiful Queen of Hearts stamp set. This set is made from red rubber and I totally love the crisp stamped image you get! You can also stamp the entire piece all at one time!

First I worked on my stenciled background. I inked up a 4" x 5-¼" piece of white cardstock with three pink Distress Oxide Ink colors. For my ombre pattern I used Picked Raspberry, Kitsch Flamingo, and Spun Sugar.

After using my heat tool to dry the ink a bit, I placed one of the two Scattered Hearts stencil over the inked panel. I added Picked Raspberry Oxide ink through the stencil with an ink blending brush.

Before I added the texture paste with the second stencil, I stamped the four hearts in the Queen of Hearts set with the pink Distress Oxides randomly over the panel.

Next I placed the second Scattered Hearts stencil over the panel. Then I added some pretty Frosted Petal Glacier Paste through the stencil with a palette knife. I carefully removed the stencil and set piece aside to dry.

Next I stamped the Queen of Hearts girl with Intense Black ink onto white cardstock. (Did you know that the Queen of Hearts set is made so you can use all of the images separately?) Next I colored her with my Copic markers. I used these colors:

  • dress: C5, C3, C1, C00
  • parasol & other pink elements: R39, RV25, RV06, RV04, RV02, RV10, RV00
  • hair: E59, E57, E55
  • leaves/grass: G17, G25
  • skin: E11, E51, E50

I used glue to adhere the dry stenciled panel to an A2 folded card base.

Next I cut out the Queen of Hearts with the coordinating Honey Cut. I added foam dots to the back to pop it up on the A2 card.

I stamped extra hearts from the Queen of Hearts with Picked Raspberry Oxide ink and cut them out with the coordinating dies. I used foam squares to adhere them to the card.

The sentiment is also another separate stamp in the Queen of Hearts stamp set. It is stamped with black ink and cut out with the coordinating die.

Since I was thinking her pretty white dress would have a sparkly overlay in real life, I used a clear glitter pen to add lots of sparkles on her dress!

I hope you've found some inspiration today for your card making!  Be sure to check out the entire Perfect Match release for other fun themed products.  Thank you for stopping by!!

Thank you for using my affiliate links to shop (never any additional cost to you)!

Monday, November 25, 2024

Fast & Easy Encouragement Card!

Happy Monday friends!  This card features a few new products from Picket Fence Studio's latest release!  Want to know the secret for this super quick card?  Read on for the details!

First I used Paper Pouncers and Distress Oxide inks with the On A Cloudy Day stencil to create the background.  I used Festive Berries, Kitsch Flamingo, Squeezed Lemonade, Mowed Lawn, Evergreen Bough, and Dusty Concord.

Before removing the stencil, I spread some Twinkle Lights Clear Paper Glaze with a palette tool.  You could skip this step to avoid the drying time for an even quicker make!

While the stenciled piece was drying, I chose two of the Adventures in Hot Air Ballooning Glossy A2 card fronts.  These are beautiful preprinted sets of 12 sheets with 3 different designs.  I used my scissors to cut out the balloons.

When the Paper Glaze was dry, I trimmed the piece and added it to an A2 card base with a black layer.  I popped up all but two of the hot air balloons with foam tape.

The sentiment from the Freckle Friends: Climbing Calliope set.  After I stamped it with black ink I cut it out with the coordinating die.  I added some of the pretty gems from the Starry Skies gem mix for a bit of fun sparkle!

Be sure to check out my reel for this card over on my Instagram (click the image in the left side of this blog).  Also, be sure to check out the 25% off the entire Picket Fence site (except the latest release items).


Saturday, November 16, 2024

Beautiful Butterfly Birthday Card

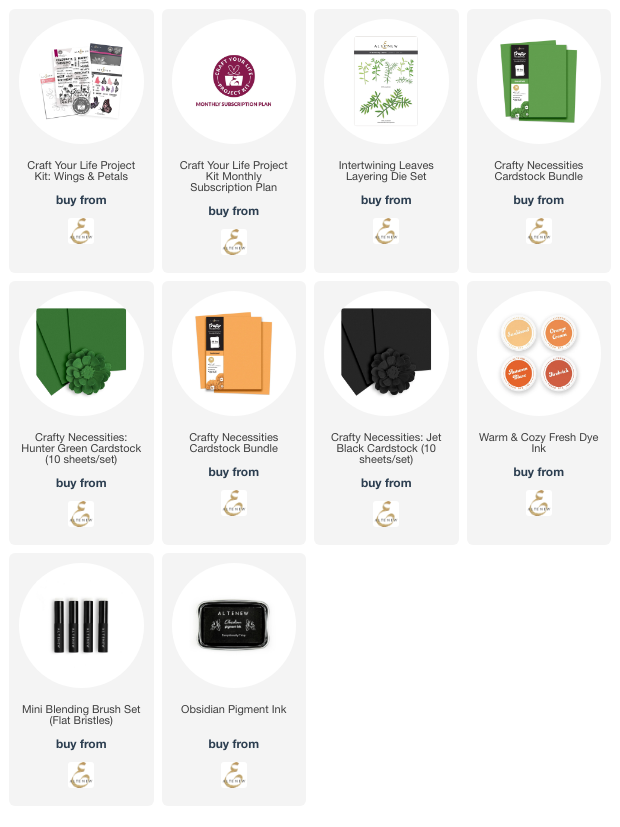
Happy Saturday!  Today I'm sharing some details about my card that features Altenew's beautiful Craft Your Life Project Kit: Wings & Petals.  I love monarch butterflies!  Each October they migrate through our area here in Texas and I always think of my mother.  We would always tell each other when we saw the first monarchs passing through.  I miss her, but I know she would love this card!

The Craft Your Life Project Kit is one of several of Altenew's monthly subscriptions.  The reason this particular one is my favorite is because it includes a few of my most favorite products!  I love 3D embossing folders and having the layering stencils to color the embossed image is awesome!  You can purchase this Kit separately, but if you subscribe, you will save $16.  Check out this subscription and the other options on the Altenew website.

First I die cut the Wings & Petals butterfly dies from Sunkissed and Jet Black cardstock.  I used blending brushes to add shading with Autumn Blaze and Orange Cream inks (Warm & Cozy collection) to the solid die cut.  After gluing the black top layer to each piece, I glued them together.

I embossed white cardstock with the Wings & Petals Botanical 3D embossing folder and trimmed it to 4" x 4-¼".  Then I stamped the sentiment from the Wings & Petals stamp set at the bottom of an A2 card base with Obsidian black ink.

I added a strip of Jet Black cardstock to separate the embossed cardstock from the sentiment.  The Intertwining Leaves layers are die cut from Grass Field and Hunter Green cardstock.

I used foam tape to adhere the butterflies to the card.

I absolutely love the details of the Wings & Petals butterfly dies!!  Thank you so much for stopping by.  I hope you have a wonderful and crafty weekend!

Thank you for using my affiliate links to shop (never any additional cost to you)!