Showing posts with label Scattered Hearts stencils. Show all posts

Wednesday, February 5, 2025

Lilacs and Roses Card With Stencils and Copic Markers

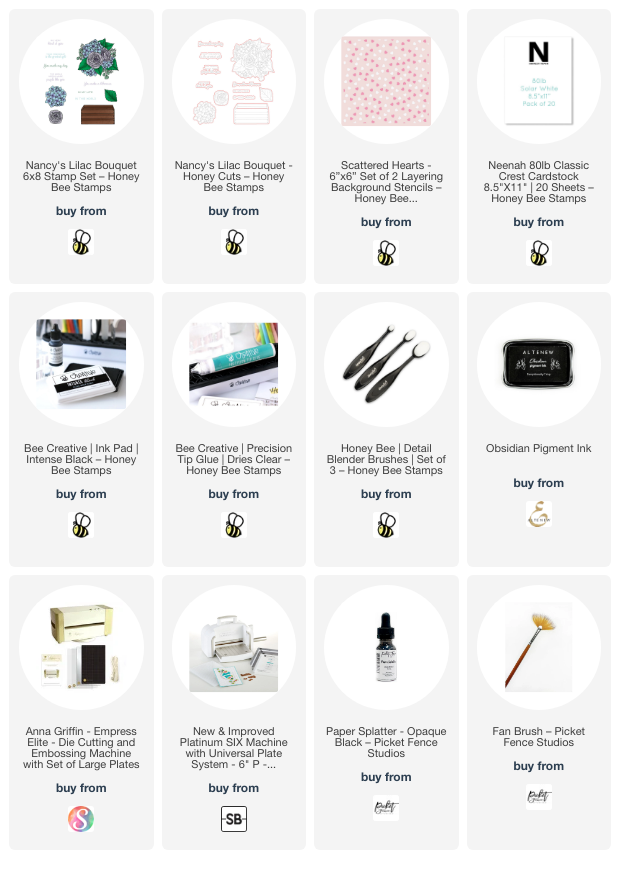
Hello crafty friends! Today I'm sharing my card featuring the so beautiful Nancy's Lilac Bouquet stamps and Honey Cuts. These were so fun to color! I used stencils to create a subtle heart background--read on for the details!

First I stamped all of the images from Nancy's Lilac Bouquet stamp set with Intense Black ink onto 80# Neenah. I colored them with various shades of pink, purple, and green Copic markers. Here's a list of the markers I used:

  • Lilacs: RV66, V06, V05, RV63 (Altenew marker R705)
  • Roses: RV17, RV13, RV23, RV02, RV10
  • Leaves: G28, YG67, YG17, YG25, YG03
  • Crate: E59, E27, E25

I cut them all out with the coordinating Nancy's Lilac Bouquet dies.


Next I made the background layer. I trimmed 80# Neenah to 4" x 5-¼". Then I used ink blending brushes to add two shades of pink ink through the Scattered Hearts stencils in the upper left and bottom right corners of the panel. I used a very light hand to keep the pink inks a light shade so it wouldn't distract from the main image.

Then I added black splatters to the piece. You can use a drop or two of a black ink pad re-inker or diluted black acrylic paint to do this.

When the paint splatters were dry, I used glue to adhere it to an A2 card base. Then I used foam dots to adhere the colored images of Nancy's Lilac Bouquet to the card. I adhered the extra leaf and lilac bunch with glue behind the main image.

The sentiments are two of seven that are included with the stamp set. After I stamped them with black ink, I cut them out with the coordinating dies.

Can you believe that this card was with created with one stamp set, one die set, and one stencil set? And with the Nancy's Lilac Bouquet set there are so many possibilities for different looks you can make using the extra florals and leaf that's included!

Thank so very much for stopping by today. I hope your week has been a good one!

Thank you for using my affiliate links to shop (never any additional cost to you)!
Wednesday, January 22, 2025

You're My Queen Of Hearts Valentine Card

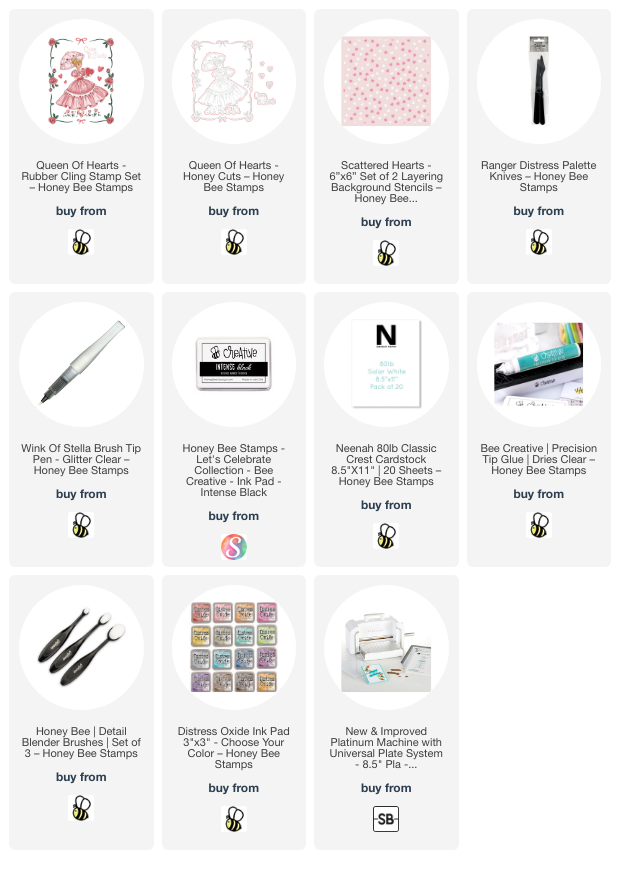
Hello crafty friends! Today I'm sharing my vintage Valentine card that features Honey Bee Stamps' beautiful Queen of Hearts stamp set. This set is made from red rubber and I totally love the crisp stamped image you get! You can also stamp the entire piece all at one time!

First I worked on my stenciled background. I inked up a 4" x 5-¼" piece of white cardstock with three pink Distress Oxide Ink colors. For my ombre pattern I used Picked Raspberry, Kitsch Flamingo, and Spun Sugar.

After using my heat tool to dry the ink a bit, I placed one of the two Scattered Hearts stencil over the inked panel. I added Picked Raspberry Oxide ink through the stencil with an ink blending brush.

Before I added the texture paste with the second stencil, I stamped the four hearts in the Queen of Hearts set with the pink Distress Oxides randomly over the panel.

Next I placed the second Scattered Hearts stencil over the panel. Then I added some pretty Frosted Petal Glacier Paste through the stencil with a palette knife. I carefully removed the stencil and set piece aside to dry.

Next I stamped the Queen of Hearts girl with Intense Black ink onto white cardstock. (Did you know that the Queen of Hearts set is made so you can use all of the images separately?) Next I colored her with my Copic markers. I used these colors:

  • dress: C5, C3, C1, C00
  • parasol & other pink elements: R39, RV25, RV06, RV04, RV02, RV10, RV00
  • hair: E59, E57, E55
  • leaves/grass: G17, G25
  • skin: E11, E51, E50

I used glue to adhere the dry stenciled panel to an A2 folded card base.

Next I cut out the Queen of Hearts with the coordinating Honey Cut. I added foam dots to the back to pop it up on the A2 card.

I stamped extra hearts from the Queen of Hearts with Picked Raspberry Oxide ink and cut them out with the coordinating dies. I used foam squares to adhere them to the card.

The sentiment is also another separate stamp in the Queen of Hearts stamp set. It is stamped with black ink and cut out with the coordinating die.

Since I was thinking her pretty white dress would have a sparkly overlay in real life, I used a clear glitter pen to add lots of sparkles on her dress!

I hope you've found some inspiration today for your card making!  Be sure to check out the entire Perfect Match release for other fun themed products.  Thank you for stopping by!!

Thank you for using my affiliate links to shop (never any additional cost to you)!