Showing posts with label Copic coloring. Show all posts

Thursday, June 11, 2026

Way To Gator Done!! -- Simon Says Stamp

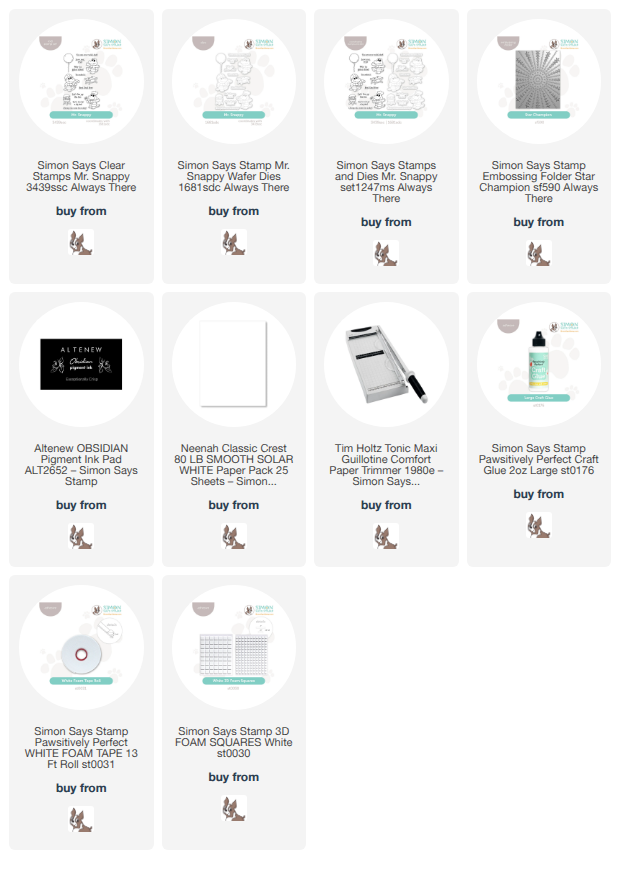
Hello friends!  Today I'm sharing another card I made using products from Simon Says Stamps' Always There release!  This one, that's so sweet and easy to make, features the super cute Mr. Snappy stamp set (that name! love it!) and the Star Champion embossing folder.

There are three adorable gator images in the Mr. Snappy stamp set.  One that grills, another builds, and the one I chose, the happy one!  I stamped the gator, and the balloon, in alcohol marker safe black ink and colored both with my Copics.

There are coordinating Mr. Snappy dies available, but I don't have them so I easily used my scissors to cut them out.  Then I added foam tape on the back of both pieces.

I stamped the sentiments, two of the eight included in the set, with black pigment ink.  I used my paper trimmer to cut them into rectangles and added foam tape to the back.

For my A2 card, I added a white cardstock layer that I embossed with the Star Champion embossing folder.  This folder would be so fabulous for many occasions such as graduation, birthdays, anniversaries, and lots more!!

After I glued the embossed panel to my card base, I removed the backing from the foam tape on the Mr. Snappy images and adhered them to the card.

After adding a couple of white gel pen lines to the balloon, I was finished!

Now you see how quick and easy this card was with Mr. Snappy!  Perfect for many celebrations!  Thanks so much for stopping by today.  Happy crafting!!

Thank you for using these affiliate links to shop (never any additional cost to you)!
Wednesday, June 10, 2026

Perfect Peonies Thinking Of You Card

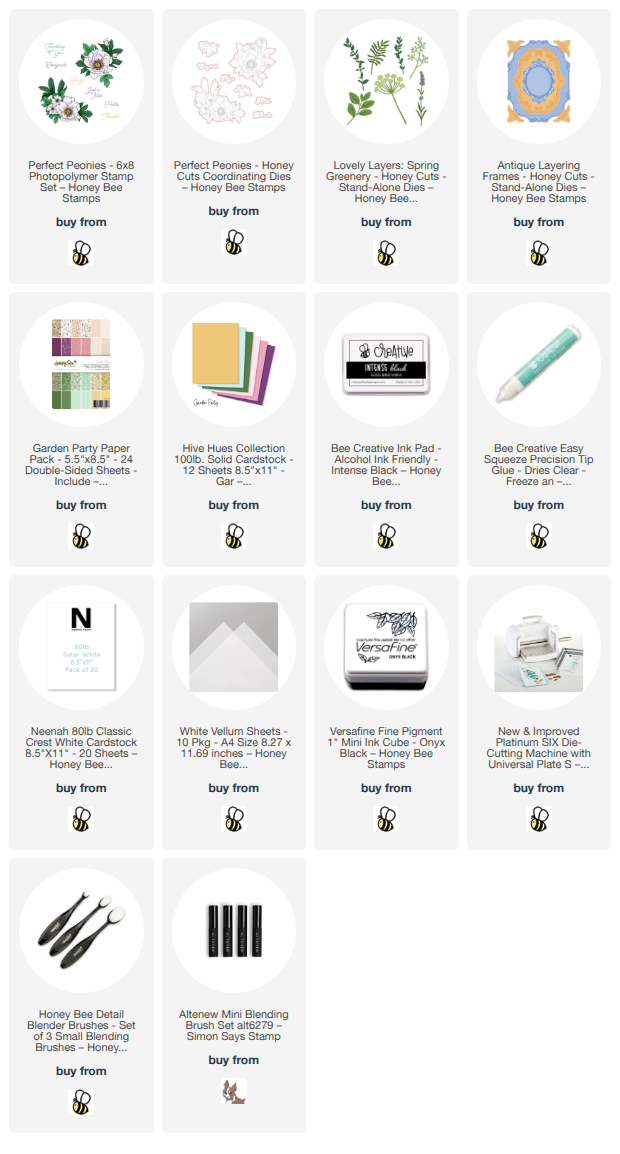
Hello crafty friends!!  Today I am sharing this Copic marker colored card that features Honey Bee Stamps absolutely gorgeous Perfect Peonies stamp set and coordinating Perfect Peonies Honey Cuts.  It's been a while since I colored an image and I really enjoyed taking my time with this and just enjoying the process!

First I stamped this image from the Perfect Peonies stamp set with Bee Creative Intense Black ink which is safe to use with alcohol markers.  I used a BV31 Copic marker to "under-paint" the shadow areas of the petals where my darkest marker would be.  I finished the coloring with just a touch of Y11 over the lightest marker shade.  These are the colors I used for the flowers, buds, and leaves (I always color dark to light and have listed the markers in the order used):

  • flower and buds:  BV31, R14, R22, R43, R32, R11, Y11
  • leaves: G29, YG67, YG17, YG25, YG03

With my coloring complete, I cut the images out with the coordinating Perfect Peonies dies.

Next I die cut some vellum three times with the leaf stem from the Lovely Layers: Spring Greenery dies.  I used YG17 and YG25 to color the back of the vellum.

For the layers on the A2 card base I first die cut paper from the Garden Party paper pad with the largest die in the Antique Layering Frames set.  I lightly inked the edges with a coordinating beige ink with a blending brush.  I used Bee Creative glue to adhere the piece to the card base.

The smaller layer is die cut with the oval die in the Antique Layering Frames set and paper from the Hive Hues Garden Party cardstock pack.  I also lightly inked these edges with a coordinating ink.  I added foam tape to the back of the piece to adhere it to the card.

I decided on an arrangement for the Perfect Peonies image and the vellum leaves.  First I glued the leaves to the card and adhered the peony image with foam tape.

The sentiment is one of several in the Perfect Peonies stamp set.  After I stamped with black pigment ink, I cut it out with the coordinating die and adhered it with foam tape.

I think this sentiment is perfect for the tone and "feel" of this card!  Do you enjoy coloring?  I really hope I've given you some inspiration today to sit down, relax, and enjoy a good coloring session!  Have a wonderful day, and I'll see you back here next week!!

Thank you so much for using my affiliate links to shop (never any additional cost to you)!

Saturday, April 19, 2025

A Note Just For You

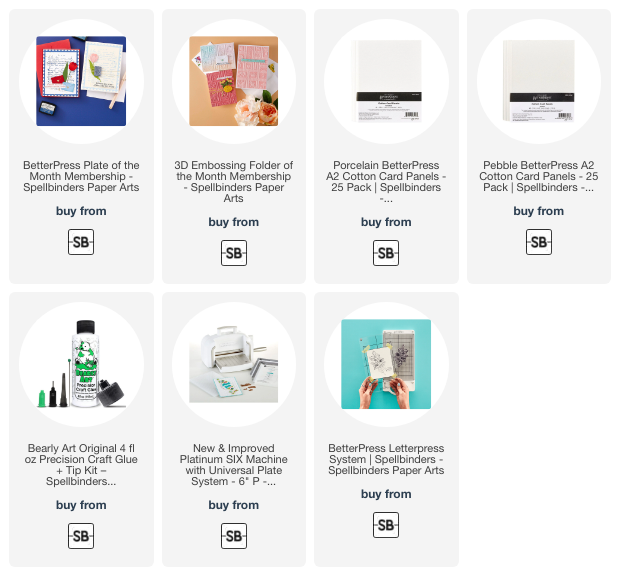
Happy Saturday!  Today I'm sharing the details of my card that features two of Spellbinders Club Kits.  I've used the beautiful BetterPress Plate for April along with the 3D Embossing Folder of the month.

I love figuring out different ways to feature products and I've done just that with the Postage Mosaic 3D embossing folder by cutting it into pieces.

The Postage Mosaic 3D embossing folder is a 5-½" x 8-½" embossing folder that is filled with various shaped "postage stamps" with different images.  After I embossed 80# Neenah with my Platinum 6 die cutting machine, I used my paper trimmer to cut the folder into individual stamps.

I chose three to color with my Copic Markers.

For the background I used the Post Edge Expression BetterPress of the Month.  I love this image and how it can be bold or subtle.  I chose the subtle route and used my BetterPress Letterpress system to press gray ink into Pebble Cotton cardstock.

Note:  I love how the stamp edge and script are two separate press plates!  You also get three sentiment press plates and the coordinating dies to use to cut them out.

I chose a sentiment from the set and pressed the same gray ink onto Porcelain Cotton cardstock.  I cut it out with the coordinating die.  (These cotton cardstocks are currently on sale!)

I adhered the stamped, one with glue, and the others with foam tape.  I added a foam strip to the back of the sentiment to adhere it to the card.

I really love the look of this card with the neutral background and the pops of color on white!  There are many options to choose from in the Spellbinders Club Kits line.  Click HERE to check them out!

Thank you so much for stopping by!  I hope you have a blessed weekend and Easter.

Thank you for choosing to use my affiliate links to shop (never any additional cost to you)!

Friday, April 11, 2025

Adorable New House-Mouse Sets Are Here!

Happy Friday, friends!  Today I'm sharing two cards I made with two of the new House-Mouse stamp sets from the Creative Day Collector Bundle available at Spellbinders.

The new sets I've used are the Top Notch Birthday set and the Creative Day set.  Both cards were super easy to make once I had my coloring finished.

I stamped both of the sweet images with Copic marker safe black ink.  What makes these images so easy to color is that the artist has shown us where the shadows would be with the tiny dots that are stamped.

After I colored the images with my Copic markers, I trimmed the pieces and matted each one with a black cardstock layer.  For the first card, I chose two of the three sentiments included in the Top Notch Birthday.  I stamped the sentiments on the bottom front of an A2 card base.  Then I glued the matted image to the card.

I tied a piece of black and white bakers twine around the card and this card was finished!

This next card features the sweet Creative Day stamp set.

This is such a cute and clever image.  I didn't realize it when I first saw the set, the the little mouse has created a pop-up card!  I love the little snippets of paper lying around.

I added shading to the "ground" by inking on some very light gray ink with a blender brush.  I adhered the matted panel to my A2 card with a background I made with the Argyle Plaid 3D embossing folder.

So, are you a fan of these House-Mouse sets?  While I don't tend to gravitate towards the "critter" stamps, I think these are absolutely adorable!!

Have a wonderful weekend and thanks for stopping by!!!

Thank you for using my affiliate links to shop all things Spellbinders (never any additional cost to you)!

Wednesday, March 26, 2025

Celebrating Honey Bee Stamps' 10th Anniversary Card

Hello, crafty friends! This time tomorrow I will be headed to the airport to go to Oregon for Honey Bee Stamps' 10th Anniversary Card Making Retreat! I'm so excited! As you may guess, this trip is what inspired my card for today!

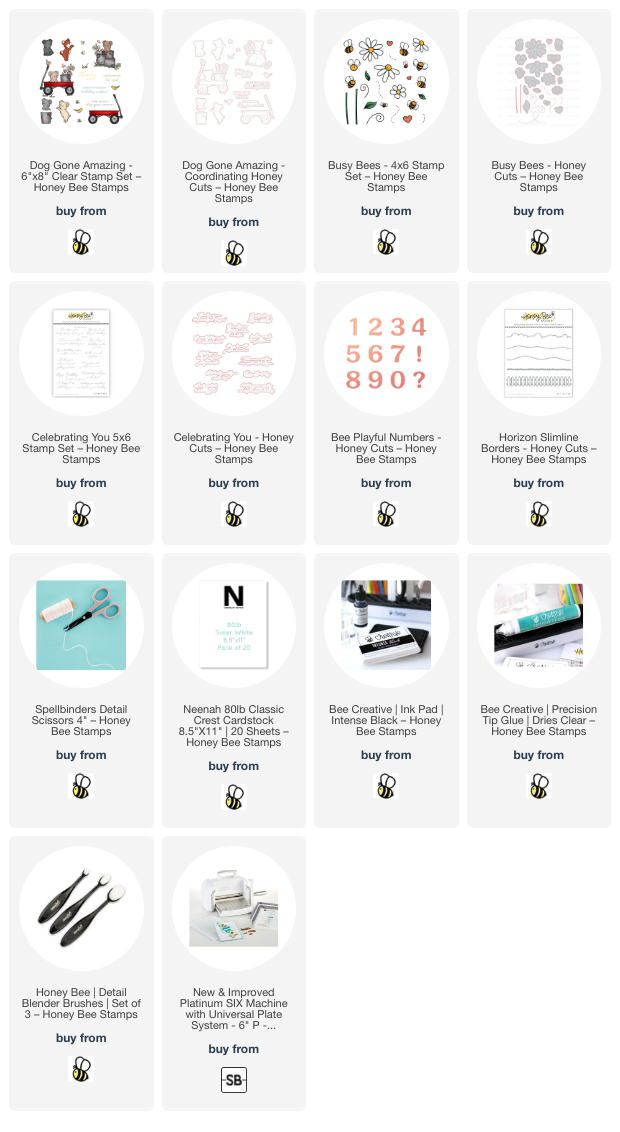
I pulled out what was one of my very first Honey Bee purchases! I still love the Busy Bees stamps and Honey Cuts, and good news, these are still available!

I think that the Busy Bees stamps and Honey Cuts are timeless, as these pair perfectly with newer products!

The background for my card is an A2 card base. First I used a blender brush to add blue ink to the card for the sky. Then I used the hill die from the Horizon Slimline Borders Honey Cuts to die cut green cardstock. I glued this to the bottom of the card base.

Next I stamped the grass from the new Dog Gone Amazing stamp set with green ink onto the hill. Then I stamped two of the dogs from that set with Intense Black ink and colored them with my Copic markers. I cut them out with the coordinating Honey Cuts.

My next step was to stamp all of the flowers, leaves, and some bees from the Busy Bees stamp set with black ink. I repeated the stamping onto more white cardstock since I knew I would want extra. After I colored them with my Copic markers, I cut them out with the coordinating Busy Bees dies.

I decided on an arrangement for the flowers, then adhered some with foam and glued some to the bottom of the card. I used my scissors to trim anything hanging off the edge of the card. I used glue to tuck the leaves here and there around the flowers.

I die cut the 1 and 0 from the Bee Playful Numbers die set four times from white cardstock and once from black. I used glue to adhere the layers together.

I stamped the sentiment from the Celebrating You with black ink and die cut it with the coordinating die.

Next I adhered the Dog Gone Amazing pups with foam squares. Then I put a butterfly from that set onto a stamp block and stamped it with Intense black ink. Then I colored them with a few blue and yellow Copic markers.

To finish up, I glued the number 10 on the card. I added foam strips to the right side of the sentiment and glue to the left to adhere it.

Then I placed the cute little Busy Bees here and there on the card.

If you would like to see some photos from the retreat, then be sure to follow me on my Instagram!  I hope to have time to share some of the fun!

Thank you so much for stopping by! You are most appreciated!

Thank you for using my affiliate links to shop (never any additional cost to you)!

Wednesday, March 19, 2025

Rain Or Shine, I'm Here For You!

Hello, friends!  It's time for the new release by Simon Says Stamp called Rain or Shine!  Just as we can expect, this is a fabulous release filled with all sorts of crafty products in various themes.  There's something for everyone!

My card features the adorable Rain or Shine stamp set.  I created a sweet little scene with a few of the many stamps in the set.

I began by inking an easy background with a green and blue ink onto the A2 card front.

Next I chose five of the stamps from the Rain or Shine set and stamped them with Copic safe black ink.  After I colored the images with my Copic markers, I used my scissors to trim around each image.  (There are coordinating dies available!)

First I glued the bear image to the card.  Then I added foam tape to the back of the other images to adhere them to my card.  I stamped a sentiment from the Rain or Shine set with black pigment ink.

Then I trimmed it into a strip and used a corner rounder to round off the two bottom corners.  I popped it up with foam tape.

Super sweet and easy to make!  There are five other bears in this set along with another main sentiment and three sub sentiments too.

Be sure to check out all of the new crafty goodies in this release by visiting Simon Says Stamp.  Thanks so much for stopping by!

Thank you for using my affiliate links to shop (never any additional cost to you)!

Get Well Card With Adorable Kitties!

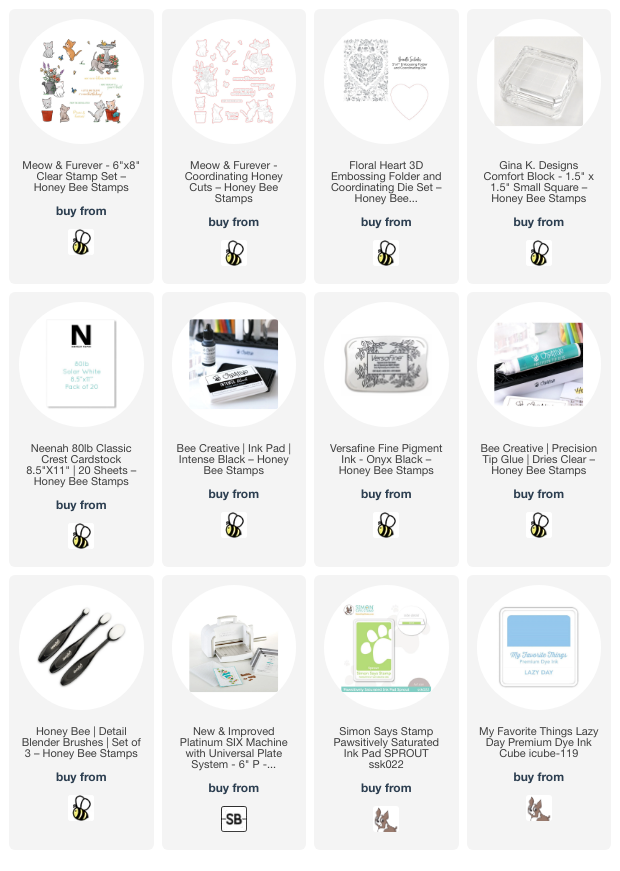
Hello Honey Bee friends! Today I have a card for all of the cat lovers out there! I'm a bit allergic to them, but still think they are so cute! I've used the so sweet and adorable Meow & Furever stamps and coordinating dies for my card today.

First I stamped the images I wanted to use from the Meow & Furever stamp set with Copic safe black ink. After I colored them with my Copic markers, I cut them out with the coordinating dies. (If you are interested in what marker colors I used, I have them listed at the end.)

I stamped the sentiment from the Meow & Furever stamp set with black pigment ink and cut it out with the coordinating die. The separate cat's die actually cuts slits below its paws so I used glue to adhere it to the sentiment.

I added foam tape dots and strips to the back of the images and the sentiment and set them aside while I made the card base and background.

The card base layer and the heart are both included with the Floral Heart 3D embossing folder. I love that this includes the heart die! I embossed a 5" x 7" piece of white cardstock with the Floral Heart embossing folder. I glued this to a 5" x 7" card base.

I die cut more white card stock with the heart die and used blender brushes to ink it with some green and blue inks. Then I placed the little grass stamp (Meow & Furever stamp set) onto a stamp block. I randomly stamped it over the inked grass using the same green ink as before.

Next I removed the backing from the foam tape on the images and adhered them to my card front.

The Meow & Furever stamp set has another focal image along with several more cats and sentiments too!  I thank you so much for stopping by!!

Thank you for using my affiliate links to shop (never any additional cost to you)!

Wednesday, February 5, 2025

Lilacs and Roses Card With Stencils and Copic Markers

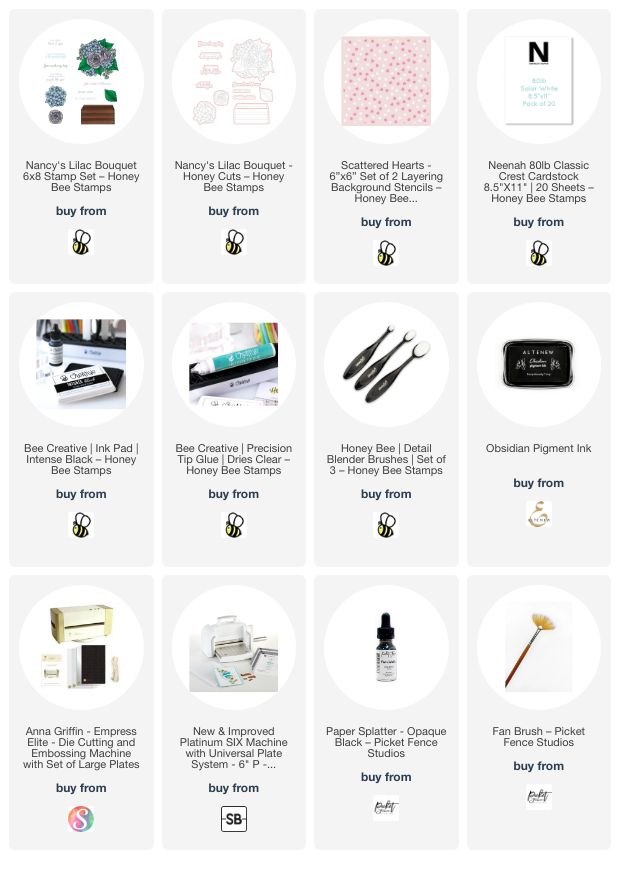
Hello crafty friends! Today I'm sharing my card featuring the so beautiful Nancy's Lilac Bouquet stamps and Honey Cuts. These were so fun to color! I used stencils to create a subtle heart background--read on for the details!

First I stamped all of the images from Nancy's Lilac Bouquet stamp set with Intense Black ink onto 80# Neenah. I colored them with various shades of pink, purple, and green Copic markers. Here's a list of the markers I used:

  • Lilacs: RV66, V06, V05, RV63 (Altenew marker R705)
  • Roses: RV17, RV13, RV23, RV02, RV10
  • Leaves: G28, YG67, YG17, YG25, YG03
  • Crate: E59, E27, E25

I cut them all out with the coordinating Nancy's Lilac Bouquet dies.


Next I made the background layer. I trimmed 80# Neenah to 4" x 5-¼". Then I used ink blending brushes to add two shades of pink ink through the Scattered Hearts stencils in the upper left and bottom right corners of the panel. I used a very light hand to keep the pink inks a light shade so it wouldn't distract from the main image.

Then I added black splatters to the piece. You can use a drop or two of a black ink pad re-inker or diluted black acrylic paint to do this.

When the paint splatters were dry, I used glue to adhere it to an A2 card base. Then I used foam dots to adhere the colored images of Nancy's Lilac Bouquet to the card. I adhered the extra leaf and lilac bunch with glue behind the main image.

The sentiments are two of seven that are included with the stamp set. After I stamped them with black ink, I cut them out with the coordinating dies.

Can you believe that this card was with created with one stamp set, one die set, and one stencil set? And with the Nancy's Lilac Bouquet set there are so many possibilities for different looks you can make using the extra florals and leaf that's included!

Thank so very much for stopping by today. I hope your week has been a good one!

Thank you for using my affiliate links to shop (never any additional cost to you)!

Wednesday, October 9, 2024

Sweet Autumn Card For Our Friends

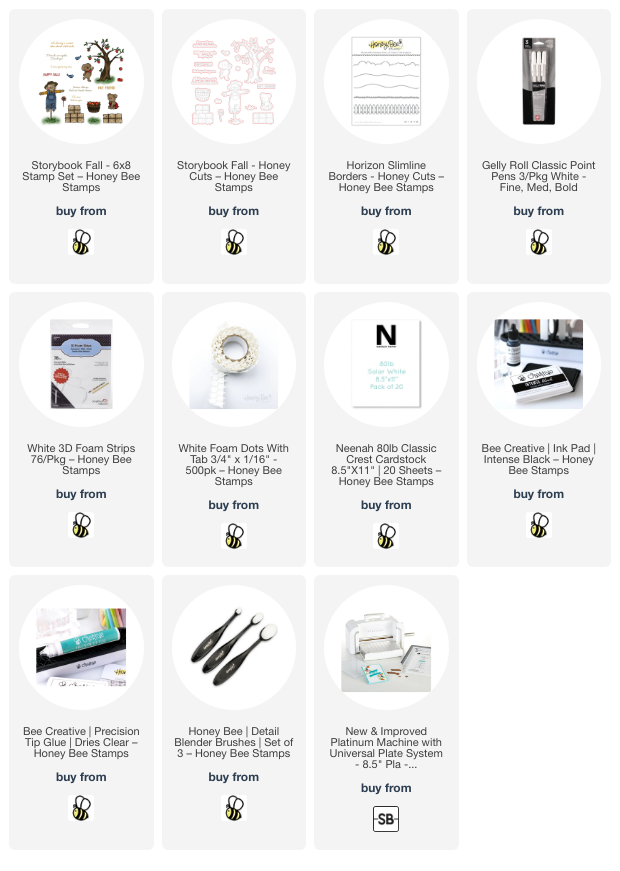
Hello crafty friends! Today I'm sharing my sweet card I made with Honey Bee Stamps adorable Storybook Fall stamps and coordinating Honey Cuts. I love the sentiments in this set that are so perfect for a card for that special friend!

I created the scene by first stamping some of the images from the Storybook Fall stamp set with Intense black ink, an alcohol marker safe ink. There's the cutest scarecrow in this set but I just didn't have room for him on my card!

I used a variety of Copic markers to color the images. Then I cut them out with the coordinating Storybook Fall dies. I used a white gel pen to add highlights to the apples and stripes on the pup's scarf.

Next I used one of the hill dies that is in the Horizon Slimline Borders die set to cut a strip of white cardstock. I used an ink blending brush to color it with Mowed Lawn and Rustic Wilderness Distress Oxide inks. Then I used the little grass stamp in the Storybook Fall set to add the grass to the piece by stamping with Rustic Wilderness Oxide.

Before I glue on the grass piece, I added Tumbled Glass Oxide ink with a blending brush to my A2 card base. I used glue and some foam dots to adhere the cute images to the scene.

Then I stamped the two sentiments from the Storybook Fall set with black ink and cut them out with the coordinating dies. I added foam strips to the back to pop the sentiments up on the card.

And that's it! A super sweet card made with one stamp set and two die sets! I sure do appreciate you taking a few minutes to stop by today! Have a fabulous day!

Thank you so much for using my affiliate links to shop (never any additional cost to you)!

Saturday, June 8, 2024

Floral Card With Texture Paste Background

 Hi friends!!  I can't believe it's been a week since I've posted here!  I've been so busy! Last week I went to the super fun Nashville Craft Retreat, and my return flight was canceled resulting in a lost day creating with a lot of new products!

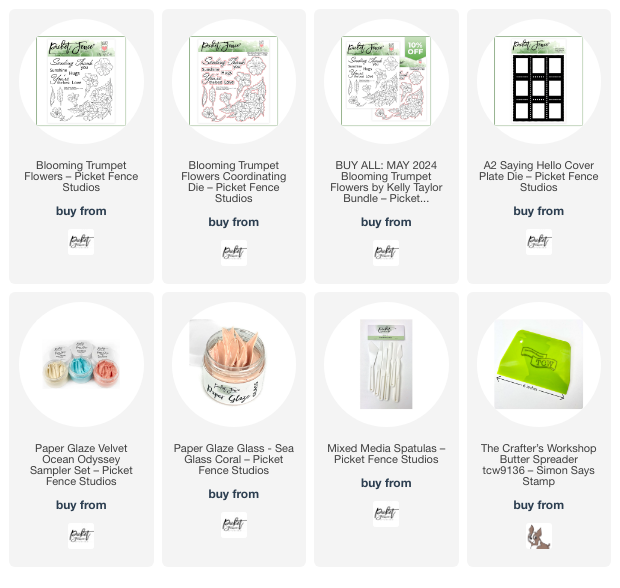
Today I'm sharing a few details of this card that I shared a reel for over on my Instagram.  It features the gorgeous Blooming Trumpet Flowers stamps and dies that were illustrated by the super talented Kelly Taylor!

I cut a quarter panel of Bristol Smooth cardstock first.  Then I used a palette knife to dip out three different colors of Paper Glaze.  I put the scoops at the top of the long edge of the cardstock then used a large palette spreader to smooth the glaze out.  I used Cream Puff Velvet Paper Glaze, Sea Glass Coral Glass Paper Glaze, and Clementine Preserves Velvet Paper Glaze.

I actually set it outside in the hot sunshine to dry!  LOL.

I colored the images from the Blooming Trumpet Flowers stamp set with my Copic markers and cut them out with the coordinating dies.  I used B41, R14, R22, R21, R05, YG67, YG25, YG17, YG25, and YG03.

After I die cut white cardstock with the A2 Saying Hello Cover Plate die I added narrow strips of foam tape to the back to adhere it to the dried texture paste background.  

Then I arranged the flowers and leaves on the card and adhered them with a bit of foam tape and/or glue.

The sentiment is one of a few included with the Blooming Trumpet Flowers set!

I certainly do love using texture paste any way I can!  Picket Fence Studios has a variety of types and colors to choose from that are all so beautiful!!

Thanks so much for stopping by today!  Have a fabulous Saturday!

Thank you for shopping with my affiliate links (never any additional cost to you)!
Friday, October 20, 2023

Sweet Holiday Christmas Wishes

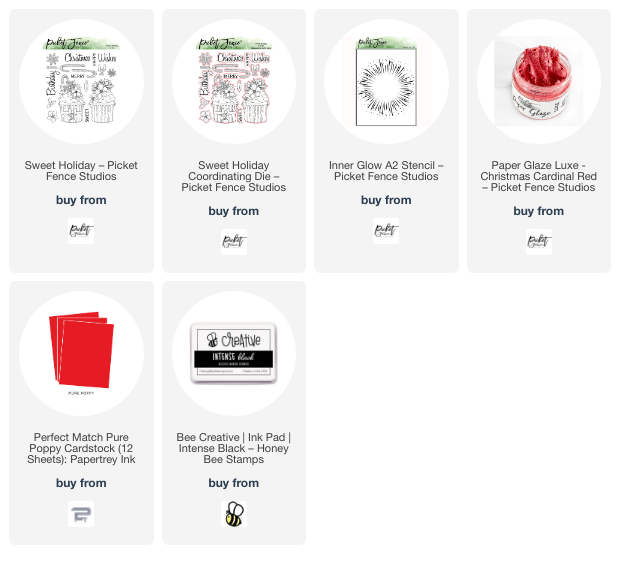
 Hi friends!  I'm sharing my card featuring Picket Fence Studios beautiful new Sweet Holiday stamps and coordinating dies.  This will be a short post as I have tons to do before leaving town next Wednesday!

This set was illustrated by the so very talented Kelly Taylor!  I've had the pleasure of meeting her in real life and also being the same design team too!  She's so sweet!  There are two cupcake images in the Sweet Holiday stamp set, and I chose the one with the candy cane to color with my Copic markers.

I love having coordinating dies to cut out images to be able to pop them up on the card fronts with a stenciled background.

I spread some of Picket Fence's Christmas Cardinal Red Paper Glaze Luxe through the Inner Glow A2 stencil.  Once that was dry, I popped up the Sweet Holiday cupcake over it with foam tape.

The sentiment is one of several in the set.  I popped it up with foam tape after matting it with red cardstock.  I added lots of sparkles to the cupcake image, but the one I think shows in the photo is the iridescent chunky glitter I added to the cupcake icing!  

I hope you'll check out the entire new release over at Picket Fence!  It's filled with lots of awesome crafty goodies!  Thank you so much for stopping by!

Thank you for shopping with my affiliate links (never any additional cost to you)!

Wednesday, October 4, 2023

Two Adorable Birthday Cards Featuring the New It's Your Birthday Stamp Set

Hello friends!  Simon Says Stamp has a new release called Season of Wonder 2023, is available now!  And I absolutely adore the sweet images of the It's Your Birthday stamp set that I have featured in my cards for this post!

If you would like to check out the huge variety of products in this release, just click the photo!

My cards for today's post feature two of the five adorable images in the It's Your Birthday stamp set.  

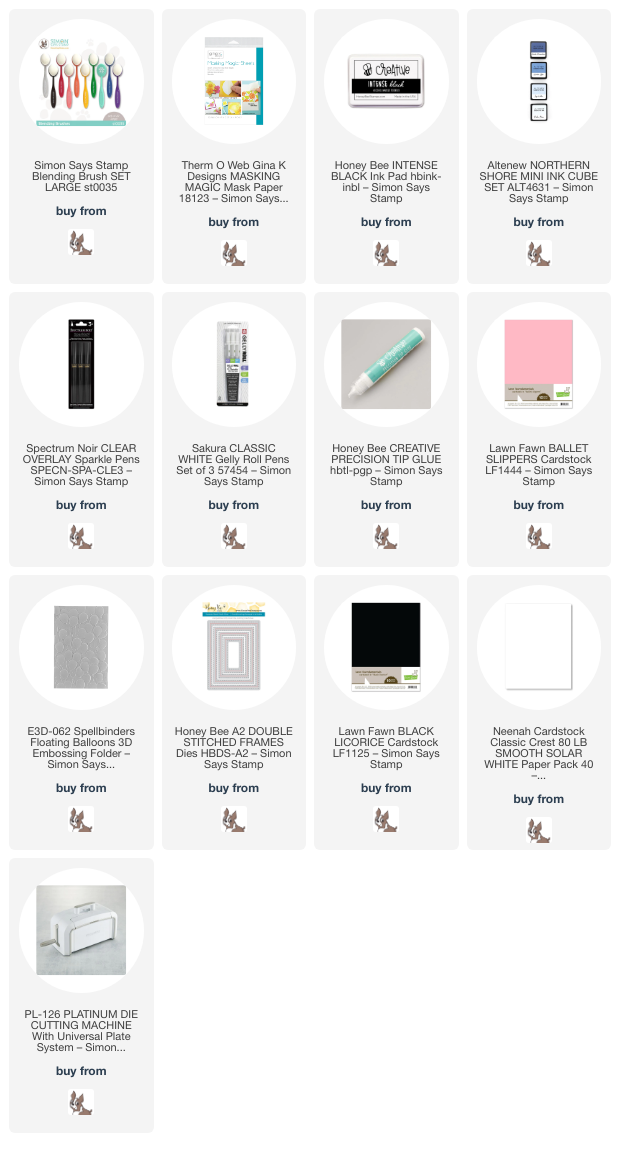
I stamped each of the sweet images with Copic safe black ink onto 80# Neenah.  Both are colored it with various Copic markers.  I also stamped each image onto masking paper, cut it out, and placed the mask over the images.  Then I used an ink blending brush to add light blue ink around each image.

For this first card I created an embossed frame layer.  First I used a stitched rectangle die to cut out the opening in the pink cardstock.  I did need to do some partial die cutting with the rectangle die to lengthen the rectangle opening.

Then I embossed the piece with the Floating Balloons 3D embossing folder.

The sentiments for both cards are one of several included in the It's Your Birthday stamp set.

My next card features the most adorable little unicorn ever!

I plan on giving these cards to my two young grandnieces.  I think they will really like these cards.

I used a white gel pen to add a few extra details.  Even though it doesn't show in the photos, there is some fun sparkle on the unicorn that I added with a clear glitter pen.

There are so many different styles of products in the Season of Wonder release!  Be sure to check it all out!  Thanks so very much for stopping by today!

Thank you for using my affiliate links to shop (never any additional cost to you)!