Showing posts with label anniversary card. Show all posts

Wednesday, March 26, 2025

Celebrating Honey Bee Stamps' 10th Anniversary Card

Hello, crafty friends! This time tomorrow I will be headed to the airport to go to Oregon for Honey Bee Stamps' 10th Anniversary Card Making Retreat! I'm so excited! As you may guess, this trip is what inspired my card for today!

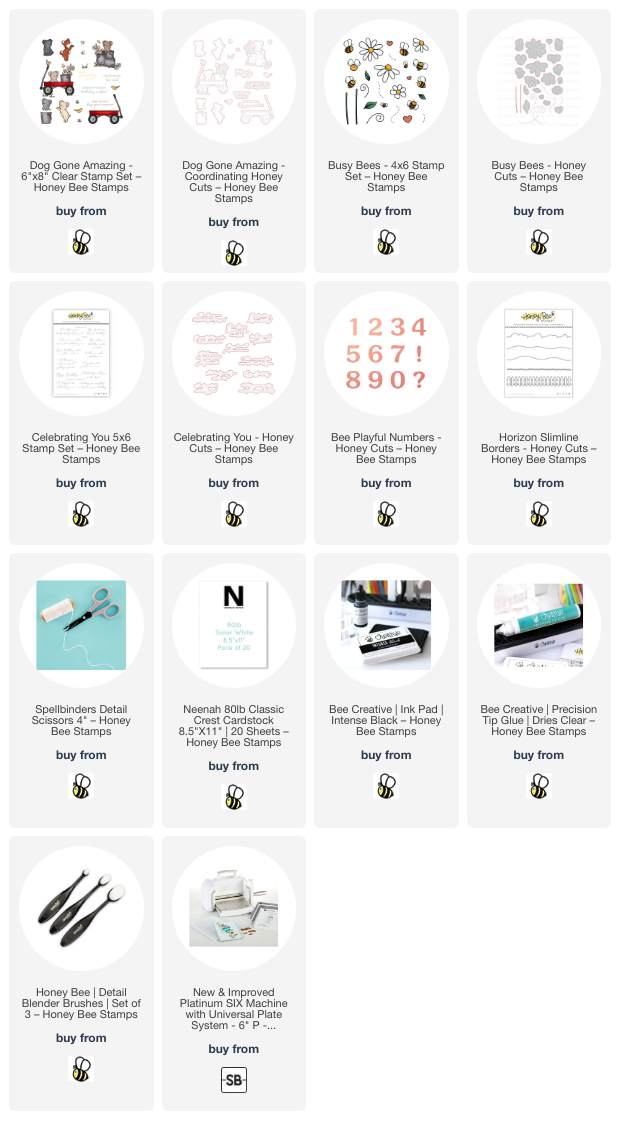
I pulled out what was one of my very first Honey Bee purchases! I still love the Busy Bees stamps and Honey Cuts, and good news, these are still available!

I think that the Busy Bees stamps and Honey Cuts are timeless, as these pair perfectly with newer products!

The background for my card is an A2 card base. First I used a blender brush to add blue ink to the card for the sky. Then I used the hill die from the Horizon Slimline Borders Honey Cuts to die cut green cardstock. I glued this to the bottom of the card base.

Next I stamped the grass from the new Dog Gone Amazing stamp set with green ink onto the hill. Then I stamped two of the dogs from that set with Intense Black ink and colored them with my Copic markers. I cut them out with the coordinating Honey Cuts.

My next step was to stamp all of the flowers, leaves, and some bees from the Busy Bees stamp set with black ink. I repeated the stamping onto more white cardstock since I knew I would want extra. After I colored them with my Copic markers, I cut them out with the coordinating Busy Bees dies.

I decided on an arrangement for the flowers, then adhered some with foam and glued some to the bottom of the card. I used my scissors to trim anything hanging off the edge of the card. I used glue to tuck the leaves here and there around the flowers.

I die cut the 1 and 0 from the Bee Playful Numbers die set four times from white cardstock and once from black. I used glue to adhere the layers together.

I stamped the sentiment from the Celebrating You with black ink and die cut it with the coordinating die.

Next I adhered the Dog Gone Amazing pups with foam squares. Then I put a butterfly from that set onto a stamp block and stamped it with Intense black ink. Then I colored them with a few blue and yellow Copic markers.

To finish up, I glued the number 10 on the card. I added foam strips to the right side of the sentiment and glue to the left to adhere it.

Then I placed the cute little Busy Bees here and there on the card.

If you would like to see some photos from the retreat, then be sure to follow me on my Instagram!  I hope to have time to share some of the fun!

Thank you so much for stopping by! You are most appreciated!

Thank you for using my affiliate links to shop (never any additional cost to you)!
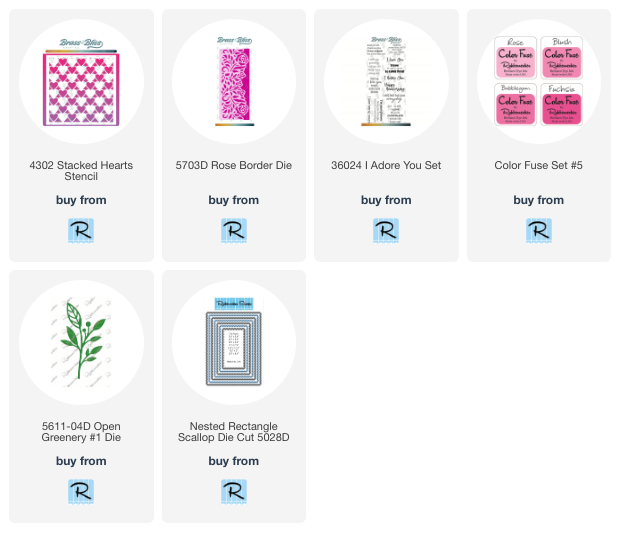
Sunday, February 25, 2024

I'm Yours Forever (No Exchanges)

Happy Sunday crafty friends!  Today I'm over on the blog at Brass & Bliss Craft Co. with all of the details of my card featuring the Rose Border die.  I thought it was really funny to add a snarky sentiment to this elegant card!  Haha!  It would be perfect for Valentine's Day or for an anniversary.  I plan on giving it to my husband and can't wait to see his reaction to the sentiment!! LOL!

I'm just hitting the highlights here, so be sure to head over to the Brass & Bliss blog for all of the steps to make this fun card.  I layered the Rose Border die after coloring each piece to make an ombre border.

The background panel is white on white with texture paste added through the Stacked Hearts Stencil.

I added a pink mat layer behind the sentiment from the I Adore You stamp set.  Both pieces are die cut with a rectangle scalloped die.

Before adhering the sentiment with foam tape I added two vellum Open Greenery die cuts.

Thank you so much for stopping by!  I hope you have a wonderful week!

Thank you so much for shopping with my affiliate links (never any additional cost to you)!

Wednesday, February 7, 2024

Anniversary Card With Stencils and Watercolor

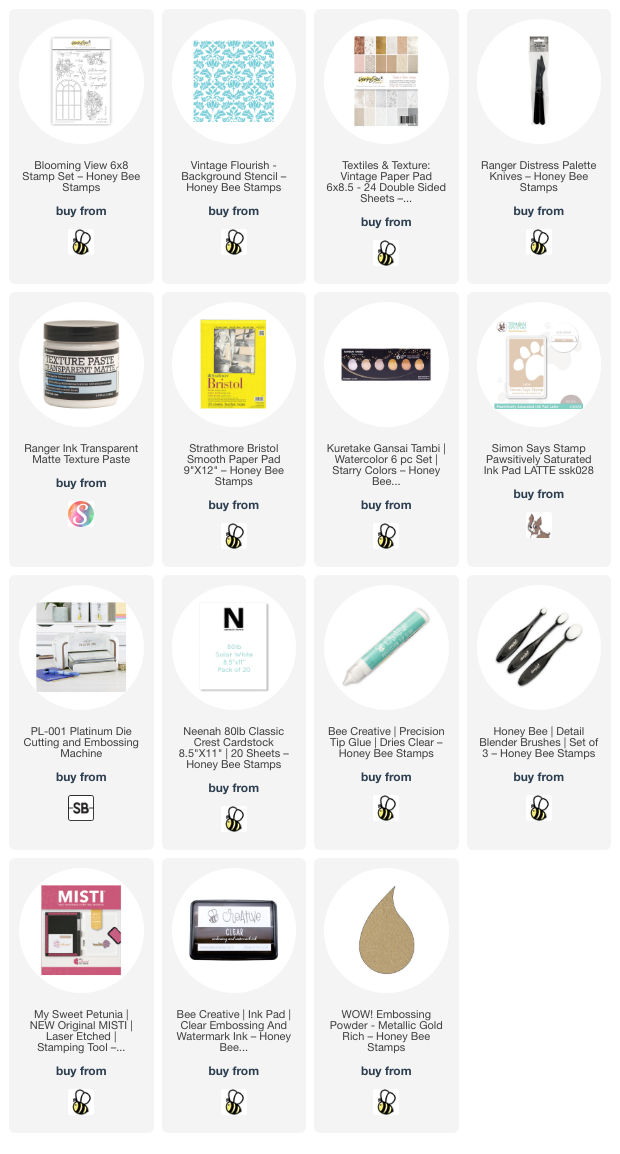
Hello Honey Bee friends! Have you been loving the new Vintage Love release as much as I have? Today my anniversary card features the gorgeous Blooming View stamps and coordinating dies. I absolutely love the florals, but also the window which has so many possibilities with other sets too!

I started by using a fun stenciling technique for my A2 card background. I trimmed a piece of paper from the new Textiles & Texture: Vintage paper pad to 4-¼" x 5-½". Then I lightly sprayed the back of the Vintage Flourish stencil with Pixie Spray. This is a beautifully detailed stencil and the spray will keep the small parts of the stencil secure.

Next I used a pallet knife to spread some transparent matte texture paste through the stencil. I removed the stencil and immediately washed it and the knife. When the piece was dry, I used an ink blending brush to add some very light brown ink over the entire piece. This makes the detail of the stencil pop! Check out this photo I took about half way through the process.

You can really see what a difference the ink makes. (The ink wasn't thoroughly dry and is much lighter after some time.) I adhered the panel to my A2 card base with glue.

Next I stamped the images from the Blooming View stamp set with clear embossing ink onto Bristol Smooth cardstock. I added gold embossing powder and heat set it.

Then I used various watercolors from my stash to color the florals. I used a gold metallic watercolor on the window. Tip: Use a scrap piece of Bristol to experiment and combine colors to find what you like. This prevents me from making a color mistake on the actual piece.

I die cut all of the dry pieces with the coordinating Blooming View dies. I love that the window has two dies! I used the outer die to cut a piece of vellum to fit behind the window and used glue to adhere it to the card.

The gold embossed sentiment is one of several in the Blooming View stamp set and is cut out with the coordinating die. I used foam dots and narrow foam tape strips to adhere the florals and sentiment to the card.

This was a super fun technique to used with patterned paper and stencils! I hope you've enjoyed my card making process and have found inspiration here! Thank you so much for stopping by!

Thank you for using my affiliate links to shop (never any additional cost to you)!

Monday, April 10, 2023

Stitched Numbers & More Collection

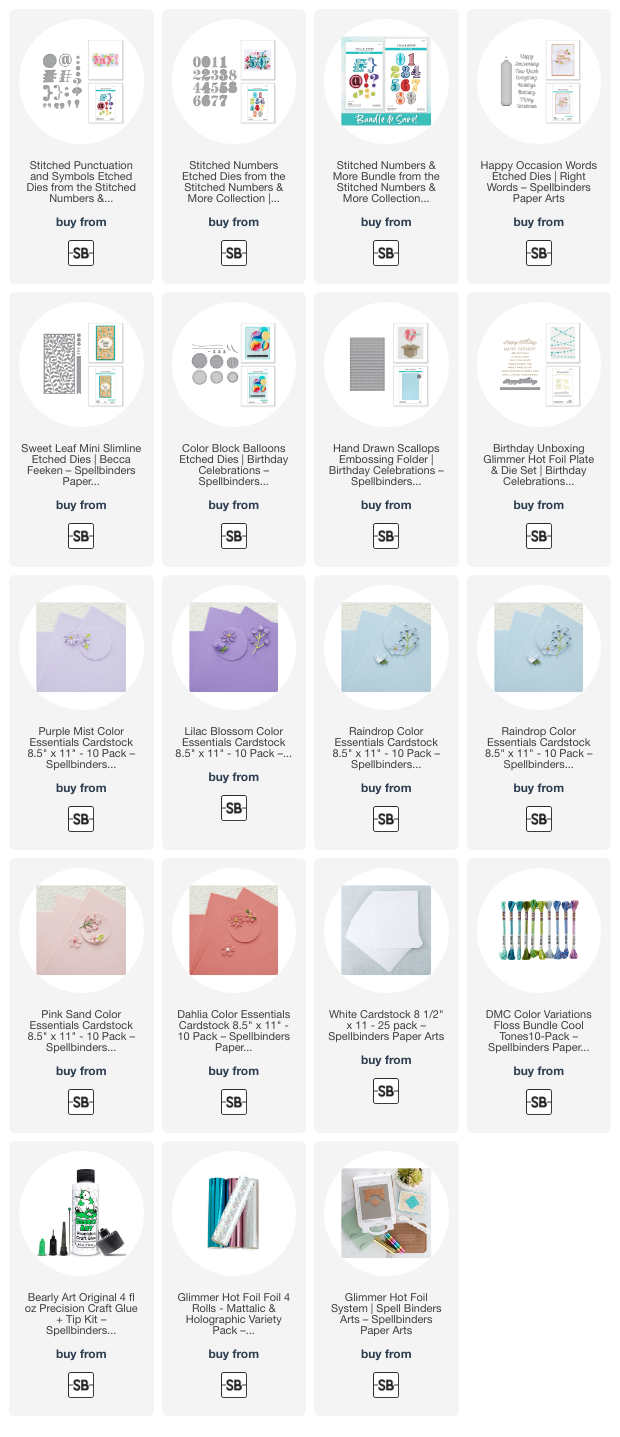
Hello friends!  Have you ever tried stitching on your cards?  It's so fun and a great way to add a totally different element to your cards!  Today I'm sharing three cards I made with Spellbinders new Stitched Numbers and More Collection!


All of the supplies I've used are linked in the supply list below.  I really enjoyed using the variegated thread and love all of the colors in this collection of threads!  I stitched flowers on all of the numbers and elements using a lazy daisy stitch, a wagon wheel rose, and French knots.

I created this sweet card for my grand-niece that will be 7 soon!  I think the foiled sentiment adds a pretty and sparkly touch!  The background is the fun Hand Drawn Scallops embossing folder.  The cute sparkly balloon is die cut from Color Block Balloons die set.

I chose a couple of the sentiments from the Birthday Unboxing Glimmer set.  Then I foiled them with my Glimmer Hot Foil System and Silver Holographic Speckle Glimmer Foil from the Variety Pack.

Next up is a 36th birthday card for our daughter!!

This is a mini slimline card with the beautiful Sweet Leaf Mini Slimline die.  The sentiment is from the Happy Occasions Words die set.  Here is a closeup photo so you can better see the stitching details.

My third card is an anniversary card for my sister and her husband.  I love having these occasions to use as my inspiration!

I added my stitched numbers and the exclamation point from the Stitched Punctuation and Symbols set to a die cut frame layer.  Many apologies, but I did not realize the A2 Filigree Marquis die had been retired.  I always check my products for availability and must have missed this one.  There are so many beautiful ways to show off these stitched numbers, so just check your stash!

I added another sentiment from the Happy Occasions Words set to the card.  (I die cut four layers and stacked them together with glue for extra dimension.)  A clear glitter pen swiped over the sentiments adds some pretty sparkle!

I hope I've given you some inspiration to try these fun stitching dies!  Thank you so much for stopping by!

Check out the products I've used by clicking the image; and thank you if you decide to purchase using my links (affiliate links, never any additional cost to you)!