Showing posts with label embossing folders. Show all posts

Thursday, June 11, 2026

Way To Gator Done!! -- Simon Says Stamp

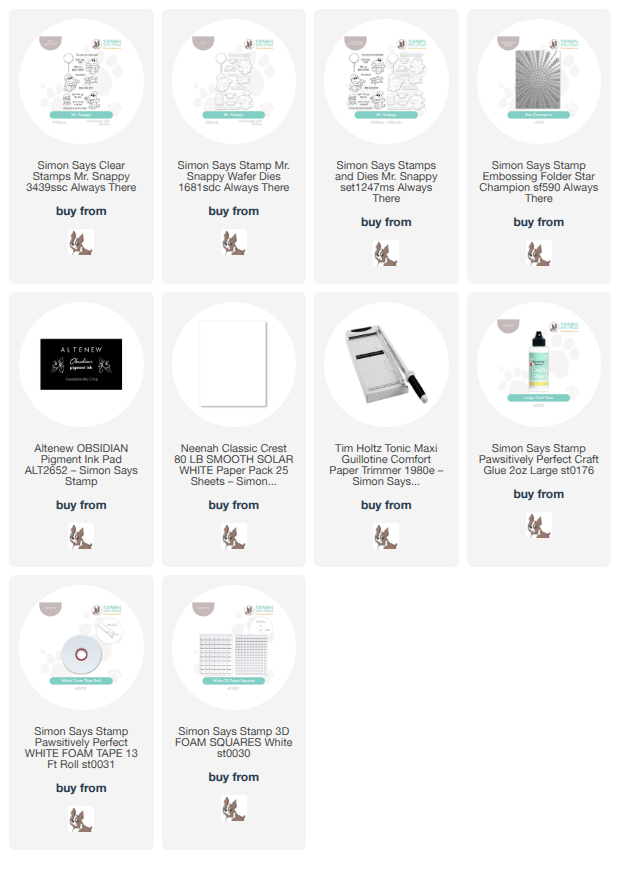
Hello friends!  Today I'm sharing another card I made using products from Simon Says Stamps' Always There release!  This one, that's so sweet and easy to make, features the super cute Mr. Snappy stamp set (that name! love it!) and the Star Champion embossing folder.

There are three adorable gator images in the Mr. Snappy stamp set.  One that grills, another builds, and the one I chose, the happy one!  I stamped the gator, and the balloon, in alcohol marker safe black ink and colored both with my Copics.

There are coordinating Mr. Snappy dies available, but I don't have them so I easily used my scissors to cut them out.  Then I added foam tape on the back of both pieces.

I stamped the sentiments, two of the eight included in the set, with black pigment ink.  I used my paper trimmer to cut them into rectangles and added foam tape to the back.

For my A2 card, I added a white cardstock layer that I embossed with the Star Champion embossing folder.  This folder would be so fabulous for many occasions such as graduation, birthdays, anniversaries, and lots more!!

After I glued the embossed panel to my card base, I removed the backing from the foam tape on the Mr. Snappy images and adhered them to the card.

After adding a couple of white gel pen lines to the balloon, I was finished!

Now you see how quick and easy this card was with Mr. Snappy!  Perfect for many celebrations!  Thanks so much for stopping by today.  Happy crafting!!

Thank you for using these affiliate links to shop (never any additional cost to you)!

Wednesday, May 6, 2026

Let's Celebrate -- How To Make A Shaker Card

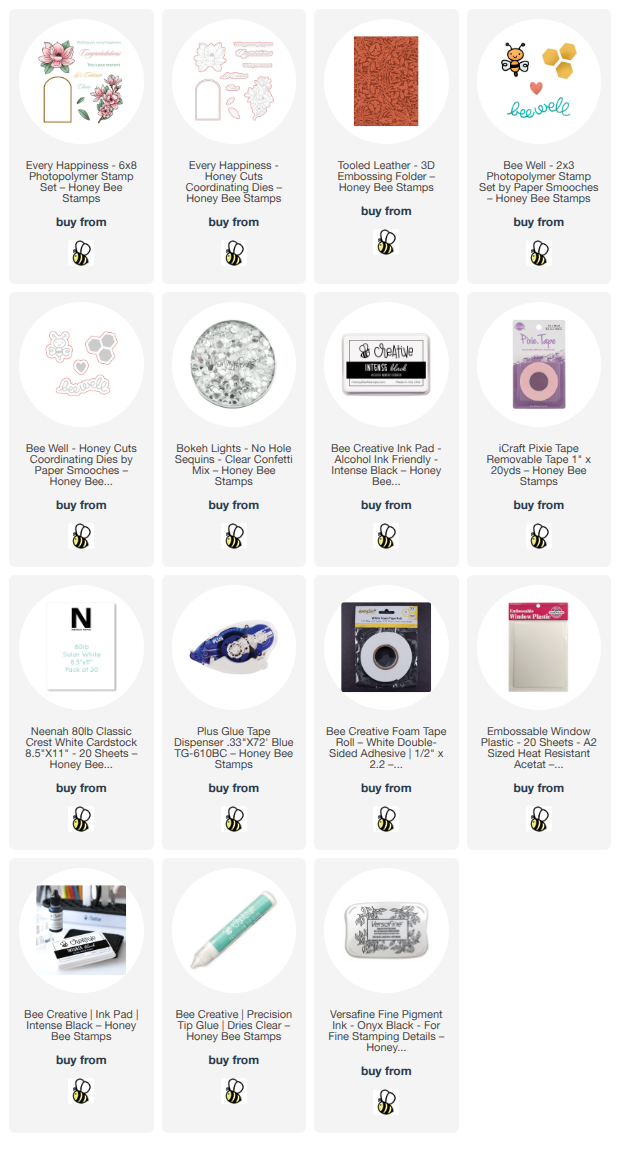
Hello crafty friends!  Today I am sharing my shaker card that features Honey Bee Stamps beautiful Every Happiness stamp and coordinating dies with a fabulous textured layer!  Check it out below.

First I stamped this beautiful floral image that is one of two in the Every Happiness stamp set.  After I stamped it in Intense black ink, I colored it with my Copic markers.  Then I cut it out with the coordinating Every Happiness die.

Next I used the two frame dies (Every Happiness Honey Cuts) to cut from white cardstock.  Just place a few bits of removable tape to hold them together for die cutting.  Then I used the smallest of these frame dies to cut an opening in an A2 white cardstock panel.

Next I ran the die cut panel through the Tooled Leather 3D embossing folder.  I glued the die cut frame around the front of the opening.

I turned over this panel and ran some glue tape along the edges of the opening to adhere a piece of acetate.  I placed foam tape around the opening and the edges.  Then I added some Bokeh Lights sequins to the window, removed the backing of the foam tape around the opening, and adhered another piece of acetate to close the opening.

I removed the backing from the rest of the foam tape to adhere the shaker panel to an A2 card base.

The sentiment is also in the Every Happiness stamp set.  After I stamped it with black pigment ink, I cut it out with the coordinating die.  It's popped up on the card with a foam tape strip.

I couldn't resist adding the sweet bee from the Bee Well stamps, cut out with the Bee Well die, for a bit of whimsy.  I glued on a few more Bokeh Lights sequins around the sentiment for a bit of sparkle.

This was an easy-to-make shaker card!  Soon I will have a reel posted on my Instagram to show more of the process for you!

Thanks so much for stopping by!  I hope your day is a good and crafty one!

You are so awesome, and I thank you very much, for using my affiliate links to shop (never any additional cost to you)!

Friday, February 6, 2026

Sending Springtime Smiles

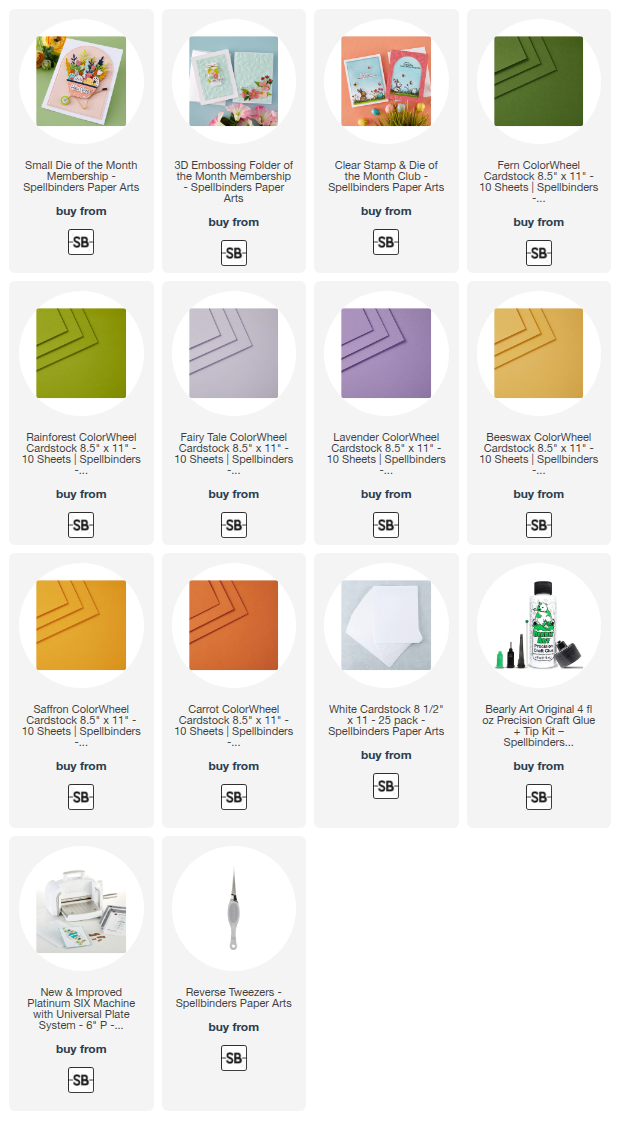
Today I'm back to share another of Spellbinders' February Club Kits!  The main feature of this card is the Small Die of The Month, called Spring Haul!  Can you believe the amount of dies included in this "small" die set?  The dies may be individually smaller but there are actually 32 dies included in this set!  That makes this set a keeper to use a few, or more, of these dies on different projects.

This card actually features all three of the February Club Kits that I will be featuring each month this year.  In addition to the Spring Haul Small Die set, this features a card layer embossed with the Shady Leaves 3D Embossing Folder of The Month.  Also, the sentiment is from the Ears To Spring Clear Stamp & Die for the month!

I die cut the dies for the Spring Haul greenery multiple times to have plenty to fill the wheel barrow.  The cardstocks I used are in the list below.

You can fill your wheel barrow with as few, or as many, die cut pieces of greenery as you want!  I die cut three of the eggs.  There are three dies to inset to the three oval dies to have a different design.  You get to choose!

The sentiment is from the Ears To Spring Clear Stamp & Die for February.  You really should check out this set to see the totally adorable image included!  Or, check out my previous blog post that features this!

Today is the day that the Club Kits subscriptions open for new subscribers!  These Club Kits have been very popular so far this year, with some Kits selling out!  Check them out here!

Thank you for stopping by today!  I hope you have a wonderful, and crafty, weekend!

Thanks so very much for using my affiliate links to shop (never any additional cost to you)!

Sunday, December 21, 2025

Two Unique Heart Cards With A Bit Of Snark!

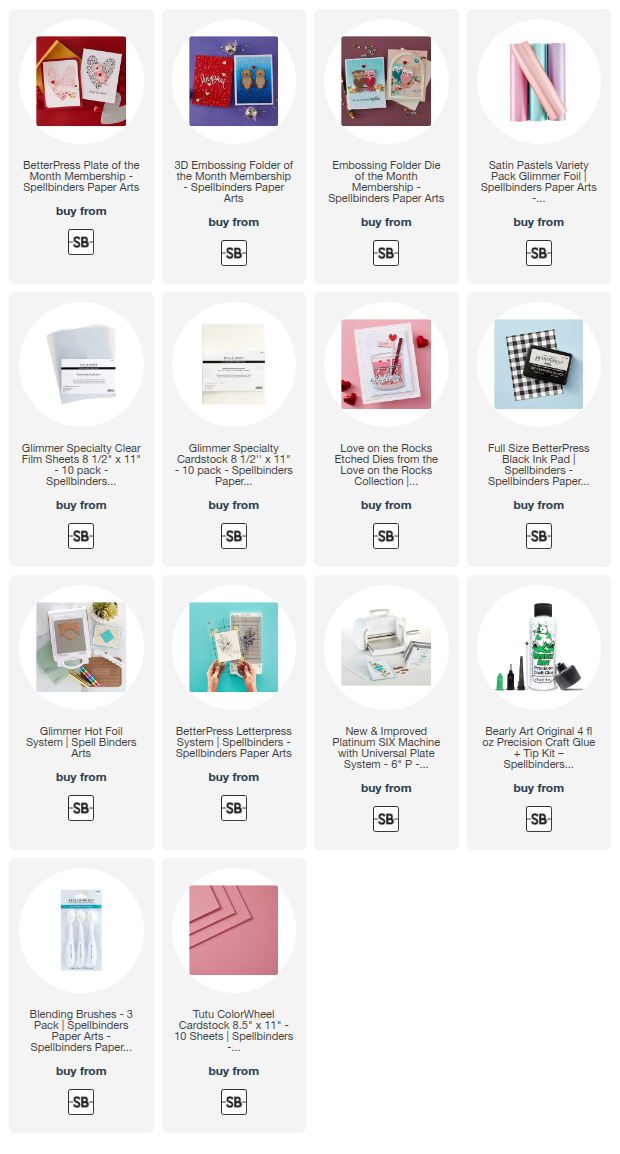
Hello friends!  Can you believe it's time to transition from making holiday cards?  I can't, but these two cards featuring three of the Spellbinders' Club Kits makes that change easy and so fun!  I really enjoy showing you how versatile and easy these kits coordinate together and also with non-club kit sets.

For both cards I've used December Club Kits for the 3D Embossing Folder, the Embossing Folder, and the Better Press kits.  This first card even has a clear acetate front!

For this card I used the December Betterpress, I'd Pick You, along with the Embossing Folder Of The Month, Sweet Stems.

First I embossed white cardstock with the Sweet Stems embossing folder and glued it to the front of an A2 card base.

Did you know that the Betterpress plates can also be hot foiled?  They can, and I did!  I cut a piece of a Specialty Glimmer Clear Film Sheet to A2 size.  After my Glimmer Machine warmed up, I placed the December press plate onto the base to warm up.  When it was ready I added a piece of pink Satin Pastel Glimmer Foil.

After running it through my Platinum die cutting machine, I adhered the top edge of the clear foiled piece to my card base with double-sided adhesive. 

Then I noticed that the beautiful embossed layer kind of interfered with seeing the foiling on the acetate.  To fix that I used the press plate as a guide to trace the shape onto white cardstock.  I cut it out with scissors and then adhered it to the embossed layer, behind the foiled heart.

The sentiment is one of three included with the I'd Pick You set.  I chose this one because my husband will think it's pretty funny.  I'll save this card for Valentine's Day!  After I pressed the sentiment plate (it presses all three at once) with black Betterpress ink used the included die to cut them all out.

I added a few gem stickers around the sentiment for just a touch of bling.

My second card is just as pretty and still different from the first!

First I embossed pink cardstock with the Unlock My Heart 3D embossing folder for from December's Club Kit.  I used a darker coordinating ink to add shading around the edges with the blending brush.  I used glue to adhere it to an A2 card base.

Next I used more of the pink Glimmer Foil with my Glimmer System to press the image onto Spellbinders Specialty Glimmer cardstock.  If you ever want the most perfectly foiled image, use this cardstock!!  Again, I used scissors to trim around the heart.  I adhered it to the card with some foam adhesive.

I thought the little pick with hearts (from the Love On The Rocks die set) was absolutely perfect to go with the "I'd pick you again" sentiment. What do you think?

There is still plenty of time for you to check out the Club Kits and find one you would like to join!  The terms are very flexible and you can cancel at any time.  Check it out here.

Thank you so much for stopping by today!  I hope you have a lovely week!

Thanks so very much for using my affiliate links to shop (never any additional cost to you)!

Wednesday, December 3, 2025

Nutcracker Die Cut Holiday Card With Non-traditional Colors

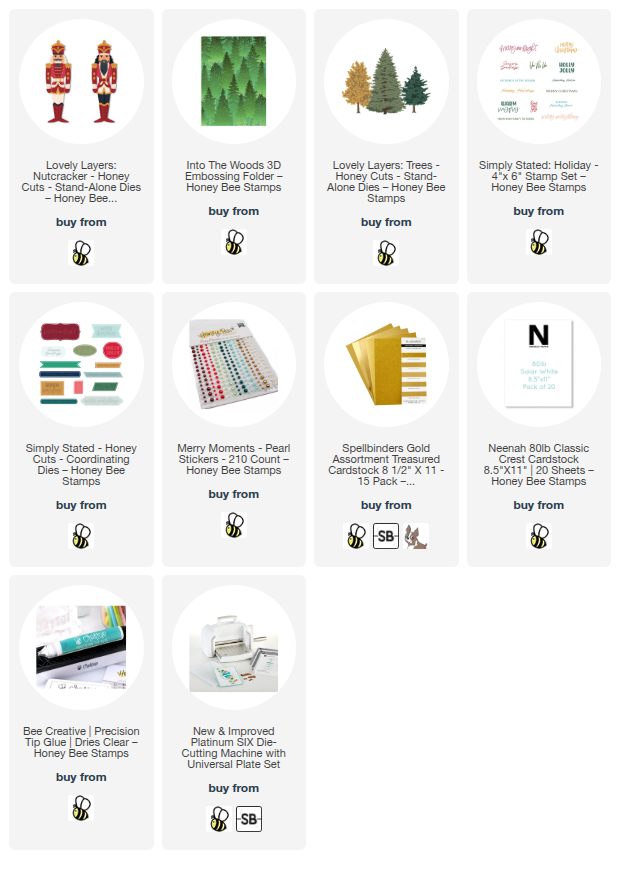
Hello crafty friends!  Now that we are into December, (can you believe it?!) I am making as many Christmas cards as I can and hope to still have time to mail them!  What about you?  Well, if you aren't finished either, I have some inspiration to share today!  My card features Honey Bee Stamps awesome Lovely Layers: Nutcracker dies.  Check it out!

I put a different twist on the Lovely Layers: Nutcracker by using pastel colors instead of the typical red.  I chose some minty green cardstocks, a very pale peach color cardstock, matte gold cardstock, and 80# Neenah to die cut each of the various layers.

I love how Honey Bee provides layering guides for the Lovely Layers sets!  The Nutcracker has some small die cut pieces, but the layering guides makes the assembly easy!  I used Bee Creative glue to adhere all of the layers together.

Note:  I did use a few Copic markers to color the skin and hair.

For the background, I embossed a 4-¼" x 5-½" piece of white cardstock with the beautiful Into The Woods 3D embossing folder and glued it to an A2 card base.

Then I cut white cardstock with my scissors to make a hilly, snowy ground layer and glued that at the bottom of my card.

For more detail, I die cut two shades of minty green and peach cardstocks with the Lovely Layers: Trees dies to create two trees.  For the tree trunk, I die cut gold matte cardstock.  I glued the large tree to the base.  Then I popped up the smaller tree and the Nutcracker with foam tape.

I still have sentiments saved from the one time I stamped the awesome Simply Stated: Holiday stamp.  I love that you get all these sentiments at once and then can die cut them all at once with the Simply Stated die!  I used a foam tape strip to adhere the sentiment to my card.

For a bit of bling, I added gold and pearl stickers from the Merry Moments Pearl Stickers.

I hope you love this Lovely Layers: Nutcracker in the non-traditional colors as much as I do!  Thank you so very much for stopping by!  I hope your day is wonderful!

Thank you SO much for using my affiliate links to shop (never any additional cost to you)!

Sunday, November 16, 2025

Autumn Greetings Card With Beautiful Embossed Background

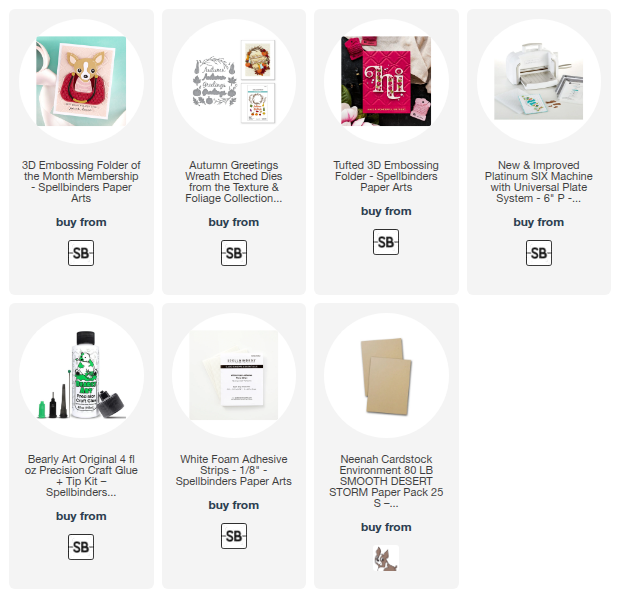
Hi, crafty friends!  Today I'm sharing my card that features Spellbinders 3D embossing folder for November.  This beauty is called Petite Tuft.  If you are a fan of Spellbinders embossing folders, this one may seem familiar to you.  That's because the Petite Tuft is a scaled down version of the Tufted 3D embossing folder that's been out for a while!

The Tufted 3D embossing folder has long been a favorite of mine and this month's Petite Tuft is a perfectly sized version for our cards!  I used this folder to emboss some Neenah Desert Storm cardstock.  I trimmed it to an A2 size and glued it to my card base.

The decorative elements of my card come from the Autumn Greetings Wreath die set.  This time I cut the Wreath dies from white cardstock and used my Copic markers to color them.

I love the off white pumpkins and used Copic markers in the colors of E43, E42, E41, and E40 to color them.  I kept a more muted palette by coloring the leaves with a mixture of G99, G94, YG93, YG91, YG25, and G40.

The sentiment dies are also included in the Autumn Greetings Wreath set.  I die cut the top layers from glossy black cardstock and glued them to the white cardstock die cut base.

I used foam tape strips to pop them up on the card.

So, what do you think about the muted autumn color palette?  I hope you like it as much as I do!  Also, be sure to check out all of Spellbinders Club Kits!  There's still time to join and receive November's kit!

Thanks so much for stopping by!  I hope you have a wonderful day.

Thank you for using my affiliate links to shop (never any additional cost to you)!

Monday, October 13, 2025

Wishing You Peace, Love, and Joy

Today I'm sharing my card that features the Spellbinders October Embossing Folder Club Kit.  The Holiday Flurry embossing folder is a perfect background for so many of our winter and holiday cards!

First I created the card base and layers by embossing white cardstock with the Holiday Flurry embossing folder.  I trimmed it to 3-¾" x 5" and adhered it to mint green cardstock with foam tape.

Next I die cut two bears from the SO adorable Polar Bear Pals die set.  I LOVE these cute bears!!!  Haha!  I used some coordinating green inks to color the green pieces with blending brushes.  I used Copic markers to color the bears' body and cheeks.  The markers I used are W3, W1, W00, and RV21.

When I was finished coloring, I used glue to assemble each bear.  There is a layering guide on Spellbinders' website to help with the assembly.  It is found by scrolling through the product photos.
I found a sentiment I liked in the Country Christmas Banner & Sentiments press plate and die set.  I pressed it with black pigment ink onto white cardstock.  Then I cut it out with the coordinating die.

I added foam tape to the bears and the sentiment to adhere to the card.  To add just a touch of sparkle, I added glitter drops to each bears' hat pompom.  (The specific one I used is Nuvo's Fresh Snowfall Glitter Accents.)

The Holiday Flurry embossing folder is such a great one to have!  You can join the Embossing Folder Club now and get yours!

Thank you so much for stopping by.  I hope you have a wonderful week ahead!

Thank you for using my affiliate links to shop (never any additional cost to you)!


Monday, August 25, 2025

Happy Birthday, Sunshine!

Hello!  Today I'm sharing this card I made using Spellbinders August 2025 Embossing Folder of the Month called Coral Impression.  A lot of August's Club Kits have an ocean/sea theme, but as you can see this embossing folder makes a great background for many cards!

I embossed white cardstock with the Coral Impression embossing folder and glued the panel to an A2 card base.

Next I die cut more white cardstock with the dies from the Under The Sun die set.  I used ink blending brushes and two shades of yellow ink to color the sunshine layers.

The eyebrows, eyes, cheeks and lips are all colored with Copic markers.  I went with a more realistic eye color this time!

After I had the face pieces glued in place, I added some foam tape to pop it up on the sunshine.

I used glue to adhere the sunshine to the card.  I looked through some of my sentiment stamps and found one in the Hummingbird Sentiments stamp set that I liked.  This is stamped with black pigment ink and popped up with foam strips.

That's how easy it is to make this card!

What do you think about the Coral Impression embossing folder as a generic background?  I think it works!  I really love the Under The Sun dies.  You can recreate this card with this die set and just about any embossing folder you have in your stash.  However, I would really encourage you to check out Spellbinders Club Kits.  They are a great value!!

Thanks so much for stopping by today.

Thank you for using my affiliate links to shop (never any additional cost to you)!

Monday, July 14, 2025

Warm Hellos and Days To Remember!

I'm still in catch-up mode after returning from our 3-week trip to Greece, Croatia, and Italy!!  I'm sharing three cards today that feature three of Spellbinders June 2025 Club Kits.  Two cards also use products from their fabulous La Dolce Vita Collection!

NOTE:  These June club kits are currently available for separate purchase!  Check under Club Kits, then "Shop Past Kits".  Club Kits are not always available for a separate purchase, so be sure to check!

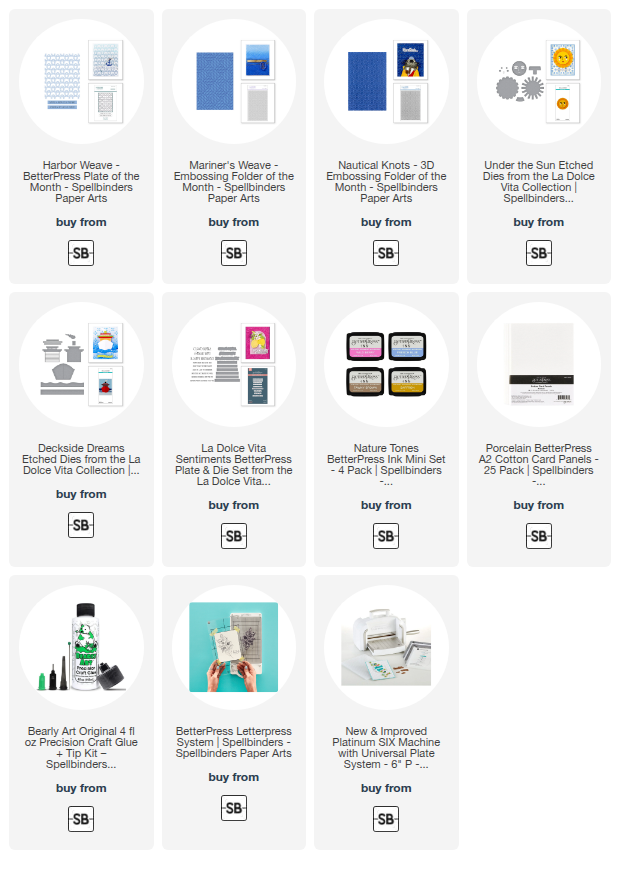
This first card features the June Betterpress called Harbor Weave along with a previously released Set Sail die set.

I used my Betterpress System and Tawny Betterpress ink to press the plate and sentiment onto Porcelain Cotton cardstock.  The set also has a die to cut out the two included sentiments.

The rest of the card is made with the dies in the Set Sail die set cut from colored cardstock.  (All cardstocks used are in the list below.)  I thought this set went with the nautical theme of the Press Plate perfectly!

---------------------------------------------------------------------

Next up is my card with the 3D Embossing Folder of the Month called Nautical Knots.

I love the detail of Spellbinder's 3D embossing folders!  This one looks beautiful on light blue cardstock!  

For the feature elements I used another set from my favorite La Dolce Vita Collection called Deckside Dreams.  The sentiment is from the La Dolce Vita Sentiments Press Plate and Die Set.

---------------------------------------------------------------------

My third card features the June Embossing Folder of the Month called Mariner's Weave.

I made these three cards a cohesive set by using the same light blue cardstock on each one.  The sun is the Under The Sun die set from the La Dolce Vita Collection.

The sentiment is another from the La Dolce Vita Sentiments.  There are nine total sentiments in this set!

I'm off to do more catching up!  Thank you always for stopping by!

Thank you for choosing to use my affiliate links to shop (never any additional cost to you)!

Thursday, April 10, 2025

Altenew April Release Blog Hop + Huge Giveaway ($300 in total prizes!)

Hello friends!  I'm thrilled to be joining in the blog hop to celebrate Altenew's amazing April 2025 release!  My card features the Arched Foliage Craft Your Life Project Kit.  Read on to see how I got two cards from one stamp!

This hop is filled with lots of awesome inspiration for the Altenew April release.  The link for each stop on the hop is below.  If you would like to start at the beginning, please head over to the Altenew Card Blog.

 ----------------------------------------------------------------------------

The Craft Your Life Project Kit subscriptions are my most favorite among all of the subscriptions that Altenew offers.  I love that the kit includes a stamp set with coordinating dies, a simple coloring stencil, and a 3D embossing folder!  All of my favorite things in one kit!

This months Arched Foliage Craft Your Life Project Kit includes a large, beautiful arched foliage stamp that I cut into two pieces to make two cards!  This stamp would also be gorgeous on scrapbook layouts! 

As I do most of the time, I used the Arched Foliage Simple Coloring Stencils to color the image before I stamped it.  I like to do this so I eliminate any chance of smearing the black ink.  It's actually very easy!

This is when the awesome Stampwheel 2.0 came in handy with its larger size.  I removed the side piece and had plenty of room to use the stencils with my Mini Blending Brushes and the inks from the Green Meadows Fresh Dye Ink set.

I have to say that I seriously debated on whether or not to stamp over the stenciling.  Just look at how beautiful it is without the stamping!

As you can see, I finally decided to go ahead and stamp the Arched Foliage.  I laid the stamp over the stenciled image, making sure it was lined up top-to-bottom and side-to-side.  Pick up the stamp with the Flip Plate.  PRO TIP:  Place the packaging acetate over the stenciled image, ink up the stamp, and stamp onto the acetate.  This is a great way to make sure your stamp is lined up with the stenciled image!  If it's lined up, then remove the acetate and stamp directly onto the stenciled panel.

The Arched Foliage is just as beautiful with the stamp!


I planned on where to cut the Arched Foliage into two pieces and used my paper trimmer to cut it apart.

The Foil Leaf stencil was inked with Misty Morning Fresh dye ink, trimmed and then matted with a piece of Sweet Leaf Crafty Necessities Cardstock for the background.

The sentiments on both cards are a few of many that are included with the Arched Foliage stamp set.  The dies for the large main sentiments are included in the Arched Foliage Die Set.

My second card features the beautiful Arched Foliage 3D Embossing Folder for the background.  To add even more depth to the embossed piece I used a brayer to ink on Lost Shadow Distress Ink onto the more smooth side of the embossing folder.  Then I added my paper to the folder and ran it through my die cutting machine.

All of the card elements are adhered with Instant Dimension Foam Tape.  I added a bit of bling to each card with some enamel dots from the Green Meadows Enamel Dots set.

Thank you for stopping by my blog--you are so appreciated!!  Be sure to leave a comment here and at each stop along the way for your chance to win an awesome prize!


    • Check out lots more beautiful April Release inspiration by clicking each link:

You are invited to the Inlinkz link party!

Click here to enter
Thank you so much for using my affiliate links to shop the products I've used today (never any additional cost to you)!