Showing posts with label Fall Leaves 3D embossing folder. Show all posts

Thursday, August 28, 2025

Autumn Themed Card With Coffee!

Hello crafty friends!  I'm a day late getting this posted!  Spent a good chunk of yesterday setting up a new computer.  Ugh.  Anyway, let's channel some autumn vibes!  The inspiration for my card today is a sentiment from Honey Bee Stamps Flawless Friend stamp set!  I thought an autumn setting was just right with the coffee and the Lovely Layers: Zipper Bag!

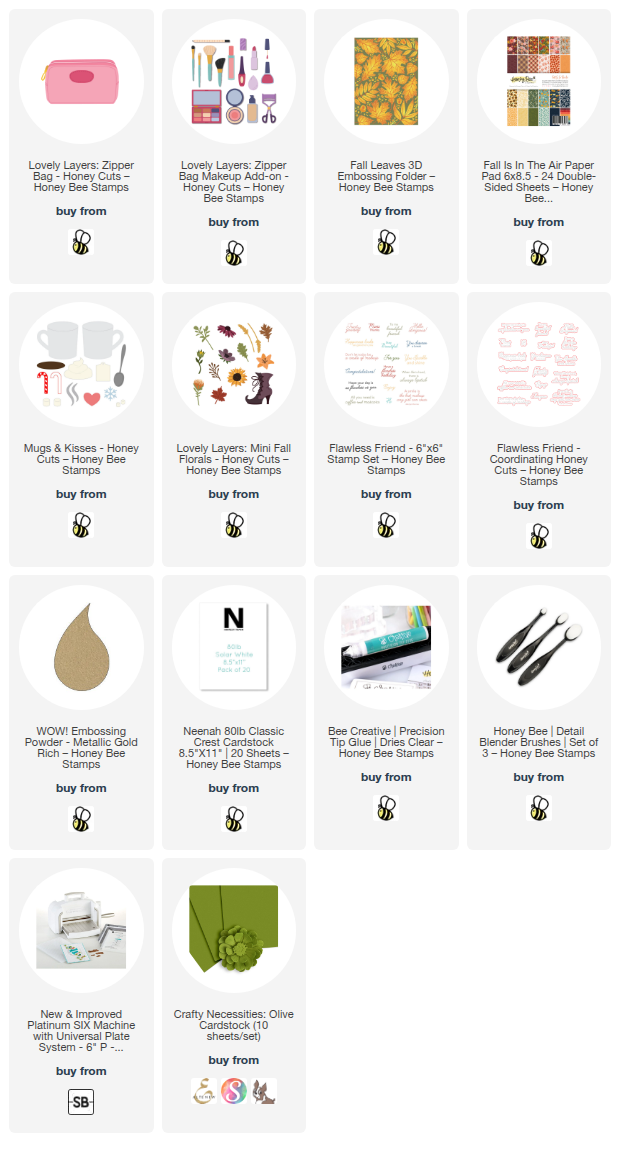
The A2 card base is layered with green cardstock that I embossed with the Fall Leaves 3D embossing folder.

I die cut the Lovely Layers: Zipper Bag from a piece of patterned paper from the Fall Is In The Air paper pad.  I inked the top edge of the bottom layer with a light gray ink to add a bit of contrast.  I die cut the zipper pull and decorative oval from mat gold cardstock.  I glued the layers together omitting any glue along the top edge of the top layer.

Next I chose four elements from the Lovely Layers: Zipper Bag Makeup Add-On and die cut those from white and mat gold cardstock.  I used some Copic markers to color the pieces in colors to coordinate with the patterned paper.  Then I used glue to adhere them all together.

The coffee cup is from the Mugs and Kisses Honey Cuts.  I cut the mug from orange card stock, the coffee from white, and the steam from vellum.  After I colored the coffee layer with a couple of brown Copic markers, I glued the layers together.

I added a decorative leaf to the mug by die cutting white cardstock with a leaf from the Lovely Layers: Mini Fall Florals dies.  I inked on some green and yellow inks to color it and glued it to the cup.  I added decorative gold touches to the cup and leaf with a gold gel pen.

To adhere the Zipper Bag, I added some foam tape to the back of it.  I used glue to adhere the brushes, eyelash curler, and mascara base from the Zipper Bag Add-On  inside the bag.

Next I stamped a sentiment from the Flawless Friend stamp set with VersaMark ink.  I added gold embossing powder and used my heat tool to set it.  When the embossing had cooled, I cut out the sentiment with the coordinating Flawless Friend die.  I added foam tape and some glue to adhere it to the card.

I really love the autumn look for the Zipper Bag and other elements!  What do you think?  I hope you were inspired today for your autumn cards!  Thank you so much for stopping by--you are appreciated!!

Thank you for shopping with my affiliate links (never any additional cost to you)!
Wednesday, August 21, 2024

An Autumn Card and A Fun Technique for Coloring Embossing Folder Images

Hello crafty friends! Autumn really is my favorite season! It's a promise of cooler weather after the extreme heat we have in August here in Texas. I used a fun technique with the Fall Leaves 3D embossing folder!

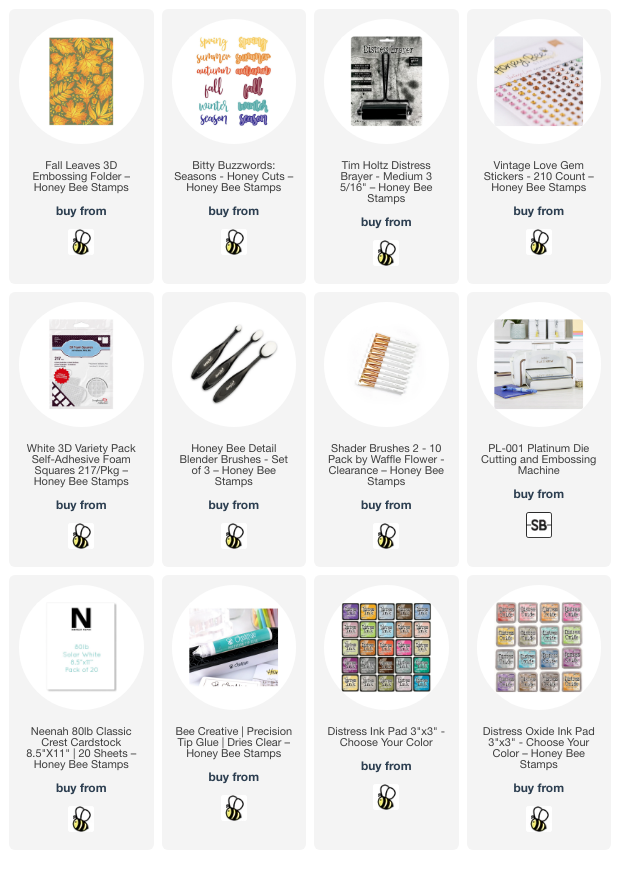
First I embossed white cardstock with the Fall Leaves embossing folder. Then I used several Distress Inks and a variety of small ink blending brushes to color the leaves on the de-bossed side. It's okay to go outside the "lines". A later step will hide all of that!

I used these Distress Inks: Fossilized Amber, Peeled Paint, Aged Mahogany, Rusty Hinge, and Gathered Twigs.

Next I repositioned the panel back into the Fall Leaves embossing folder. When I had it lined up with the colored side facing up, I used removable tape to hold it in place. Then I used a brayer and Potting Soil Archival Ink to add ink to the other side of the embossing folder. This step will add the dark brown ink to all the veins of the leaves after you run it back through your embossing folder!

This next step is where I crossed my fingers since I had never done it before! Haha! I took the Gathered Twigs Distress Oxide ink pad and, holding it flat, rubbed it all over the panel and it filled in the background and covered up the ink colors that were beyond the edges of the leaves!

Distress Oxide inks are opaque and that's why it works for this technique!

The sentiments are from the Bitty Buzzwords: Seasons Honey Cuts. They are die cut from brown and brushed gold cardstocks. I used foam tape to pop them up on the card.

A few gems from the Vintage Love Gem Stickers adds some fun sparkle!

I love how this turned out! I will definitely be using this technique again and hope I've inspired you to try it! Thank you so much for stopping by!

Thank you for shopping with my affiliate links at no extra cost to you! (your cookie settings need to be enabled for me to get credit)

Wednesday, October 11, 2023

Autumn Delight Stencil Set = Two Fabulous Cards!

Hello crafty friends! Today I'm sharing two cards I made from one stenciled panel.  I've used Honey Bee Stamps beautiful Autumn Delights stencil set.  Anytime I can easily get two cards from one stenciling session, it's a good day!

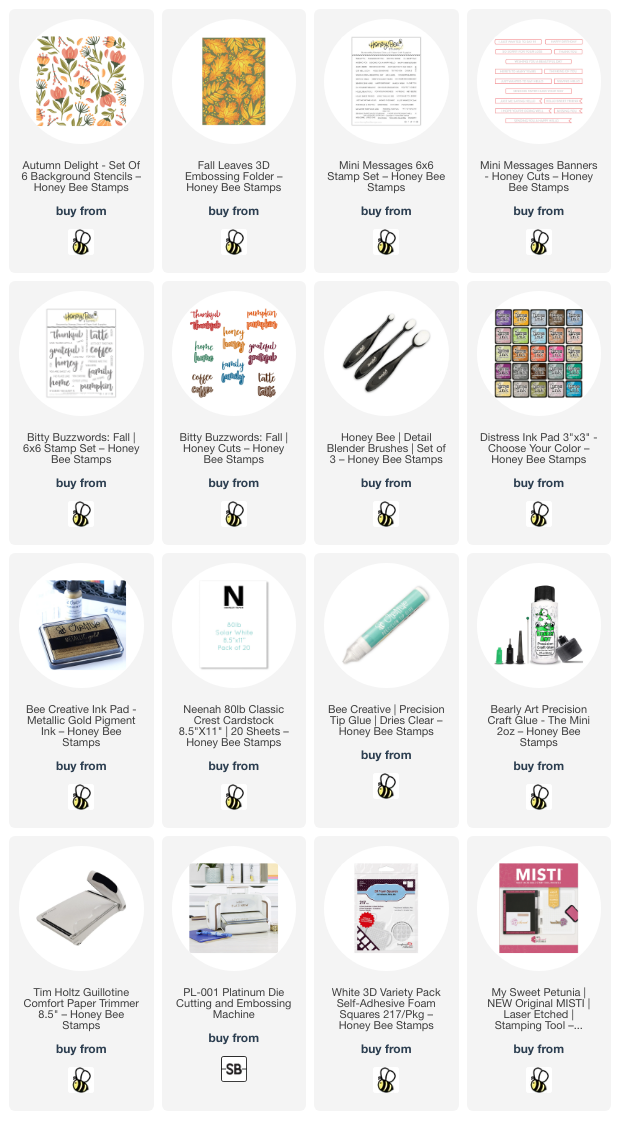
I use 80# Neenah for all of the white cardstock on these cards. I started with a 6" x 6" piece for the Autumn Delights stencils. I used Distress Inks and Detail Blender Brushes for each layer of the stencil set. I really like the regular Distress Inks for the bright and clear colors. These are the Distress Ink colors I used: Aged Mahogany, Seedless Preserves, Fired Brick, Crackling Campfire, Rusty Hinge, Mowed Lawn, and Rustic Wilderness.

The only stencil layer that I didn't use Distress Inks with is the stencil that's labeled "small stems". I used a separate ink blending brush to add Bee Creative Metallic Gold ink through that stencil. While I had that out, I inked up a scrap piece of cardstock with more gold ink. I let the ink dry and then trimmed two narrow strips with my paper trimmer.

I wish I had remembered to take a photo of the finished piece before I cut it into two pieces! I trimmed it at an angle, then cut each of those pieces to fit my A2 card bases.  (FYI, did you know that I almost always have a reel I post on my Instagram that shows a bit of my card making process? Join me over there and you will see the full stenciled piece!)

I used the gorgeous Fall Leaves 3D embossing folder to emboss two pieces of A2 sized cardstock. Then I used Bee Creative glue to adhere them to the card bases. 

Next I adhered the stenciled pieces to each card with glue. I inked up more scrap cardstock with Seedless Preserves Distress Ink and trimmed off two narrow strips. As you can see in the photos, I glued the gold and purple strips next to the stenciled pieces.

Again, I inked up more scrap cardstock with Seedless Preserves Distress Ink. Then I cut out the shadow layers of the Bitty Buzzwords: Fall Honey Cuts from the inked piece. I die cut the sentiment layers three times each from white cardstock and adhered the layers with glue.

The sub-sentiment of "for your friendship" from the Bitty Buzzwords: Fall stamp set is stamped with Seedless Preserves. I stamped another sentiment to go with Thankful that's in the Mini Messages stamp set. I was happy to find that both sentiments could be die cut with the Mini Messages dies! Both sentiment are popped up with foam tape. Tip: I used my scissors to trim pieces of foam tape to fit as needed. Makes it so easy to get the fun dimension!

I really do think that the Autumn Delight stencil set would look beautiful in colors of any season too! I hope you've enjoyed these cards and have found some inspiration too! Thank you so much for stopping by!

Thank you for using my affiliate links to shop (never any additional cost to you)!

Wednesday, October 4, 2023

Fall Breeze and Autumn Leaves

Hello crafty friends! I love the colors of autumn with a few touches of gold on cards! I used both gold and the autumn colors on my card today featuring the gorgeous Honey Bee Stamps Fall Leaves 3D embossing folder.  This was a fun and easy card to make as you will see from the details below!

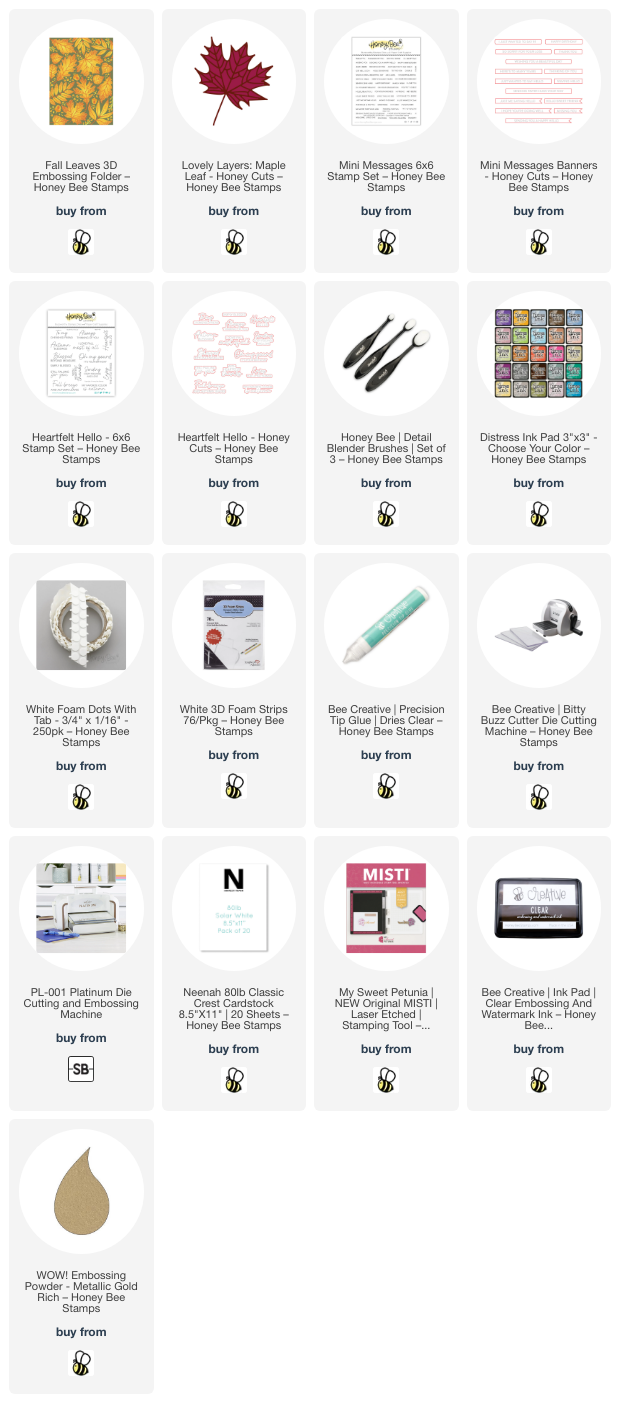
First I inked up a A2 sized panel of 80# Neenah with Distress Inks. With a few detail blending brushes I added Aged Mahogany, Fired Brick, Dried Marigold, Scattered Straw, and Shabby Shutters Distress inks. I placed the panel into the Fall Leaves 3D embossing folder and ran it through my die cutting machine.

I trimmed the embossed panel to 4" x 5-¼" and adhered it to an A2 card base with glue.

Next I inked up a scrap piece of white cardstock with the same Distress Ink colors as above. Then I die cut the piece with one of the very first Lovely Layers sets:  Lovely Layers: Maple Leaf. This is one of my most favorites!! I die cut the outline layer from gold metallic cardstock. After I adhered the two layers together with glue, I added foam dots to the back to adhered it to the card.

I stamped the sentiment from the Heartfelt Hello and the Mini Messages stamp sets with clear embossing ink. I sprinkled on gold embossing powder and used my heat tool to set it. Raise your hand if you love dies that coordinate with the sentiments! I cut the sentiments with the coordinating Heartfelt Hello and Mini Messages Banners dies.

I wanted just a few more touches on the card and was so happy that I had saved some pieces leftover from a previous project using the Lovely Layers: Fall Bounty Honey Cuts. I added some gold metallic paint splatters for a bit more of that gold. I adhered them with glue under the sentiments that are popped up with foam tape strips.

I added some orange gem stickers that are in the Spooktacular Gem Stickers set.

I sure hope you found inspiration for your autumn cards today!  I love how the sentiment could be changed to suit many different occasions too!  Thank you so very much for stopping by!

Thank you so much for using my affiliate links to shop (never any additional cost to you)!