Showing posts with label Vintage Love Gem Stickers. Show all posts

Wednesday, August 21, 2024

An Autumn Card and A Fun Technique for Coloring Embossing Folder Images

Hello crafty friends! Autumn really is my favorite season! It's a promise of cooler weather after the extreme heat we have in August here in Texas. I used a fun technique with the Fall Leaves 3D embossing folder!

First I embossed white cardstock with the Fall Leaves embossing folder. Then I used several Distress Inks and a variety of small ink blending brushes to color the leaves on the de-bossed side. It's okay to go outside the "lines". A later step will hide all of that!

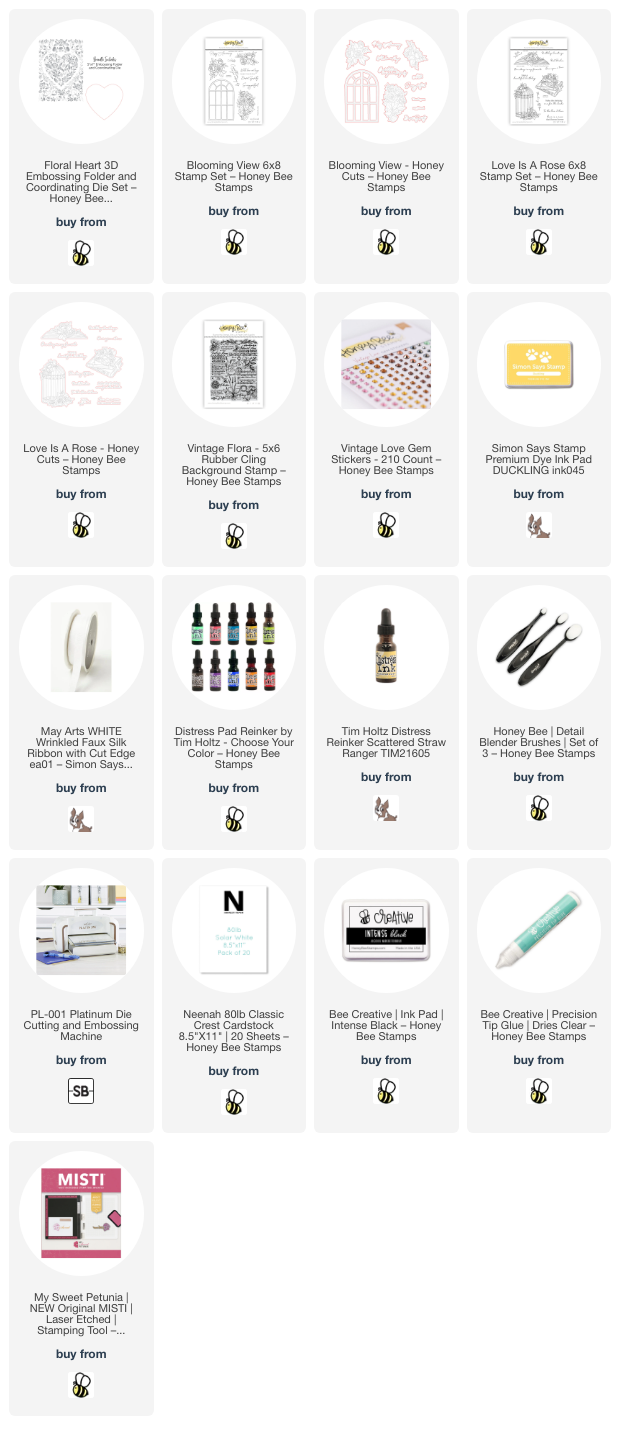
I used these Distress Inks: Fossilized Amber, Peeled Paint, Aged Mahogany, Rusty Hinge, and Gathered Twigs.

Next I repositioned the panel back into the Fall Leaves embossing folder. When I had it lined up with the colored side facing up, I used removable tape to hold it in place. Then I used a brayer and Potting Soil Archival Ink to add ink to the other side of the embossing folder. This step will add the dark brown ink to all the veins of the leaves after you run it back through your embossing folder!

This next step is where I crossed my fingers since I had never done it before! Haha! I took the Gathered Twigs Distress Oxide ink pad and, holding it flat, rubbed it all over the panel and it filled in the background and covered up the ink colors that were beyond the edges of the leaves!

Distress Oxide inks are opaque and that's why it works for this technique!

The sentiments are from the Bitty Buzzwords: Seasons Honey Cuts. They are die cut from brown and brushed gold cardstocks. I used foam tape to pop them up on the card.

A few gems from the Vintage Love Gem Stickers adds some fun sparkle!

I love how this turned out! I will definitely be using this technique again and hope I've inspired you to try it! Thank you so much for stopping by!

Thank you for shopping with my affiliate links at no extra cost to you! (your cookie settings need to be enabled for me to get credit)
Wednesday, February 14, 2024

Happy Birthday Card with A Fun Stamping Technique

Hello crafty friends! Today I'm sharing another card with the florals from the Blooming View stamp set, but with a twist! Did you see my card from last week's blog where I used this set? I love thinking of different ways to use the same set to get more use out of a favorite! Check out the details below.

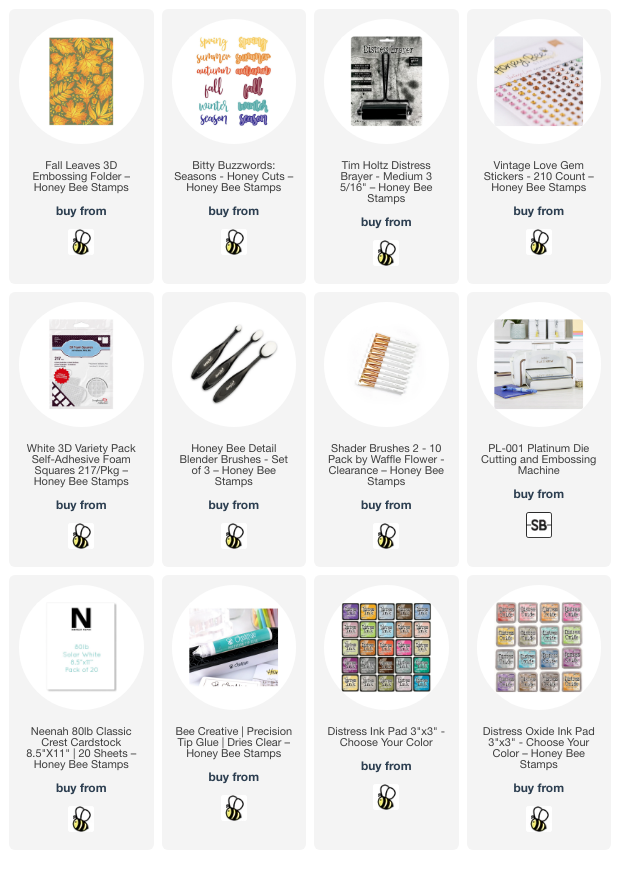
First I cut a panel of 5" x 7" 80# Neenah. I placed it inside the Floral Heart 3D embossing folder, but did not emboss it just yet. I used the embossing folder to plan where to place the included heart die to cut out the center. I adjusted as needed, then use removable tape to hold the die in place. After I ran it through my die cutting machine, I taped the die cut heart by putting tape on the back to hold it in place.

Next I put the entire panel into my MISTI. Then I chose two of the florals from the Blooming View stamp set and arranged them so that part would stamp on the heart and part off. Then I removed the tape and placed the heart aside and ran the other piece through my die cutting machine after I placed it in the Floral Heart embossing folder.

I used some Copic markers to color the images on the heart die cut. Then I placed the Vintage Flora background stamp on my craft mat and inked up just one corner. TIP: Use a small ink blending brush to apply the ink to the stamp. This will avoid the lines you get when pressing the ink pad to the stamp and give a more subtle stamped image. I used my fingers to press the heart over the inked portion of the stamp and repeated once more. As you can see in the above photo it certainly adds detail, but does not overpower the colored flowers. I used the same ink and a blending brush to add ink to the edges of the heart.

I dyed some white ribbon with drops of Scattered Straw Distress Ink re-inker that I added water to. After drying the ribbon, I tied it around the main panel in a double bow. I used glue to adhere it to a 5" x 7" card base.

Next I added foam tape to the back of the heart and adhered it in the opening of the embossed piece. The sentiment is from the Love Is A Rose stamp set. After I stamped it with black ink, I cut it out with the coordinating die and popped it up with foam strips.

For a touch of bling, I added some sparkle from the Vintage Love Gem Sticker!

Such a super fun card to make and I hope you've found inspiration here today!  Thanks so much for stopping by!

Thank you for shopping with my affiliate links (never any additional cost to you)!