Showing posts with label Honey Bee Stamps. Show all posts

Wednesday, July 22, 2026

Serving Up Smiles -- Fun Picnic Scene Card

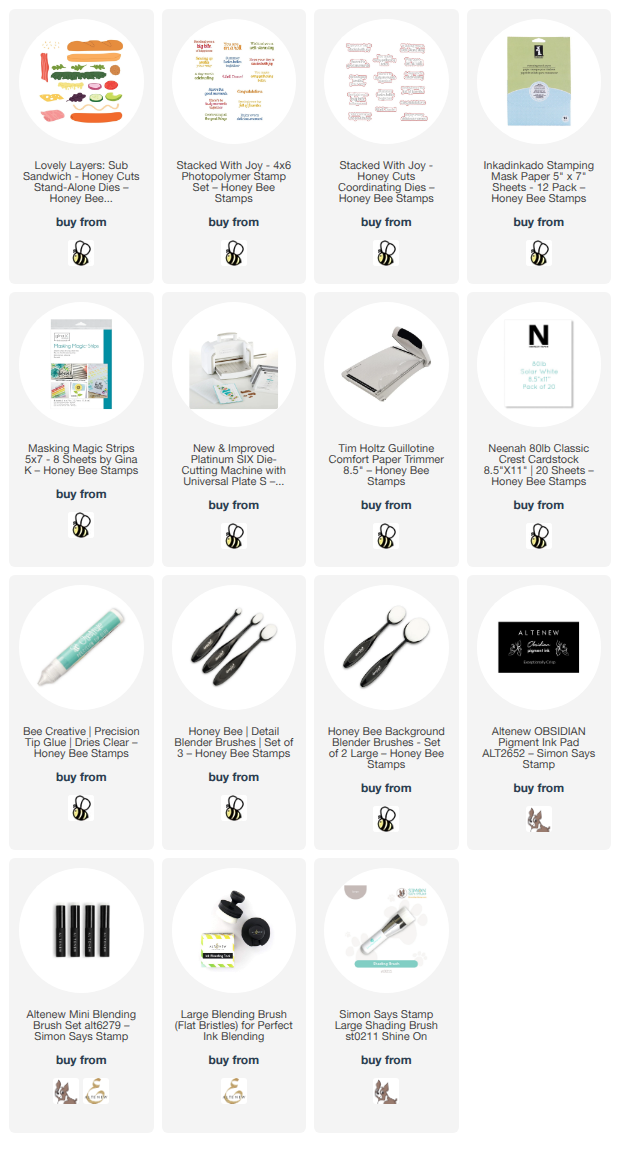
Hello crafty friends!  Today I'm sharing this fun "picnic-in-a-park" card where I've used two awesome stencil sets along with two Lovely Layers sets, all from Honey Bee Stamps new Perfect Picnic release!  It's so fun to combine products in this way to make a card that makes me want to go on a picnic!  Want to join me?

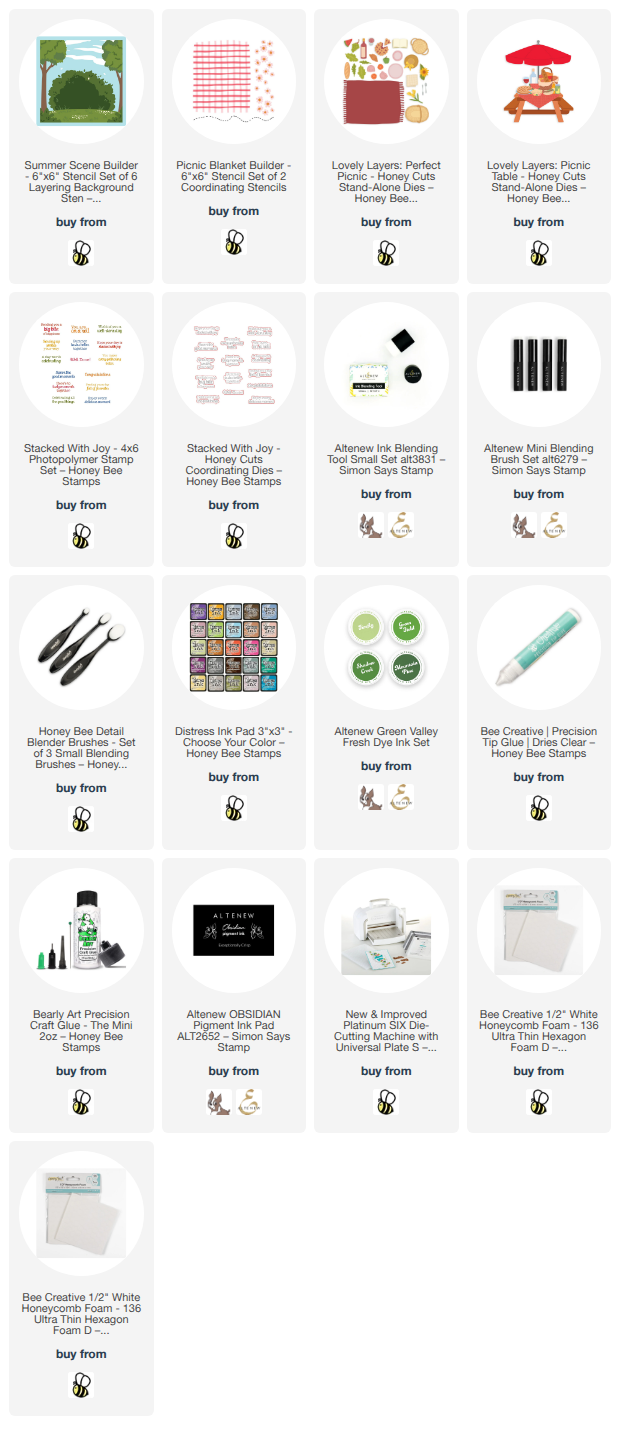
I first started out by using the Summer Scene Builder stencils.  This is a set of seven stencils that create a wonderful scene to be used for many card occasions!  I used some green and brown inks from my stash with blender brushes to ink the scene onto white cardstock.  My card panel is 4-¼" x 5-½".

I used glue to adhere the stencil to an A2 card base.

Next I used the blanket die from the Lovely Layers: Perfect Picnic Honey Cuts to cut white cardstock into this blanket shape.  Then I used the Picnic Blanket Builder stencils to color my picnic blanket with Black Soot Distress Ink. I used my scissors to cut a rectangle of one corner of the blanket for my picnic scene.

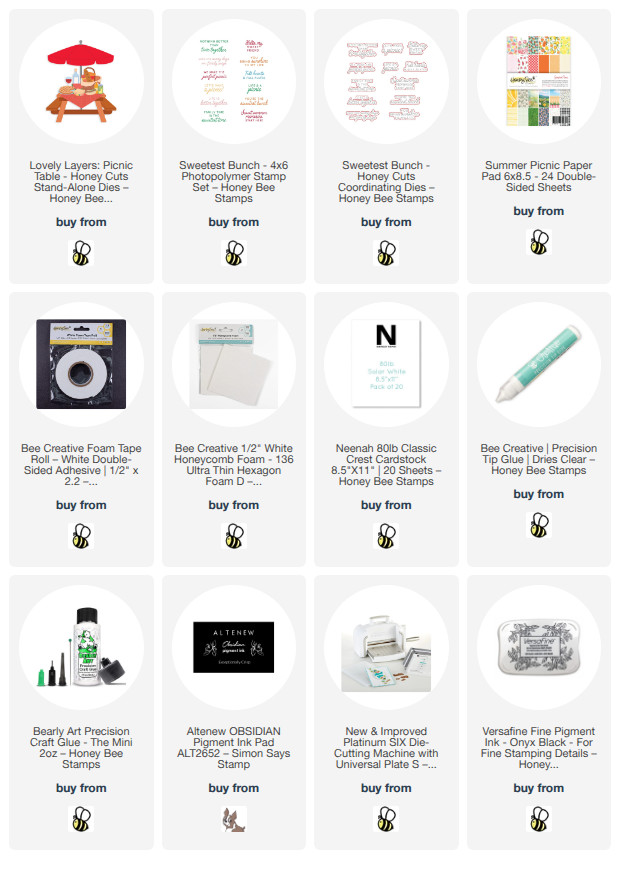
I die cut the umbrella and picnic food with the dies in the Lovely Layers: Picnic Table Honey Cuts.  I die cut two of the umbrella top from white cardstock and one from black.  I cut apart the black die cut and glue the pieces to a white cardstock die cut.  Next I used the decorative floral portion of the Picnic Blanket Builder stencils to stencil the flowers onto the other white umbrella die cut.

I took my scissors, again, to cut apart the stenciled umbrella.  I glued those onto the black and white umbrella to create this fun floral and black umbrella.  Then I added foam adhesive to the umbrella top to adhere it to the card.  I cut off the overhang with my scissors.

I used various Copic markers to color the basket, sandwich, bread, wine, and glasses.  After I glued the layers together, I adhered them onto the Picnic Blanket.

The sentiment is from the Stacked With Joy stamp set.  I stamped it with black pigment ink and cut it out with the coordinating Stacked With Joy die.

This card definitely makes me want to go on a picnic!  Sadly, it's way too hot here right now!  I hope you've been inspired by picnic scene card!  This was so fun to make!

Thank you for stopping by!  I hope your day is great and filled with lots of crafty time!

I so appreciate your using my affiliate links to shop (never any additional cost to you)!

Wednesday, July 15, 2026

Hello My Sweet Friend, You Bring Sunshine To My Life

Hello, crafty friends!  Today I'm sharing this sweet card that features Honey Bee Stamps new Lovely Layers: Citrus!  I love just about everything lemon flavored and also the color yellow, so I paired the yellow with two more of my favorite colors: blue and green!!

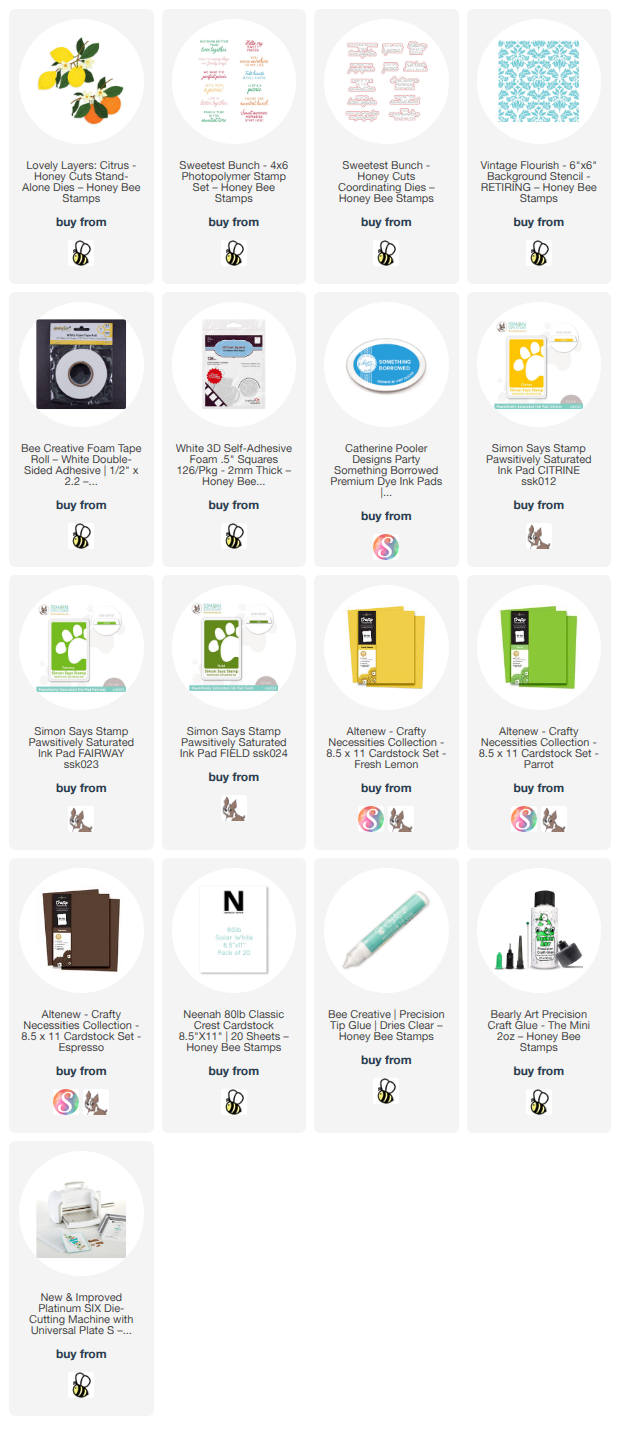
First I cut out lemons from the Lovely Layers: Citrus dies from some bright lemony yellow cardstock.  I chose a pretty green for the leaves and stems and brown cardstock for the branch.  The flowers are from white cardstock.

I cut two of the Lovely Layers: Citrus branches, just mainly for more dimension, from brown cardstock and glued the two layers together.

Next I used blending brushes to add coordinating green and yellow inks to add some shading to the lemons and leaves.  I used the leftover ink of the yellow brush to color the flower centers. Then I used Bee Creative glue to adhere the lemons, leaves, and flowers to the Lovely Layers: Citrus branch.

For the background, I used one of my favorite stencils, the Vintage Flourish stencil!  I noticed that this stencil is in the retiring section (sad face, haha) and is at a reduced price!  I used a beautiful and vibrant blue to color through the stencil with a blending brush onto white cardstock.

I trimmed the stenciled panel to 4-¼" x 5-½" and glued it to an A2 card base.  To adhere the Lovely Layers: Citrus lemon branch to my card I used various foam adhesives including Bee Creative Foam tapeBee Creative Honeycomb Foam, and foam squares. I used different adhesives because it just depended on where I was putting the adhesive and what size I needed.  Do you use different adhesives too?

Next I stamped two of the sentiments from the Sweetest Bunch stamp set with black pigment ink.  Then I cut out both sentiments with the coordinating Sweetest Bunch Honey Cuts.  I added most flower and leaf die cuts (Lovely Layers: Citrus) to tuck under the left edge of one sentiment.  Both sentiments are popped up with foam squares.

I love the Amalfi Coast vibes I achieved with the beautiful blue Vintage Flourish stenciled background and the Citruslemons!  

I hope you've enjoyed my bright and summer card using the beautiful Lovely Layers: Citrus set!  I really appreciate you stopping by!  See you back here next week with more inspiration from the Perfect Picnic release!

I so appreciate your using my affiliate links to shop (never any additional cost to you)!

Wednesday, July 8, 2026

Sending Summer Smiles -- Perfect Picnic Release by Honey Bee Stamps

Hello crafty friends!  Did you see all of the new summertime goodies from Honey Bee Stamps' Perfect Picnic Release?  This release is so fun with lots of summer themed products to make cards for all of your gatherings!  Also, there are two gorgeous floral stamp sets.  I've used one here on my card.  The Summer Smiles florals are so beautiful.  Of course, I love that there are coordinating Summer Smiles coloring stencils and Summer Smiles Honey Cuts too!  Some paper from the new Signature Surfaces paper pad made an awesome background!

Keep reading to see another card I've made with this awesome release!

There are two different ways to get started with the Summer Smiles stencils.  You can stamp the Summer Smiles floral, and then stencil, or you can do as I did and do all of the stenciling first.  Since I knew I was going to use a light colored ink, I just didn't want to risk smearing that stamped ink.

I chose a set of pink inks that are four shades from light to dark.  A set of three inks would work too!  I used a grip mat to hold my white cardstock and began with the first of six stencils and my lightest colored ink pad.  I continued with blending brushes and each shade of ink for each stencil layer.

For the leaves I used three different shades of green ink.  Ink blending these layers is so fun!

I added pink and then green splatters to the flower and the leaves.  I just used some scrap paper to cover up what I needed to.

Next I used the coordinating Summer Smiles dies and cut out the floral image.  I used a white gel pen to add white dots to the flower's stamen.

I stamped two of the sentiments from the Summer Smiles stamp set with black ink and cut them out with the included coordinating dies.

Instead of my typical white embossed background (which I do love!) I found a piece of patterned paper from the new Signatures Surfaces paper pad (a paper organizer is included!) that I think works wonderfully for the background.  After I trimmed the paper to 4-¼" x 5-½" I used Bee Creative glue to adhere the paper to an A2 card base.

Did you know the papers in the Signature Surfaces paper pad were designed by several of us on the Honey Bee Design Team?  And guess what?  The paper I chose is one I designed with an ink smooshing technique!

The Summer Smiles flower and the sentiments are all popped up with foam tape and foam strips.

And a side note!  Did you hear that there is an Instagram Hop to celebrate the Perfect Picnic release?  You can join us on the hop and leave comments for your chance to win one of two Honey Bee gift cards!  You have until July 10, 2026 for commenting for your chance to win.  Click HERE to join us!

This is my card I have for the Hop:

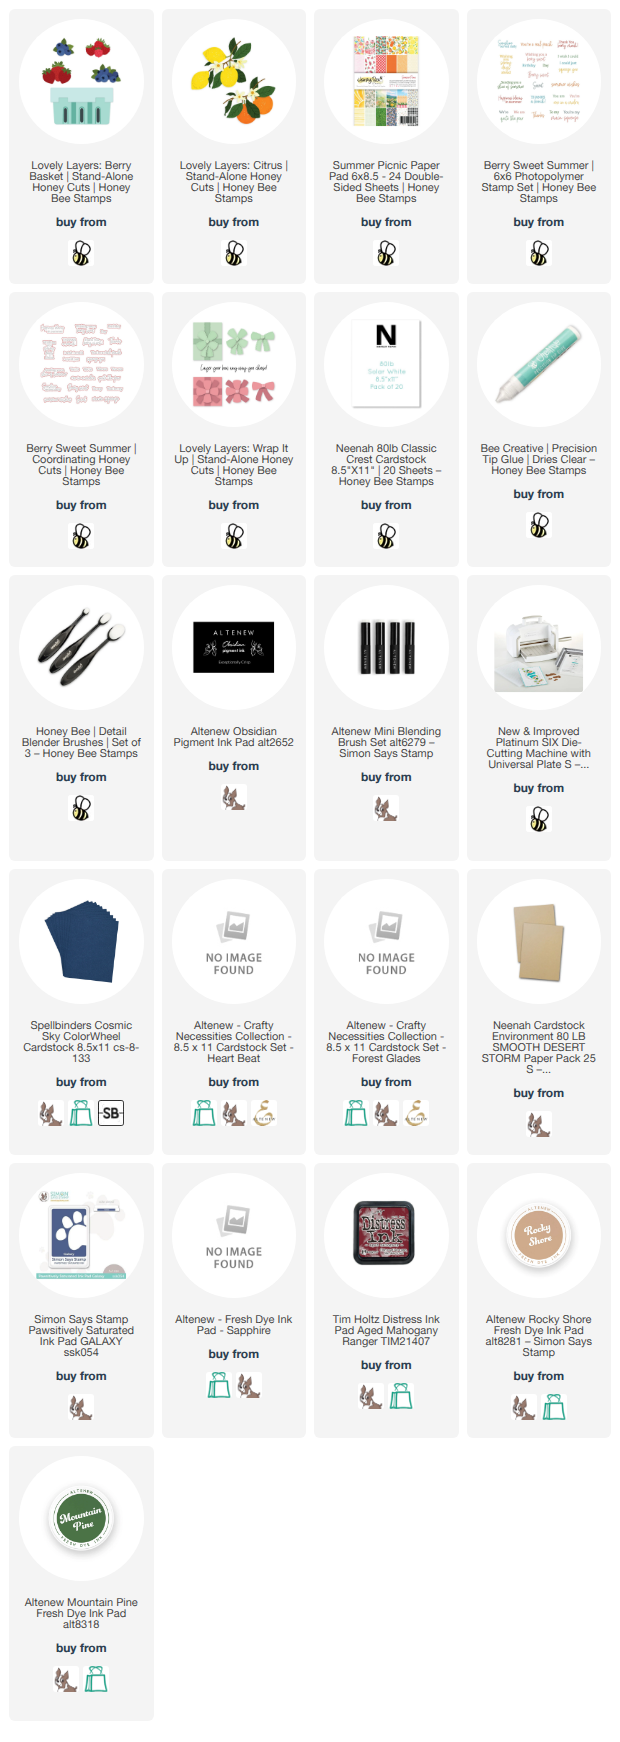
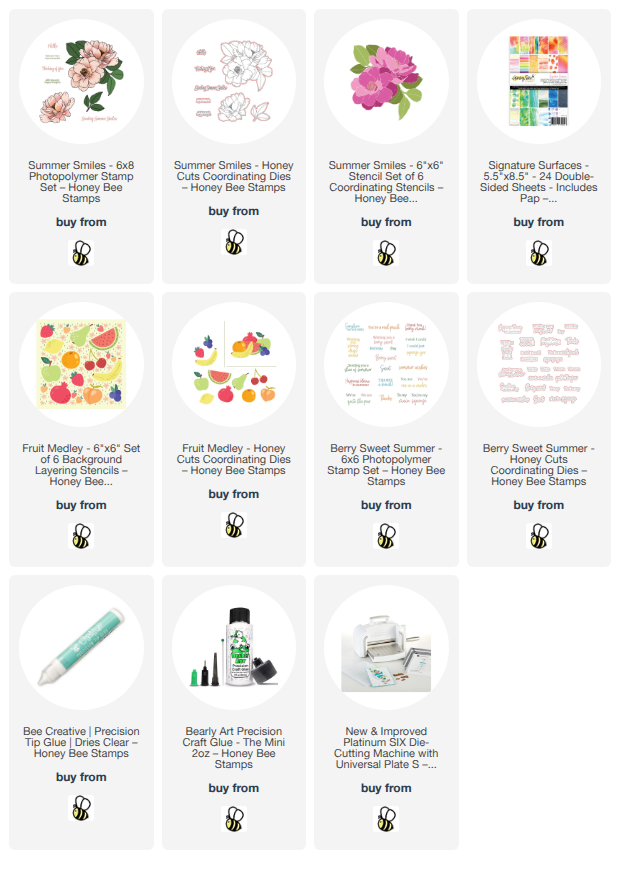
I used these products from the new release for this super sweet, fruity card!

I hope you've found some inspiration here today for the fabulous Perfect Picnic release!  Thank you so much for stopping by.  I hope your day is awesome and very crafty!

Thank you so much for using my affiliate links to shop (never any additional cost to you)!

Wednesday, July 1, 2026

Sneak Peek of the Perfect Picnic Release by Honey Bee Stamps

Hello crafty friends, and happy July 1!  Today I'm super excited to be sharing with you a sneak peek of Honey Bee Stamps' available now, Perfect Picnic release!  The Perfect Picnic products will be available on July 6, after the end of the release party on Honey Bee's YouTube channel.  This release is filled with all things yummy for summer, plus a gorgeous floral stamp set and a summer fruit stamp set.  Stayed tuned--I think you're going to love it!!

These are the new products I've used on my card:

As you can see from my photo, I've used some paper from the new Summer Picnic paper pad to add a grass layer underneath my picnic scene.  Trust me, you will love the gorgeous papers in this pad!  I will certainly be ordering another paper pad for my stash!!

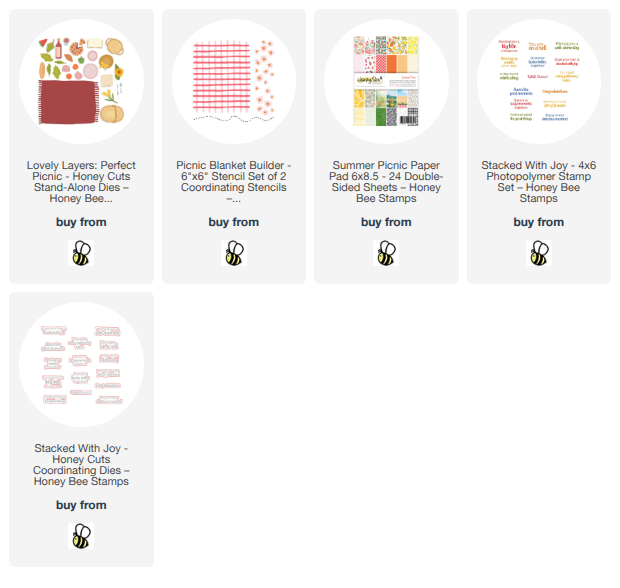
The Lovely Layers: Perfect Picnic Honey Cuts not only has a die for the blanket, but also dies for all of the yummy picnic food you see + more!  I started out by die cutting my chosen pieces from white cardstock.

Next I used the Picnic Blanket Builder stencils and used blender brushes to ink on Spun Sugar and Kitsch Flamingo Distress Oxide inks.

I also used the flower section of the Picnic Blanket Builder stencils to add flowers to the napkin die cut layers.

For all of the other fun pieces I used my Copic markers to color them.  It was fun choosing what colors to used for the breads and the basket!  Of course, you could also die cut your pieces from colored cardstock and/or use your ink blending brushes too.

For the wine bottle label and the book pages, I really wanted to have a hint of words.  I thought about handwriting on them, but, I truly didn't think I'd be pleased with that!  Can you relate?  I searched through all of my Honey Bee sets and found the perfect stamp!  It's in the Postmarked: Holiday stamp set (retiring and at a great price!) to lightly stamp a hint of words with Hickory Smoke Distress ink.  I really like how it turned out!

After I assembled the layers with Bee Creative glue (there's an awesome layering guide, of course) I adhered a few things to the basket and plate with foam adhesive and/or some glue.

I added some awesome patterned paper from the Summer Picnic paper pad to my A2 card base.

Next I glued the Picnic Blanket to the card.  Then I used my scissors to trim off the parts hanging beyond the edges of the card.  Then I used ½" x ¼" Honeycomb Foam pieces to adhere the other items to the blanket.

The sentiments are from the Stacked With Joy stamp set.  After I stamped them with black pigment ink, I cut them out with the coordinating Stacked With Joy Honey Cuts.

This was SUPER fun to make and it makes me want to go on a picnic.  However, it is SO hot where I am and it's not so fun to be outdoors, haha!  I'll just stay inside and make more fun picnic cards with the new Perfect Picnic release!

Keep your eye out for more sneak peeks this week!  If you'd like to see some of the process of me making this card, please join me on my Instagram where, later today, I'll have a fun reel for you.

Thanks so much for stopping by!  Have a wonderful and crafty day!

Here's all the links to the new products.  Thank you so much for using my affiliate links to shop!

Wednesday, June 24, 2026

You're So Tweet Friend!

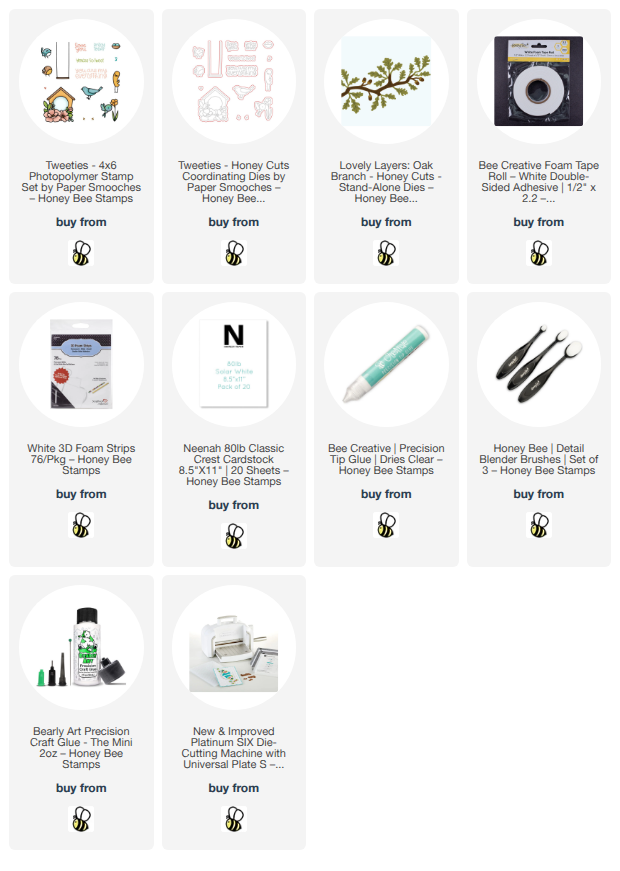
Happy Wednesday, friends!!  Today I'm sharing this sweet card that features Honey Bee Stamps adorable Tweeties stamp set and coordinating Tweeties dies.  I've nestled the bird house in this set into branches from the Lovely Layers: Oak Branch dies.  Read on for the details!

First I stamped the images from the Tweeties stamp set onto white cardstock with Intense black ink, an alcohol marker safe ink.  After I colored them with my Copic markers I cut them out with the coordinating Tweeties dies.

I used a white gel pen to add a few white highlights to the birds and birdhouse.

Next I die cut white cardstock with the dies in the Lovely Layers: Oak Branch set.  I cut each piece twice.  Then I colored them with some Copic markers.  I used Bee Creative Glue to adhere the layers together.

Before I adhered the images to my A2 card base I used a couple of blending brushes to add blue ink to the card.  I like to leave some open white spaces when I do this so it will have the appearance of light clouds in the sky.  I added just a bit of green ink to the bottom of the card.  There was enough green ink on my blending brush that I didn't even need to pull out an ink pad!

I used foam tape and glue to adhere all of the images to the card.  I did not add glue to the leaves of the Oak Branch with the bird house.  I like the easy dimension you get by not gluing everything down!

I stamped the sentiment from the Tweeties stamp set with black pigment ink.  After I cut it out with the coordinating die, I popped it up with a foam strip.

This card is so adorable and totally perfect to let someone know how sweet you think they are!  Bonus:  it was super easy to make!!

I sure do appreciate you stopping by!  I hope you have a wonderful and crafty day!

Thank you so much for using my affiliate links to shop (never any additional cost to you)!

Wednesday, June 17, 2026

Let's Make A Vintage Bug Car Card With A Stenciled Lakeside Scene

Hello crafty friends!  Today I'm sharing this fun masculine card that features Honey Bee Stamps Lovely Layers: Vintage Bug Honey Cuts.  I haven't had a chance to play with this fun little set and it makes a fantastic card for a guy!  Fun fact:  my very first car was a VW Beetle that was a pale yellow, had a stick shift, crank windows, and no AC!!  In Texas!!!  Good thing I was super young to be able to handle that heat!  Hahaha!

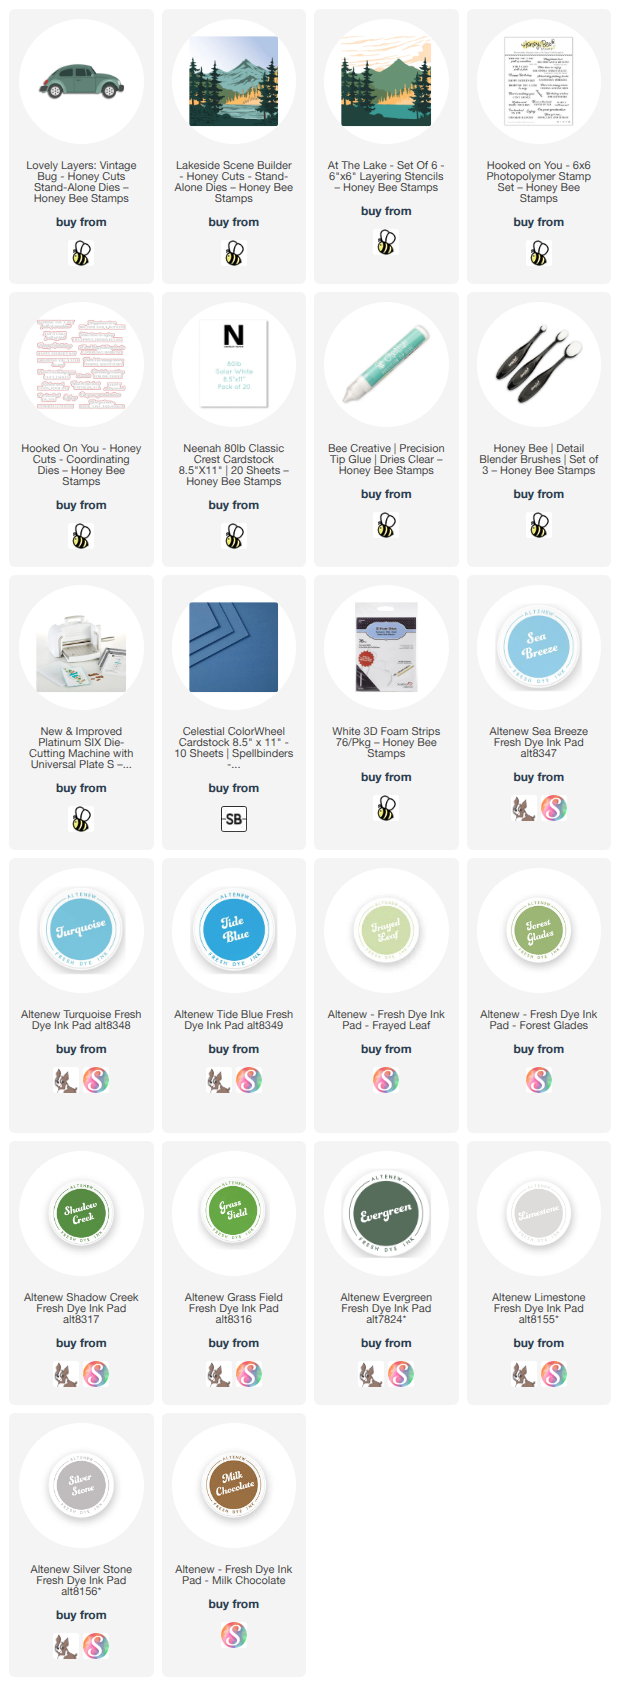
I've paired the Lovely Layers: Vintage Bug with a favorite older Lakeside Scene Builder die and the coordinating At The Lake stencil set.

I planned on this being a 5" x 7" card and placed the Lakeside Scene Builder die onto my card 5" x 7" white cardstock panel to create space for the Vintage Bug below the lake.

To color the lake scene, I used various inks (in the list below) in my stash to color through each of the six At The Lake Stencils using ink blending brushes.  Note: I stenciled the sky directly onto and, at the top of, my A7 card base.

I die cut the canoe and oar (in the Lakeside Scene Builder set) from white cardstock and colored the pieces with Copic markers.

Then I used glue to adhere the die cut and stenciled piece to my card.

Next I die cut blue, black, white, and silver cardstocks with the dies from the Lovely Layers: Vintage Bug set.  The base layer of the Bug is cut from white cardstock and this allowed me to use a blue Copic marker to add color for the windows.  After adding a bit of blue ink shading with a blender brush, I used glue to assemble the Bug.

The sentiments are from the Hooked On You stamp set.  I stamped them with black pigment ink and cut them out with the coordinating dies.  Some foam adhesive strips pops them up on the card.

I totally love this lake scene with the Lakeside Scene Builder and the At The Lake Stencils!  The Vintage Bug fits right in, I think!  Change up the sentiments for lots of other occasions for the guys!

Thanks so much for stopping by today!  I hope it's a good and crafty day for you!

Thank you so very much for using my affiliate links to shop (never any additional cost to you)! 

Wednesday, June 10, 2026

Perfect Peonies Thinking Of You Card

Hello crafty friends!!  Today I am sharing this Copic marker colored card that features Honey Bee Stamps absolutely gorgeous Perfect Peonies stamp set and coordinating Perfect Peonies Honey Cuts.  It's been a while since I colored an image and I really enjoyed taking my time with this and just enjoying the process!

First I stamped this image from the Perfect Peonies stamp set with Bee Creative Intense Black ink which is safe to use with alcohol markers.  I used a BV31 Copic marker to "under-paint" the shadow areas of the petals where my darkest marker would be.  I finished the coloring with just a touch of Y11 over the lightest marker shade.  These are the colors I used for the flowers, buds, and leaves (I always color dark to light and have listed the markers in the order used):

  • flower and buds:  BV31, R14, R22, R43, R32, R11, Y11
  • leaves: G29, YG67, YG17, YG25, YG03

With my coloring complete, I cut the images out with the coordinating Perfect Peonies dies.

Next I die cut some vellum three times with the leaf stem from the Lovely Layers: Spring Greenery dies.  I used YG17 and YG25 to color the back of the vellum.

For the layers on the A2 card base I first die cut paper from the Garden Party paper pad with the largest die in the Antique Layering Frames set.  I lightly inked the edges with a coordinating beige ink with a blending brush.  I used Bee Creative glue to adhere the piece to the card base.

The smaller layer is die cut with the oval die in the Antique Layering Frames set and paper from the Hive Hues Garden Party cardstock pack.  I also lightly inked these edges with a coordinating ink.  I added foam tape to the back of the piece to adhere it to the card.

I decided on an arrangement for the Perfect Peonies image and the vellum leaves.  First I glued the leaves to the card and adhered the peony image with foam tape.

The sentiment is one of several in the Perfect Peonies stamp set.  After I stamped with black pigment ink, I cut it out with the coordinating die and adhered it with foam tape.

I think this sentiment is perfect for the tone and "feel" of this card!  Do you enjoy coloring?  I really hope I've given you some inspiration today to sit down, relax, and enjoy a good coloring session!  Have a wonderful day, and I'll see you back here next week!!

Thank you so much for using my affiliate links to shop (never any additional cost to you)!

Wednesday, June 3, 2026

Honey Bee Stamps New Chapter & Charm Card Kit -- Have A Novel Birthday Card

Hello crafty friends!!  Have you seen the new Honey Bee Stamps Chapter & Charm Card Kit?  It is absolutely wonderful for book lovers, teachers, librarians, and anyone who treasures a good story.

The Chapter & Charm Card Kit is a $174.95 value that you get as a kit with $50 savings!  Also included with the kit is a QR code that links to a FREE YouTube class to be held on June 13 at 2:30 pm EDT.  You will also be creating different cards in this class from what is shown on the product description insert.

For my card here, from the kit, I've used the Little Library A2 Cover Plate, the Bound In Beauty stencil set (set of 3), and the Novel Sentiments stamp set and coordinating dies.

First I die cut the book shape with the dies from the Little Library A2 Cover Plate set.  This beautiful cover plate impresses the design into your cardstock.  You can bring out the embossing even more by adding your tan embossing mat to the die cutting sandwich.

I used the Bound In Beauty stencils and a blending brush to add a coordinating darker ink to the die cut.

I made a shaped card base by using just the outer die for the book.  I made sure to place the left edge of the die just past the side of the side-folded card base before I ran it through my die cutting machine.

Included in the Chapter & Charm Kit is a sample size of Deco Foil Liquid Adhesive and a piece of Thermo O Web Gold Foil Transfer Sheet.  I placed a couple drops of the adhesive onto my craft mat. Then I used a stylus with a small round tip, dipped the tip into the adhesive and placed little dots onto the card layer as shown in the photo.  I also added the adhesive to the white flowers' centers.

This needs to dry completely (doesn't take long at all) and then you just place the gold foil over the dried Liquid Adhesive, rub it with your fingernail or bone folder to get these beautiful touches of gold!

I chose one of the many sentiments included in the Novel Sentiments stamp set and stamped it in black pigment ink.  I used the coordinating die to cut it out and popped it up with ½" Honeycomb Foam adhesive.

Be sure to take a look at all of the wonderful products included in the Chapter & Charm Card Kit!  Everything I used to make this card is included in the kit!

There are also three products available to purchase separately as Add-Ons to this fabulous kit!  There is the Little Library: Chapter One Add-On die set, the Lovely Layers: Stacked Stories dies, and the Story Labels stencil set (set of 2).

Just like the previously released card kit, once these are gone, that's it!  Thank you so much for stopping by today!  I hope your day is a great one with lots of crafty time!

Thank you so very much for using my affiliate links to shop (never any additional cost to you)!

Wednesday, May 27, 2026

Gift Card Holder & Card With Loads Of Fun Textures!

Hello crafty friends!  Today I am happy to share with you this fabulous card and gift card holder I made featuring Honey Bee Stamps awesome Lovely Layers: Wallet Honey Cuts!  I love adding lots of texture to masculine cards since, obviously, I wouldn't use flowers for such a card, right?!  Haha!  Check out the details below.

Before I get into my card details, have you heard???  This evening the new Chapter & Charm CARD KIT will be available after the release party, scheduled for 7 pm CDT, on Honey Bee's YouTube channel.  Here is the caption of the description:

Turn the page to something special with our Chapter & Charm Card Kit.  Filled with beautifully coordinated book-themed stamps and dies, this charming collection is perfect for celebrating book lovers, teachers, librarians, and anyone who treasures a good story.

From cozy reading moments to heartfelt sentiments, Chapter & Charm, is designed to help you create cards and projects that are truly one for the books.


I began by constructing the wallet using the dies in the Lovely Layers: Wallet.  First I die cut the various pieces for the wallet from some medium gray cardstocks.

Next I pressed clear embossing ink onto the Tooled Leather 3D embossing folder.  Then I used a brayer to ink up the smooth side of the embossing folder with Weathered Wood Distress Oxide ink.  Then I placed the front part of the wallet die cut into the folder and ran it through my die cutting machine.  I repeated these steps for the back side of the wallet.

I wanted the Wallet to have an aged, well-worn look, so I used a blending brush and a couple different brown inks from my stash to ink the edges and a bit more into the middle portions too.

The die cuts for the inside of the Wallet were inked in the same manner, just not embossed.  I folded the scored tabs and added glue to the tabs to adhere the pieces inside the wallet.  There's a die cut included in the Lovely Layers: Wallet that is perfect to hold a gift card to fit into the open portion.

The card base is A7 size.  I used a dark brown-gray cardstock and a piece of patterned paper from the Urban Roots paper pad (a necessity I love for masculine cards) for the base layers.

I took another strip of the brown-gray cardstock, trimmed it to about 2", and tore the edge with my fingers.  Then I placed it into the Tooled Leather 3D embossing folder to emboss it.  I inked the edges with a dark brown ink and glued it to my card.

The sentiments are from the Heart Of Our Family stamp set.  I stamped them in brown ink onto gray cardstock and then cut them out with the coordinating dies.

To finish up, I added a few coordinating enamel dots on the wallet and around the sentiment.

So what do you think about all of the texture, embossing and inking?  I hope you like it as much as I do!  Thanks so much for stopping by today.  I hope your day is crafty and very good!

P.S.:  Don't forget to check out the Chapter & Charm Card Kit--the kits sold out so fast last time!

I hope you know how much I appreciate it when you use my affiliate links to shop (never any additional cost to you)!

Wednesday, May 20, 2026

Celebrating You...Every Single Day

Hello crafty friends!  Do you ever make a card and just totally love it?  It doesn't happen as much as I like, but today's card is one!  I've used a few of Honey Bee Stamps latest release products, including the Lovely Layers: Mini Spring Florals, the Tooled Leather 3D embossing folder (how many times have I used it now?), and a couple other wonderful sets.

First I die cut white cardstock with the dies for the Bearded Iris and the stemmed floral that are in the Lovely Layers: Mini Spring Florals.  I used blending brushes and inks in coordinating shades of yellow, purple, and green to color the layers each Bearded Iris.  I used Bee Creative Glue to adhere the layers together.

I love adding these soft colors in one of my top color combinations!  Next I die cut more white cardstock with the dies for this cute bow that's in the Accessorize It: Charmed die set.  I used the same yellow inks to color the layers with blending brushes.  After I glued the layers together (the little knot is popped up with a foam from the new ¼" White Honeycomb Foam adhesive).  I used my white Gelly Roll 10 pen to add dots all over.

The card base is A2 sized and I embossed a white cardstock panel with, my now favorite, Tooled Leather 3D embossing folder.  I smooshed two of the mid-tone purple and yellow inks onto a large stamping block and diluted the ink with some water.  I added splatters of both colors along the embossed panel from the bottom left to the top right.  I made sure to dry one color with my heat tool before splattering the next color.

After I glued the embossed panel to my card base I began to arrange the Mini Spring Florals.  I used glue and a few foam adhesives to stick them to the card front.

The sweet sentiments are from the Heart Of Our Family stamp set, stamped in black pigment ink, cut out with the coordinating dies, and then popped up on the card with foam strips.

I love Bearded Irises and really like the soft colors of this card!  I hope you do too, and are inspired by my card!

Thank you so much for stopping by today!  I hope is a good one for you!

I always so appreciate those of you that use my affiliate links to shop (never any additional cost to you)!

Wednesday, May 13, 2026

Congrats Card with Watercoloring, Texture Paste, and Stencils

Hello crafty friends!  Today I'm sharing my heat embossed and watercolored card I made with the gorgeous Perfect Peonies stamp set and Honey Cuts.

First I used a piece of the pink cardstock from the Hive Hues Garden Party cardstock pack.  I trimmed it to 4-¼" x 5-½" and then placed the Geometric stencil from the Luxurious Lines stencil set over the panel.

I spread some transparent matte texture paste through the stencil, applying it just to two corners.  I set it aside to dry and immediately cleaned up the stencil and the pallet tool.

When the texture paste had dried, I added just a bit of coordinating ink with an ink blending brush.  Then I added splatters with a very diluted solution of the same paint I used on the flowers.

Next I stamped one of the gorgeous florals from the Perfect Peonies stamp set with clear embossing ink onto Bristol Smooth cardstock.  Note:  I treated the cardstock panel with an anti-static pouch before stamping.

Then I added silver embossing powder over the stamped image and used my heat tool to set the powder.

Now let me tell you, my watercoloring skills are not very strong.  Therefore, I tried to keep the watercoloring very simple by first applying my lightest shade of color first.  After that dried I went in with a darker concentration of that same color to add just a bit of dimension.

Once my watercoloring had dried I cut it out with the coordinating Perfect Peonies die.  I added foam tape to the back to pop it up on the card front and trimmed off any leaves that were over the edges of the card.

The sentiment is one of six included with the Perfect Peonies stamp set.  After I heat embossed it in silver on white cardstock, I cut it out with the coordinating die.

I added a few coordinating Pastel Pearl Stickers around the sentiment and floral for a touch of bling.

I hope I've inspired you to try your hand at this simple watercoloring style!  It was actually very enjoyable for me.  Thank you so much for stopping by today!  Be sure to check out my reel I will have later today on my Instagram!

Thank you so much for shopping with my affiliate links (never any additional cost to you)!

Wednesday, May 6, 2026

Let's Celebrate -- How To Make A Shaker Card

Hello crafty friends!  Today I am sharing my shaker card that features Honey Bee Stamps beautiful Every Happiness stamp and coordinating dies with a fabulous textured layer!  Check it out below.

First I stamped this beautiful floral image that is one of two in the Every Happiness stamp set.  After I stamped it in Intense black ink, I colored it with my Copic markers.  Then I cut it out with the coordinating Every Happiness die.

Next I used the two frame dies (Every Happiness Honey Cuts) to cut from white cardstock.  Just place a few bits of removable tape to hold them together for die cutting.  Then I used the smallest of these frame dies to cut an opening in an A2 white cardstock panel.

Next I ran the die cut panel through the Tooled Leather 3D embossing folder.  I glued the die cut frame around the front of the opening.

I turned over this panel and ran some glue tape along the edges of the opening to adhere a piece of acetate.  I placed foam tape around the opening and the edges.  Then I added some Bokeh Lights sequins to the window, removed the backing of the foam tape around the opening, and adhered another piece of acetate to close the opening.

I removed the backing from the rest of the foam tape to adhere the shaker panel to an A2 card base.

The sentiment is also in the Every Happiness stamp set.  After I stamped it with black pigment ink, I cut it out with the coordinating die.  It's popped up on the card with a foam tape strip.

I couldn't resist adding the sweet bee from the Bee Well stamps, cut out with the Bee Well die, for a bit of whimsy.  I glued on a few more Bokeh Lights sequins around the sentiment for a bit of sparkle.

This was an easy-to-make shaker card!  Soon I will have a reel posted on my Instagram to show more of the process for you!
Thanks so much for stopping by!  I hope your day is a good and crafty one!

You are so awesome, and I thank you very much, for using my affiliate links to shop (never any additional cost to you)!