Showing posts with label patterned paper. Show all posts

Wednesday, July 29, 2026

Sweet Summer Memories -- Honey Bee Stamps

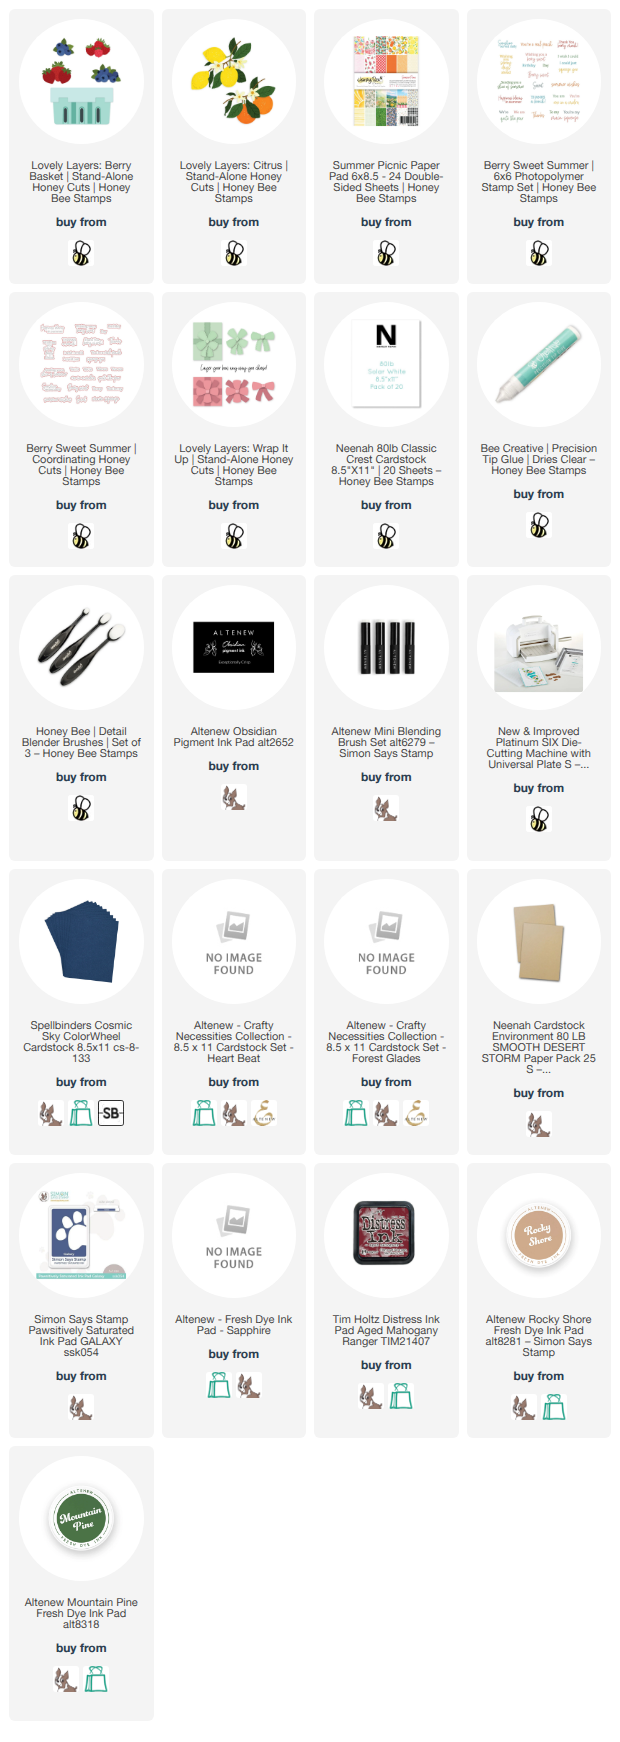
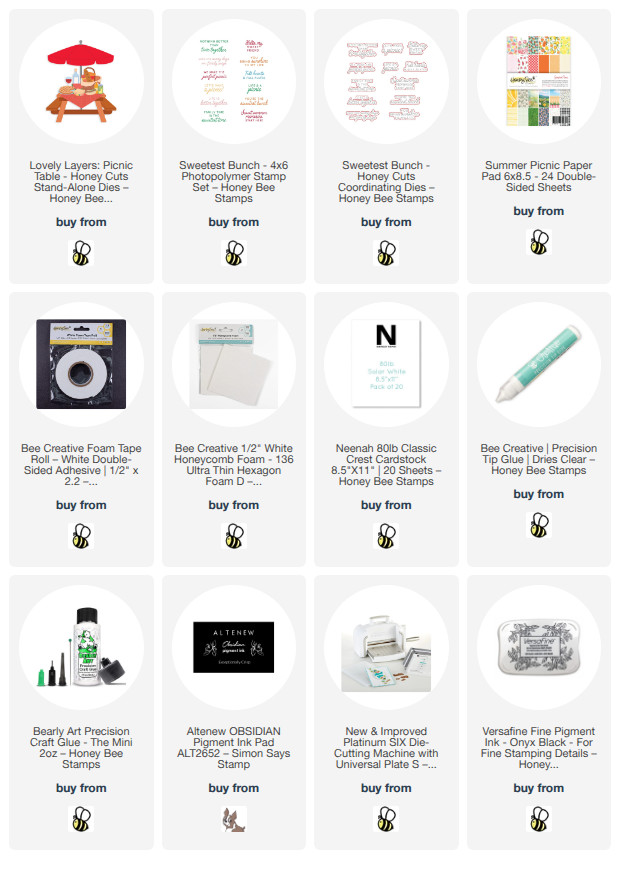
Hello, crafty friends!!  Today I'm sharing this fun card that features Honey Bee Stamps' wonderful Lovely Layers: Picnic Table die set and some pretty papers from the Summer Picnic paper pad.

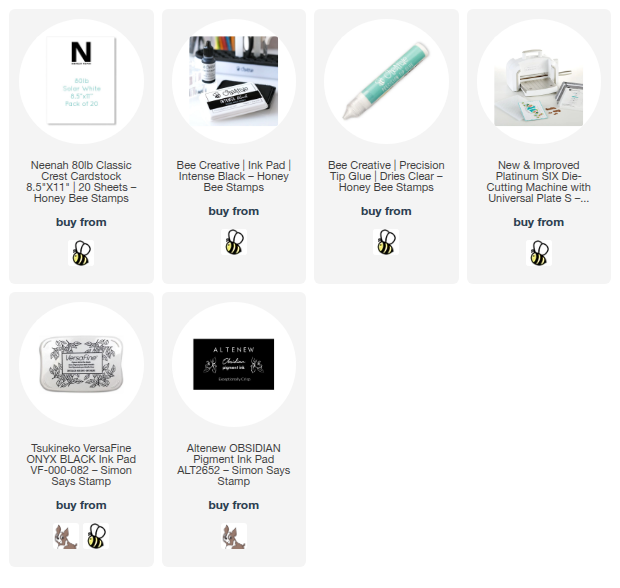
I started out by die cutting the pieces I chose from the Lovely Layers: Picnic Table dies.  I cut the pieces from brown cardstock (for the table) and white cardstock for the others.  I used my Copic markers to color the white cardstock and to add shading to the brown cardstock for the picnic table.

Next I chose two more papers from the Summer Picnic paper pad and cut out the tablecloth and the umbrella.  I cut the umbrella once more from white cardstock.  Just like I did on my previous blog post, I cut apart the patterned paper umbrella with my scissors and glued three of the patterned paper pieces to the white umbrella.  Paper piecing is so fun!

For the A2 card base, I cut one of the Summer Picnic papers into 4-¼" x 5-½".  It's really nice to be able to get two card layers from one sheet of paper!  I used Bee Creative Glue to adhere this to my A2 card base.

Next I played around arranging my Lovely Layers: Picnic Table pieces.  When I found an arrangement I like, I used glue and foam adhesive to adhere the pieces to the card base.

The sentiment is from the Sweetest Bunch stamp set.  I stamped it with black pigment ink and cut it out with the coordinating Sweetest Bunch die.

This was such a fun summer card to make, and I hope you are having a fantastic summer so far!  Thanks so much for stopping by!

Thank you, always, for using my affiliate links to shop (never any additional cost to you)!

Monday, March 16, 2026

Love and Strength Class/Card Kit -- NEW by Honey Bee Stamps

Hello, friends!!  Honey Bee Stamps has released their first ever card kit!!  This kit, the Love and Strength Class Kit, not only includes the supplies in the list below, but you will also have access to a YouTube video for the FREE class!!  You will be able to access the Kit Class via a QR code that will be on the insert (below) with your kit.  How fun!

"This lighthouse card making kit is filled with beautiful products to create heartfelt designs that shine bright.  From layered details to charming coastal accents, each element is thoughtfully designed to help you build dimension, texture, and that perfect oceanside glow.

Whether you're sending encouragement, gratitude, or just a note to say hello...your handmade lighthouse card will be a beacon of love in someone's day."

(Note:  You will be creating different cards in the class than the samples shown in this image.)

This kit also includes the Lovely Layers: Lighthouse dies.  I will be featuring this set with my card that will be posted on Wednesday!

Here is a an example I made for you of a quick and easy card using one piece of the beautiful patterned paper pieces included in the Love and Strength Kit.

I stamped the red rubber Love and Strength Cling Stamp onto 80# Neenah with marker safe ink. Then I did some quick and easy Copic marker coloring to bring out the beautiful image.  I love the papers that are included!  These are actually heavier than paper, printed on one side, and just gorgeous!

I used the coordinating Love and Strength die to cut out the lighthouse.  Then I used Bee Creative glue to adhere it to my A2 card.

I stamped the sentiment directly onto the card with black pigment ink.  This sentiment is one of eight included in the Love and Strength stamp set that gives you options for lots of different occasions.  Each sentiment has a coordinating die in the Love and Strength die set!

Please head on over to the Honey Bee Stamps shop to check this awesome Love and Strength Class Kit.  I hope you are inspired and I thank you for stopping by!

Thanks so very much for for using my affiliate links to shop (never any additional cost to you)!

Wednesday, March 11, 2026

Fishing Vest Shaped Card For The Ladies

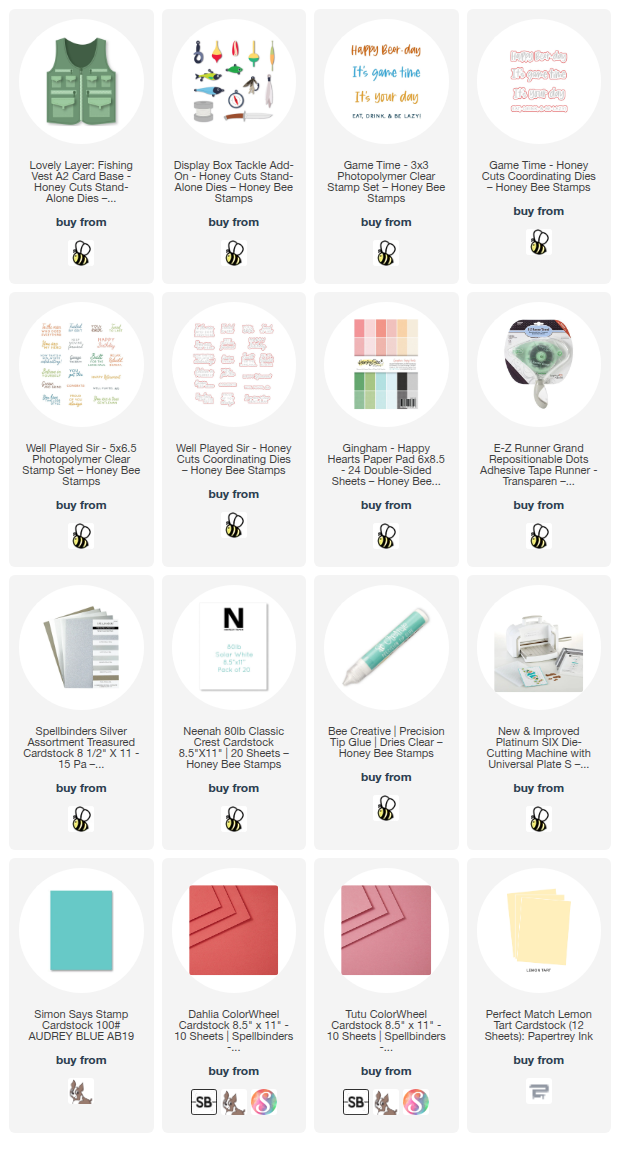
Hello crafty friends!  Today I am sharing this card that features Honey Bee Stamps new Fishing Vest A2 Card Base die set that I made in pink!  Yes, pink, because gals go fishing too!  It's been a long time, but when I was very young I loved to go fishing!

First I cut the Fishing Vest A2 Card Base back piece two times.  Once from pink cardstock and another from pink gingham paper from the Gingham Happy Hearts paper pad.  I cut the other dies in the set from the same papers and also matte silver cardstock.

Following the Fishing Vest Layering Guide, I used glue to assemble the Fishing Vest.  First I glued the two front vest pieces to the gingham layer.  Then I glued the extra base to the back of the to hide the tabs of the front pieces for a cleaner and more finished look.

I used a white gel pen to add the stitches to the pockets and pocket flaps.

I cut the pieces for a few lures in the Display Box Tackle Add-On set from pink, yellow, teal and  matte silver cardstocks.  After I glued the layers together, I used more glue to adhere them to the card.

Next I stamped two sentiments in black pigment ink.  The sentiment on the card front is from the Game Time stamp setand cut out with the coordinating Game Time die.

The sentiment on the inside of the card is from the Well Played Sir stamp set and again, cut out with the coordinating die.  This Fishing Vest A2 Card Base is plenty large enough to hold a gift card.  I used repositionable glue tape to adhere a sporting goods store gift card on the inside.

I almost forgot!  I die cut one more Fishing Vest zipper from matte silver cardstock to adhere to the back of the front zipper.  This is another way to get a clean and neat look for your card!

I really like how this turned out!  This Fishing Vest card is perfect to give to any female, young or older, that loves fishing!  This card fits perfectly inside an A2 envelope!

Thanks so very much for stopping by today!  I hope you have a great day!

Thanks so much for using my affiliate links to shop (never any additional cost to you)!

Wednesday, November 5, 2025

Sleigh Bell Christmas Card

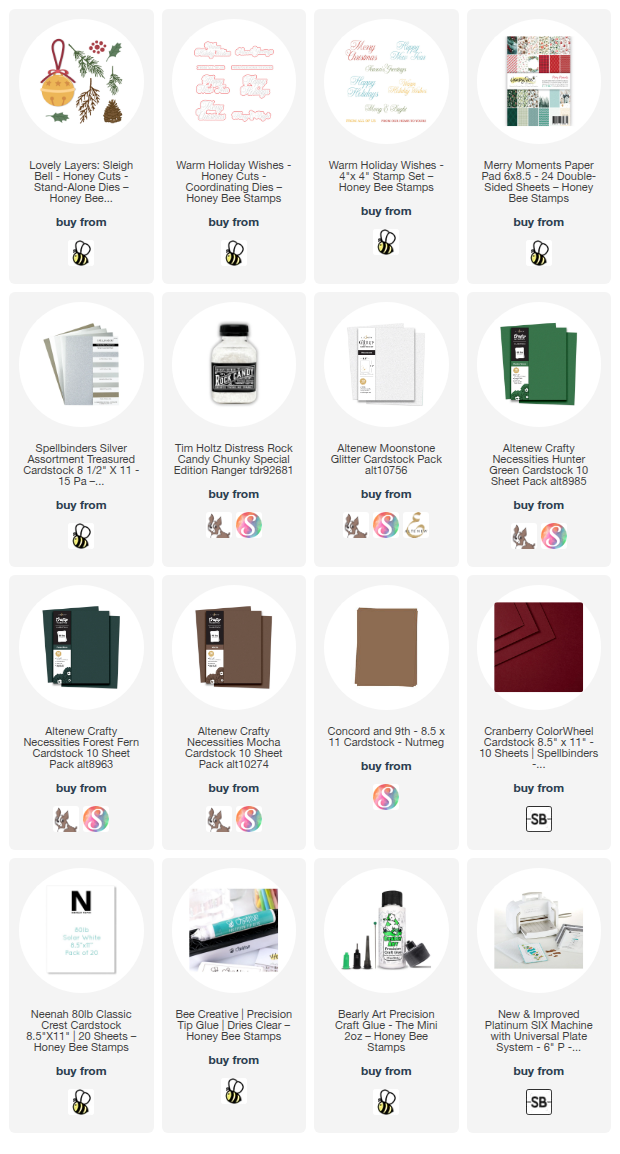
Hello crafty friends!  I'm thrilled to be sharing my first card using some awesome supplies from Honey Bee Stamps awesome Merry Moments release!  Today I'm using the beautiful Lovely Layers: Sleigh Bell Honey Cuts dies along with some gorgeous paper from the Merry Moments paper pad.

NOTE:  Today is Honey Bee's Instagram Hop (beginning at 9 am CST) with lots of inspiration for the Merry Moments release!  Also, if you leave comments along the hop, you will be entered to win one of two Honey Bee Stamps gift cards!  Join me on my Instagram where I will have the complete hop list for you!

I love SO many of the patterned papers in the Merry Moments paper pad and just had to incorporate some into my card design.  I chose one and trimmed the piece to 4-¼" x 5-½" and used Bee Creative glue to adhere the paper to an A2 card base.

This particular patterned paper was the inspiration for my color palette I chose for the Lovely Layers: Sleigh Bell.  I went through my colored cardstock stash and found just the right shades to coordinate with the paper to use for the die cutting.

I used the Lovely Layers: Sleigh Bell dies to cut out each layer from the colors of cardstock I chose.  I cut multiples of the leaves and greenery to fill in around the Sleigh Bell.

I added some red glitter Stickles to each of the berries and set them aside to dry.

I die cut glitter cardstock with the bottom layer die of the Sleigh Bell.  The top is cut from brushed silver cardstock.  After I glued the layers of the Sleigh Bell together, I added a few pieces of foam tape to the back.

Before removing the foam tape backing from the bell, I set it onto the card and fiddled around arranging the branches behind it until I was satisfied with how it looked.  I picked up the Sleigh Bell, then placed Press N Seal over the arranged greenery.  Then I simply added glue to the back of those pieces and flipped it over to the card to adhere.

Next I glued on the glittered berries.  I diluted some opaque white watercolor with water and used my paint brush to add white splatters on the images.  Then I added thin lines of glue to the greenery and sprinkled on some beautiful chunky glitter.  I love the sparkle!!

I stamped two of the sentiments in the Warm Holiday Wishes stamp set in black pigment ink.  Then I cut them out with the coordinating Honey Cuts.  I used a few pieces of foam tape and strips to adhere them to my card.

Thanks so much for stopping by today!  I hope to "see you" over on Instagram for the hop!

Thanks you very much for using my affiliate links to shop (never any additional cost to you)!

Tuesday, September 30, 2025

So Thankful For You -- Hello Harvest Release Inspiration

Hello, friends!  I'm sharing a quick post for my card featuring some of Honey Bee Stamps' new Hello Harvest release products.  I'm part of an Instagram hop where you will get to see lots of awesome ideas for many of the new products!  There's always a prize too!  So be sure to check it out!

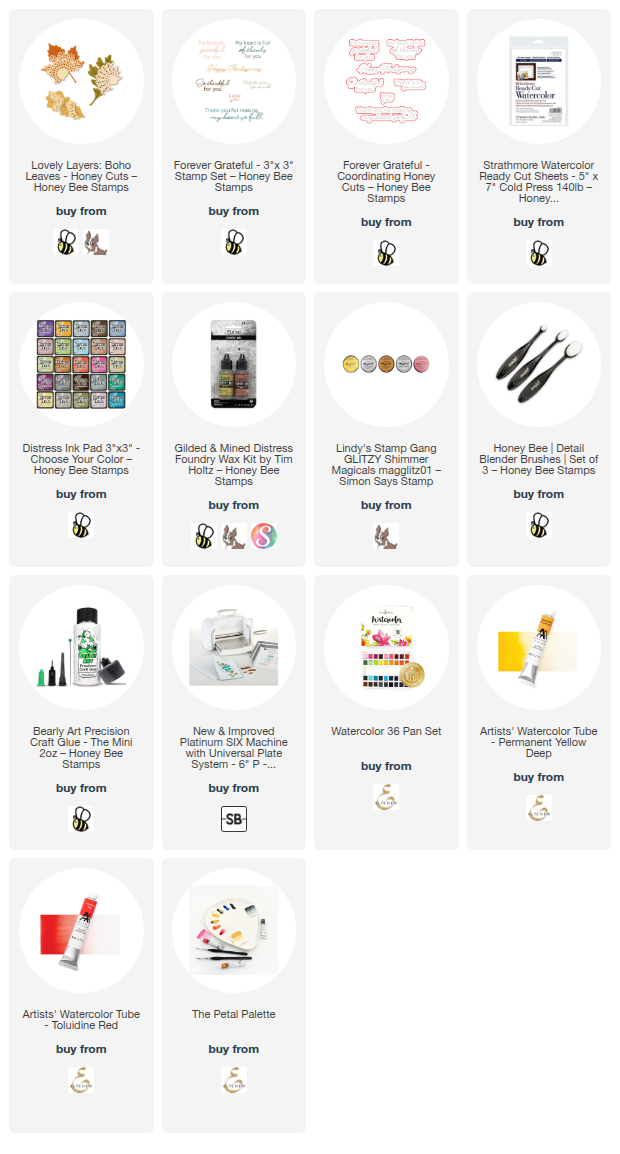
I've made a beautiful Thanksgiving card using the new Lovely Layers: Boho Leaves.  First I made some lovely watery autumn colored panels.  I used watercolor cardstock and painted on various green, golden yellow, and warm red watercolors from my stash.  I have all of the available products in the list below.

I tore a strip of brown cardstock and then inked it up with Walnut Stain Distress ink.  Do you still have one of those crimping tools?  I do, and pulled it out and crimped the strip of cardstock.  Then I used my finder to add Gilded Foundry Wax to the edge of the strip and used my heat tool to set it.  Love how it turns to a beautiful shiny gold!

I added some patterned paper to the card base that is part of a "Free Bee" that is automatically added to any Honey Bee order over $100.  The brown crimped stripped is popped up with foam tape.

Before I adhered the Boho Leaves with glue and foam tape, I inked the edges with Peel Paint Distress ink.  Then I tied a bow with some twine I have in my stash and adhered it with a Glue Dot.

I used sentiments that are in the Forever Grateful stamp set.  After I stamped them with clear embossing ink, I added gold embossing powder and set it with my heat tool.  I cut them out with the coordinating dies and adhered them to the card with foam strips.

I love the grungy chic style of this card!  I hope you will join me over on Instagram for the hop!  I know you will love all of the inspiration for the Hello Harvest release!  Thanks so much for stopping by!

Thank you for using my affiliate links to shop (never any additional cost to you)!

Wednesday, July 23, 2025

Stitched With Love

Hello crafty friends!  Honey Bee Stamps has another release coming called Maker's Mix!  Today I am sharing a sneak peek card with two of the new products.  This next wonderful release by Honey Bee will be available tomorrow evening after their Release Party.

This card gives you a sneak peek of this beautiful set called Stitched With Love.  It's illustrated by the oh, so talented Kelly Taylor, and of course, has coordinating Stitched With Love dies too!

I stamped one of the three florals from the set and the embroidery hoop onto white cardstock with Intense Black ink.  I colored the images with my Copic markers and then die cut them with the coordinating dies.

I die cut three more of the embroidery hoop from 110# white cardstock and glued all of the layers together with Bee Creative Glue.  NOTE:  There are two dies for the embroidery hoop and you can die cut a solid one, or also use the inner oval die to cut out the center.

Next I used just the outer die for the embroidery hoop and die cut it from white cardstock.  I placed the die cut into the Burlap 3D embossing folder and ran it through my die cutting machine.  Then I glued the layered Copic colored hoop to this piece.

For the background layer on my A2 card base, I used one of the 12 patterned papers from the "FreeBee" double-sided cardstock.  This is available, while supplies last, with a qualifying $100 or more purchase and will be added automatically to your cart.  These are such pretty papers!!!

I stamped one of the three sentiments in the Stitched With Love set in black ink.  I cut it out with the coordinating die.  To adhere the sentiment I added a few pieces of foam tape and some glue.

To finish up, I used some pink gingham ribbon from my stash to tie a bow.  A glue dot keeps it nice and secure at the top of the hoop.

I hope you've enjoyed this sneak peek of the Maker's Mix release!  Trust me, you won't want to miss the release party to see it all!

Thanks so much for stopping by!

Wednesday, March 5, 2025

An Adorable Stenciled Doggy Card

Happy Wednesday, my friends! Today I'm sharing details of my sweet card that features three of the new products from Honey Bee Stamps new Pet-tastic release!

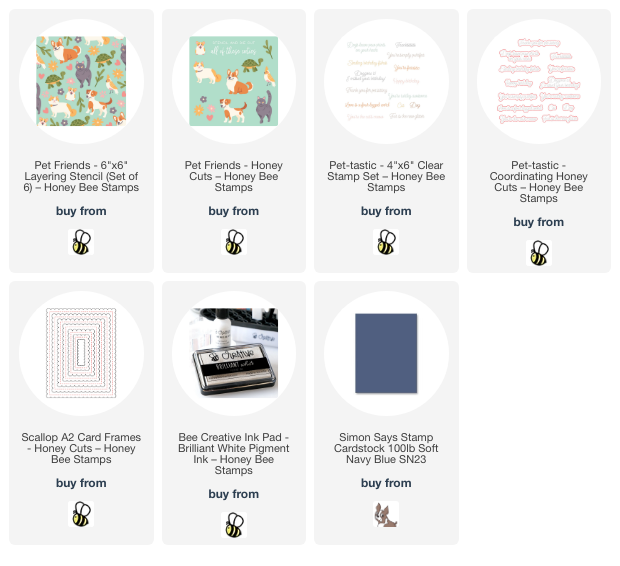
I wanted to try a technique that I've seen, but have never actually tried. It involves taking dark colored cardstock, like this dark blue I've used, and adding white pigment ink through stencils first. So I started with each of the six stencils in the Pet Friends stencil set. I used Bee Creative Brilliant White pigment ink and a blending brush to add the ink.

When the white pigment ink had dried for a bit (I did use my heat tool to help it) I pulled out lots of Distress Oxide Inks in various colors. I repeated coloring through each of the Pet Friends stencils with my Detail Blender brushes.

I trimmed the panel to 3-¾" x 2-¾". Then I glued that to a card base I made with a Scallop A2 Card Frames Honey Cut. There is a "FreeBee" paper pack you can get with a purchase over $100 that has 12 two-sided sheets of adorable patterned paper. I chose one piece and trimmed it to 3-¾" x 2" and glued it to the card base. I added a narrow strip of cardstock I inked up with Vintage Photo Distress Oxide ink.

I used the Pet Friends stencils again, but just for two of the dogs. I added the Distress Oxide colors onto white cardstock with blender brushes. Then I cut them out with the coordinating Pet Friends Honey Cuts. I used foam dots to pop them up on the card.

The sentiment is from the Pet-tastic stamp set and stamped with black ink. After I cut it out with the coordinating die, I popped it up with a foam strip.

I really wasn't sure if this stenciling on dark cardstock would work, but I really like it, and hope you do too! I always so appreciate you stopping by! Have a fabulous day!

Thank you for using my affiliate links to shop (never any additional cost to you)!

Sunday, October 13, 2024

Happy Halloween, Friend!

 I'm over on the blog at Brass & Bliss today to share the details of my Halloween card that features the Jack O Lanterns stamps and coordinating dies.

I used patterned paper from the Spook-tacular paper pad to frame the stamped and Copic colored scene within the Nested Square die cut opening.  The tree stamp is in the Jack O Lantern stamp set.

I stamped the string of pumpkins and the other pumpkin images and colored them with my Copics.  The images are die cut with the coordinating Jack O Lantern dies.

There are five sentiments in the Jack O Lantern stamp set and I chose one to stamp and trim for my card.

I was so dismayed to discover some mysterious smudges on the patterned paper and actually tossed this in the trash!  However, after other attempts to save this card I ended up retrieving it from the trash.  I hid the smudges by creating the two frames you see on the card!  Two dies nested together from two set (Nested RC Squares and Classic Nested Rectangle dies) created the frames and saved the card!

Get lots more details and progress photos over on the Brass & Bliss blog.  Thank you so much for stopping by!

Sunday, April 14, 2024

Two Easy Cards Using Patterned Paper Scraps

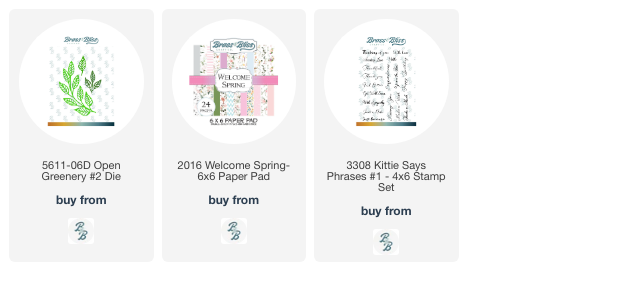
Today I'm sharing two cards I made featuring Brass & Bliss Craft Co.'s Open Greenery #2 dies.  These cards are examples of great ways to use up patterned paper scraps and are super quick and easy to make!

If you would like to read all of the detailed steps for making these cards, please join me over on my post on the Brass & Bliss blog.  

I love finding ways to use up some of the patterned paper leftovers and I had several pieces from the Welcome Spring paper pad.  This paper pad has solid colored paper to coordinate with the patterned papers so it was easy to layers these up!

This first card features a pink floral with the matching solid paper.  I die cut the Open Greenery #2 die from white and pink paper to coordinate with the layered strips.

Before I adhered the die cut greenery pieces, I added an extra special touch by using my stylus and scoring board to add embossed lines on either side of the layered strips.

This card was so easy to make so I made another with scraps of purple floral and solid papers.

It's so easy to duplicate a card like this once you already have the design and elements to use in mind.

The sentiments on both cards are from the Kittie Says Phrases #1 stamp set.  There are lots of sentiments in this set that are fitting for different occasions!

Thanks so very much for stopping by!  I hope your week is filled with lots of fun card making fun!

Thank you for using my affiliate links to shop (never any additional cost to you)!

Saturday, December 30, 2023

Three Fun Gift Tags To Make!

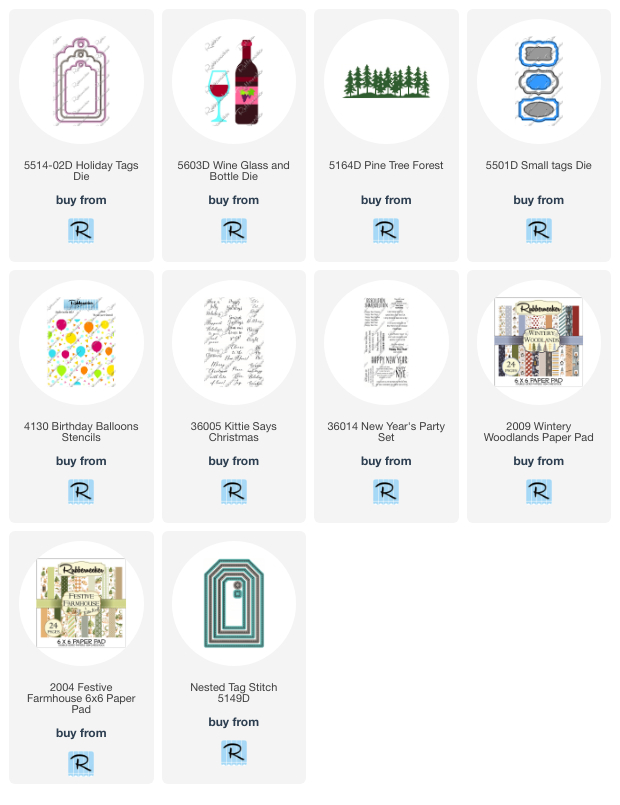
Happy New Year's Eve Eve crafty friends!  Today I'm sharing a few gift tags I made with Rubbernecker's Holiday Tags Dies.  Two are Christmas gift tags that I'll save for next year (yay!) and another is a gift tag that is perfect for that New Year's Eve favorite bubbly beverage!

I think y'all will understand how super busy things have been, so I'm keeping this post short and sweet!  Please go over to my post on Rubbernecker's Blog for all of the fun details to make these tags.

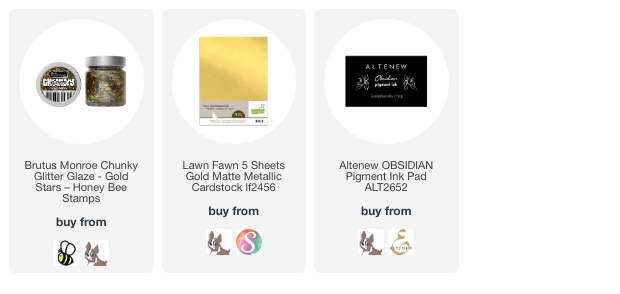
I made this NYE tag from black cardstock that I first added chunky glitter glaze through the Birthday Balloons stencil.  After it dried I cut out the tags with the largest Holiday Tags die.  The white tag behind is to write my message to the recipient.

I finished up the tag details with the Wine Glass and Bottle dies, Small Tags dies, and the New Year's Party stamp set.

I used ribbons from my stash to tie it to the bottle.  I love how this turned out!

These next two gift tags are made from patterned papers (linked below), the Pine Tree Forest die, and the Kittie Says Sentiment stamps.

To finish up, I'd like to thank each and every one of you that have stopped by my blog this year.  It really does mean a lot to me, and especially when you leave me a comment!  I wish all the very best for you, and yours, as 2023 closes.

May 2024 be all that you hope for!  Stay crafty, and I'll "see" you next year!

Thank you for shopping with my affiliate links (never any additional cost to you)!


Tuesday, July 25, 2023

Christmas Cheer Gnomes

It's still Christmas in July for our Rubbernecker Stamps' posts and I'm happy about that!  One more Christmas card done now saves lots of time during the holidays!  This card features the totally adorable new Christmas Cheer Gnomes Set!


First I stamped the cute image from the Christmas Cheer Gnomes Set in Copic safe black ink.  I colored the image and the sky with my markers.  Then I used a white gel pen to add dots of snow onto the sky and image.

Next I die cut it with a Nested Square Stitch die.  I added a black mat layer and then foam tape on the back.  I adhered it to a piece red paper from the Ho Ho Ho paper pad that was die cut with the next largest Nested Square Stitch die.


I trimmed another piece of red paper to 4-¼" x 5-½" and glued it to an A2 card base.  Next I used the largest Nested Rectangle Small Stitch die to cut white cardstock and some striped paper from the Snowflake Fun slimline paper pad.  The measures striped piece measures about 2-¾" x 5-¼".

I used glue to adhere the matted image to the card.  Then I stamped the sentiment from the Christmas Cheer Gnomes Set in black ink.  I trimmed it and added a red mat layer before popping it up with foam tape.


Have you started making your Christmas cards?  If not, I hope I've given you some inspiration with this adorable and easy card!  Thanks so much for stopping by!

Thank you for using my affiliate links to shop (never any additional cost to you)!