Showing posts with label Brass & Bliss Craft Co.. Show all posts

Sunday, December 22, 2024

Quick and Easy Holiday Gifts Tags

Three days until Christmas!  Hello, crafty friends!  If you need some quick and easy coordinating gift tags, I have just the plan for you.  As we are all short on time, I will direct you to the blog at Brass & Bliss for all of the details.

I love how these turned out, and seriously, I made these 6 tags in about an hour or so!

I'm just going to share a list of the products I've used, as I still have LOTS of wrapping to do today!  Can you relate?  LOL!

These products are all available over at the Brass & Bliss website:

 Holiday Tags Die

 Holly and Berry Stencils

Crimson ink (Color Fuse Set #4)

36010 Winter Wreath stamp set

Moss ink, Basil ink (Color Fuse #10)

I really hope you will join me over on the blog at Brass & Bliss for all of the process photos with lots more details!

I always so appreciate you stopping by!

Monday, December 9, 2024

Three Quick and Easy Holiday Gift Tags

 Hello crafty friends!  Today I'm over on Brass & Bliss' blog to share all of the details of these three beautiful gift tags.

What made these so easy to make is I just used two colors of cardstock, used the same tag die for them all and the same Kittle Says Christmas stamp set for all of the sentiments.  First I die cut kraft cardstock three times with the largest Holiday Gift Tag die.  Then I add white paint splatters to all three.

This tag features the Greenery Wreath w/Flowers die and a sentiment from the Kittie Says Christmas stamp set.  It's finish with red gems and a gingham ribbon.

I die cut a few different snowflakes from the Large Snowflake die set for this tag and added silver gems for some sparkle.

This final tag features the beautiful Large Stacked Poinsettia dies.  I used a round tipped stylus to add shape to the petals before gluing the layers together.  It's finished off with gold gems and twine from my stash.

If you would like to see more details of how I made these, be sure to head over to the Brass & Bliss blog!  Thank you for stopping by!

Sunday, November 24, 2024

Thanks For Always Being So Wonderful

Happy Sunday!  I'm over on the Brass & Bliss Craft Co. blog today to share my card featuring the new, and so beautiful, Wildflowers in the Breeze layering stamp set.

The card base is A2 size and layered with an embossed panel.  I dry embossed the Flourish stencil by using my tan rubber mat according to the directions for embossing with my die cutting machine.

I stamped the layers of the Wildflowers in the Breeze stamp set with Color Fuse inks.  Then I die cut the panel with one of the Nested Deckle Rectangle dies.

Before I popped the panel up with foam tape, I used the Flourish stencil again with blue ink.  I used a very light hand so that the stenciling wouldn't distract from the stamped image.

The sentiment is from the Thank you stamps and dies set and stamped with black ink.  Then I cut it out with the coordinating die.

Please join me on the Brass & Bliss blog for even more details and process photos!  Thanks so very much for stopping by!

Sunday, November 10, 2024

Quick and Easy Stenciled Thank You Card

Hello crafty friends!  I love making quick and easy thank you cards in bright and cheerful colors!  I'm sharing all of the complete details of this card over on the Brass & Bliss blog today.

The stenciled layer uses the pretty Fall Flourish stencil set.  It includes three layering stencils that you use to create your background.

I love how in spite of the name "Fall Flourish" this set can absolutely be used for any season!  I only had to use four ink colors!  I used these colors from the Color Fuse ink line:  Dreamer, Grass, Juniper, and Pecan.

Next I've used the new Thank You Die set.  I inked up white cardstock with the teal ink and die cut the top layer of the Thank You die set.  I cut it twice more from white cardstock and glued the layers together.  I love dies that have a shadow layer as it helps the sentiment stand out from a more busy background!

This was really that easy!  If you would like to see lots of step-by-step photos and directions, join me over on the Brass & Bliss blog.  Thank you so much for stopping by!

Sunday, October 27, 2024

Watercolor Autumn Leaves Card

Happy Sunday, crafty friends!  Today I'm over on the blog at Brass & Bliss today to share my fun watercolor card!  This card features the Fall Leaves stamps and Nested Woodgrain die set.

I used Distress re-inkers as my watercolor medium.  If you would like to see all of the exact details, they are over on Brass & Bliss' blog, along with helpful process photos.

I love how the watercolors bled into the die cut lines of the Nested Woodgrain Sign die!

I coordinated the sentiment from the Fall Leaves stamp by stamping and heat embossing in gold.  I was thrilled when I discovered that a leaf shaped die from the Fall Leaves die set would work with the sentiment.

Thanks for stopping by today!  I hope you have a wonderful week with lots of crafty time!

Sunday, October 13, 2024

Happy Halloween, Friend!

 I'm over on the blog at Brass & Bliss today to share the details of my Halloween card that features the Jack O Lanterns stamps and coordinating dies.

I used patterned paper from the Spook-tacular paper pad to frame the stamped and Copic colored scene within the Nested Square die cut opening.  The tree stamp is in the Jack O Lantern stamp set.

I stamped the string of pumpkins and the other pumpkin images and colored them with my Copics.  The images are die cut with the coordinating Jack O Lantern dies.

There are five sentiments in the Jack O Lantern stamp set and I chose one to stamp and trim for my card.

I was so dismayed to discover some mysterious smudges on the patterned paper and actually tossed this in the trash!  However, after other attempts to save this card I ended up retrieving it from the trash.  I hid the smudges by creating the two frames you see on the card!  Two dies nested together from two set (Nested RC Squares and Classic Nested Rectangle dies) created the frames and saved the card!

Get lots more details and progress photos over on the Brass & Bliss blog.  Thank you so much for stopping by!

Sunday, September 22, 2024

Autumn Grateful For Your Friendship Card

Happy Sunday!!  I'm over on the Brass & Bliss blog today to share all of the details to make this card featuring the new and so beautiful Fall Mushroom Bouquet Die Set and the Nested Woodgrain Sign Die.

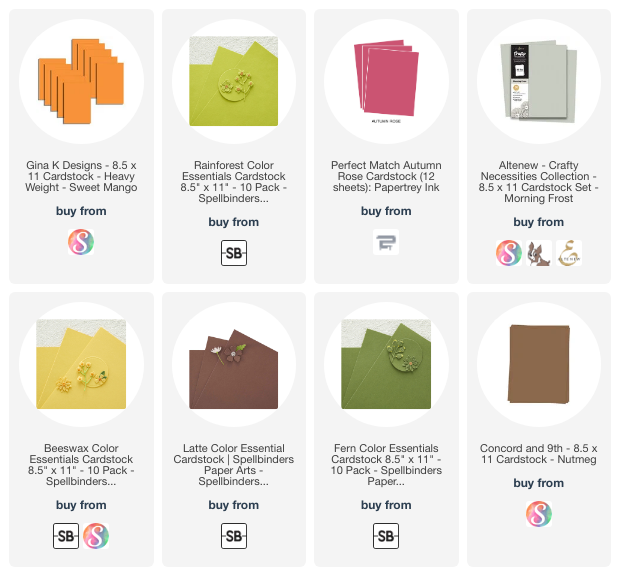
I used several different colored cardstock scraps (most in the links below) to die cut the elements in the Fall Mushroom Bouquet Die set.

I really like the new Nested Woodgrain Sign Die and can think of many different ways to use it!  I added some brown ink to shade the brown cardstock after I die cut the sign.

I heat embossed the sentiment from the Kittie Says Friends stamp set in gold for some pretty shine!

Thanks for stopping by and if you'd like all of the details, please stop by the blog at Brass & Bliss!

Thanks so much for using my affiliate links to shop (never any additional cost to you)!

Sunday, September 8, 2024

Welcome Autumn Window Scene Card

I'm over on the blog at Brass & Bliss Craft Co. to share all of the fun details of my autumn card!  This features the Winter Window Die set but I omitted the snow die cut and use autumn themed patterned paper!

I die cut the Winter Window Die set from white cardstock, except the curtains, which are die cut from paper in the Harvest Time paper pad.  The "view" from the window is patterned paper from the Festival of Colors paper pad.

I added die cut pumpkins from the Pumpkins and Ivy Die set after I colored them with various Color Fuse inks.  The sentiment is from the Autumn Gnomes Set.  I used my scissors to trim around the top for a different look!

All of the details, ink colors, and step-by-step photos are over on the Brass & Bliss blog!  Thank you for stopping by!
Sunday, August 25, 2024

Snowman Cheer Snowy Shaker Card

Happy new week crafty friends!  Today I'm over on the blog at Brass & Bliss (to be posted soon--the owners were ill) to share all of the details to make this cute shaker card that features the Snowman Cheer stamps and dies!

First I die cut a Classic Nested Oval from a piece of paper from the Snowflake Fun paper pad.  Then I used the Christmas Lights Stencil to create the texture paste background.  See that sparkle?  I gently pressed glitter into the paste before removing the stencil!

The shaker window was filled Distress Mica Flakes and iridescent glitter.

This adorable snowman from the Snowman Cheer set was Copic colored and die cut with its coordinating die.  He's having fun swinging from a Branch die cut!

I white heat embossed the sentiment with white embossing powder and die cut it with a Nested Scallop Oval Die.  This is one of six sentiments included with the Snowman Cheer stamp set.

Be sure to check out all of the details over on the Brass & Bliss blog!  Thank you so much for stopping by!

Sunday, August 11, 2024

Silver, Gold, and White Poinsettia Christmas Card

Hello!   Today I'm on the blog at Brass & Bliss to share this beautiful poinsettia Christmas card with a stenciled background.

This card features the beautiful Large Stacked Poinsettia Die set with a gold, silver, and white Confetti Stencil background.

I added details to the Poinsettia petals with gold pigment ink.  First by swiping the crease of each petal over the ink pad and then by blending the ink in the centers of each layer.

The sentiment is from the Christmas Berry Delight stamp set and is heat embossed in gold to coordinate with the rest of the card.

The poinsettia is backed by a pretty gold and silver stenciled background I made with the Confetti Stencil.

Check out all of the detailed instructions over on the Brass & Bliss Blog!  Thanks so much for stopping by.  Have a fabulous, and crafty week!

Sunday, July 28, 2024

A Hollies and Berries Filled Holiday Card

Happy Sunday friends!  Today I'm sharing this Christmas card I made with some products from Brass & Bliss's Holly Jolly release.  This is a cheerful and fun card made with the Hollies and Berries stencils.  Check all of the details on Brass & Bliss's blog.


 I used some Color Fuse inks to color the Hollies and Berries leaves.  Next I spread some very pretty Barn Door Stencil Butter through the berries stencil.  I you want this card to be extra fast to make, just use your favorite red ink for that step!

The sentiment is the Merry Christmas w/Shadow Die.  I really like the font of this sentiment!  A vellum layer behind the sentiment mutes the background just a bit and helps the sentiment to stand out.

Please join me over on the Brass & Bliss blog for all of the specific details to make this cheerful Christmas card.  I hope you have a wonderful week ahead with lots of crafty fun too!

Sunday, July 14, 2024

Easy-To-Make Heat Embossed Holiday Card

Happy Sunday friends!  Today I am over on the Brass & Bliss blog to share with you this beautiful, and easy-to-make, holiday card.

This card features just a few products that make it an easy to mass produce card!  The gorgeous background is the Snowflake Frame With Sentiment stamp.  Can you believe that is the only stamp used?!  The other supplies are dark blue cardstock, Sapphire ink for inking the edges, Versamark ink, silver embossing powder, and black ink just around the edges for more depth.

The sentiment from the set was also heat embossed in silver and trimmed out with scissors.  A few silver metallic gems adds even more sparkle!

Come join me over on the Brass & Bliss blog for even more details!  Have a wonderful day!

Sunday, June 23, 2024

I Love You More Than Coffee...

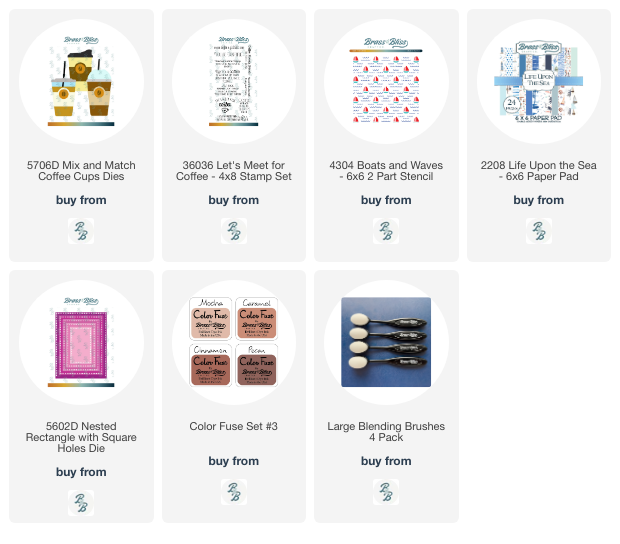
I'm on a roll with the masculine cards lately, haha!  Today's fun card features Brass & Bliss' Mix and Match Coffee Cups die set with the Boats and Waves Stencil.  Patterned paper from the Life Upon The Sea paper pad gave me instant color too!  All of the detailed directions to make this card are over on the Brass & Bliss blog.

I die cut blue paper from the Life Upon The Sea with the Nested Rectangle die first.  Then I added texture paste through the Boats and Waves stencil and set it aside to dry.

I pulled out that paper crimper I've had forever to crimp the sleeve for the coffee cup made from more paper in the Life Upon The Sea paper pad.  The Mix and Match Coffee Cup dies have a variety of styles of cups to choose from.

I stamped a sentiment from the Let's Meet For Coffee set in Cinnamon ink for a coordinated look.

Be sure to click over the the Brass & Bliss blog to see process photos and more details!  Thanks so much for stopping by!

Thank you for using my affiliate links to shop (never any additional cost to you)!

Sunday, June 9, 2024

Like A Dad Father's Day Card

Today I'm over on the Brass & Bliss Craft Co. blog to share all of the details to make this easy Father's Day card!

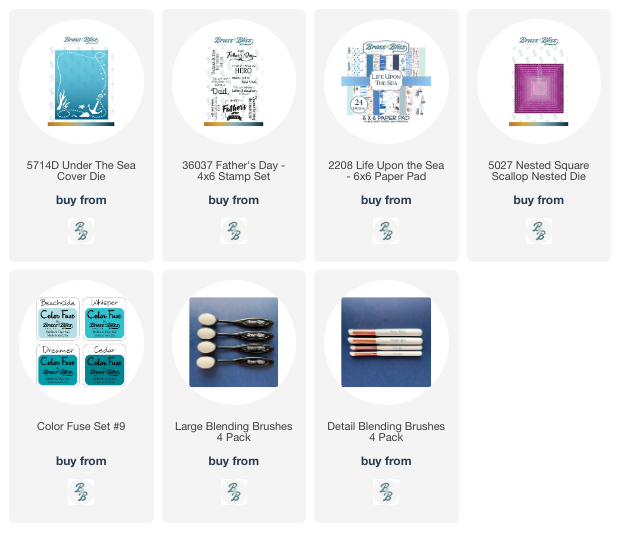
I've used a few products from the latest Brass & Bliss Tropical Dreams release.  The beautiful Under The Sea cover plate die makes an instant background for my ombre inked panel!

I continued the ombre theme by stamp the sentiment from the Father's Day stamp set with the same Color Fuse inks.

After die cutting the sentiment with a Square Scallop die, I adhered it with foam tape.

I love the Life Upon The Sea paper pad with all of its ocean themed papers.  I chose one piece of paper and hand cut a few images to use as my embellishments!

Check out these products and more from the Tropical Dreams release here!  Thank you so much for stopping by!

Thank you for using my affiliate links to shop (never any additional cost to you)!

Sunday, May 26, 2024

Easy Stenciled Father's Day Card With a Nautical Theme

Happy Sunday friends!  Today I'm over on the Brass & Bliss blog to share all of the details of this Father's Day card where I used scrap paper masks to create a more unique stenciled look!

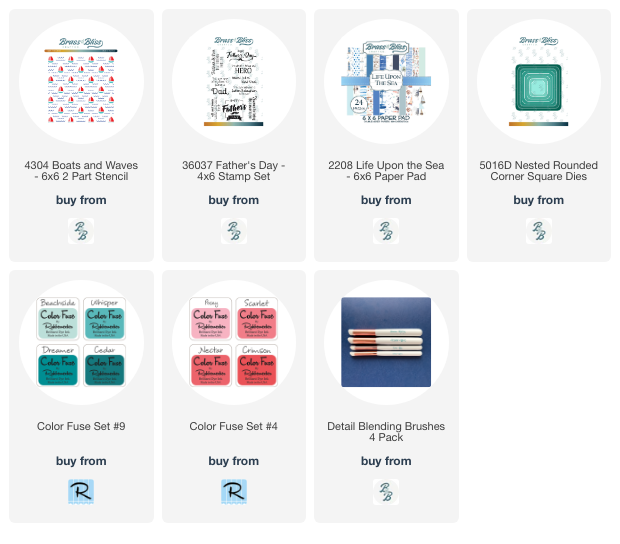
The new Boats and Waves stencil is part of their new Tropical Dreams release.  I colored through the stencil with the small Detail Blending Brushes and Color Fuse inks.

I stenciled a few extra sailboats and cut them out with my scissors to use as embellishments.

The sentiment is from the Father's Day stamp set.  This set has several sentiments to choose from to personalize your Father's Day cards!

The only die cutting is done with some Nested RC Square dies for the sentiment and the layer.

I hope you'll join me over on the Brass & Bliss blog for all of the details and photos of my stenciling process.  Thank you so much for stopping by!  Have a wonderful day!

Thank you for using my affiliate links to shop (never any additional cost to you)!