Showing posts with label Kittie Says Friends. Show all posts

Sunday, September 22, 2024

Autumn Grateful For Your Friendship Card

Happy Sunday!!  I'm over on the Brass & Bliss blog today to share all of the details to make this card featuring the new and so beautiful Fall Mushroom Bouquet Die Set and the Nested Woodgrain Sign Die.

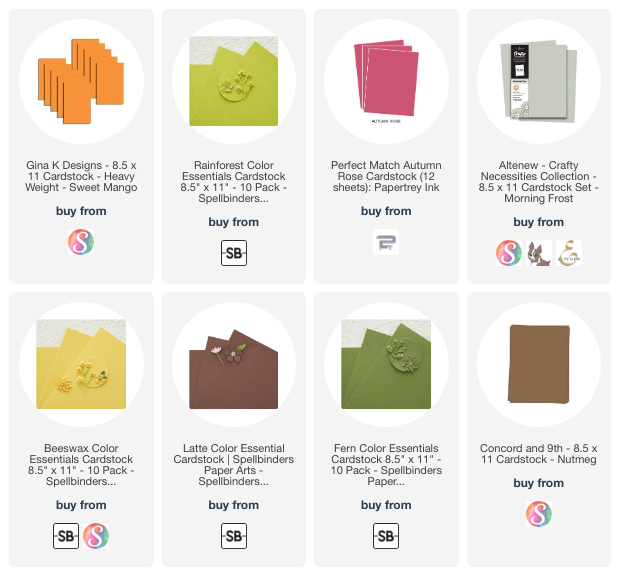
I used several different colored cardstock scraps (most in the links below) to die cut the elements in the Fall Mushroom Bouquet Die set.

I really like the new Nested Woodgrain Sign Die and can think of many different ways to use it!  I added some brown ink to shade the brown cardstock after I die cut the sign.

I heat embossed the sentiment from the Kittie Says Friends stamp set in gold for some pretty shine!

Thanks for stopping by and if you'd like all of the details, please stop by the blog at Brass & Bliss!

Thanks so much for using my affiliate links to shop (never any additional cost to you)!

Tuesday, October 25, 2022

Floral Friendship Card with New Patterned Paper!

Hi crafty friends!  How can October be almost over?!!  You know that means Christmas cards are next, but I'm still loving making autumn themed cards!  My card today features Rubbernecker Stamps beautiful Warm Sunset stamp set along with the gorgeous paper from the Autumn Leaves paper pad.

First I made the card base by running the Diamond Pierced Cover Die and some A2 80# Neenah through my die cutting machine.  Then I trimmed the panel into two strips measuring: 5-½" x 1" and 5-½" x 1-¾".

Next I trimmed a gold piece of paper from the Autumn Leaves paper pad into two narrow strips.  Then I adhered these to the die cut panels.  I added foam tape to the back, but don't adhere these yet!!

I trimmed the pretty patterned paper into a strip that is 5-½" x 2" and placed it on an A2 card base, using the die cut white strips for a guide to know where to adhere the patterned paper.  Then I removed the backing from the foam tape and adhered the white panels to my card.

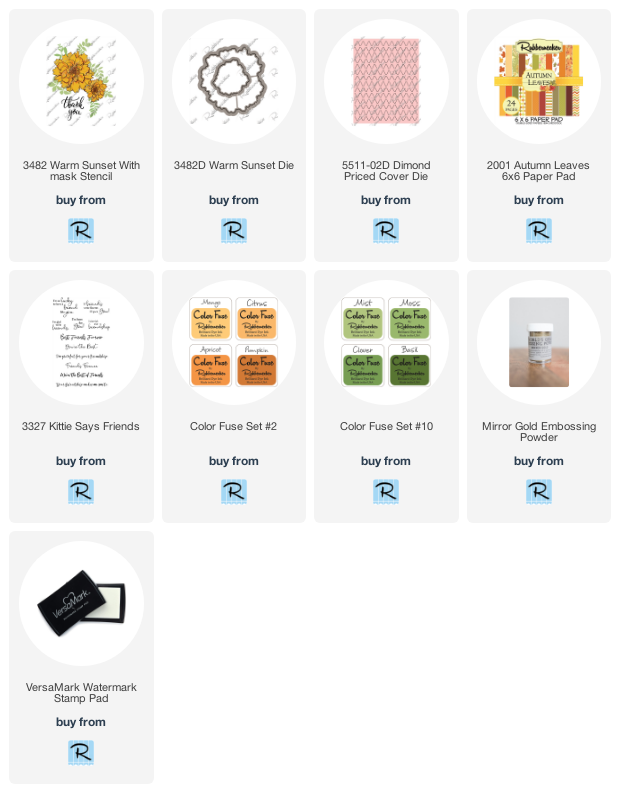
I stamped the flowers and leaves from the Warm Sunset stamp set with black ink.  Next I stamped the flowers and leaves with the following Color Fuse inks:  Apricot and Citrus (set #2) and Clover and Basil (#10).  I used the coordinating die to cut out the flowers, and I fussy cut the leaves.  I adhered these with glue and with a few foam squares on the part over the recessed area.

To finish up, I stamped the sentiment from the Kitty Says Friends stamp set in Versafine Onyx Black and trimmed it into a strip before popping it up with foam tape.  I added a few coordinating gem stickers for a bit of sparkle.

I always appreciate you very much for stopping by to check out my cards!  Thank you!  I hope you are having a wonderful, and crafty, week!

These are the Rubbernecker products I used for my card:
Tuesday, September 15, 2020

Copic Coloring Woodland Animals #3 | Rubbnecker Stamps

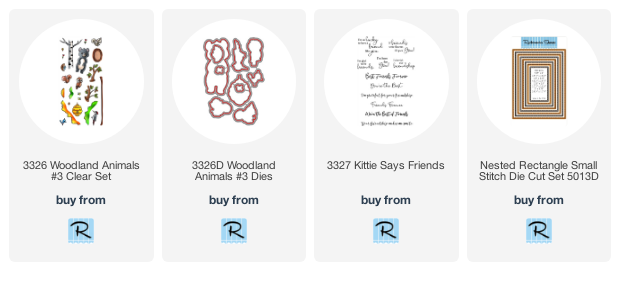
Hello friends!  Today I have a sweet card using Rubbernecker Stamps new, and so adorable, Woodland Animals #3 stamps and coordinating dies. The stamp set has stamps that let you build your tree and shrubs in just about any shape you'd like!


Here are the steps for my card:
  • I used Copic safe ink for all of my stamping.
  • Stamp one of the branches first.  Then ink up just the top half of this branch and stamp it again to extend the branch.  I used a black Micron pen to draw links to join the pieces.
  • Stamp the bottom of the same trunk onto masking paper.  Fussy cut it out and adhere it to the stamped image.
  • Stamp the tree trunk.  There's only one stamp for the trunk so I just flipped it around to stamp the other side.
  • Mask off the bottom of the tree trunk and stamp the shrubs.  There are four different tree/shrub stamps that you can use however you like.
  • Next I stamped the the shape for the tree.  All of the black lines you see in the tree top are stamped images.  How fun is that?!!
  • Stamp a few of the flowers at the bottom.
  • I colored the tree, shrubs and flowers next.  I used spots of color to create my textured look.  Just start dabbing your darkest shade wherever you want the shadows.  Use lighter shades as you get to the outside edges.  I've listed all of my Copic marker colors below for your reference.
  • When the blue sky is dry, stamp the sentiment from the awesome new Kittie Says Friends set in Versafine Onyx Black ink.
  • Die cut the panel with the next to largest Nested Rectangle Small Stitch die.
  • For a little extra detail, I embossed the largest Nested Rectangle die onto my A2 card base front.  Just use the embossing sandwich for your machine.
  • Add foam tape to the Copic colored panel and adhere to the card base.
  • Stamp the bear, owl, and bees on a separate piece of white card stock and color with Copics.
  • Die cut them out with the coordinating dies.  (I LOVE having dies to cut out these cuties!)
  • Add some foam squares to the pieces and pop them up on the card front.

This scene was SO fun to create!  The Woodland Animal Sets are so adorable and fun to use.  I'll definitely be using these a lot!  Thank you very much for stopping by!

Copic markers:
tree and bushes: YG67, YG17, YG25, YG23, YG01, E97, YR27
owl: W7, W5, W3, W1
tree trunk: E18, E17, E15
bear: E27, E25, E23, E13, E11