Showing posts with label Rubbernecker Stamps. Show all posts

Saturday, December 30, 2023

Three Fun Gift Tags To Make!

Happy New Year's Eve Eve crafty friends!  Today I'm sharing a few gift tags I made with Rubbernecker's Holiday Tags Dies.  Two are Christmas gift tags that I'll save for next year (yay!) and another is a gift tag that is perfect for that New Year's Eve favorite bubbly beverage!

I think y'all will understand how super busy things have been, so I'm keeping this post short and sweet!  Please go over to my post on Rubbernecker's Blog for all of the fun details to make these tags.

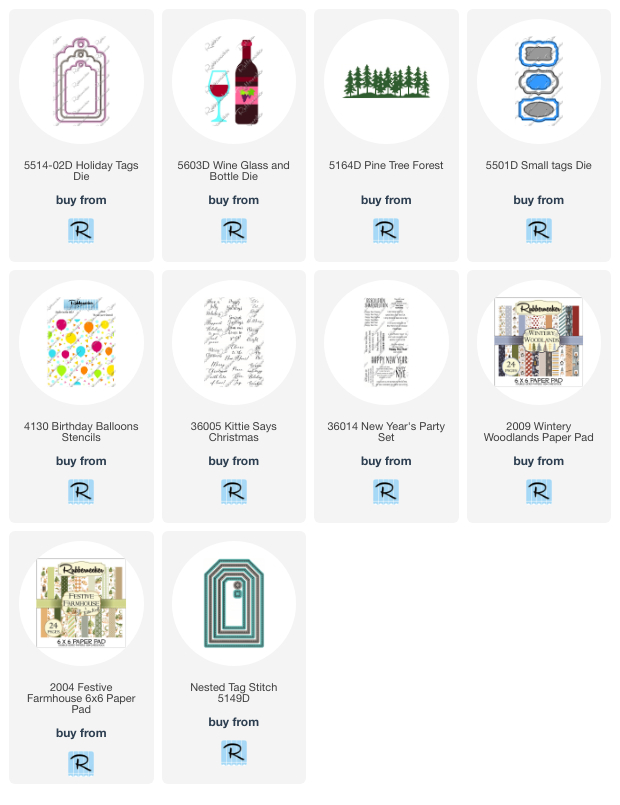
I made this NYE tag from black cardstock that I first added chunky glitter glaze through the Birthday Balloons stencil.  After it dried I cut out the tags with the largest Holiday Tags die.  The white tag behind is to write my message to the recipient.

I finished up the tag details with the Wine Glass and Bottle dies, Small Tags dies, and the New Year's Party stamp set.

I used ribbons from my stash to tie it to the bottle.  I love how this turned out!

These next two gift tags are made from patterned papers (linked below), the Pine Tree Forest die, and the Kittie Says Sentiment stamps.

To finish up, I'd like to thank each and every one of you that have stopped by my blog this year.  It really does mean a lot to me, and especially when you leave me a comment!  I wish all the very best for you, and yours, as 2023 closes.

May 2024 be all that you hope for!  Stay crafty, and I'll "see" you next year!

Thank you for shopping with my affiliate links (never any additional cost to you)!

Tuesday, December 12, 2023

Three Quick and Easy Last-Minute Holiday Cards

Hello crafty friends!  Today I am sharing three cards I made using the Rubbernecker Stamps' Pine Bough Background stamp!

If you would like to see the detailed instructions for making these cards, please head over to my post on the Rubbernecker blog!  I also have the Copic marker colors over there too.

I stamped two of the Pine Bough backgrounds with Color Fuse Basil ink and the other is gold heat embossed!  This first card was the quickest to make.  It's simple to make, but still quite beautiful! 


This next card took just a bit more time, but only because of the heat embossing.


My third card includes some simple coloring with a few Copic markers.  By keeping the shading to a minimum, it doesn't take too long at all!


I hope you've been inspired by my quick cards, and that you'll hop over to the Rubbernecker blog and say "Hi"!  Have a wonderful day!

Thank you so much for using my affiliate links to shop (never any additional cost to you)!


Thursday, November 30, 2023

Quick, Easy, and Beautiful Winter Wreath Card for the Holidays

Happy end of November my friends!  Can you believe it?  This year has flown, and so has my brain because I meant to have this post ready on Tuesday!  LOL!

If you need a quick and easy card to get ready to mail for the holidays, this one featuring Rubbernecker Stamps Winter Wreath is one to make!  It's really beautiful and has coordinating coloring stencils too!

Since I need to get caught up on everything, I'm sending you over to my blog post on Rubbernecker's blog for all of the easy directions to make this card.

If you would like to check out the products I used, the links are below.

If you stop over at my post on Rubbernecker's blog, I hope you'll say hi!  Have a fabulous day!

Thank you for shopping with my affiliate links (never any additional cost to you)!
Tuesday, November 14, 2023

Quick and Easy Holiday Card For Your Stash!

 Hello friends!  Today I'm sharing my card featuring Rubbernecker Stamps' beautiful Bells and Garland Set and the coordinating coloring stencils!

I decided to go with a more clean and simple design for this card.  I used ink blending brushes with a few Color Fuse inks (linked below) to add the colors through each Bells and Garland stencil layer.  I used Lost Shadow Distress Ink for the bell.

When I was finished coloring, I placed the panel into my MISTI.  Then I positioned the Bells and Garland stamp over the stenciled image.  Next I stamped it with some black pigment ink for a nice crisp image!  (NOTE:  If you are not comfortable stamping after stenciling, then for sure go ahead and stamp first.  Just be sure your black ink is dry.)

I added a pink cardstock layer I die cut with the Nested Scallop Rectangle die and a coordinating green cardstock layer (from the Welcome Spring paper pad) to an A2 card base.

I chose one of the five included sentiments from the Bells and Garland Set and stamped it onto the colored panel with black ink.  Then I added foam tape to the back to adhere it to the card.

This beautiful card would be so easy to mass produce to send to your family and friends!  I hope you've found some inspiration today!  Thank you so much for stopping by today!

Tuesday, October 24, 2023

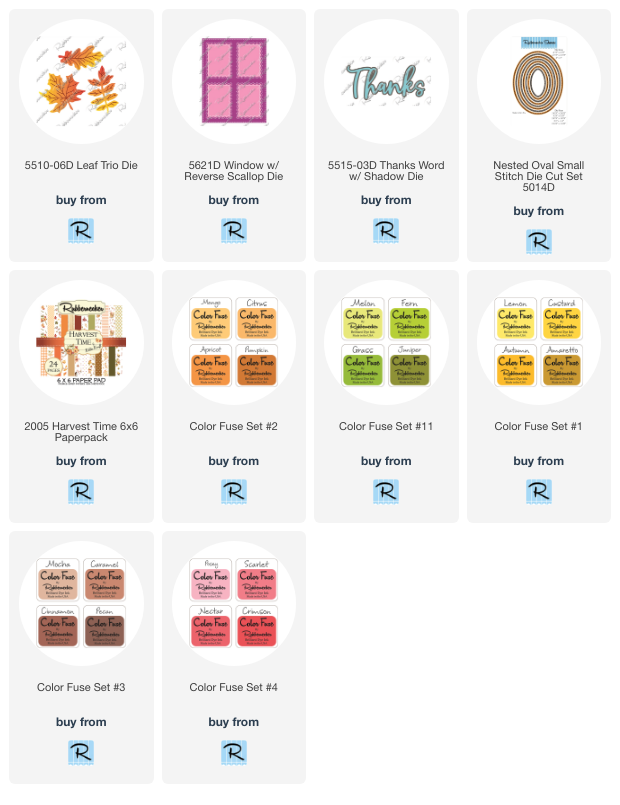
Leaf Trio Die Autumn Thank You Card

Hello crafty friends!  Today I'm sharing a gorgeous autumn Thank You card!  My collaged background features Rubbernecker Stamps beautiful Leaf Trio Die along with some other elements from their shop.

I used a large piece of Strathmore Bristol Smooth cardstock and ink blended several autumn colored dye inks in a random pattern until the piece was covered.  Then I die cut the Leaf Trio Dies from the inked cardstock several times until I had die cut the entire panel.

Then I die cut three pieces of white cardstock with the Window w/Reverse Scallop die.  I glued the layers together and set it aside to dry.

Next I trimmed a piece of striped cardstock from the Harvest Time paper pad to 3-¾" x 5".  I arranged all of the die cut leaves onto the paper and adhered them with glue.  I let some overhang the edge and trimmed off the excess to use to fill in empty spots along the edge.

I die cut and adhered three of the top layer of the Thanks Word w/Shadow die.  The shadow is orange cardstock from the Harvest Time paper pad.  I used the same orange cardstock as a base layer for the collage piece.

I arranged five of the remaining leaves around the sentiment adding a double bow made with twine.

I always like a bit of sparkle so I added some pretty coordinating gem stickers near the sentiment.

Thank you so much for stopping by!  I hope you have a wonderful day!


 Thank you so much for using my affiliate links to shop (never any additional cost to you)!

Thursday, October 12, 2023

I Love Fall Gnome Matter What

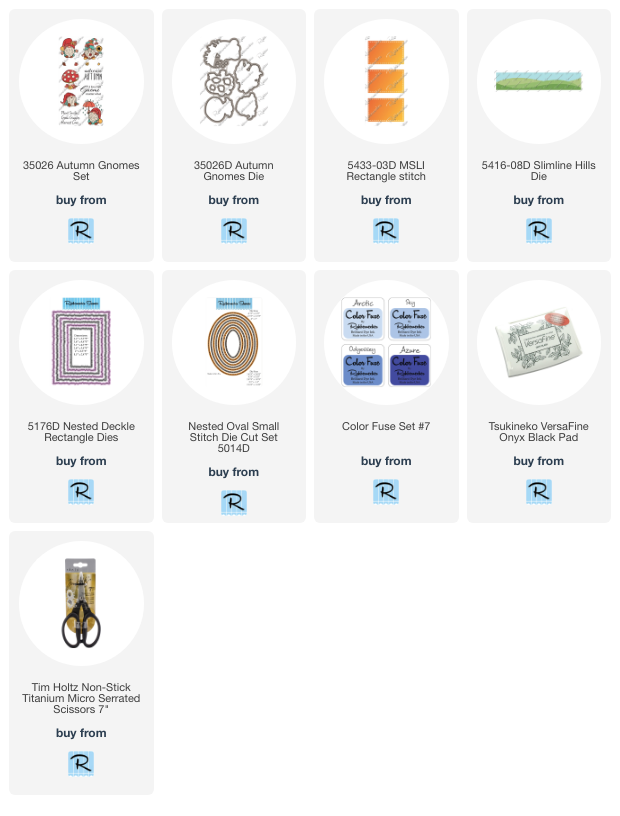
 Hello crafty friends!  Today I'm sharing my autumn card featuring Rubbernecker Stamps' adorable Autumn Gnomes Set!

I stamped the cute images from the Autumn Gnomes Set, which includes the mushroom and little leaves, with black Copic safe ink.  After I colored them with my Copics, I cut them out with the coordinating dies.

The card base is created from patterned paper from the new Festival of Colors paper pad (releasing this week) that I die cut with a Nested Deckle Rectangle die.  I die cut two Nested Oval Small Stitch dies from orange and white cardstock.  After I brushed on some light blue ink for the sky, I die cut some green cardstock with the oval and then with a Slimline Hills Die.  I adhered it to the oval with glue.

I used glue and foam dots to adhere the Autumn Gnomes images to create my scene.  I added thin foam tape to the back to adhere it to the orange oval.  Then I glued it to the card base.

The sentiment I chose is one of several included in the Autumn Gnomes Set.  I found that the window of the MSU Rectangle Stitch die fit the sentiment perfectly and die cut it out!

Be sure to click the link below for the Autumn Gnomes Set to check out the other adorable gnomes!  Thank you so much for stopping by!

Thanks so very much for using my affiliate links to shop (never any additional cost to you)!

Thursday, September 28, 2023

Happy Halloween Owl and a Nighttime Background Scene

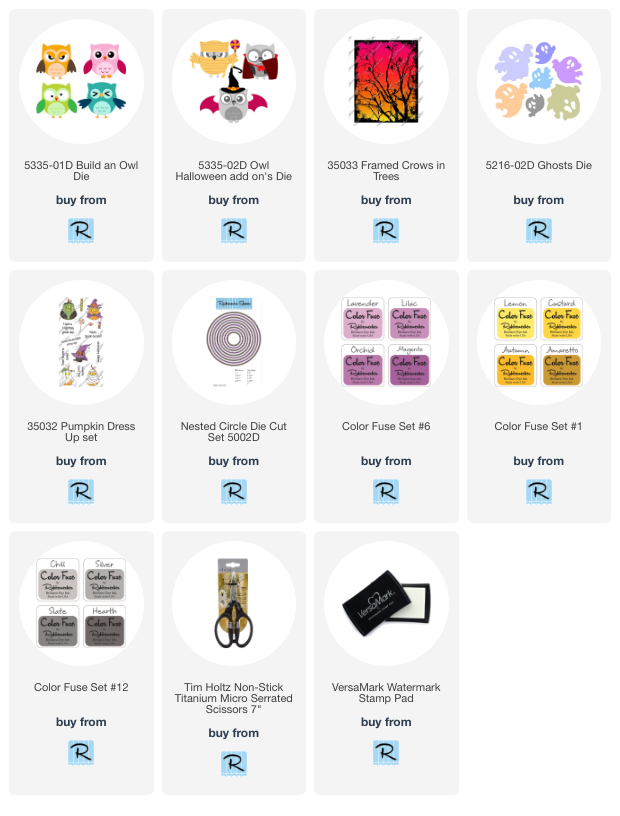
 Hello friends!  Today I'm sharing this cute, not spooky, Halloween card that features Rubbernecker Stamps so cute Build An Owl and with Halloween Add-on die set!

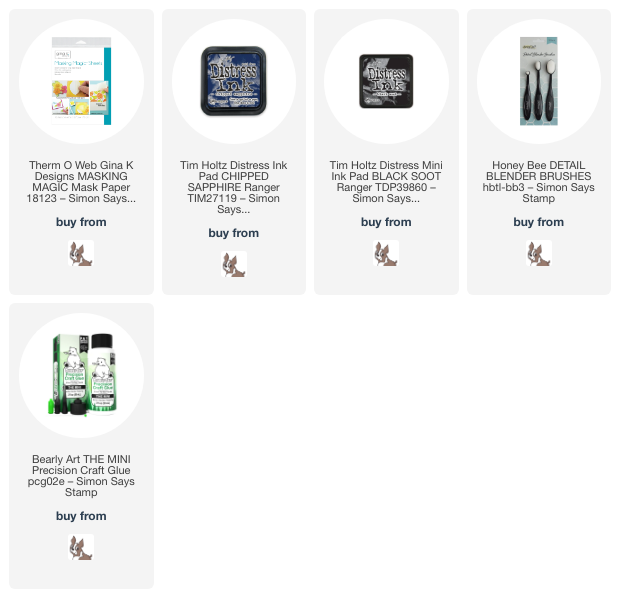
I created this night sky background by stamping the Framed Crows in Trees background stamp with black pigment ink, then heat embossing it with black embossing powder.  I used a circle die to cut out a circle from masking paper.  I placed the mask in the upper right corner and used ink blending brushes to color the sky.  I used Chipped Sapphire and Black Soot Distress inks.

I die cut the Build An Owl and Halloween Add-on pieces from white cardstock and used Rubbernecker's Color Fuse inks from Set #1 and #6 to color the owl pieces.  I assembled this cute owl with glue and added foam to to the back to adhere it to the card.  The little ghost is from the Ghosts die set and the sentiment is from the Pumpkin Dress Up stamp set.

I love how the night sky turned out and think it created a fabulous background for the cute owl!  Thanks so much for stopping by today!

Thank you so much for using my affiliate links to shop (never any additional cost to you)!

Tuesday, September 12, 2023

Hooray For Fall!

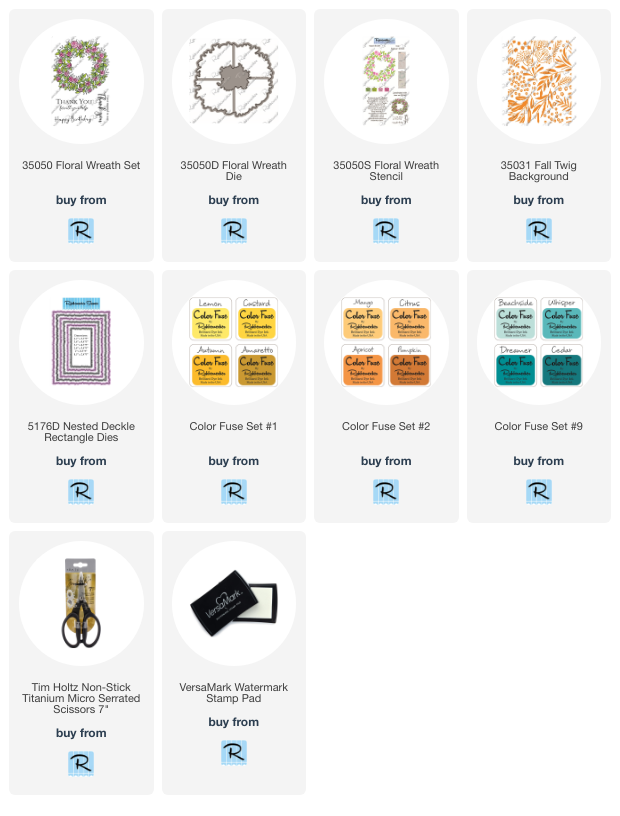
 Hello crafty friends!  Today my card features Rubbernecker Stamps Floral Wreath stamps, die, and layering stencils with an autumn look!  I created a spring themed card with the same sets--check it out on this blog post.

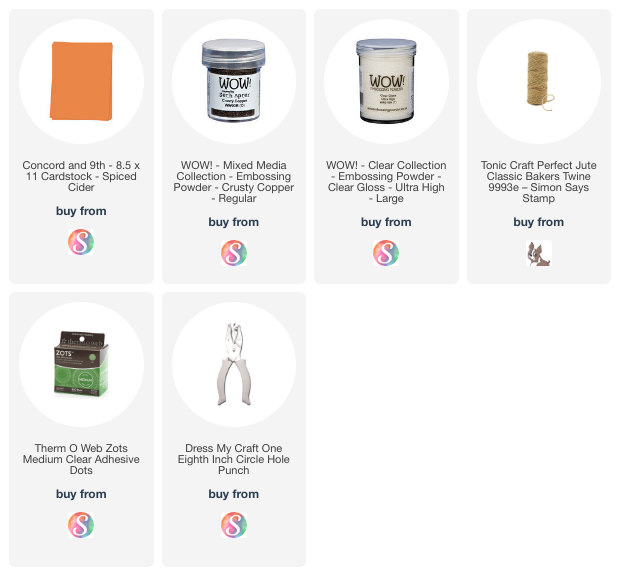
My card base is A2 sized and I topped that with a Nested Deckle Rectangle die cut from white cardstock.  I tapped a Versamark ink pad around the edges and added copper embossing powder and heat set it.  This makes a nice coordinating layer!

For the next layer I stamped the Fall Twig Background stamp with Versamark onto an orange piece of cardstock.  I added clear embossing powder and heat set it.  I trimmed it to 3-¾" x 5" and adhered it to the card.

The Floral Wreath is stamped with Versamark with copper embossing powder heat set onto it.  I used the coordinating Floral Wreath stencils and ink blending brushes to add some Color Fuse inks.  I used these colors:  Autumn, Amaretto (#1); Apricot, Pumpkin (#2); Grass, Juniper (#11).  I cut the wreath out with the coordinating die.

The sentiment from the Autumn Harvest set is also heat embossed with gold embossing powder.  I made it look like a sign hanging in the wreath with jute twine knotted through two holes I punched on the corners of the sentiment.  I tied a double bow from the twine for the top.  I used a small glue dot to adhere it.

I'm so happy that our temps here have begun to trend down and that fall is almost here!!  Thank you for stopping by.  Have a wonderful and crafty day!

Thank you so much for using my affiliate links to shop (never any additional cost to you)!

Tuesday, August 22, 2023

Pink Poinsettia Christmas Card

Today I'm sharing my Christmas card featuring Rubbernecker Stamps' gorgeous Poinsettia #2 die set.  I went with pink, silver and all of the splatters and sparkles today!

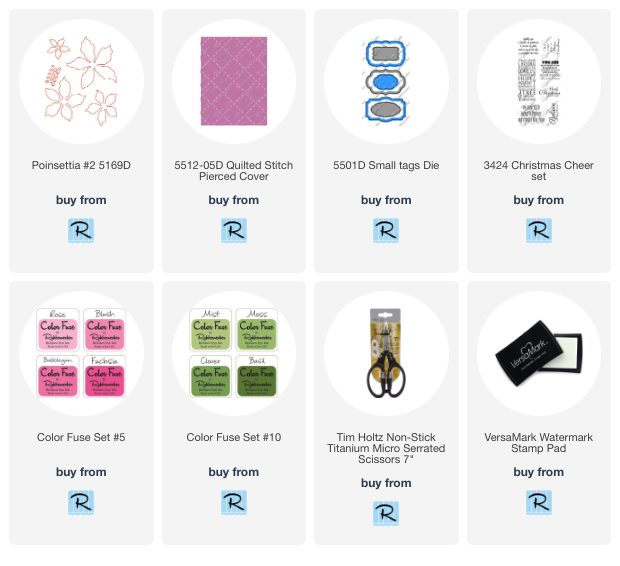
I created the poinsettias by die cutting watercolor paper with the Poinsettia #2 die (this is a one-piece die) three times.  I used scraps to die cut three more of the largest poinsettia layer.

Then I used ink blending brushes to color the petals with pink Color Fuse inks and green for the three largest layers.  The inks I used are linked below.

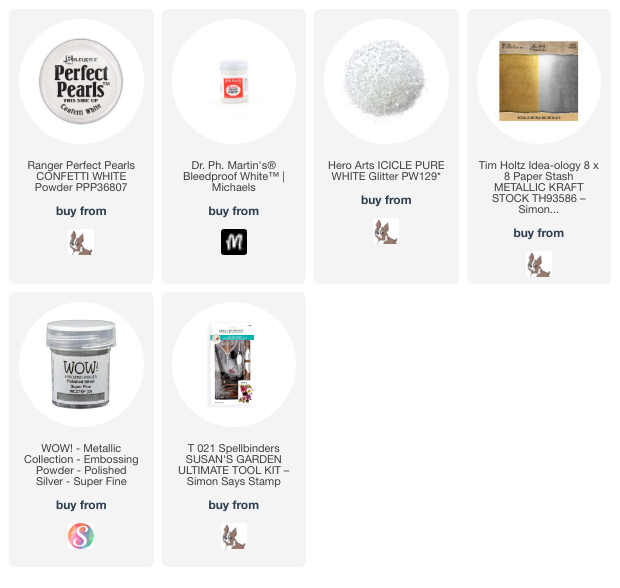
Before using my flower shaping tools to shape the petals, I added drops of white paint and Confetti White Perfect Pearls.  After the droplets dried I shaped the flowers with a few different sized styluses.


I used glue to adhere the poinsettia layers together by placing a drop or two of glue into the center of each layer.  While those dried, I die cut the poinsettia centers from mat silver cardstock and adhered three to the center of each poinsettia.

For even more sparkle, I used glue with a fine tip and added glue near the tips of each petal. I worked on just several at a time, sprinkling on chunky glitter, then adding glue to several more, glittering, and continuing until all petals had glitter.

I created a card base by layering silver metallic cardstock on an A2 card.  I die cut 80# Neenah with the Quilted Stitch Cover die and trimmed it to 4" x 5-¼" and glued it to the card.

Next I stamped the sentiment from the Christmas Cheer set with Versamark ink and sprinkled on silver embossing powder.  After I heat set the embossing powder, I die cut the sentiment with a Small Tags die.  I added foam tape on the back to pop it up.

This may look like a super complicated card to make with these dimension poinsettias, but trust me, it's not!  I love creating these gorgeous shaped flowers for a card.  I hope you are inspired by my card, and as always, so appreciate you stopping by!

Thank you for choosing to use my affiliate links (never any additional cost to you)!