Showing posts with label thank you card. Show all posts

Saturday, April 26, 2025

You Are My Favorite! Simon Says Stamp Day 2 Blog Hop

Happy Saturday, and happy blog hop day!  I'm so happy to be joining in Simon Says Stamp's Day 2 Blog Hop to celebrate the "You Are My Favorite" release!

As all of Simon's new releases are, this one is filled with a huge variety of new products for every style and taste!  Simon is offering the exclusive Sunny Fern emboss and cut folder as a FREE gift w/purchase! It will be added to your cart automatically with a $30 or more purchase of You Are My Favorite release products  Be sure to check it out!  This gift with purchase will expire 4/27 at 11:59 pm EDT or while supplies last.

My card features the new With Thanks stamp set that is full of sentiments for all of your thank you cards!

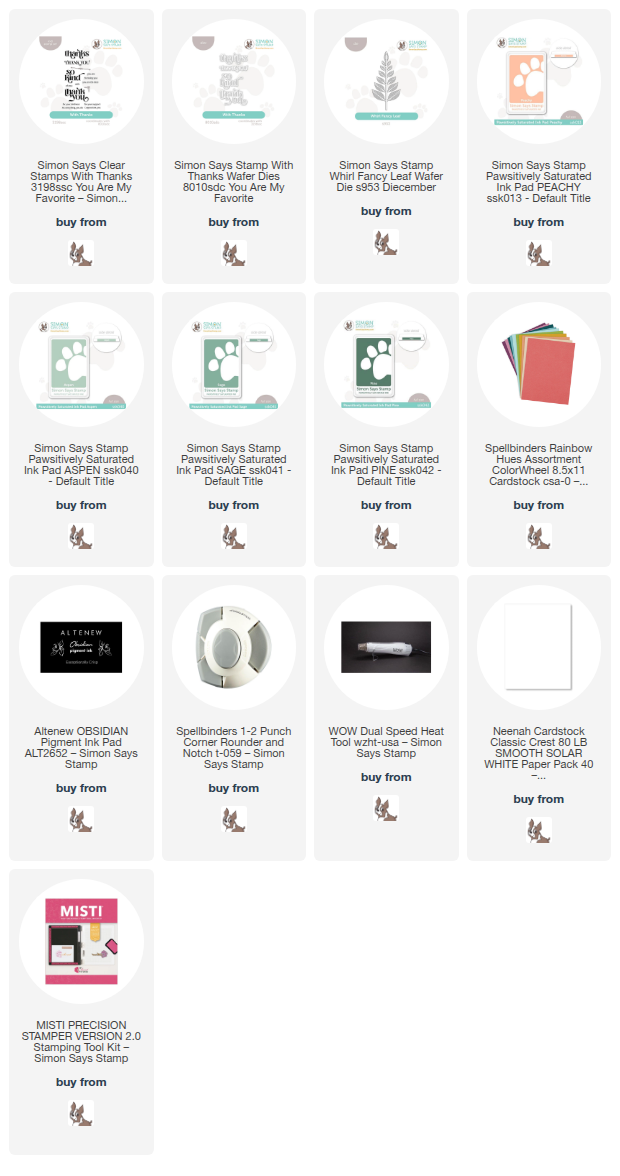
I started out with a piece of Bellini colored cardstock.  Then, using my MISTI, I arranged the four large sentiments from the With Thanks stamp set, beginning in the upper left corner.  I inked up the stamps with Peachy ink and stamped them onto the cardstock.  (All supplies are linked in the list below.)

Next I cleaned off the stamps, pulled them off of the MISTI door, and arranged the sentiments again, grouping them close to the ones that were already stamped.  I stamped them again, then repeated these steps until the card panel was filled with the sentiments.

I trimmed the stamped piece to 4" x 5-¼" and glued it to my A2 card base.

There are several smaller sentiments to go with the larger ones in the With Thanks set.  I chose two to go with the So Kind sentiment.  I stamped each sentiment in black pigment ink onto 80# Neenah.  I trimmed the piece and rounded the right two corners with a corner rounder.  Note: There is a coordinating With Thanks die set available.

To add a bit more interest to the card, I die cut the Whirl Fancy Leaf die three times from white cardstock.  I colored the leaves by ink smooshing them into Aspen, Sage, and Pine inks.  To do this just press each ink pad onto your craft mat, spritz the inks with a bit of water, and dip the die cuts into the ink.  Use your heat tool to dry the inks before repeating until you have the look you like.

I adhered the Whirl Fancy Leafs by adding glue to the back of each near the bottom.  I added small foam squares to a few leaves at the top of each one for dimension.

I used more foam tape to adhere the sentiment over the leaves.

Thanks for stopping by, and happy hopping!!

Simon is giving away a $25 coupon to every stop on the blog hop comment section. The winners will be chosen and posted on the Simon Says Stamp blog on Wednesday the 30th of April. The winners will email Simon to claim his/her prize.  

Don't forget to leave a comment here and each stop for your chance to win!!

HOP ORDER: 

Simon Says Stamp Blog  (Be sure to check out Day 1 of the blog hops!)
Nina-Marie Trapani
Suzy Plantamura
Laura Bassen
Cathy Zielske
Nichol Spohr
Amy Rysavy
Debby Hughes
Heather Ruwe
Bibi Cameron
Sandi MacIver
Alberto Gava
Caryn Davies
Kath Stewart
Revati Panickar

Carol Hintermeier  <---that's me

Thank you for using my affiliate links to shop (never any additional cost to you)!
Thursday, April 10, 2025

Altenew April Release Blog Hop + Huge Giveaway ($300 in total prizes!)

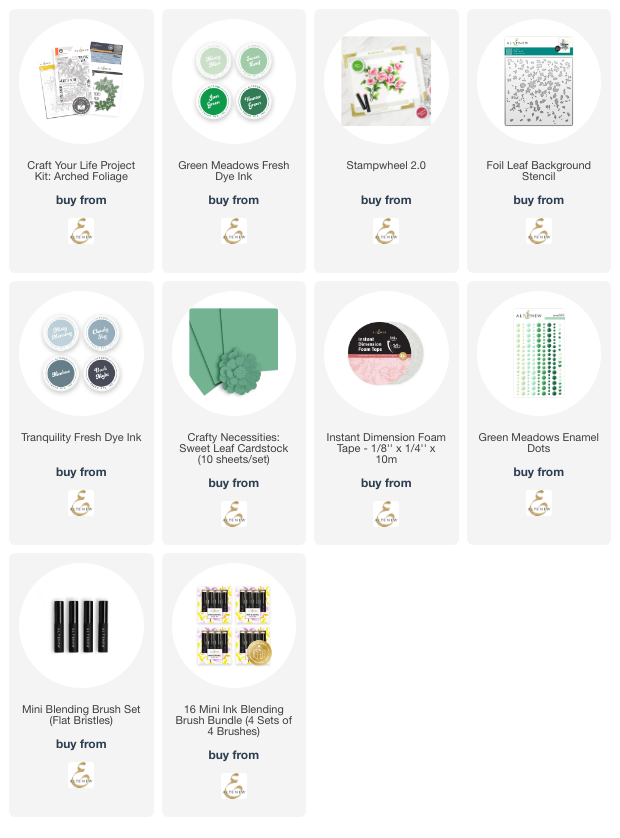
Hello friends!  I'm thrilled to be joining in the blog hop to celebrate Altenew's amazing April 2025 release!  My card features the Arched Foliage Craft Your Life Project Kit.  Read on to see how I got two cards from one stamp!

This hop is filled with lots of awesome inspiration for the Altenew April release.  The link for each stop on the hop is below.  If you would like to start at the beginning, please head over to the Altenew Card Blog.

 ----------------------------------------------------------------------------

The Craft Your Life Project Kit subscriptions are my most favorite among all of the subscriptions that Altenew offers.  I love that the kit includes a stamp set with coordinating dies, a simple coloring stencil, and a 3D embossing folder!  All of my favorite things in one kit!

This months Arched Foliage Craft Your Life Project Kit includes a large, beautiful arched foliage stamp that I cut into two pieces to make two cards!  This stamp would also be gorgeous on scrapbook layouts! 

As I do most of the time, I used the Arched Foliage Simple Coloring Stencils to color the image before I stamped it.  I like to do this so I eliminate any chance of smearing the black ink.  It's actually very easy!

This is when the awesome Stampwheel 2.0 came in handy with its larger size.  I removed the side piece and had plenty of room to use the stencils with my Mini Blending Brushes and the inks from the Green Meadows Fresh Dye Ink set.

I have to say that I seriously debated on whether or not to stamp over the stenciling.  Just look at how beautiful it is without the stamping!

As you can see, I finally decided to go ahead and stamp the Arched Foliage.  I laid the stamp over the stenciled image, making sure it was lined up top-to-bottom and side-to-side.  Pick up the stamp with the Flip Plate.  PRO TIP:  Place the packaging acetate over the stenciled image, ink up the stamp, and stamp onto the acetate.  This is a great way to make sure your stamp is lined up with the stenciled image!  If it's lined up, then remove the acetate and stamp directly onto the stenciled panel.

The Arched Foliage is just as beautiful with the stamp!


I planned on where to cut the Arched Foliage into two pieces and used my paper trimmer to cut it apart.

The Foil Leaf stencil was inked with Misty Morning Fresh dye ink, trimmed and then matted with a piece of Sweet Leaf Crafty Necessities Cardstock for the background.

The sentiments on both cards are a few of many that are included with the Arched Foliage stamp set.  The dies for the large main sentiments are included in the Arched Foliage Die Set.

My second card features the beautiful Arched Foliage 3D Embossing Folder for the background.  To add even more depth to the embossed piece I used a brayer to ink on Lost Shadow Distress Ink onto the more smooth side of the embossing folder.  Then I added my paper to the folder and ran it through my die cutting machine.

All of the card elements are adhered with Instant Dimension Foam Tape.  I added a bit of bling to each card with some enamel dots from the Green Meadows Enamel Dots set.

Thank you for stopping by my blog--you are so appreciated!!  Be sure to leave a comment here and at each stop along the way for your chance to win an awesome prize!


    • Check out lots more beautiful April Release inspiration by clicking each link:

You are invited to the Inlinkz link party!

Click here to enter
Thank you so much for using my affiliate links to shop the products I've used today (never any additional cost to you)!

Wednesday, January 8, 2025

Thank You Card with Winter Florals

Hello crafty friends!! Is it cold where you are at?  It's even cold here in north Texas and it might even snow here tomorrow!  Today my card features Honey Bee Stamps beautiful Lovely Layers: Mini Holiday Florals die set. The colors in my card today were inspired by the cold and my love for flowers. As you can see, these beauties are not just for holiday cards!

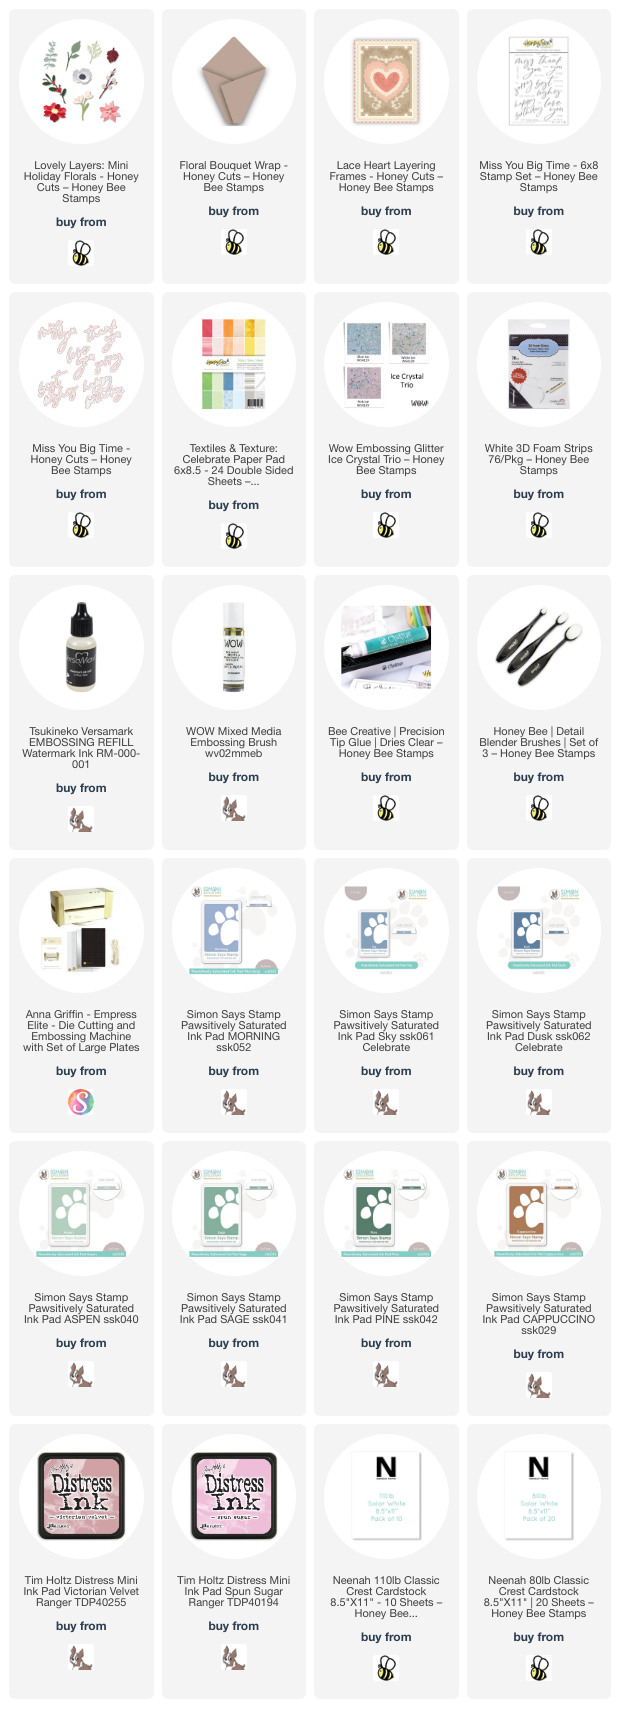
I die cut all of the Lovely Layers: Mini Holiday Florals from white cardstock. I used all of the florals except the poinsettia and the berries that go on the branch. I wanted a winter feel to this card, but with a little pop of bright color, so I went with cool blues, pinks, greens, and yellow for that pop! 

I used ink blending brushes to add shading to the die cut Holiday Florals. The pink shading is done with Victorian Velvet and Spun Sugar Distress Inks. The other colors are dye inks I have in my stash.

I wanted some sparkle on some of the die cuts and I have had these Ice Crystal Embossing Glitters for a few months now. These are so gorgeous that when I first saw them on Instagram, I ordered them right away! These give a bit of any icy feel with the large chunks of glitter that's in them. To help that chunky glitter adhere better, I put a few drops of the Versamark re-inker onto my craft mat. Then I used an old paintbrush to paint it onto the pieces before sprinkling on the embossing powder. I used my heat tool to set the embossing powder.

I die cut the wrap with the Floral Bouquet Wrap die from Neenah Desert Storm cardstock. After I scored it along the score links, I used glue to hold it closed.

Next I die cut a piece of paper from the Textiles & Textures: Celebrate paper pad with the largest of the Lace Heart Layering Frames dies. After I glued it to an A2 card base, I adhered the floral wrap to the card with glue.

I spent a few minutes deciding on the arrangement of the flowers and stems, then used glue and a few foam dots to adhere the pieces into the Floral Bouquet Wrap.

For the sentiment, I used one from the Miss You Big Time stamp set. I stamped it with one of the blue inks I used in the flowers for a cohesive look. Then I die cut it with the coordinating die. I die cut three more from white cardstock and glued all of the layers together. Because the floral wrap is not totally flat, I added pieces of foam strips to the parts of the sentiments that were off the edges of the wrap. Then I added glue to the rest of the sentiment and adhered them to the card.

My goodness I had so much fun creating this card! There is something about taking white die cuts and creating a bouquet of color that is so satisfying to me! Thank you so much for stopping by today. You are so appreciated!!

Thank you so much for using my affiliate links to shop (never any additional cost to you)!

Sunday, December 1, 2024

Simon Says Stamp DieCember® Release & Card Featuring The Whirl Fancy Leaf Die

Happy December, and happy Simon Says Stamp DieCember®!!!!  Simon's release this month is all about the dies!  I'm thrilled to be a part of Simon's Blog Party to celebrate all the wonderful new dies!  Check out the list of designers over at Simon Says Stamp Blog.

I had lots of ink smooshing fun with this beautiful new Whirl Fancy Leaf die!  See the "shadow" prints in the background?  I made those with one of the die cuts!  Read on for details.

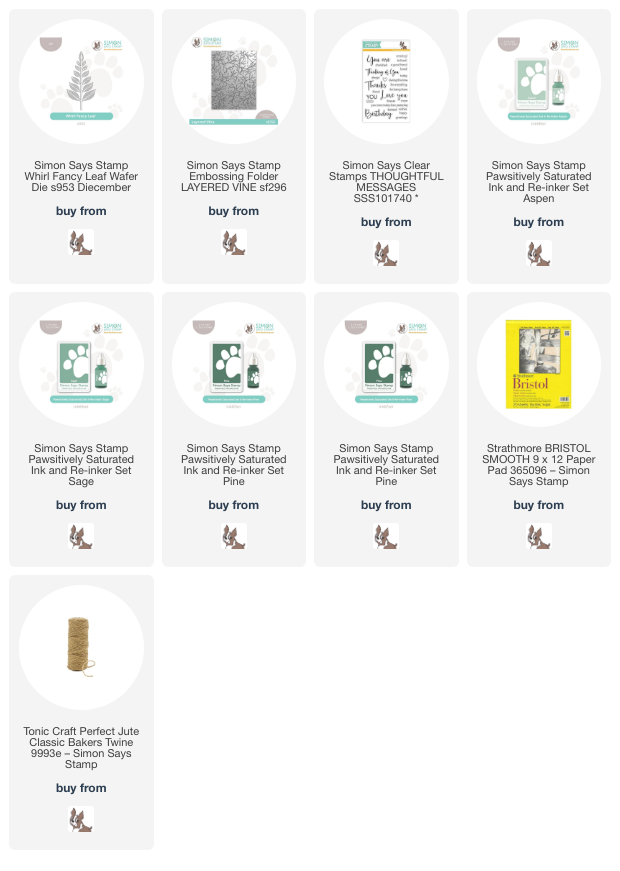
First I die cut Whirl Fancy Leaf die from Bristol Smooth cardstock five times.  I will usually die cut extra in case I need them.  I used three shades of Pawsitively Saturated Inks for my ink smooshing--Aspen, Sage, and Pine.  I smooshed each ink pad onto my silicone craft mat and added a few spritzes of water to the inks.

Then I dipped each die cut into the inks, using my heat tool between each color to dry.  I accidentally got one of the die cuts with way too much ink on it.  So I just pressed it onto a scrap piece of paper to try to remove some of the ink.  To my delight, I discovered that this is a way to "stamp" shadows of the die cut onto my background!

So I pulled out another piece of Bristol Smooth cardstock to plan and "stamp" the leaf shadows for a background.  Note:  wear disposable gloves if you are averse to having stained fingers!

When all of the pieces were dry, I ran the "stamped" background through my die cutting machine with the Layered Vine embossing folder.  I trimmed the piece to 4-¼" x 4-½" and adhered it to an A2 card base.  After I glued the embossed piece to my card, I inked up a narrow strip of white cardstock with Sage ink and then adhered it at the bottom edge of the panel.

I stamped the sentiment from the Thoughtful Messages stamp set in black ink at the bottom of the card base.

I used glue to adhere three of the Whirl Fancy Leaf die cuts to the card.  To finish it off, I added a bow of twine and a few enamel dots.

This super fun to make and I hope I've inspired you with my card!  Thanks so much for stopping by!


Sunday, November 10, 2024

Quick and Easy Stenciled Thank You Card

Hello crafty friends!  I love making quick and easy thank you cards in bright and cheerful colors!  I'm sharing all of the complete details of this card over on the Brass & Bliss blog today.

The stenciled layer uses the pretty Fall Flourish stencil set.  It includes three layering stencils that you use to create your background.

I love how in spite of the name "Fall Flourish" this set can absolutely be used for any season!  I only had to use four ink colors!  I used these colors from the Color Fuse ink line:  Dreamer, Grass, Juniper, and Pecan.

Next I've used the new Thank You Die set.  I inked up white cardstock with the teal ink and die cut the top layer of the Thank You die set.  I cut it twice more from white cardstock and glued the layers together.  I love dies that have a shadow layer as it helps the sentiment stand out from a more busy background!

This was really that easy!  If you would like to see lots of step-by-step photos and directions, join me over on the Brass & Bliss blog.  Thank you so much for stopping by!

Saturday, January 20, 2024

Fill Your Card with Fresh Picked Anemones

So say that I am wow'ed by this Fresh Picked Anemones set is an understatement!!  The card-front-filling size of these beautiful dies by Spellbinders really creates a gorgeous card.  

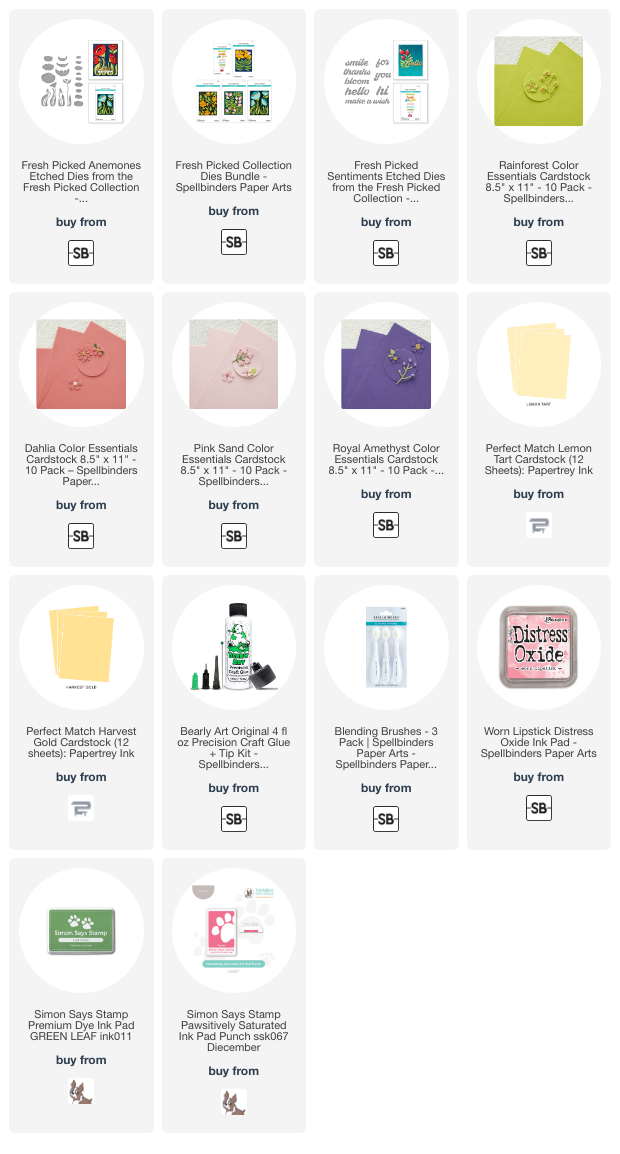
These two cards featuring the Fresh Picked Anemones have all of the same colored cardstocks.  To create two different looks I just die cut the elements out of different colors each time.  I've linked all available cardstocks and inks I used below.

After I die cut the leaves and flower pieces, I used ink blending brushes and shades of ink that were darker than the cardstock to add some depth.

For the background of both cards I used the January Embossing Folder of the Month called Branching Out.  These monthly clubs really are a good bargain, and can be cancelled at any time.

The sentiments are from the Fresh Picked Sentiments die set.  This set includes nine different words to use for a variety of card occasions!

I offset the sentiments with another die cut of a different color.  I think this helps it to stand out from the rest of the card.  I cut pieces of narrow foam tape for both sentiments to pop them up onto the card.

Honesty, I'm not sure which of these color combinations is my favorite!  Do you have a favorite?  Let me know in the comments below.

I absolutely love the oversized size of these Fresh Picked Anemones!  Be sure to check out the other sets available in the Fresh Picked Collection.  Thank you so much for stopping by!  I hope you have a wonderful weekend!

Thank you for using my affiliate links to shop (never any additional cost to you)!

Tuesday, October 24, 2023

Leaf Trio Die Autumn Thank You Card

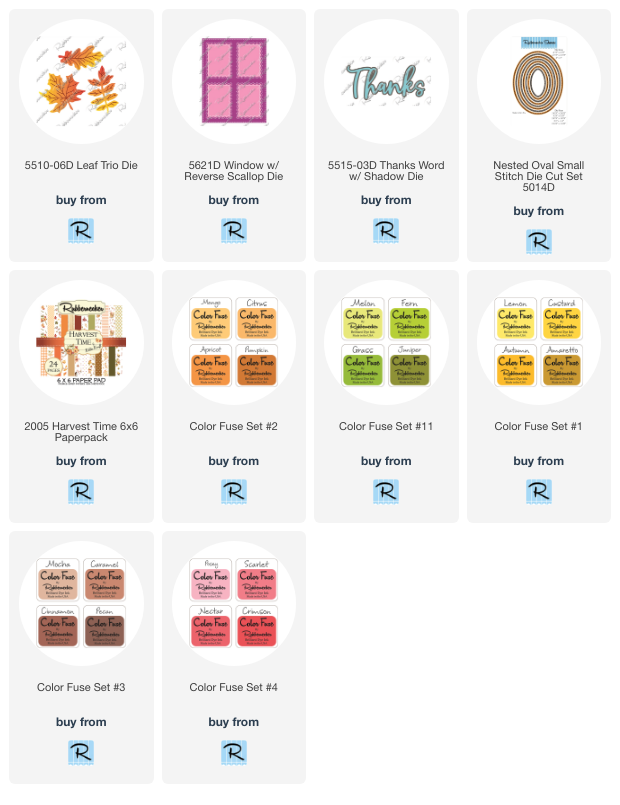
Hello crafty friends!  Today I'm sharing a gorgeous autumn Thank You card!  My collaged background features Rubbernecker Stamps beautiful Leaf Trio Die along with some other elements from their shop.

I used a large piece of Strathmore Bristol Smooth cardstock and ink blended several autumn colored dye inks in a random pattern until the piece was covered.  Then I die cut the Leaf Trio Dies from the inked cardstock several times until I had die cut the entire panel.

Then I die cut three pieces of white cardstock with the Window w/Reverse Scallop die.  I glued the layers together and set it aside to dry.

Next I trimmed a piece of striped cardstock from the Harvest Time paper pad to 3-¾" x 5".  I arranged all of the die cut leaves onto the paper and adhered them with glue.  I let some overhang the edge and trimmed off the excess to use to fill in empty spots along the edge.

I die cut and adhered three of the top layer of the Thanks Word w/Shadow die.  The shadow is orange cardstock from the Harvest Time paper pad.  I used the same orange cardstock as a base layer for the collage piece.

I arranged five of the remaining leaves around the sentiment adding a double bow made with twine.

I always like a bit of sparkle so I added some pretty coordinating gem stickers near the sentiment.

Thank you so much for stopping by!  I hope you have a wonderful day!


 Thank you so much for using my affiliate links to shop (never any additional cost to you)!

Wednesday, April 5, 2023

Thank You For All You Do - Featuring Simon Says Stamp Beautiful Days Release

It's a beautiful day for the Beautiful Days release by Simon Says Stamp!  I'm so happy to be sharing my card using one of the awesome new products in this release!  This set is called Mother's Day Dogwood and it's great for Mother's Day cards and so many more!  There are sentiments for several other occasions too!

First I created my card base and layers.  I used the Layered Vines embossing folder with 80# Neenah for the first layer of my A2 card.  Then I stamped the sentiment from the Mother's Day Dogwood set in black in and trimmed it to 4-¼" x 1-¼".  I used glue to adhere it.  I added a thin strip of black cardstock just above the sentiment for extra detail.

Next I stamped the sentiment with Copic safe ink.  I colored it with some pink, green and yellow Copic markers.  Then I added a shadow around the image with light grey markers.  After I fussy cut it out, I added thin foam tape to the back and adhered it to the card.

Be sure to head on over to Simon Says Stamp to see all of the other fabulous new products in this release! Thank you so much for stopping by!

Thank you for using my affiliate links to shop (never any additional cost to you)!

Wednesday, December 28, 2022

Thank You Card with Layered Chickadee

Hello crafty friends! I hope your holidays have been good! After all of the glitzed up cards of the holidays (which truthfully are my favorite-LOL) I'm sharing a more clean and simple thank you card featuring the Chickadee in the beautiful Lovely Layers: Winter Birds Honey Cuts by Honey Bee Stamps.

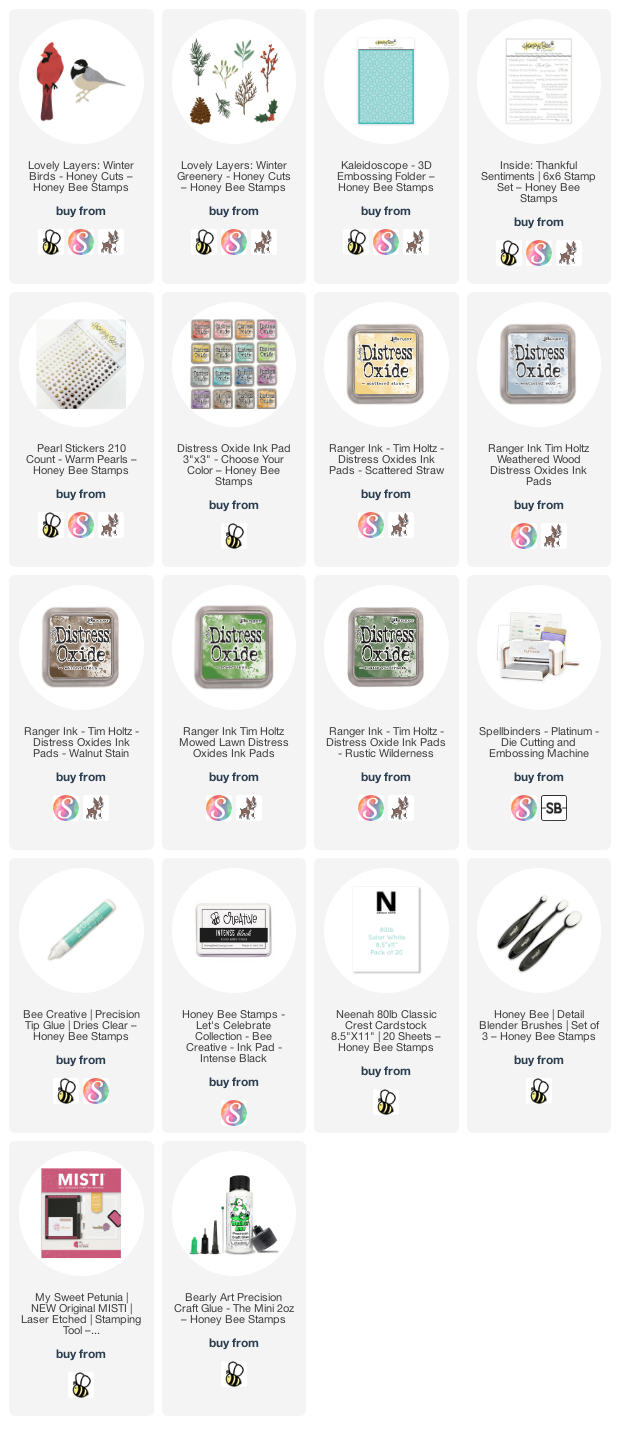
First I stamped the sentiment from the Inside: Thankful Sentiments set with black ink. The piece of 80# Neenah is A2 sized. I stamped the sentiment near the bottom in order to partially emboss it with the Kaleidoscope 3D embossing folder. You just place your card into the embossing folder with the stamped edge hanging out. Once you have it straight, then run it through your die cutting machine! I adhered it to an A2 card base with Bee Creative glue.

I die cut the branch and two leafy sprigs from the Lovely Layers: Winter Greenery from 80# Neenah.  Then I used Walnut Stain, Mowed Lawn, and Rustic Wilderness Distress Oxides to color them with detail blender brushes. I adhered the branch with glue, clipped apart the greenery and glued the pieces in place.

Next I die cut the pieces of the Chickadee from the Lovely Layers: Winter Birds. I used 80# Neenah and black cardstock. Then I quickly blended on some Weathered Wood and Scattered Straw Distress Oxide inks. Here's a photo for you to see what the individual pieces look like:

I used glue to adhere the chickadee layers and adhered it to my card with some foam squares. I added pearls from the Warm Pearls pearl sticker set to the branch for a bit of bling.

I hope I've given your some ideas for your thank you cards! I'll definitely be keeping these Winter Birds out to use year round (we have cardinals and chickadees all the time where I'm at). Thank you so much for stopping by today! See you next year!!

Tuesday, December 27, 2022

Wintery Thank You Card with Patterned Paper

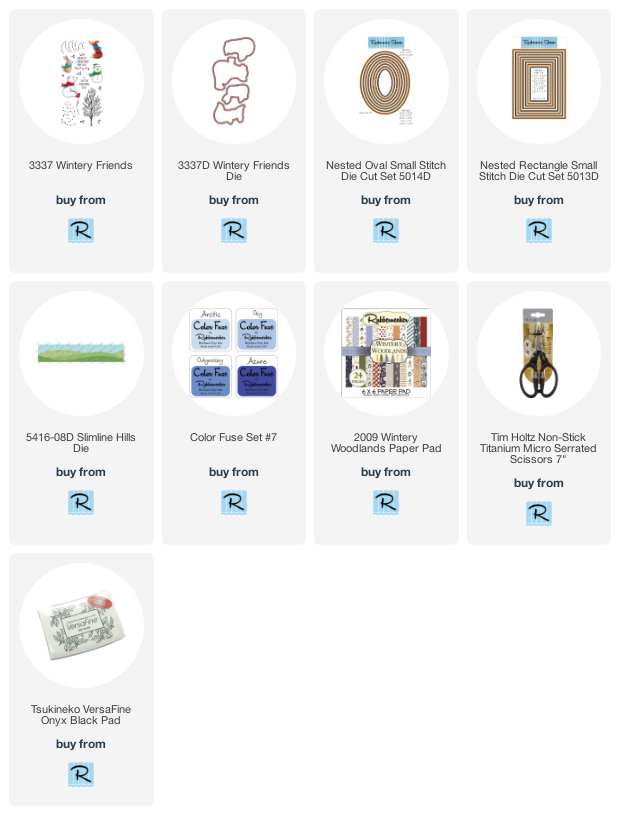
 Hello crafty friends!  I hope your Christmas was a good one and that you got some crafty goodies from your wish list!  LOL!  Today I'm sharing a winter thank you card featuring Rubbernecker Stamps beautiful Wintery Woodlands paper pad and the Wintery Friends set.

This was a super easy and quick card to make, so I'll keep it simple here!  All of the supplies I used are listed and linked at the end.

First I die cut my card layers: patterned paper from the Wintery Woodlands with a stitched rectangle die; two ovals with a stitched oval die; and one oval one size smaller than the previous two.

I inked up the smaller die cut oval with Arctic and Sky ink from the Color Fuse Set #7.

Then I took the second of the two die cut ovals and placed a Slimline Hills Die near the bottom and ran it through my die cutting machine.  This is an easy way to create a coordinating hill!  I added a bit of Snowfall Grit paste to the edge of the hill and let it dry.

Next I stamped the bear with Copic safe ink and colored him adding white details to the scarf with a white gel pen.  I took my coloring inspiration from the bears on the patterned paper!  I used the coordinating die to cut him out.

I diluted some white gouache with water and added splatters to the inked oval, the hill, and a few to the bear.  I assembled all of the layers and bear using glue and foam tape.

The sweet sentiment from the Wintery Friends set is stamped with black ink and trimmed with scissors.  I popped it up with foam tape too.

I think this little bear is just so adorable!  Thank you so much for stopping by today!  I always appreciate the fact that you take a bit of time to check out my blog posts!  Have a safe and happy New Year's Eve!

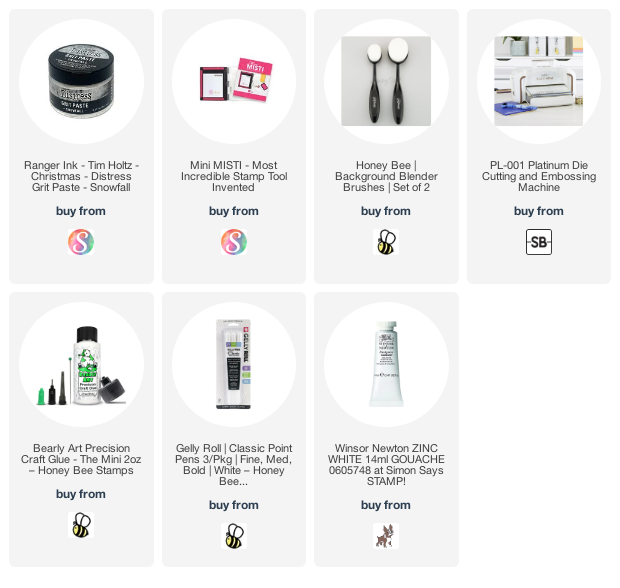
These are the supplies I used and most are affiliate links (never any additional cost to you).