Showing posts with label Wintery Friends. Show all posts

Tuesday, December 27, 2022

Wintery Thank You Card with Patterned Paper

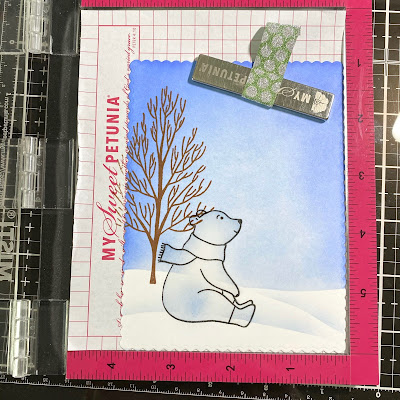
 Hello crafty friends!  I hope your Christmas was a good one and that you got some crafty goodies from your wish list!  LOL!  Today I'm sharing a winter thank you card featuring Rubbernecker Stamps beautiful Wintery Woodlands paper pad and the Wintery Friends set.

This was a super easy and quick card to make, so I'll keep it simple here!  All of the supplies I used are listed and linked at the end.

First I die cut my card layers: patterned paper from the Wintery Woodlands with a stitched rectangle die; two ovals with a stitched oval die; and one oval one size smaller than the previous two.

I inked up the smaller die cut oval with Arctic and Sky ink from the Color Fuse Set #7.

Then I took the second of the two die cut ovals and placed a Slimline Hills Die near the bottom and ran it through my die cutting machine.  This is an easy way to create a coordinating hill!  I added a bit of Snowfall Grit paste to the edge of the hill and let it dry.

Next I stamped the bear with Copic safe ink and colored him adding white details to the scarf with a white gel pen.  I took my coloring inspiration from the bears on the patterned paper!  I used the coordinating die to cut him out.

I diluted some white gouache with water and added splatters to the inked oval, the hill, and a few to the bear.  I assembled all of the layers and bear using glue and foam tape.

The sweet sentiment from the Wintery Friends set is stamped with black ink and trimmed with scissors.  I popped it up with foam tape too.

I think this little bear is just so adorable!  Thank you so much for stopping by today!  I always appreciate the fact that you take a bit of time to check out my blog posts!  Have a safe and happy New Year's Eve!

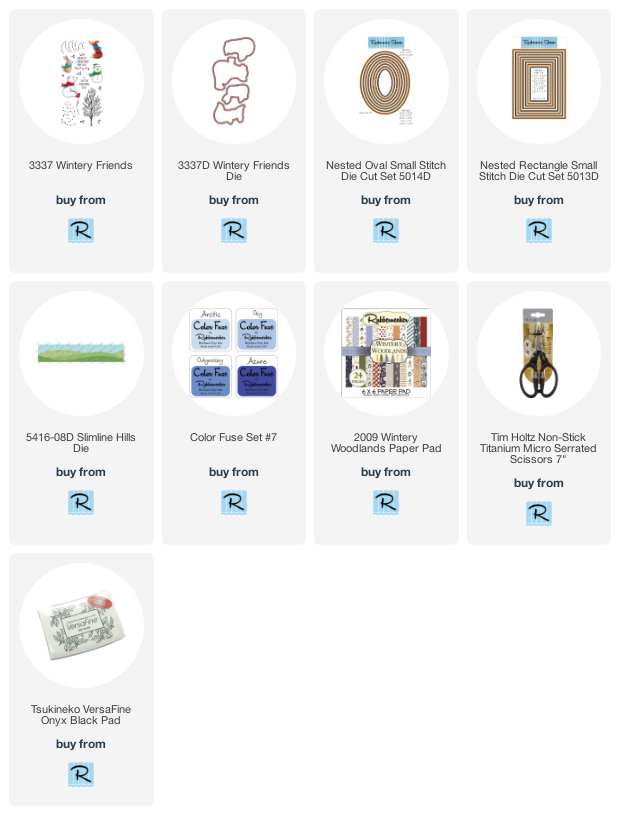
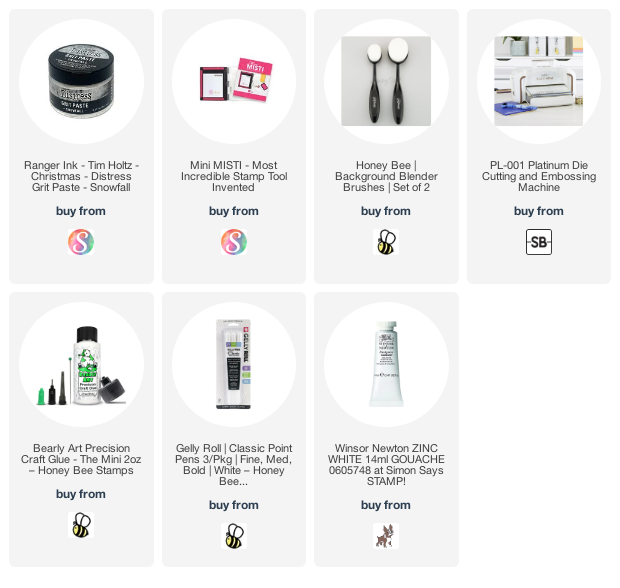
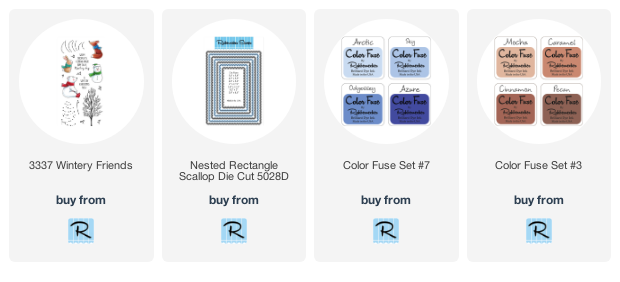
These are the supplies I used and most are affiliate links (never any additional cost to you).

Sunday, December 27, 2020

Sending Warm Thoughts | Rubbernecker Stamps

 Hello friends!  I hope your holidays have been fun so far!  Today I have a wintery card using Rubbernecker Stamps adorable Wintery Friends stamp set.  It's a one layer card and all you need is to do some masking and inking to get this dimensional look!  I love the sentiment I've used as it can serve for many types of cards!


Stamping, masking and inking:

  • Die cut white cardstock with the largest Nested Rectangle Scallop die.
  • Stamp the bear with Copic safe ink.  Also stamp the bear onto some masking paper.
  • Fussy cut the masking paper bear and place the mask over the stamped image.
  • I used a pencil to free-hand a hill onto masking paper.  Then divide that hill into three parts.  (see the photo below)  Cut the hills apart and place onto the card layer.
  • With an ink blending brush, ink on Sky ink (Color Fuse Set #7) getting lighter towards the middle of the card.
  • Ink on Odyssey ink around the edges.
  • Next remove the mask for the top portion of the hill and very lightly ink on Sky ink to create a shadow.  Repeat for the middle portion of the hill.  The photo below is a good visual of the process.  Leave the mask for the bear in place.  Click the photo to view it larger.


Next stamp the tree from the Wintery Friend set in Pecan ink.  This is from Color Fuse Set # 3.  It's best to use a MISTI, or other stamp positioning tool, for this as you will see from the next step.

For this step, use your anti-static powder over the tree to prevent embossing powder from sticking where you don't want it.  Leaving the tree stamp in place, ink it up with Versamark clear ink and stamp over the brown tree.  Sprinkle on clear embossing powder and heat set.  This gives just a bit of dimension and interest to a one layer card.


While my card was in the MISTI, I added some anti-static powder, then stamped the sentiment with Versamark, sprinkled on black embossing powder and heat set it.

Now is the magic time!  I love removing the final mask from the bear to begin my coloring!


To add shading to my white bear, I used a few grey Copic markers to color it.  Be sure to color in a shadow where the bear is sitting to "ground" it.


To finish up, I used a white gel pen to add white dots for some snow and.  I also added white dots to the bear's scarf.  I used two different sizes of Jelly Roll pens to get the different sized dots.  One was a 10 and another an 8.


Thank you so much for stopping by!  I'll see you back here in 2021!  Happy New Year!!