Showing posts with label Blog Hop. Show all posts

Thursday, May 8, 2025

Altenew May 2025 Release Blog Hop + $300 In Total Prizes!

Hello friends!  Have you seen the May 2025 Release by Altenew?  If not, you are in the right place for lots of inspiration for this release!

You can check out the entire release over at the Altenew Website!  I think you will love it as much as I do!  I have all of the stops for this hop below, but if you'd like to start at the beginning, please head over to the Altenew Card Blog.

I have two cards to share with you today that feature gorgeous new Altenew products!

I really have no words for how much I LOVE this Build-A-Garden Tranquil Trail collection of stamps, stencils, and dies!  And the large arched floral arrangement is perfect to use with scrapbook pages too!  One of the several things I do other than card making, and love, is riding my bicycle!  In our neighborhood we have many trails with a connection to a trail that follows along a river.  This set reminds me of my peaceful, mindful bike rides!

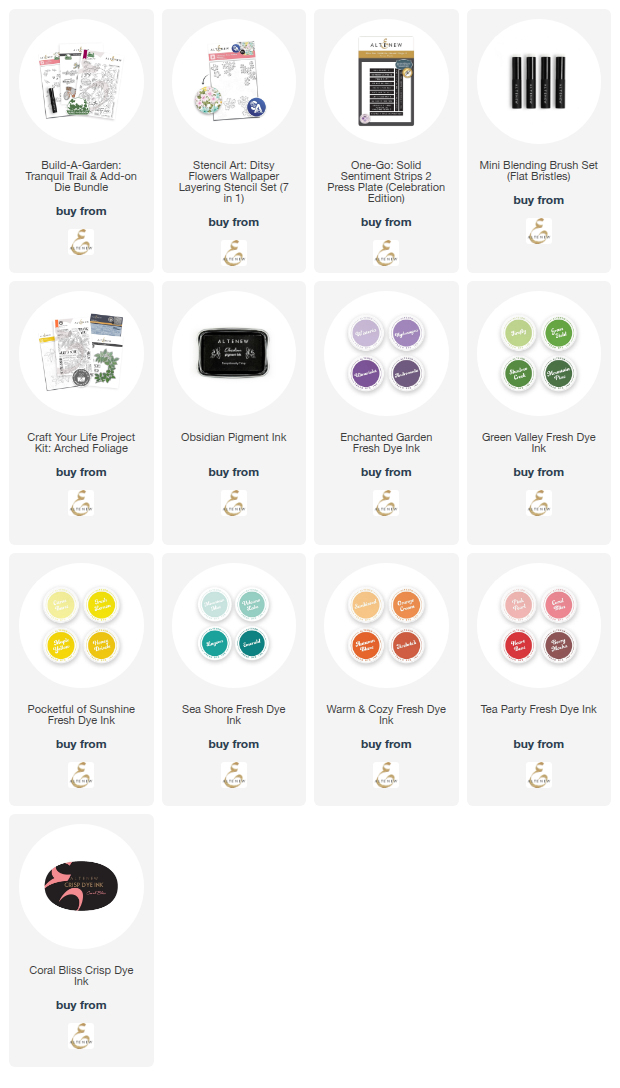
The Tranquil Trail arched floral and bicycle are stamped with Obsidian pigment ink.  I used inks from the Enchanted Gardens Fresh Dye Ink and Green Valley Fresh Dye Ink and my MOST favorite Mini Ink Blending Brushes to color through each of the seven stencils included with the Tranquil Trails layering stencil set.

I just had to color the bicycle a bright yellow (that's the color of my bike!) and the Citrus Burst Fresh Dye ink was perfect.  (It's from the Pocketful of Sunshine Fresh Dye Ink collection.)

As much as I love the Build-A-Garden: Tranquil Trail, I love this amazing Stencil Art: Ditsy Flowers Wallpaper stencil set even more!  There are SEVEN stencils in this set for you to use to create endless combinations and styles for your cards.

While this card may appear to be a challenge to make, it was so easy!  The Stencil Art: Ditsy Wallpaper  stencils are so fun and easy to use for cards.

I used these Fresh Dye Ink sets and my favorite brushes (Mini Blending Brushes) to color through the stencils:  Green Valley, Sea Shore, and Warm and Cozy.  I also used some of my Crisp Dye inks: Coral Bliss, Heart Beat, and Vineyard Berry.

I thought I'd carry on the color theme by using some of the same inks with the One-Go Solid Sentiment Strips 2 Press plate set.  The Fresh Dye Inks work great with the press plates!  (I used Orange Cream, Emerald, and Coral Bliss.) I love how the sentiments pop without distracting from or hiding the beautiful background!

I hope you've found some inspiration for this awesome May 2025 Release from my cards.  Be sure to leave a comment and visit all of the other stops for your chance at a wonderful prize!

Check out the details below for the awesome prizes and hop list!


Check out all of the awesome inspiration by these designers!
You are invited to the Inlinkz link party!

Click here to enter
Thank you for using my affiliate links to shop (never any additional cost to you)!

Saturday, April 26, 2025

You Are My Favorite! Simon Says Stamp Day 2 Blog Hop

Happy Saturday, and happy blog hop day!  I'm so happy to be joining in Simon Says Stamp's Day 2 Blog Hop to celebrate the "You Are My Favorite" release!

As all of Simon's new releases are, this one is filled with a huge variety of new products for every style and taste!  Simon is offering the exclusive Sunny Fern emboss and cut folder as a FREE gift w/purchase! It will be added to your cart automatically with a $30 or more purchase of You Are My Favorite release products  Be sure to check it out!  This gift with purchase will expire 4/27 at 11:59 pm EDT or while supplies last.

My card features the new With Thanks stamp set that is full of sentiments for all of your thank you cards!

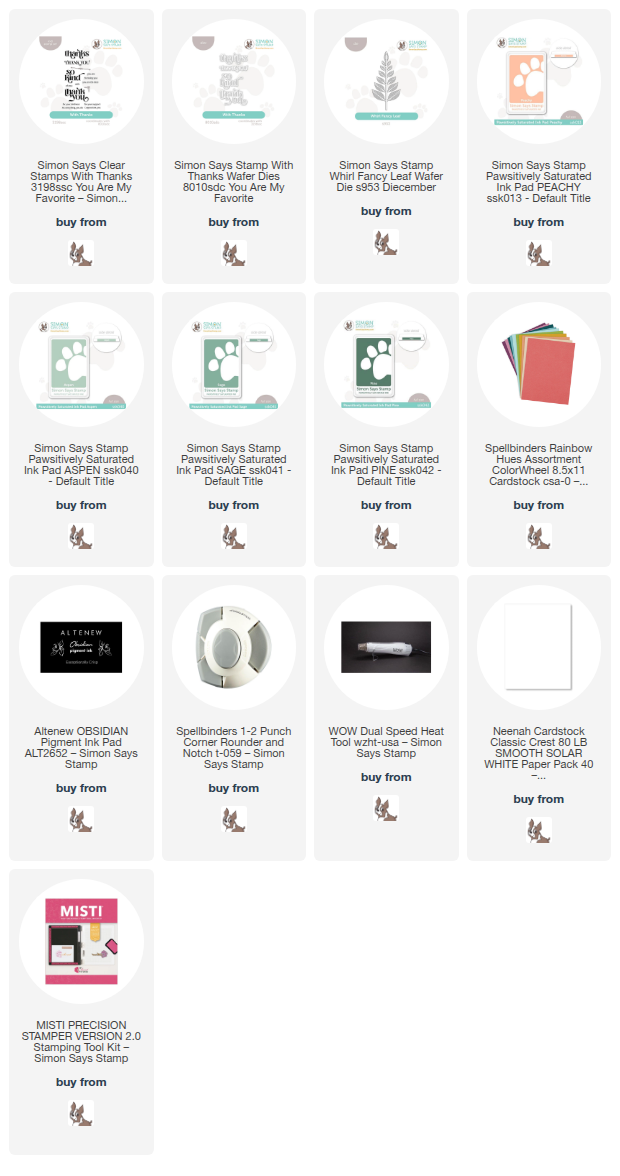
I started out with a piece of Bellini colored cardstock.  Then, using my MISTI, I arranged the four large sentiments from the With Thanks stamp set, beginning in the upper left corner.  I inked up the stamps with Peachy ink and stamped them onto the cardstock.  (All supplies are linked in the list below.)

Next I cleaned off the stamps, pulled them off of the MISTI door, and arranged the sentiments again, grouping them close to the ones that were already stamped.  I stamped them again, then repeated these steps until the card panel was filled with the sentiments.

I trimmed the stamped piece to 4" x 5-¼" and glued it to my A2 card base.

There are several smaller sentiments to go with the larger ones in the With Thanks set.  I chose two to go with the So Kind sentiment.  I stamped each sentiment in black pigment ink onto 80# Neenah.  I trimmed the piece and rounded the right two corners with a corner rounder.  Note: There is a coordinating With Thanks die set available.

To add a bit more interest to the card, I die cut the Whirl Fancy Leaf die three times from white cardstock.  I colored the leaves by ink smooshing them into Aspen, Sage, and Pine inks.  To do this just press each ink pad onto your craft mat, spritz the inks with a bit of water, and dip the die cuts into the ink.  Use your heat tool to dry the inks before repeating until you have the look you like.

I adhered the Whirl Fancy Leafs by adding glue to the back of each near the bottom.  I added small foam squares to a few leaves at the top of each one for dimension.

I used more foam tape to adhere the sentiment over the leaves.

Thanks for stopping by, and happy hopping!!

Simon is giving away a $25 coupon to every stop on the blog hop comment section. The winners will be chosen and posted on the Simon Says Stamp blog on Wednesday the 30th of April. The winners will email Simon to claim his/her prize.  

Don't forget to leave a comment here and each stop for your chance to win!!

HOP ORDER: 

Simon Says Stamp Blog  (Be sure to check out Day 1 of the blog hops!)
Nina-Marie Trapani
Suzy Plantamura
Laura Bassen
Cathy Zielske
Nichol Spohr
Amy Rysavy
Debby Hughes
Heather Ruwe
Bibi Cameron
Sandi MacIver
Alberto Gava
Caryn Davies
Kath Stewart
Revati Panickar

Carol Hintermeier  <---that's me

Thank you for using my affiliate links to shop (never any additional cost to you)!

Monday, April 14, 2025

Altenew 11th Anniversary Blog Hop Day 1 + Giveaway (over $3,600 in Total Prizes)

 Happy 11th anniversary to Altenew!!  I have been a huge fan of Altenew's for many years and I'm so thrilled to be joining in the Day 1 blog hop to celebrate one of my most favorite companies!

Please keep reading to learn more about the awesome prizes to be awarded by not only Altenew, but also lots of different sponsors of this hop!  Please be sure to leave a comment here, and at each stop on the hop, for your chances to win!  I have the hop list below, but if you'd like to start at the beginning, please head over to the Altenew Card Blog.

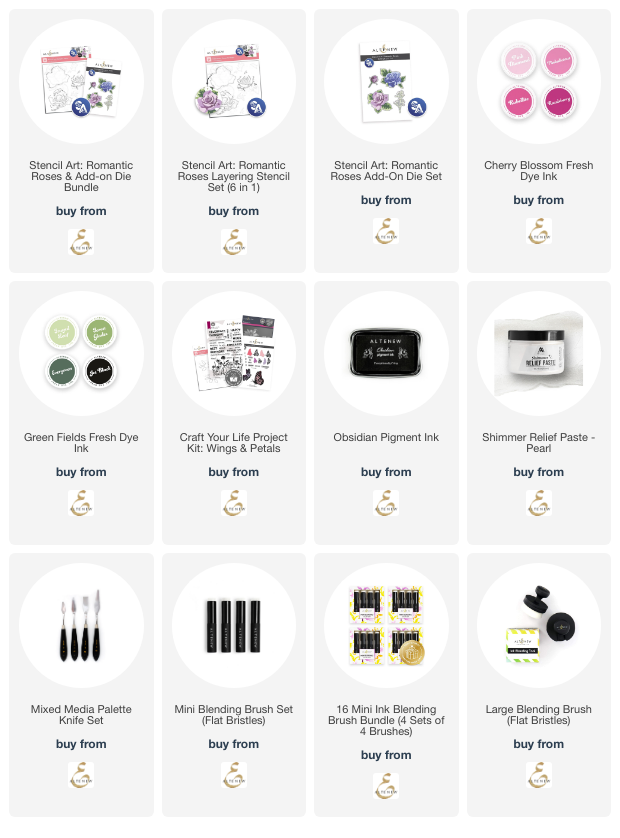
To celebrate Altenew's milestone, I've used one of my favorite type of products:  layering stencils!  I can't believe how you can get such beautiful images from this Stencil Art: Romantic Roses stencil set!

I'll try keep my descriptions of my card brief, as I know you want to keep hopping along the way!  If you have questions, please use the "contact me" form in the left column of my blog.

To color the beautiful images of the Stencil Art: Romantic Roses stencils, I used two Fresh Dye Ink collections:  Cherry Blossom and Green Fields; Mini Blending Brushes (my most favorite brushes ever!) and a Large Blending Brush to color the inks through each layer of stencil.  (Tip: Using a Large Blending Brush to color the first layer made it super easy and fast!).  All products are in the list at the end of my post.

When I got to the script stencil that is also in the Romantic Roses set, I decided I wanted to used some of Altenew's gorgeous Pearl Shimmer Relief Paste and custom color it with pink ink.  It's so simple to do!  First smoosh the Pink Diamond ink pad onto your craft mat.  Then used a pallet tool to scoop out a bit of the Relief Paste and mix it into the ink!

I spread the tinted Relief Paste through the script stencil at the top left and bottom right corners of a white cardstock panel.  I had plenty of paste leftover and didn't want to waste it.  So I decided to create a couple more of the sweet sprigs but spread the paste through the stencil layer with the buds.  First I stenciled the green stems, then die cut the pieces, and then added the relief paste.

When the stenciled script panel was dry, I used the large blending brush to ink on a bit of Pink Diamond ink around the edges.  I glued it to my card base that is 5" x 6".  Yes, an odd size, but I will mail the card in a 5" x 7" envelope and it will be just fine!

I used glue and foam tape to adhere the flowers to my card.  I tucked the branches around the roses, trimming off bit of the branches that were hidden behind the flowers.  I was able to use all of the small trimmed bits to fill in around the roses, securing each one with glue.

The sentiment is from the Wings & Petals Silhouette stamp set.  I love that there is a coordinating die for this sentiment!

Now for the best part!  The giveaway information!  Take a look at all of these amazing sponsors!


Giveaway Info:

Over $3,600 in total prizes! Altenew is giving away a $50 gift certificate to 11 lucky winners. There are also 35 awesome companies/crafty friends who are celebrating with us, and they are offering the following prizes:

Anniversary Special Offers:

04/14/2025 - 04/17/2025: Get a FREE brand-new Lace 3D Embossing Folder (worth $11.99) on orders over $89 from 04/14/2025 at 12:01 AM EDT until 04/17/2025 at 11:59 PM EDT. The free gift will be automatically added to eligible orders—while supplies last. Shop here:

04/14/2025 - 04/18/2025: Get FREE U.S. Shipping on orders over $29 (no code needed) or $10 off International Shipping with code ALTENEW@11 at checkout from 04/14/2025 at 12:01 AM EDT until 04/18/2025 at 11:59 PM EDT. Shop here: https://altenew.com/collections/all-altenew

BLOG HOP LIST:

Be sure to leave comments by April 29, 2025 for a chance to win one of 76 prizes! To make the hop more exciting, start your comment with "Hi from (city or country where you're from)!" 76 winners will be chosen at random from the comments left on any of the blogs listed below and will be announced on the Altenew Blog on May 4, 2025.

You are invited to the Inlinkz link party!

Click here to enter
Thank you so much for using my affiliate links to shop (never any additional cost to you)!

Thursday, April 10, 2025

Altenew April Release Blog Hop + Huge Giveaway ($300 in total prizes!)

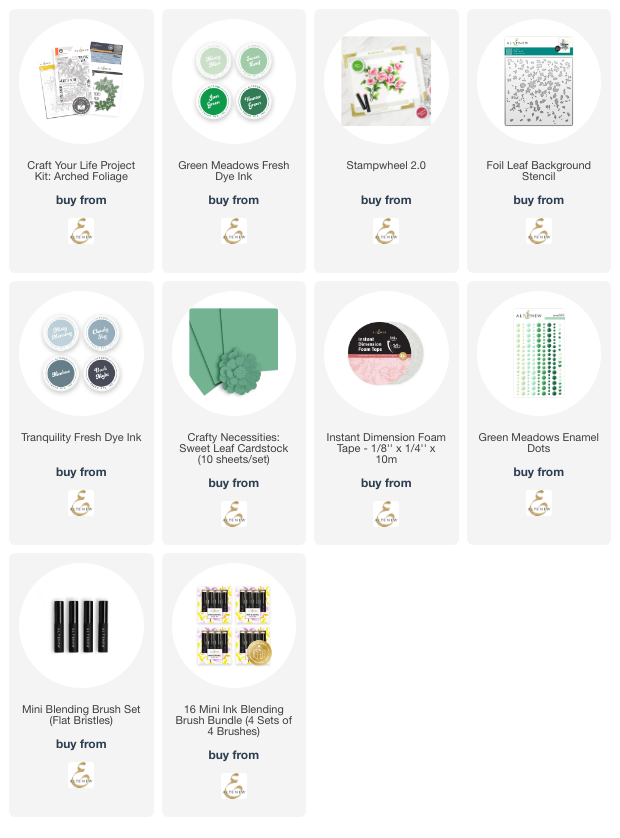
Hello friends!  I'm thrilled to be joining in the blog hop to celebrate Altenew's amazing April 2025 release!  My card features the Arched Foliage Craft Your Life Project Kit.  Read on to see how I got two cards from one stamp!

This hop is filled with lots of awesome inspiration for the Altenew April release.  The link for each stop on the hop is below.  If you would like to start at the beginning, please head over to the Altenew Card Blog.

 ----------------------------------------------------------------------------

The Craft Your Life Project Kit subscriptions are my most favorite among all of the subscriptions that Altenew offers.  I love that the kit includes a stamp set with coordinating dies, a simple coloring stencil, and a 3D embossing folder!  All of my favorite things in one kit!

This months Arched Foliage Craft Your Life Project Kit includes a large, beautiful arched foliage stamp that I cut into two pieces to make two cards!  This stamp would also be gorgeous on scrapbook layouts! 

As I do most of the time, I used the Arched Foliage Simple Coloring Stencils to color the image before I stamped it.  I like to do this so I eliminate any chance of smearing the black ink.  It's actually very easy!

This is when the awesome Stampwheel 2.0 came in handy with its larger size.  I removed the side piece and had plenty of room to use the stencils with my Mini Blending Brushes and the inks from the Green Meadows Fresh Dye Ink set.

I have to say that I seriously debated on whether or not to stamp over the stenciling.  Just look at how beautiful it is without the stamping!

As you can see, I finally decided to go ahead and stamp the Arched Foliage.  I laid the stamp over the stenciled image, making sure it was lined up top-to-bottom and side-to-side.  Pick up the stamp with the Flip Plate.  PRO TIP:  Place the packaging acetate over the stenciled image, ink up the stamp, and stamp onto the acetate.  This is a great way to make sure your stamp is lined up with the stenciled image!  If it's lined up, then remove the acetate and stamp directly onto the stenciled panel.

The Arched Foliage is just as beautiful with the stamp!


I planned on where to cut the Arched Foliage into two pieces and used my paper trimmer to cut it apart.

The Foil Leaf stencil was inked with Misty Morning Fresh dye ink, trimmed and then matted with a piece of Sweet Leaf Crafty Necessities Cardstock for the background.

The sentiments on both cards are a few of many that are included with the Arched Foliage stamp set.  The dies for the large main sentiments are included in the Arched Foliage Die Set.

My second card features the beautiful Arched Foliage 3D Embossing Folder for the background.  To add even more depth to the embossed piece I used a brayer to ink on Lost Shadow Distress Ink onto the more smooth side of the embossing folder.  Then I added my paper to the folder and ran it through my die cutting machine.

All of the card elements are adhered with Instant Dimension Foam Tape.  I added a bit of bling to each card with some enamel dots from the Green Meadows Enamel Dots set.

Thank you for stopping by my blog--you are so appreciated!!  Be sure to leave a comment here and at each stop along the way for your chance to win an awesome prize!


    • Check out lots more beautiful April Release inspiration by clicking each link:

You are invited to the Inlinkz link party!

Click here to enter
Thank you so much for using my affiliate links to shop the products I've used today (never any additional cost to you)!

Wednesday, November 13, 2024

Altenew Stampwheel 2.0 Blog Hop & Giveaway ($300 in total prizes!)

I'm so thrilled to be part of the blog hop to feature the brand new and totally awesome Stampwheel 2.0!

Thank you for joining us on this fabulous hop!  If you would like to start at the beginning, please head over to the Altenew blog.  You can check out all of the details of the larger, new Stampwheel 2.0 here.

Be sure to check out the prize details below!  You won't want to miss out on your chance to win either a $100 gift certificate or one of four $50 gift certificates!

For the first time using the Stampwheel 2.0, I used the beautiful, and large, stamp set from the Build-A-Garden: Magnificent Branch collection.  Check out the photos of the Stampwheel 2.0 in use and compared to the original Stampwheel (which I do still use!).

This card is a slimline card I made with the awesome Build-A-Garden: Magnificent Branch in black.  I used the coordinating stencils and blending brushes to color the image.  Because of the size of the Stampwheel 2.0, I was able to keep the stamped image on the sticky mat, remove the side piece, and color through the stencils with ease!

As you can see in this photo, there is a significant difference in the sizes of the original Stampwheel and the new Stampwheel 2.0!

When you remove the detachable side, you can stamp on a full 8-½" x 11" piece of cardstock.

I really enjoy being able to keep the sticky mat in place and use the coloring stencils by removing the side.

I have used the Stampwheel 2.0 many times recently, and I highly recommend it as part of your crafting tools necessities!

Be sure to leave a comment here on my blog, and at all of the other stops, to increase your chance to win a prize!

Click this link to continue on each stop of the hop and leave your comments!  You don't want to miss the awesome inspiration from the designers!

You are invited to the Inlinkz link party!

Click here to enter

Thursday, November 7, 2024

Altenew November 2024 Release Blog Hop + Huge Giveaways

 Hello friends!  I'm thrilled to be part of the blog hop to celebrate Altenew's fabulous November 2024 Release!

The link for the blog hop stops is below.  If you would like to start at the beginning, please head over to the Altenew blog.

Be sure to check out the information below for the awesome prizes!!  

My card today features several new products from  the November Release!  Check it out!

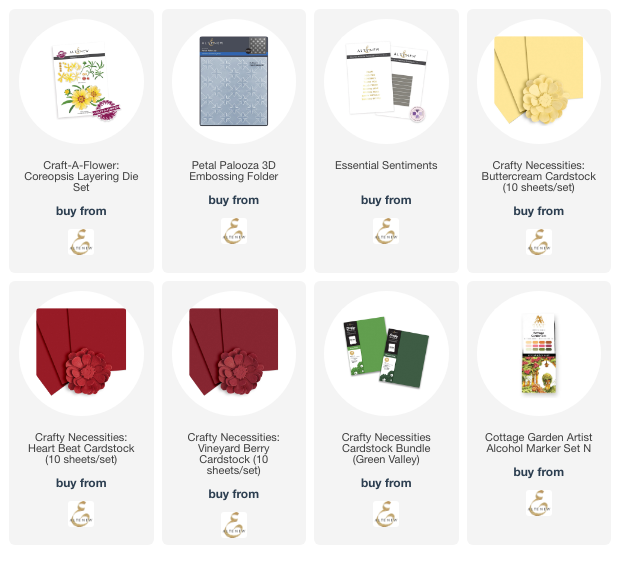
I die cut the Coreopsis Layering Dies from several different colors of Crafty Necessities Cardstock.  The colors I used are in the list below.  Before I glued the flower layers, I used some of the yellow alcohol markers from the new Cottage Card Set of Artist Markers to color the yellow cardstock of the flower centers.

Assembling the flowers is so very easy with the Key Hole System.  The idea of this is genius!!  The packaging also includes a diagramed layering guide.

After glueing the flower layers together, I embossed white cardstock with the new Petal Palooza 3D embossing folder.  I glued the panel to an A2 card base.

After deciding on an arrangement for the flowers and stems, I used glue and a few pieces of foam tape to adhere it to the card.  Then I trimmed the pieces that were hanging off the edge of the card.

The sentiment is one from the Essential Sentiments Hot Foil Plate.  After foiling the gold foil, I cut them out with the coordinating Essential Sentiments die.

I love the options of how many different ways and colors to use this Coreopsis Layering Die Set.  Thanks for stopping by and be sure to click the link below to see more beautiful inspiration.


You are invited to the Inlinkz link party!

Click here to enter
Thank you for using my affiliate links to shop (never any additional cost to you)!