Showing posts with label Altenew. Show all posts

Saturday, August 8, 2026

Peace, Love, & Joy -- Altenew Winterberry Poinsettias

Hey, friends!  I haven't shared this card because it was another of Altenew's July 2026 release that sold out so fast!  However, this gorgeous Winterberry Poinsettias Botanical 3D embossing folder is back in stock!!

I love creating holiday cards in pink!!  First I embossed white cardstock with the Winterberry Poinsettias 3D embossing folder.

Then I used the following Fresh Dye Inks (linked below):  Pink Diamond, Pinkalicious, Firefly, and Grass Field and Mini Blending Brushes to add the colors through the gorgeous Winterberry Poinsettias stencils.

To add a touch of gold to the flowers I used a gold pen to color the centers of each flower.

You can get each of these products by themselves, or get both in a bundle!  I highly recommend that!! 

For the sentiment, I used one from the Holiday Essentials Die Set.  I die cut one layer from Citrine cardstock from the Gilded Glitter Cardstock Set.  I die cut three more layers and the shadow layer from white cardstock.  I adhered the layers together with glue, then to the card with thin foam adhesive.

I totally love this Winterberry Poinsettia 3D embossing folder and the Coloring Stencil!  I think I will be using this for my mass-produced Christmas cards!

Thanks for stopping by.  Have a wonderful and crafty weekend!

My supply list contains affiliate links (which are never any additional cost to you).  Thank you for using them!

Tuesday, August 4, 2026

Just For You Floral Card Featuring Altenew's Craft-A-Flower: Gerbera Daisy

Hi friends!  This gorgeous Altenew Craft-A-Flower: Gerbera Daisy is finally back in stock!  This was part of Altenew's July 2026 release and is absolutely gorgeous!  This sold out so very quickly after the release and I didn't want to share my card until it was back in stock.

Honesty here.  I had a full descriptive blog post in draft form all ready to publish, and somehow, the entire content I had written was gone!  Whaaaahhhh!  You can only imagine the wailing! 

That being said, I am SO HAPPY that I started my supply list back in May when I made this card!  All of the cardstock colors and ink colors I used are in this list below. Yay!!!  I die cut various colors of Altenew's cardstock with the Craft-A-Flower: Gerbera Daisy dies.  

I will never cease to be amazed by the Key Hole System that Altenew has for many of their die sets.  This system makes all of these layering dies SO easy to assemble!  There's no guessing at all!

I used some coordinating Fresh Dye Ink colors to add shading to the Gerbera Daisy layers.  Next I added some shape to the petals with my fingers.  Then I glued each flower's layers together.

I made three Gerbera Daisies thinking I might just use one on three cards.  However, I loved this grouping so much that I added them all to one card.

I love the dark Mountain Pine cardstock background to help these cards pop!

I chose a sentiment from the Dynamic Duo: Wildflower Bouquet and stamped it in Mountain Pine Fresh Dye Ink to coordinate with the card.  After I cut it out with the coordinating die, I popped it up on the card with foam adhesive.

This really is one of my most favorite cards I've made this year and I love this Gerbera Daisy set.  I hope you like it too!  Thanks so much for stopping by today!  I hope it's a good day with lots of crafting for you!

Thank you so very much for using my affiliate links to shop (there is never any additional cost to you)!

Saturday, July 11, 2026

Altenew July 2026 Release Blog Hop (There's $300 In Total Prizes!) featuring the Jack Pine Tree

Hello crafty friends!  I'm thrilled to be a part of the Altenew July 2026 Release Blog Hop.  I'm sure you know how awesome the new releases by Altenew are and this one is up there on my favorites list!

I have the blog hop list below, along with the details of the amazing prizes!  Be sure to hop along to each stop and leave a comment at each one, and also on the Altenew Blog.

Now, on to the details of my card featuring the beautiful Creative Cuts:  Jack Pine Tree Layering Die Set.

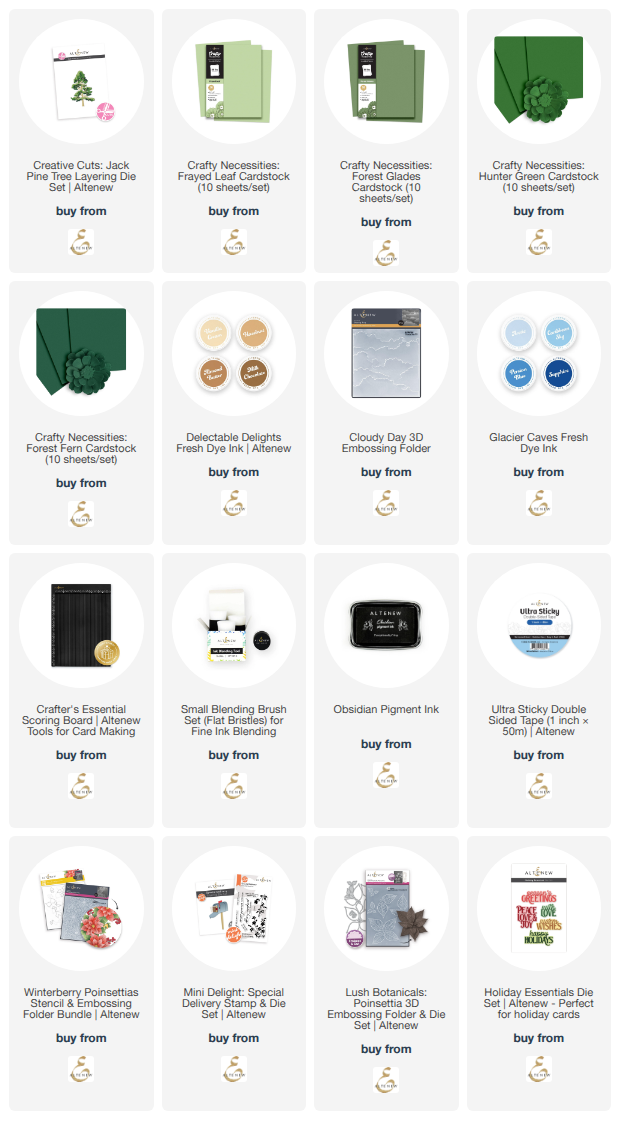
First I began by die cutting colored cardstocks (colors linked in the list below) with the Creative Cuts: Jack Pine Tree Layering Die Set.   I die cut the tree trunk from white cardstock and used a Small Blending Brush to color it with Milk Chocolate Fresh Dye Ink.

This fabulous Jack Pine die set also has Altenew's unique Key Hole System.  This makes lining up the layers SO easy!!!  I used glue to adhere each layer together.

Next I embossed white cardstock with the Cloudy Day 3D embossing folder.  Then I used a blending brush to add Arctic Fresh Dye Ink over the embossing, mainly around the edges.  Then I trimmed the piece to 3" x 4-¼" and added 1" Instant Dimension foam tape to the back.

Before I assembled the card layers, I used a scoring tool and my Scoring Board to add embossed lines on the front of an A2 card base.  I opened the card to the inside and placed the front side onto the Score Board.  I used the scoring tool to add scored lines at ½" and 5/8" along each edge of the card front.

Next I stamped a sentiment from the Mini Delight: Special Delivery Stamp & Die Set at the bottom of the card front.  I used Obsidian Black ink, my most favorite pigment ink!

Then I adhered the Cloudy Day embossed panel to the card.  And next I glued on the Jack Pine tree.

This Jack Pine tree die is so beautiful!  I can't wait to make different trees in fall colors and one with winter snow on it!

I also want to share with you a card I posted earlier this week!

These are the new products I used to make this card:

Now, on to the fabulous prize details:

Giveaway info: 

    • $300 in total prizes! To celebrate this release, Altenew is giving away a $100 gift certificate to 1 lucky winner and a $50 gift certificate to 4 winners! Please leave a comment on the Altenew Blog and/or each designer’s blog post on the blog hop list below by July 16th for a chance to win. Altenew will draw 5 random winners from the comments left on each stop of this blog hop and announce the winners on the Altenew's Blog Hop Post on July 18th, 2026.
    • The winner of the $100 gift certificate will be chosen from comments left on the Altenew blog.

    Be sure to check out each stop of this Blog Hop for lots more amazing inspiration for the July 2026 Release!

    You are invited to the Inlinkz link party!

    Click here to enter
    I so appreciate you using my affiliate links to shop (never any additional cost to you)!
    Monday, July 6, 2026

    Layered Lush Botanicals: Poinsettia Holiday Card

    Hello friends!  The Altenew July 2026 release is available now!  Today I'm sharing this holiday card that features three of the awesome new sets:

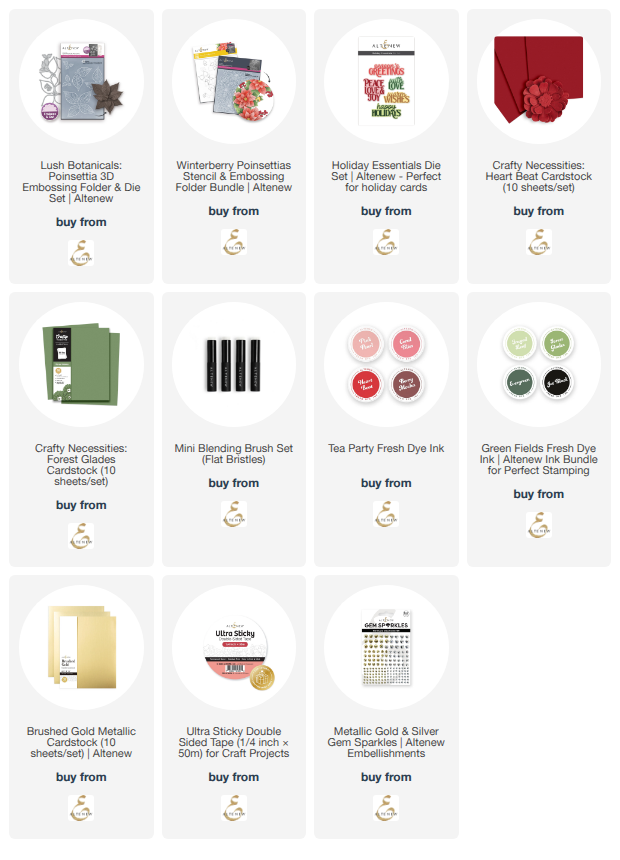
    I started with the Lush Botanicals: Poinsettia 3D Embossing Folder and Die Set.  This beautiful embossing folder has coordinating dies that you use to die cut the petals of the poinsettia.  I did that first by die cutting some Heart Beat and Forest Glades cardstock.  I die cut the flower center from some Brushed Gold cardstock.  I added a few inks (in the list below) with Mini Blending brushes to give the petals some depth and dimension.

    Next I placed the die cut petals into the Poinsettia 3D embossing folder and ran it through my die cutting machine.  I used glue to adhere the layers together.  (This die set has Altenew's ingenious Key Hole system which makes aligning the layers so very easy!). Then I added white paint splatters for a snowy look!

    I glued the poinsettia to a white cardstock panel that I embossed with the Winterberry Poinsettias 3D embossing folder.

    The sentiment is from the new Holiday Essentials die set.  I die cut the top layer three times and glued the layers together.  I adhered that to the bottom shadow layer that I die cut from Heart Beat cardstock.  Then I added foam adhesive to the back to pop it up on the card.

    I added a few gold sparkles from the Metallic Gold & Silver Gem Sparkles set.


    Be sure to check out the entire July 2026 release over on Altenew's website.  It is filled with holidays and non-holiday products for your card making fun!

    Thanks so much for stopping by today!  I hope you have a good one!

    Thank you for using my affiliate links to shop (never any additional cost to you)!

    Saturday, July 12, 2025

    One Christmas Card and Two Gift Tags Featuring Altenew's July 2025 Release

    Happy Saturday, crafty friends!  I have a card and two Christmas tags to share with you today.  These are my featured projects for Altenew's July 2025 Release Instagram hop.  In true Altenew fashion, there are some awesome prizes to be awarded to commenters on the Instagram hop.  I hope you'll join me over there!

    This card features the gorgeous Lush Berry Branch stencil set and 3D embossing folder.

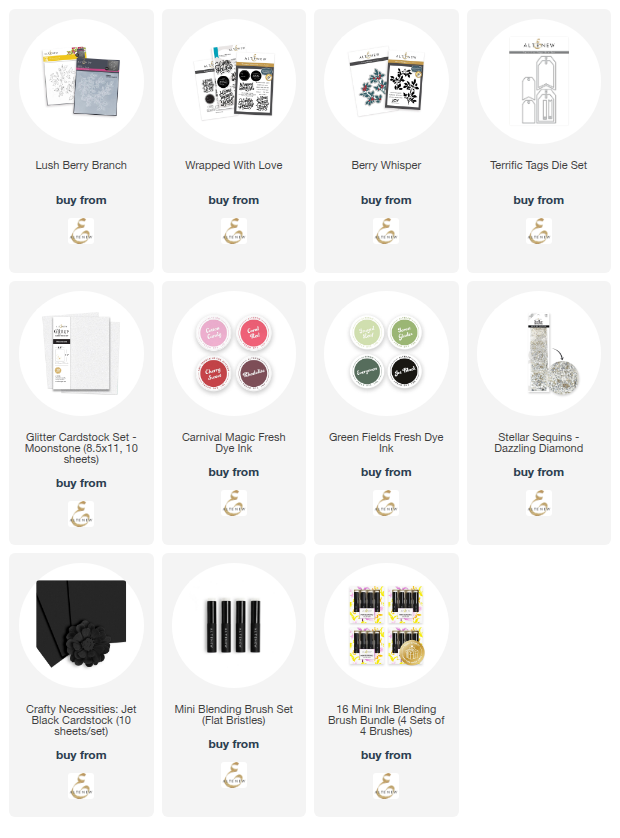
    First I embossed white cardstock with the Lush Berry Branch 3D embossing folder.  Then I added Fresh Dye Inks through each stencil with my favorite Mini Blending Brushes.  The inks I used are: Cherry Sweet, Mocha, Forest Glads, and Evergreen.

    When I finished stenciling I trimmed the piece to 4" x 5-¼" and added it to a layer of Jet Black Crafty Necessities cardstock.

    The sentiment is from the Wrapped With Love Press Plates.  I cut it out with the coordinating die.

    I added a bit of bling with some Dazzling Diamond Stellar Sequins.

    My next project is two Christmas gift tags.

    I created these tags with the Berry Whisper Press Plates and dies.  There are two berry branch press plates.  I used Evergreen Fresh Dye ink to press the images onto white cardstock.  TIP:  If you find the ink beading up on the press plates, clean them off and then press some clear embossing ink onto the plates.  Then use a micro fiber cloth to gently wipe off some of the ink.  Then re-ink with the colors of your choice.

    The berries remain white after being pressed, so I used a couple of red Copic markers to color each berry.


    The tags are die cut from Moonstone Glitter cardstock with Terrific Tag dies.  After trimming the Berry Whisper branches into three pieces, I used glue to adhere them to the tags.

    I stamped the Wrapped With Love sentiment stamps with Cherry Sweet ink.  Then I cut them out with the coordinating dies.

    I added bits of ribbon and twine from my stash to each tag.

    If you need holiday cards and tags, keep these in mind.  Not only are they easy to make, the stencils make the coloring quick too.

    I hope you'll join me over on my Instagram for the hop.  I have the complete hop list and prize details for you there.  Have a wonderful weekend!

    Thank you for choosing to use my affiliate links to shop (never any additional cost to you)!

    Saturday, June 7, 2025

    Altenew June 2025 Release Blog Hop + Giveaway ($300 in total prizes)!

    Welcome to Altenew's June 2025 Release blog hop!  This is another amazing release by Altenew that has products in it to inspire any crafting style!

    There are awesome designers in this hop sharing some beautiful inspiration for the June 2025 Release.  Check out the hop list below.  If you would like to start at the beginning, head on over to the Altenew blog.  Be sure to read until the end to see what Altenew has for prizes this month!  For the best chance to win, be sure to leave a comment on my blog and at each stop along the way.

    -----------------------------------------------------------------------------------------------------

    I have three (actually four) cards to share with you today!  This first one is filled with sunshine and features the beautiful Build-A-Garden Radiant Blossoms stamps, stencils, and dies.

    The card base is A2 sized and is layered with Fresh Lemon Crafty Necessities Cardstock that I embossed with the Batik Blooms 3D embossing folder.

    I stamped the florals from the Build-A-Garden stamp set with Obsidian black ink.  Then I used my beloved Mini Blending Brushes to add in shades of yellow and green inks.  I used inks from the Pocketful of Sunshine and the Green Valley Fresh Dye ink collections.  The basket is lightly shaded with Limestone ink.

    I cut out the flowers and basket with the coordinating Radiant Blossoms dies.  Then I adhered the pieces with Instant Dimension Foam Tape.

    There is lots of subtle sparkle on this card!  I added the new Clear Iridescent Stellar Stellar Sequins (3 of 5 sizes used) to the flower centers and then a few more around the sentiments.  The sentiments are also in the Radiant Blossoms stamp set and cut out with the coordinating dies.

    My next card is filled with lots of beautiful shine and features the stamps and dies from the Crafty-Your-Life Bold & Beautiful set.

    I'm going to keep the rest of this post fairly brief.  Be sure to check out the product links in the list below.

    This card has gold heat embossing, a gold cardstock layer, and gold die cut flowers!  I love the Craft-Your-Life Project Kits since you get the stamps, dies, stencils, and embossing folder all together!  This Bold & Beautiful kit can be used so many ways, as demonstrated in my next card.

    I added more sparkle by placing some Sparkling Gold Sequins to the flower centers.

    This next project is a two-from-one stenciling session using the beautiful Craft-Your-Life Bold & Beautiful embossing folder and stencils.

    My Stampwheel 2.0 gave me plenty of room to use the Bold & Beautiful stencils and color the panel I had already embossed with the embossing folder.

    I used Mini Blending Brushes to color through the stencils.  I used inks from these Fresh Dye ink collections:  Sweet Dreams,  Green Meadows, and Cherry Blossom.  Then I used my paper trimmer to cut the piece in half.

    Each half piece was adhered to coordinating teal cardstock (embossed with the Bold & Beautiful 3D embossing folder) with Instant Dimension foam tape.  The sentiments are included in the stamp set and popped up with foam tape.

    This card is just the same as the previous card except for the foiled sentiment.  This sentiment is from the Versatile Greetings 3 Press Plates.  (You do know that these press plates can be foiled, right?)  I was happy to find that I had the perfectly coordinating foil in my stash!

    Both cards have Clear Iridescent sequins adhered around the sentiments for some pretty sparkles!

    I just have to finish up by sharing a photo of the awesome new Crafter's Showcase Mini Blending Brush Storage!  I love how this keeps all my brushes together and within easy reach!  I actually have it front and center by my work space!

    Be sure to leave me a comment below for your chance to win a prize before you head to the next stop on the hop.

    Giveaway info: 

    Blog Hop List:

    You are invited to the Inlinkz link party!

    Click here to enter
    Thank you so much for using my affiliate links to shop (never any additional cost to you)!

    Thursday, May 8, 2025

    Altenew May 2025 Release Blog Hop + $300 In Total Prizes!

    Hello friends!  Have you seen the May 2025 Release by Altenew?  If not, you are in the right place for lots of inspiration for this release!

    You can check out the entire release over at the Altenew Website!  I think you will love it as much as I do!  I have all of the stops for this hop below, but if you'd like to start at the beginning, please head over to the Altenew Card Blog.

    I have two cards to share with you today that feature gorgeous new Altenew products!

    I really have no words for how much I LOVE this Build-A-Garden Tranquil Trail collection of stamps, stencils, and dies!  And the large arched floral arrangement is perfect to use with scrapbook pages too!  One of the several things I do other than card making, and love, is riding my bicycle!  In our neighborhood we have many trails with a connection to a trail that follows along a river.  This set reminds me of my peaceful, mindful bike rides!

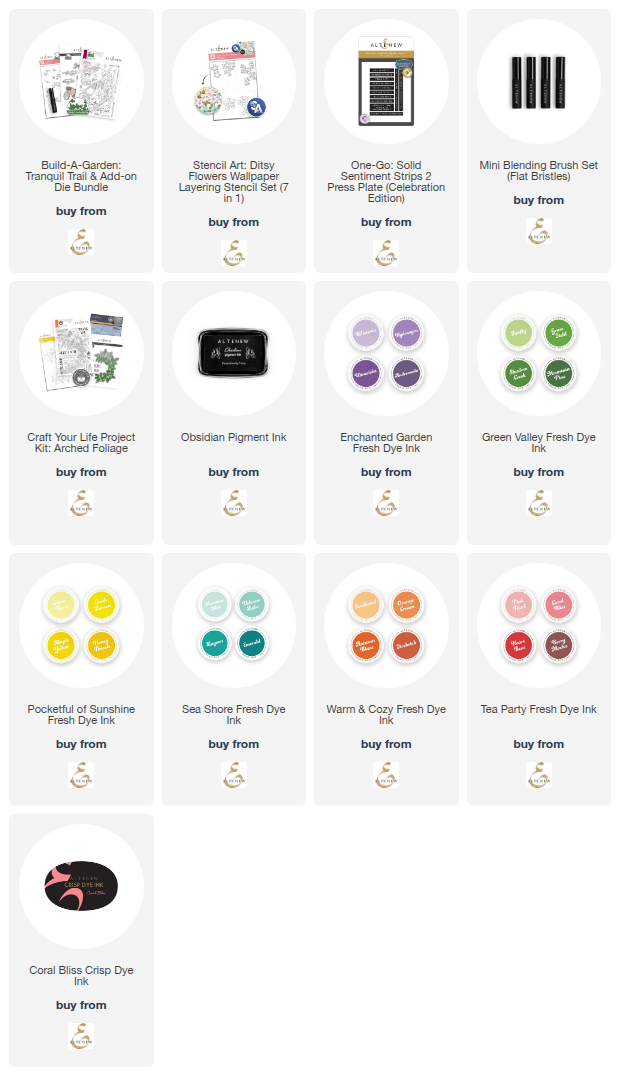
    The Tranquil Trail arched floral and bicycle are stamped with Obsidian pigment ink.  I used inks from the Enchanted Gardens Fresh Dye Ink and Green Valley Fresh Dye Ink and my MOST favorite Mini Ink Blending Brushes to color through each of the seven stencils included with the Tranquil Trails layering stencil set.

    I just had to color the bicycle a bright yellow (that's the color of my bike!) and the Citrus Burst Fresh Dye ink was perfect.  (It's from the Pocketful of Sunshine Fresh Dye Ink collection.)

    As much as I love the Build-A-Garden: Tranquil Trail, I love this amazing Stencil Art: Ditsy Flowers Wallpaper stencil set even more!  There are SEVEN stencils in this set for you to use to create endless combinations and styles for your cards.

    While this card may appear to be a challenge to make, it was so easy!  The Stencil Art: Ditsy Wallpaper  stencils are so fun and easy to use for cards.

    I used these Fresh Dye Ink sets and my favorite brushes (Mini Blending Brushes) to color through the stencils:  Green Valley, Sea Shore, and Warm and Cozy.  I also used some of my Crisp Dye inks: Coral Bliss, Heart Beat, and Vineyard Berry.

    I thought I'd carry on the color theme by using some of the same inks with the One-Go Solid Sentiment Strips 2 Press plate set.  The Fresh Dye Inks work great with the press plates!  (I used Orange Cream, Emerald, and Coral Bliss.) I love how the sentiments pop without distracting from or hiding the beautiful background!

    I hope you've found some inspiration for this awesome May 2025 Release from my cards.  Be sure to leave a comment and visit all of the other stops for your chance at a wonderful prize!

    Check out the details below for the awesome prizes and hop list!


    Check out all of the awesome inspiration by these designers!

    You are invited to the Inlinkz link party!

    Click here to enter
    Thank you for using my affiliate links to shop (never any additional cost to you)!

    Monday, April 14, 2025

    Altenew 11th Anniversary Blog Hop Day 1 + Giveaway (over $3,600 in Total Prizes)

     Happy 11th anniversary to Altenew!!  I have been a huge fan of Altenew's for many years and I'm so thrilled to be joining in the Day 1 blog hop to celebrate one of my most favorite companies!

    Please keep reading to learn more about the awesome prizes to be awarded by not only Altenew, but also lots of different sponsors of this hop!  Please be sure to leave a comment here, and at each stop on the hop, for your chances to win!  I have the hop list below, but if you'd like to start at the beginning, please head over to the Altenew Card Blog.

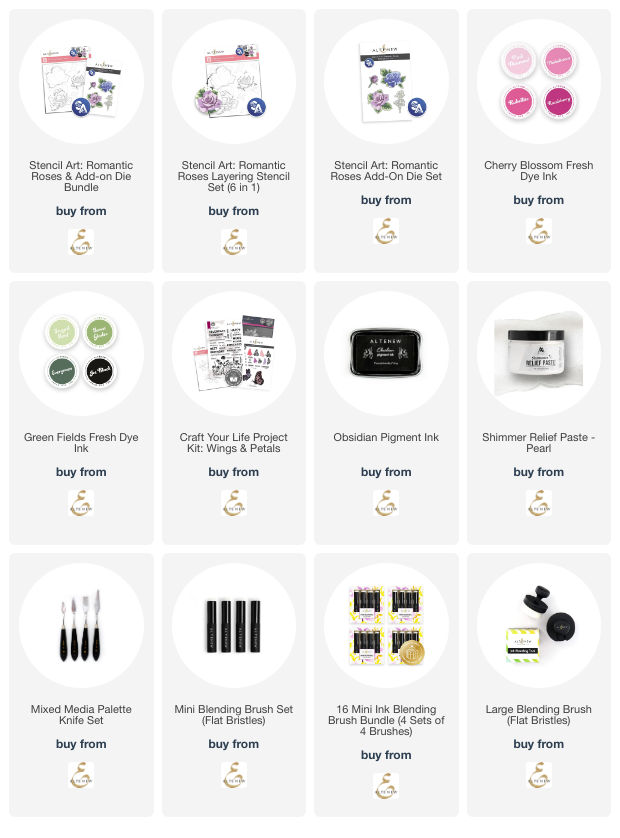
    To celebrate Altenew's milestone, I've used one of my favorite type of products:  layering stencils!  I can't believe how you can get such beautiful images from this Stencil Art: Romantic Roses stencil set!

    I'll try keep my descriptions of my card brief, as I know you want to keep hopping along the way!  If you have questions, please use the "contact me" form in the left column of my blog.

    To color the beautiful images of the Stencil Art: Romantic Roses stencils, I used two Fresh Dye Ink collections:  Cherry Blossom and Green Fields; Mini Blending Brushes (my most favorite brushes ever!) and a Large Blending Brush to color the inks through each layer of stencil.  (Tip: Using a Large Blending Brush to color the first layer made it super easy and fast!).  All products are in the list at the end of my post.

    When I got to the script stencil that is also in the Romantic Roses set, I decided I wanted to used some of Altenew's gorgeous Pearl Shimmer Relief Paste and custom color it with pink ink.  It's so simple to do!  First smoosh the Pink Diamond ink pad onto your craft mat.  Then used a pallet tool to scoop out a bit of the Relief Paste and mix it into the ink!

    I spread the tinted Relief Paste through the script stencil at the top left and bottom right corners of a white cardstock panel.  I had plenty of paste leftover and didn't want to waste it.  So I decided to create a couple more of the sweet sprigs but spread the paste through the stencil layer with the buds.  First I stenciled the green stems, then die cut the pieces, and then added the relief paste.

    When the stenciled script panel was dry, I used the large blending brush to ink on a bit of Pink Diamond ink around the edges.  I glued it to my card base that is 5" x 6".  Yes, an odd size, but I will mail the card in a 5" x 7" envelope and it will be just fine!

    I used glue and foam tape to adhere the flowers to my card.  I tucked the branches around the roses, trimming off bit of the branches that were hidden behind the flowers.  I was able to use all of the small trimmed bits to fill in around the roses, securing each one with glue.

    The sentiment is from the Wings & Petals Silhouette stamp set.  I love that there is a coordinating die for this sentiment!

    Now for the best part!  The giveaway information!  Take a look at all of these amazing sponsors!


    Giveaway Info:

    Over $3,600 in total prizes! Altenew is giving away a $50 gift certificate to 11 lucky winners. There are also 35 awesome companies/crafty friends who are celebrating with us, and they are offering the following prizes:

    Anniversary Special Offers:

    04/14/2025 - 04/17/2025: Get a FREE brand-new Lace 3D Embossing Folder (worth $11.99) on orders over $89 from 04/14/2025 at 12:01 AM EDT until 04/17/2025 at 11:59 PM EDT. The free gift will be automatically added to eligible orders—while supplies last. Shop here:

    04/14/2025 - 04/18/2025: Get FREE U.S. Shipping on orders over $29 (no code needed) or $10 off International Shipping with code ALTENEW@11 at checkout from 04/14/2025 at 12:01 AM EDT until 04/18/2025 at 11:59 PM EDT. Shop here: https://altenew.com/collections/all-altenew

    BLOG HOP LIST:

    Be sure to leave comments by April 29, 2025 for a chance to win one of 76 prizes! To make the hop more exciting, start your comment with "Hi from (city or country where you're from)!" 76 winners will be chosen at random from the comments left on any of the blogs listed below and will be announced on the Altenew Blog on May 4, 2025.

    You are invited to the Inlinkz link party!

    Click here to enter
    Thank you so much for using my affiliate links to shop (never any additional cost to you)!