Showing posts with label Press Plates. Show all posts

Sunday, September 7, 2025

This Is Me Sending Thanks

Hello, friends!  The window for joining Spellbinders Club Kits is open now through the 27th of September.  Today I'm the first of three cards I've made with Spellbinders Club Kits.  I've used the Betterpress Of The Month called Sketchy Hexi here.  I made a few different pressed panels and was able to use parts of them on my other two Club Kit cards, which I will be sharing in upcoming blog posts!

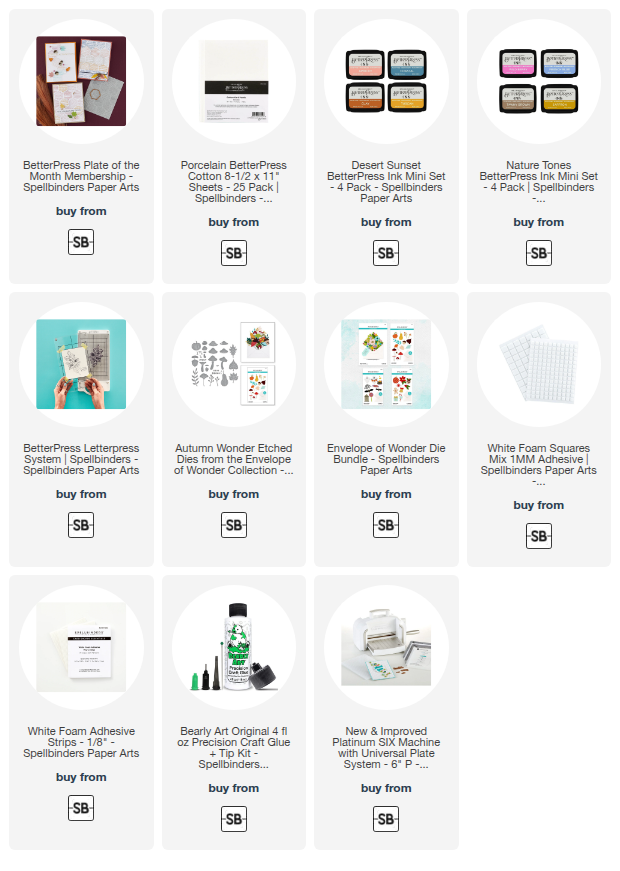
I used a piece of Porcelain cotton cardstock to ink up the Sketchy Hexi press plate with Tuscan, Clay, (from the Desert Sunset ink set) and Tawny Brown (Nature Tones) using the BetterPress Letterpress System.  I trimmed the panel to 4" x 5-¼" and glued it to an A2 card base.

Next I dry pressed another piece of Porcelain cardstock with the Sketchy Hexi press plate.  I just ran it through the Letterpress System with no ink.  It's so pretty!  Then I used the included hexagon die to cut out three of the patterns.  I added foam tape to the back to adhere them to my card.

Going with an autumn theme, I pulled out one of my favorite dies sets -- the Autumn Wonder die set.  I used a few die cuts that I had saved from a previous project.  That's why I always save any leftovers!  I used glue a foam squares to adhere them to the card.

The sentiment is one of two included with the Sketchy Hexi Press Plate.  I trimmed it into a strip and adhered it with foam strips.

I do love making autumn themed cards!  There's something about the warm autumn colors that I love.  Thanks so much for stopping by.  Be sure to click this link to check out all of the Club Kit details and options!

Thanks so much for using my affiliate links to shop (never any additional cost to you)!
Saturday, July 12, 2025

One Christmas Card and Two Gift Tags Featuring Altenew's July 2025 Release

Happy Saturday, crafty friends!  I have a card and two Christmas tags to share with you today.  These are my featured projects for Altenew's July 2025 Release Instagram hop.  In true Altenew fashion, there are some awesome prizes to be awarded to commenters on the Instagram hop.  I hope you'll join me over there!

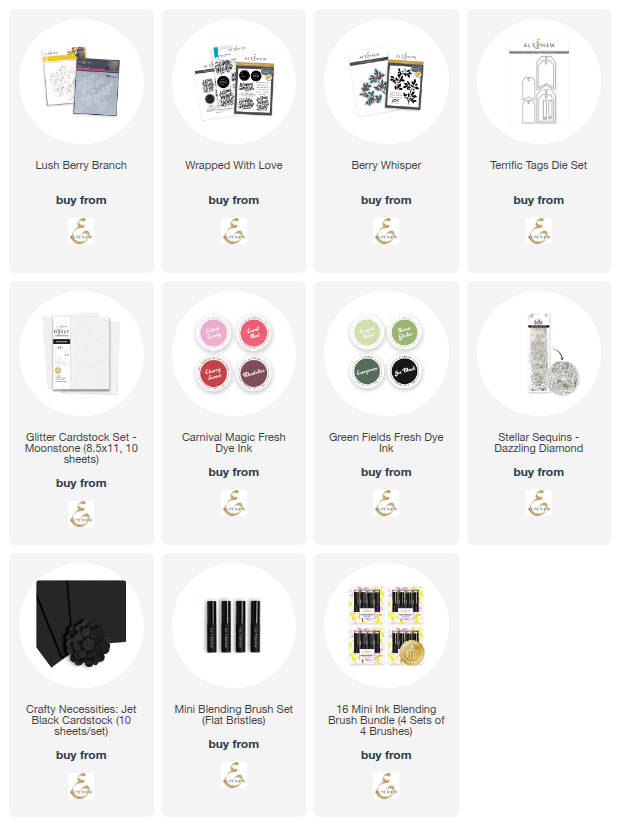
This card features the gorgeous Lush Berry Branch stencil set and 3D embossing folder.

First I embossed white cardstock with the Lush Berry Branch 3D embossing folder.  Then I added Fresh Dye Inks through each stencil with my favorite Mini Blending Brushes.  The inks I used are: Cherry Sweet, Mocha, Forest Glads, and Evergreen.

When I finished stenciling I trimmed the piece to 4" x 5-¼" and added it to a layer of Jet Black Crafty Necessities cardstock.

The sentiment is from the Wrapped With Love Press Plates.  I cut it out with the coordinating die.

I added a bit of bling with some Dazzling Diamond Stellar Sequins.

My next project is two Christmas gift tags.

I created these tags with the Berry Whisper Press Plates and dies.  There are two berry branch press plates.  I used Evergreen Fresh Dye ink to press the images onto white cardstock.  TIP:  If you find the ink beading up on the press plates, clean them off and then press some clear embossing ink onto the plates.  Then use a micro fiber cloth to gently wipe off some of the ink.  Then re-ink with the colors of your choice.

The berries remain white after being pressed, so I used a couple of red Copic markers to color each berry.


The tags are die cut from Moonstone Glitter cardstock with Terrific Tag dies.  After trimming the Berry Whisper branches into three pieces, I used glue to adhere them to the tags.

I stamped the Wrapped With Love sentiment stamps with Cherry Sweet ink.  Then I cut them out with the coordinating dies.

I added bits of ribbon and twine from my stash to each tag.

If you need holiday cards and tags, keep these in mind.  Not only are they easy to make, the stencils make the coloring quick too.

I hope you'll join me over on my Instagram for the hop.  I have the complete hop list and prize details for you there.  Have a wonderful weekend!

Thank you for choosing to use my affiliate links to shop (never any additional cost to you)!

Saturday, March 22, 2025

Sending Love, Just Because I Care

Today I'm sharing my card I made with the Spellbinders' BetterPress Club Kit for March.  This beautiful press plate is called Quilted Memories and I love the more generic design so I can use it with different styles of cards!

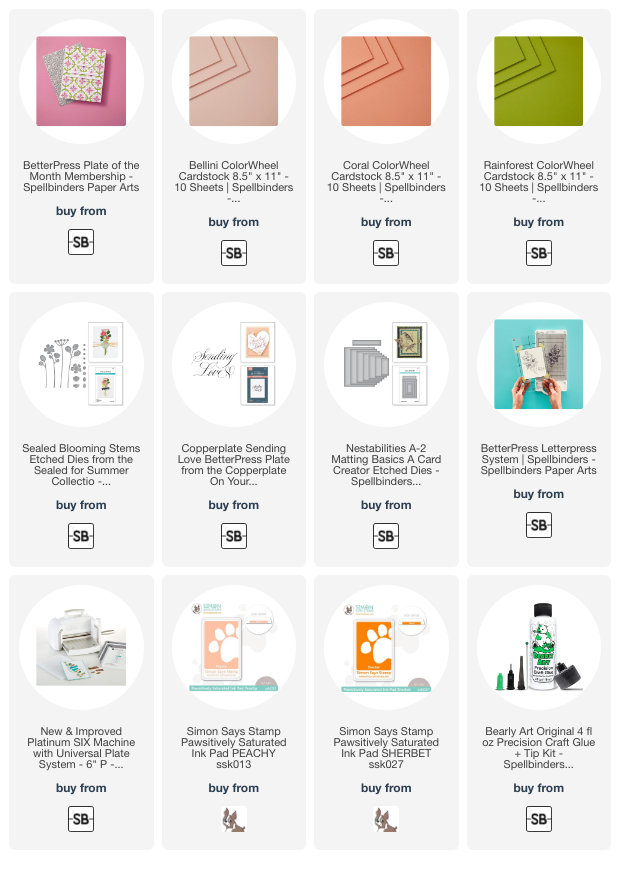
I decided to use the Quilted Memories Press Plate with coordinating cardstock and ink for a subtle tone-on-tone background.  I used a piece of Bellini cardstock and inked up the press plate with a coordinating peachy color ink.  After running it through my BetterPress Letterpress System, I trimmed it to 4" x 5-¼" and glued it to an A2 card base.

I used the Sealed Blooming Stems die set and die cut the pieces from BelliniCoral and Rainforest cardstocks.  Before I glued the layers together, I inked up the flower edges and under layer with a darker peachy ink.

The main sentiment is the Copperplate Sending Love BetterPress letter press plate.  The March BetterPress club kit includes two sub-sentiments and I chose one to go along with the other sentiment.  They both are pressed onto Porcelain cotton card with BetterPress black ink.  I cut the main sentiment with a rectangle die from the A2 Matting Basics A set and the small sentiment with the die that is included in the BetterPress Club Kit.

I added foam tape to the back of both sentiments and adhered the Sending Love first.  Then I arranged the flowers and adhered them with glue.  I finished up by adding the other sentiment as shown.

If you have never checked out Spellbinders' Club Kits, I would encourage you to do so.  There is a club for several different products if you aren't into press plates.  Also you can cancel at any time!  

Thanks so much for stopping by!  

Thank you for using my affiliate links to shop (never any additional cost to you)!

Monday, October 7, 2024

It's Your Day -- Embossing, Stencils, & Ink Blending Fun!

 Hello friends!  Today I'm sharing my card featuring Altenew's beautiful Fairyland Florals 3D embossing folder and the Simple Coloring Stencil Set.  I've also used the new One-Go: Solid Sentiment Sentiment Strips Press Plate which can also be used with your hot folding!

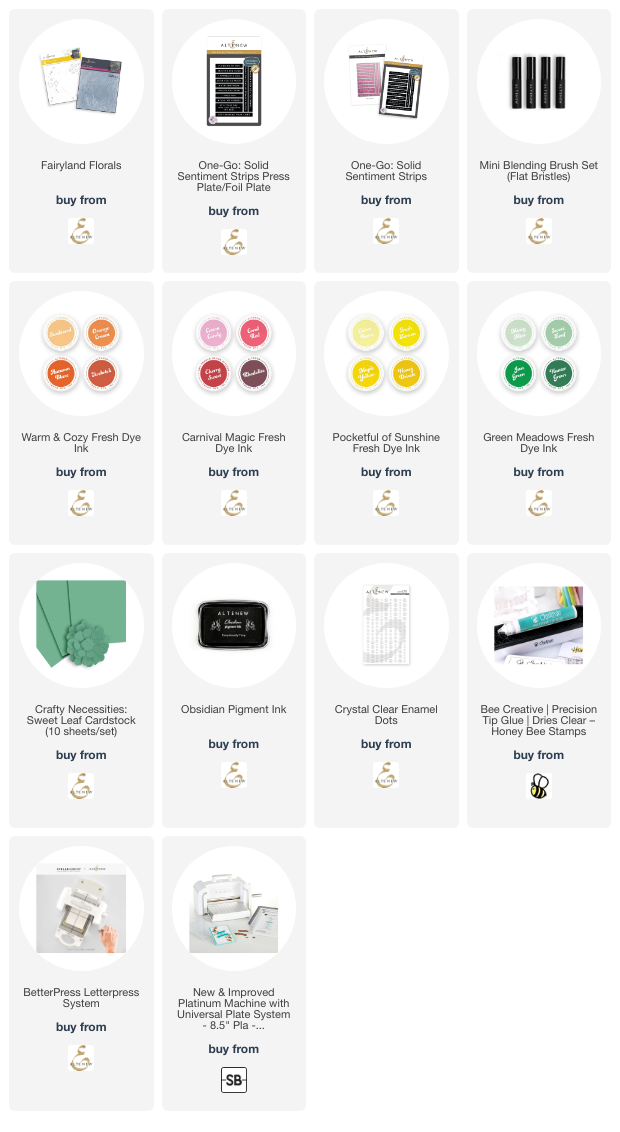
I think y'all know how much of a fan I am of 3D embossing folders and I love this Fairyland Florals 3D embossing folder!  After I embossing a 6" x 6" piece of white cardstock, I used various Fresh Dye Inks and the Mini Blending Brushes I ordered (love these!) to color in each of the four Fairyland Florals stencils.

I used these ink colors:

A note about these Mini Blending Brushes.  I paid for these and these were not part of my being on the team.  My honest opinion here.  I think these are some of the best brushes out there.  I really like how the brush is short and flat, plus the bristles are thick.  I really do recommend these.

I trimmed the panel and used glue to adhere it to a black layer and a Sweet Leaf cardstock layer.

The sentiment is one from the One-Go: Solid Sentiment Strips Press Plate.  The awesome thing about the is that not only does it give you all the sentiments in one pass, it has a coordinating die and can be used as a hot foil plate too!

I placed the press plate onto my BetterPress plate, tapped on Obsidian pigment ink, and pressed it with my Platinum onto 80# Neenah.  I cut the sentiments out with the coordinating Sentiment Strips die.

I used foam tape to adhere the sentiments to my card and added a few Crystal Clear enamel dots for a bit of bling!

If you'd like, I would love for you to check out my reel for this card over on Instagram!  Thank you for stopping by, and I hope you have a wonderful week!

Thank you for using my affiliate links to shop (never any additional cost to you)!