Showing posts with label BetterPress Club Kit. Show all posts

Friday, November 7, 2025

Life Is Better With Girlfriends

Hello crafty friends!  Today I'm sharing my card that features Spellbinders' November BetterPress Club Kit called Paws In The City.  I love this sweet and simple image!  This set also includes five different sentiments to choose from.

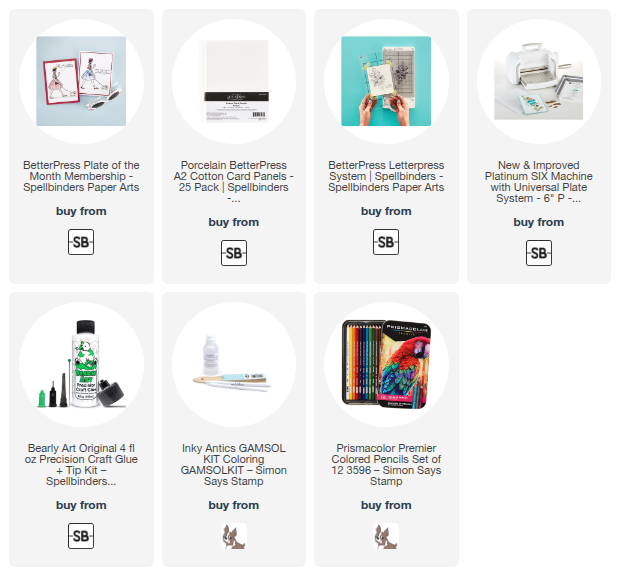
I inked up the Paws In The City press plate with BetterPress black ink onto Porcelain cotton cardstock.  After I pressed the image onto the cardstock, I colored the image with my Prismacolor pencils.  I used Gamsol and paper stumps to blend and smooth out the pencil coloring.  I haven't used this technique in a LONG time!  I really like the look that can be achieved!

There are five sentiments included with November's BetterPress of the Month.  I chose one to press onto Porcelain cardstock with black ink.  I love that there are coordinating dies included in the set to cut out each sentiment!

I trimmed the pressed image panel to 3-¾" x 4-¾" and added pink and black matting layers behind it.  The sentiment is popped up with foam strips.

This card is so easy and quick to make while still being a very special card to send to a friend!  I hope you've been inspired to check out the Club Kits!  Thank you for stopping by!  Have a wonderful and crafty Friday!

Thank you for choosing to use my affiliate links to shop (never any additional cost to you)!
Saturday, October 11, 2025

Sending Frosty Wishes

This month's Club Kits by Spellbinders are all so awesome!  I'm sharing this sweet, simple, and easy card today that features the October BetterPress Club Kit called Made With Snowflakes.  The October Club Kits are available now to sign up for and get yours!

I wanted to keep this card fully focused on the Made With Snowflakes BetterPress of the month.  First I pressed the plate into the Porcelain cardstock panel with Thunder BetterPress ink.  (Don't forget that Press Plates can be used with your hot foil machine such as the Glimmer.)

Then I picked the cute little snowman right in the center of the panel to color.  I used a few Copic markers to simply color it.  Then I pressed the sentiment (one of two included) with Thunder ink.  I trimmed the sentiment into a strip and then layered onto a piece of white cardstock that I colored with the same red Copic I used for the hat.

To keep everything coordinated, I colored the edges of a white cardstock panel with the red Copic markers and glued it to an A2 card base and then glued the pressed Made With Snowflakes panel.

I added foam strips to the back of the sentiment and placed it just below the colored snowman.  I couldn't get it to show in my photos, but I did use a clear glitter pen over the snowman for just a bit of sparkle!

This is a card that I just might mass produce!  It's so easy and cute too!

Be sure to check out each of the Club Kits for October!  Thanks so much for stopping by today!

Thank you for using my affiliate links to shop (never any additional cost to you)!

Sunday, September 7, 2025

This Is Me Sending Thanks

Hello, friends!  The window for joining Spellbinders Club Kits is open now through the 27th of September.  Today I'm the first of three cards I've made with Spellbinders Club Kits.  I've used the Betterpress Of The Month called Sketchy Hexi here.  I made a few different pressed panels and was able to use parts of them on my other two Club Kit cards, which I will be sharing in upcoming blog posts!

I used a piece of Porcelain cotton cardstock to ink up the Sketchy Hexi press plate with Tuscan, Clay, (from the Desert Sunset ink set) and Tawny Brown (Nature Tones) using the BetterPress Letterpress System.  I trimmed the panel to 4" x 5-¼" and glued it to an A2 card base.

Next I dry pressed another piece of Porcelain cardstock with the Sketchy Hexi press plate.  I just ran it through the Letterpress System with no ink.  It's so pretty!  Then I used the included hexagon die to cut out three of the patterns.  I added foam tape to the back to adhere them to my card.

Going with an autumn theme, I pulled out one of my favorite dies sets -- the Autumn Wonder die set.  I used a few die cuts that I had saved from a previous project.  That's why I always save any leftovers!  I used glue a foam squares to adhere them to the card.

The sentiment is one of two included with the Sketchy Hexi Press Plate.  I trimmed it into a strip and adhered it with foam strips.

I do love making autumn themed cards!  There's something about the warm autumn colors that I love.  Thanks so much for stopping by.  Be sure to click this link to check out all of the Club Kit details and options!

Thanks so much for using my affiliate links to shop (never any additional cost to you)!

Friday, August 15, 2025

Even Little Fish Make Big Waves

Today I'm sharing this adorable card that features Spellbinders August Betterpress of the Month called Fish Parade.  This month's Betterpress Club Kit also includes three sentiments with dies to use.

This was super easy to make!  You will need Spellbinders Betterpress Letter Press System to create this card.  If you have a hot foil machine, these can usually be foiled (I have not tried this press plate with foiling).  After setting up the cardstock (110# Neenah), the press plate and sentiment in the Betterpress, I inked up the Fish Parade press plate with three colors of ink.

I used these Betterpress inks: Cosmic Sky, Hydrangea, and Coastal.  After I ran it through my die cutting machine to press the ink onto the cardstock, I trimmed the circle of fish into a 3-¾" square.   I added foam tape to the back and adhered it to a layer of Cosmic Sky cardstock.

I used the die included in the Fish Parade set to cut out the sentiment.  Confession:  I messed up on the first pressing of the plate, but I'm glad I saved it!  I used my scissors to cut out a few of the fish to add around the sentiment!  Happy I could use some of it!

I added some clear Dew Drop embellishments above some of the fish for a bit of "extra"!

Have you ever checked out Spellbinders Club Kits?  I would really recommend them.  There are lots of options and you can check them out on this FAQ page.

Thanks so much for stopping by!

Thank you for using my affiliate links to shop (never any additional cost to you)! 

Saturday, April 19, 2025

A Note Just For You

Happy Saturday!  Today I'm sharing the details of my card that features two of Spellbinders Club Kits.  I've used the beautiful BetterPress Plate for April along with the 3D Embossing Folder of the month.

I love figuring out different ways to feature products and I've done just that with the Postage Mosaic 3D embossing folder by cutting it into pieces.

The Postage Mosaic 3D embossing folder is a 5-½" x 8-½" embossing folder that is filled with various shaped "postage stamps" with different images.  After I embossed 80# Neenah with my Platinum 6 die cutting machine, I used my paper trimmer to cut the folder into individual stamps.

I chose three to color with my Copic Markers.

For the background I used the Post Edge Expression BetterPress of the Month.  I love this image and how it can be bold or subtle.  I chose the subtle route and used my BetterPress Letterpress system to press gray ink into Pebble Cotton cardstock.

Note:  I love how the stamp edge and script are two separate press plates!  You also get three sentiment press plates and the coordinating dies to use to cut them out.

I chose a sentiment from the set and pressed the same gray ink onto Porcelain Cotton cardstock.  I cut it out with the coordinating die.  (These cotton cardstocks are currently on sale!)

I adhered the stamped, one with glue, and the others with foam tape.  I added a foam strip to the back of the sentiment to adhere it to the card.

I really love the look of this card with the neutral background and the pops of color on white!  There are many options to choose from in the Spellbinders Club Kits line.  Click HERE to check them out!

Thank you so much for stopping by!  I hope you have a blessed weekend and Easter.

Thank you for choosing to use my affiliate links to shop (never any additional cost to you)!

Saturday, March 22, 2025

Sending Love, Just Because I Care

Today I'm sharing my card I made with the Spellbinders' BetterPress Club Kit for March.  This beautiful press plate is called Quilted Memories and I love the more generic design so I can use it with different styles of cards!

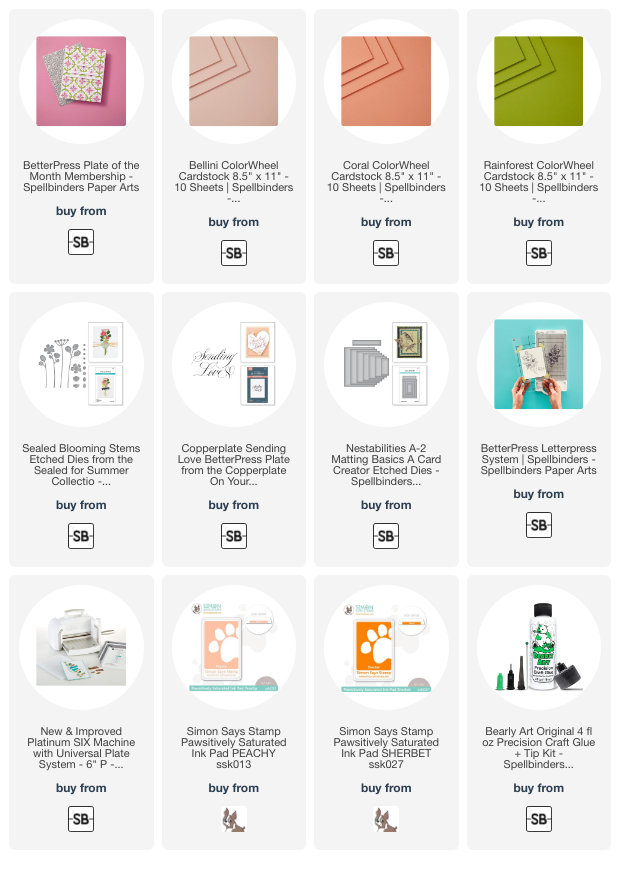
I decided to use the Quilted Memories Press Plate with coordinating cardstock and ink for a subtle tone-on-tone background.  I used a piece of Bellini cardstock and inked up the press plate with a coordinating peachy color ink.  After running it through my BetterPress Letterpress System, I trimmed it to 4" x 5-¼" and glued it to an A2 card base.

I used the Sealed Blooming Stems die set and die cut the pieces from Bellini, Coral and Rainforest cardstocks.  Before I glued the layers together, I inked up the flower edges and under layer with a darker peachy ink.

The main sentiment is the Copperplate Sending Love BetterPress letter press plate.  The March BetterPress club kit includes two sub-sentiments and I chose one to go along with the other sentiment.  They both are pressed onto Porcelain cotton card with BetterPress black ink.  I cut the main sentiment with a rectangle die from the A2 Matting Basics A set and the small sentiment with the die that is included in the BetterPress Club Kit.

I added foam tape to the back of both sentiments and adhered the Sending Love first.  Then I arranged the flowers and adhered them with glue.  I finished up by adding the other sentiment as shown.

If you have never checked out Spellbinders' Club Kits, I would encourage you to do so.  There is a club for several different products if you aren't into press plates.  Also you can cancel at any time!  

Thanks so much for stopping by!  

Thank you for using my affiliate links to shop (never any additional cost to you)!