Showing posts with label autumn cards. Show all posts

Friday, November 13, 2026

Autumn In Kyoto Thank You Card -- Alex Syberia Designs

Hello crafty friends!  I'm sharing my rich-in-autumn-colors card that features Spellbinders Autumn In Kyoto by Alex Syberia Designs!  I just posted a reel for this card on my Instagram, so I hope you'll check that out too!

These products are widely available at Alex Syberia Designs, Spellbinders, and Scrapbook.com.  

For this card I've used the Autumn Kokeshi Dolls Stamp & Die set, the Shoji Screen 3D embossing folder.  I pulled several autumn colored cardstocks (linked in the list below) for the elements of this card.

First I embossed  Fawn Cardstock with the Shoji Screen 3D embossing folder.  To emphasize the beautiful embossing and add a bit of shimmer, I swiped a metallic gold ink pad over the raised portions of the panel.   It's so pretty in real life!

Next I die cut white and various colors of cardstock with the dies in the Autumn Kokeshi Dolls die set.  There are four styles of dolls you can make with these!  The body of the doll is stamped with the stamp set included in the set.  This has four different patterns you can use.  I chose the stamp with the solid images to stamp out an ombre pattern onto her dress.  Inks are in the list below.

Then I glued the other layers together to complete the Kokeshi Doll.

The Japanese Maple Branch die set is exclusive and only included as a part of the Autumn In Kyoto Curated Bundle.  After I die cut the colored cardstocks, I swiped the metallic ink pad over portions of the leaves.  It's subtle, but in real life, so pretty!

I glued the assembled branches to the card.  Then I added gold metallic splatters to the card front.  When those were dry I adhered the Kokeshi Doll to the card with foam tape.

The sentiment is from the Autumn In Kyoto Press + Foil Plate & Die Set.  The sentiments are actually only dies.  Three dies cut 10 words to use to create your own sentiment.  I stacked four die cuts of each word together, with the top layer being glossy black cardstock.

Thank you so much for stopping by today!  I hope your day is fabulous and your weekend filled with lots of fun crafty time!

I so appreciate that you use my affiliate links to shop! (There's never any additional cost to you.) It helps me with the expenses of posting my creative content, thank you. Note: You must have "allow cross-site tracking" and cookies turned on in your browser in order for it to know you use my links.

Wednesday, September 23, 2026

Counting My Blessings...And You're One Of Them

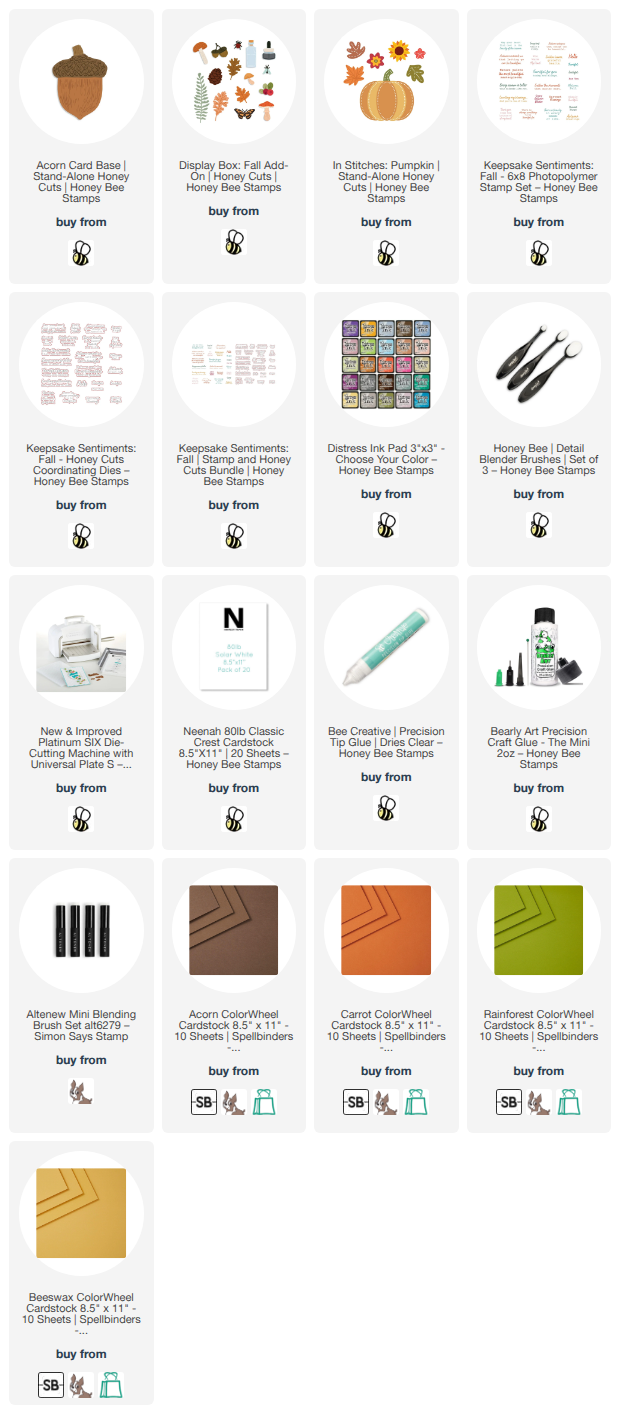
Hello, crafty friends!  Today I'm sharing this acorn-shaped card I made with Honey Bee Stamps awesome Acorn Card Base Honey Cuts!  Shaped cards are always so fun for your recipient and I don't think I've ever seen one like this!  Bonus: it easily fits into an A2 sized envelope!

First I created the Acorn Card Base by cutting some brown cardstock with the dies in the set.  I used ink blending brushes to add more color using Ground Espresso and Vintage Photo Distress Inks.

There is a separate die in the Acorn Card Base set that you can use to cut a folded white card panel into a shaped card base.  Just be sure to place the upper cutting edge of the die just above the fold of the card base.  Then I used Bee Creative Glue to adhere the layers together and to the card base.

Next I used some of the elements in the Display Box: Fall Add-On Honey Cuts to create the card detail images.  I also used the sunflower and a leaf die that's in the In Stitches: Pumpkin die set.  I cut these all from various colored cardstocks including orange, green, white, and a golden yellow.  I used ink blending brushes and more Distress Inks to give the leaves and other elements more color.  I used these Distress Inks:  Fossilized Amber, Rusty Hinge, Aged Mahogany, Fired Brick, Mowed Lawn, and Rustic Wilderness.

I used a black pen to color in the ladybug's dots and the lines on the butterfly.  Then I used glue to adhere the layers together, where needed.  I used glue and foam adhesive to adhere the elements to the Acorn Card Base card.

Next I stamped two sentiments from the Keepsake Sentiments: Fall stamp set with clear embossing ink onto more brown cardstock.  I added brass embossing powder to the sentiments and set it with my heat tool.  Then I cut them out with the coordinating Keepsake Sentiments: Fall dies.  (These are also available in a stamp and die set bundle.)

I glued one of the sentiments on the inside of the card.  I tucked in an extra leaf I had under the sentiment.  I like the touch of color this adds!

I used foam strips to adhere the other sentiment to the front of the card.

There are so many ways you could embellish this adorable Acorn Card Base!  I sure hope you've been inspired to try making your own acorn-shaped card--they are so fun!

Thank you for stopping by today!  Be sure to follow me on my Instagram to see my reel I'll be posting soon showing you more details of how I made my card.  Have a fabulous and crafty day!

I so appreciate that you use my affiliate links to shop! (There's never any additional cost to you.)  It helps me with the expenses of posting my creative content, thank you.

Wednesday, September 16, 2026

Warm Wishes Autumn Card With Stencils and Embossing -- Honey Bee Stamps

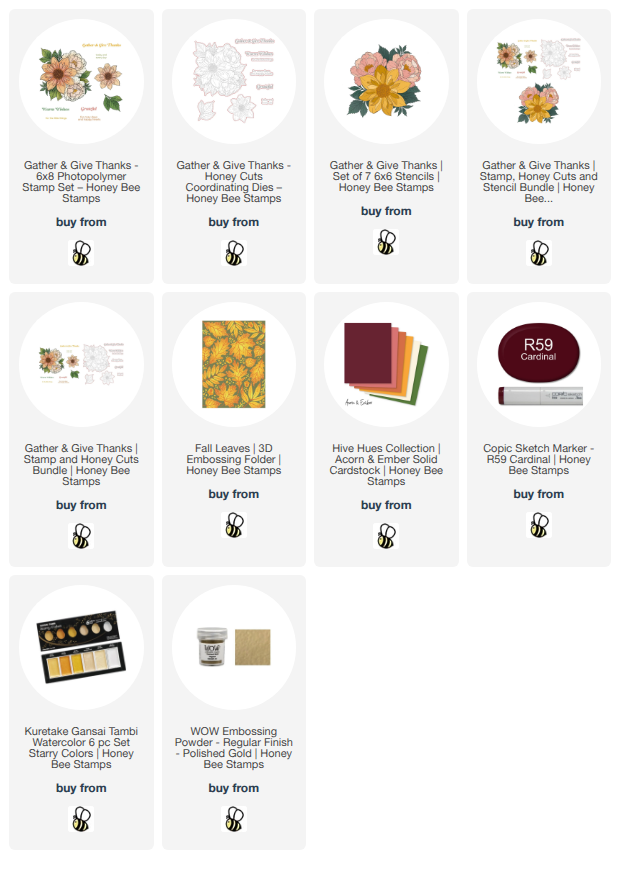
Hello crafty friends!  Does it feel like fall where you are?  Where I am it's still hot as blazes so I'm channeling all the autumn feels inside my craft room!  I filled this card featuring Honey Bee Stamps  Gather & Give Thanks stamp set, coordinating dies, and stencil set with warm autumn colors and gold touches.  Keep reading for all of the fun details!

You can also purchase a bundle of the Gather & Give Thanks stamp set, dies, and stencil set or the Gather & Give Thanks stamp set and dies.

If you've seen my stenciled cards before, you may remember that I like to stencil first, then stamp the image.  I began with white cardstock and the first of the seven stencils in the Gather & Give Thanks stencil set.  I used ink blending brushes to add 2-3 shades of purple, yellow, and green inks I have in my stash.

Be sure to use a stamp positioning tool for this next step.  I placed the stenciled Gather & Give Thanks piece into my MISTI.  Then I carefully positioned the Gather & Give Thanks stamp over the stenciling, then picked it up with the MISTI door.  Next I placed a piece of acetate over the image, then inked up the stamp with black ink and stamped it onto the acetate.  If the stamped image lines up with the stenciling, remove the acetate and stamp it again over the floral image.

Next I cut it out with the coordinating Gather & Give Thanks die.

For the A2 card base layer, I chose a piece of beautiful merlot cardstock from the Hive Hues Acorn & Ember cardstock pack.  I embossed an 4-¼" x 5-½" piece with the Fall Leaves 3D embossing folder.

I knew I wanted to color the white edges of the Gather & Give Thanks floral to match the merlot cardstock.  I was super happy to discover that the R59 Copic marker was almost a perfect match!!

I added some beautiful gold metallic watercolor splatters to the Fall Leaves embossed panel and just a few splatters to the Gather & Give Thanks floral.

Since I did not want a white sentiment with these rich autumn colors, I stamped two of the sentiments that are included in the Gather & Give Thanks stamp set onto merlot cardstock with clear embossing ink.  (Be sure to treat the cardstock with your anti-static tool first.)  I added polished gold embossing powder and used my heat tool to set the powder.  I cut the sentiments out with the coordinating dies.

To finish up, I added black foam tape adhesive to the back of the floral image and the sentiments to adhere them to the card base.

I love the rich colors and gold splatters of this card with the Gather & Give Thanks sets!  I hope you've been inspired by this!

Thank you so much for stopping by!  Also, be sure to check out my reel on Instagram to see some of my steps.  I hope your day is a good one with fun crafty time!

I so appreciate that you use my affiliate links to shop! (Never any additional cost to you.)  It helps me with the expenses of posting my creative content, thank you.

Wednesday, September 2, 2026

Thank You Card With Boho Pumpkins -- Honey Bee Stamps

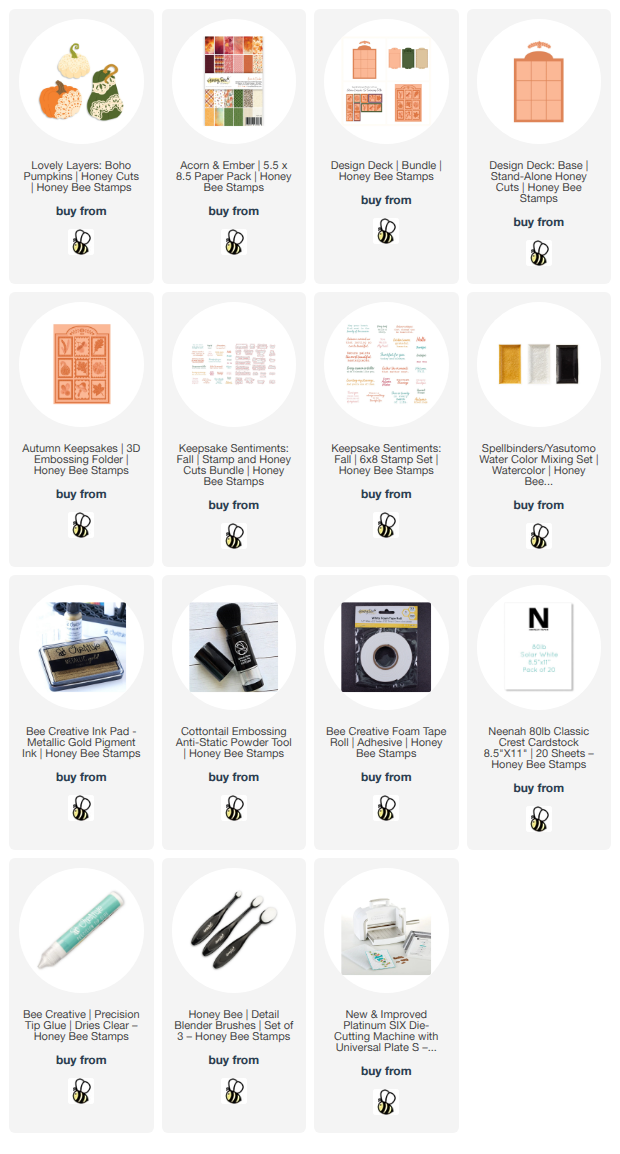
Hello, crafty friends!!  I'm super excited to share my first project with products from Honey Bee Stamps new Acorn & Ember release!  I'm in love with everything in this release and had a hard time choosing what to create with first!  I ended up choosing the beautiful Lovely Layers: Boho Pumpkins Honey Cuts for this card.

  • Please check this out!  I'm featuring this card for Honey Bee's Instagram Hop today, which begins at 9 am CDT.  I strongly encourage you to come on over to my Instagram to get started as there will be prizes!  Honey Bee is giving away one $25 gift card to two winners!  Just leave "hearts" and comments on each stop in the hop for more chances to win!

Now on to the fun details of my card!

I started out by creating a side-folding A7 card base from white cardstock.  I chose this beautiful leafy green paper from the new Acorn & Ember paper pad for the first layer and glued it to the card base.

Next I used the largest die in the Design Deck: Base die set to cut a piece of brown cardstock.  It's so cool that there's an embossing folder to coordinate with this die cut!  I just lined up the brown cardstock die cut in the Autumn Keepsakes 3D embossing folder and ran it through my die cutting machine.  I inked up the edges using blending brushes and Tea Dye and Vintage Photo Distress Inks.

Then I added gold splatters with a paint brush and gold metallic paint from Gansai Tambi Starry Colors watercolors!  (P.S.:  This set is my MOST favorite gold tones!). Then I swiped a gold metallic ink pad along the edges and glued it to my card base.

Next I chose three more papers from the Acorn & Ember paper pad and cut out the pumpkins with the dies in the Lovely Layers: Boho Pumpkins dies.  I die cut the lace from watercolor cardstock, the leaves from green cardstock, and the stems from brown cardstock.

I smooshed Antique Linen and Tea Dye Distress inks onto my silicone mat.  Then I spritzed the ink with just. bit of water.  Next I dipped each die cut layer into the ink, drying between colors and layers of ink with my heat tool.

I inked up the edges of each pumpkin using a blending brush and Tea Dye and Vintage Photo Distress inks along with some orange inks from my stash.  I used Rustic Wilderness for the leaves.  Before I glued the Boho Pumpkin layers together I inked the edges with gold metallic ink.

The sentiment is from the Keepsake Sentiments: Fall stamp set.  Before I stamped it, I die cut watercolor cardstock with the die in the Design Deck: Base dies.  Then I ink smooshed it as described above.  When the piece was dry, I patted an anti-static tool on the paper then stamped the sentiment with clear embossing ink.

I sprinkled copper embossing powder over the stamped sentiment, then heat set it with my heat tool.  I used a blending brush to ink the edges with Vintage Photo Distress ink then swiped the gold metallic ink pad along the edges.  (Of course, there is a coordinating Keepsake Sentiments: Fall die set, but I didn't need it this time.)

I adhered the Boho Pumpkins and the sentiment to the card using glue and some foam tape.

This was such a fun card to make.  I love these Acorn & Ember papers and the Boho Pumpkins too!  Be sure to check out the entire release on Honey Bee's website.

Thank you so much for stopping by.  I hope you have a wonderful and crafty day!

I so appreciate that you use my affiliate links to shop! (Never any additional cost to you.)  It helps me with the expenses of posting my creative content, thank you!

Wednesday, October 15, 2025

Autumn Thanksgiving Card

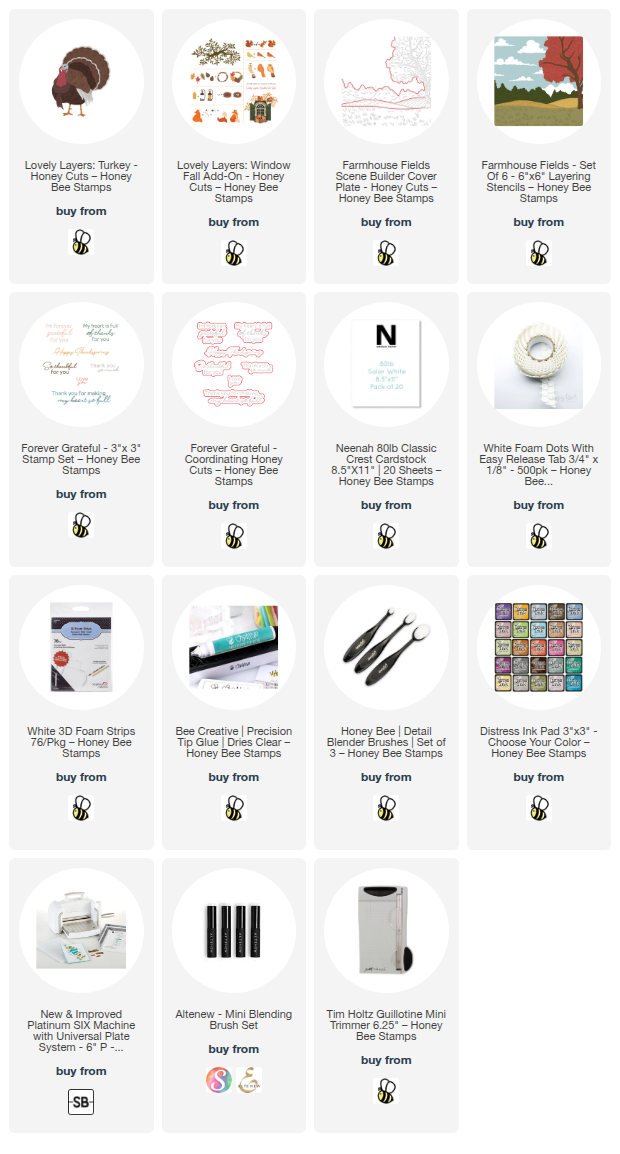
Hello crafty friends!!  Today I'm sharing my card featuring a few of Honey Bee Stamps' new Hello Harvest release products along with another awesome older product!  I've used the Lovely Layers: Turkey to create a Thanksgiving card to give to a family member.  Read on for all of the details.

I started by die cutting white cardstock with the dies from the Lovely Layers: Turkey.  I used an assortment of inks from my stash to color most of the layers with ink blending brushes.  For the four feather pieces I used E40 and E41 Copic markers.  I just didn't have an ink pad in a light enough color!

I followed the Layering Guide to help with layering the pieces and used glue to adhere them all.

For the background I used a favorite older set called the Farmhouse Fields Scene Builder dies.  I die cut white cardstock with the die and then used my paper trimmer to cut the piece to 4-¼" wide.  I trimmed off the tree from the die--I had other plans!

I had the Farmhouse Fields coordinating stencils out, but realized I didn't really need them.  I used more inks and blending brushes to color each layer.

I brushed on blue ink onto the top portion of an A2 card base.  Then I glued the Farmhouse Fields layers to the card.

For the tree, I used the beautiful large branch from the Lovely Layers: Window Fall Add-On die set.  I used two brown Copic markers along with three others in a golden, olive green and burnt orange shades to color the branch.

I used glue to adhere the branch to the card base.  Then I trimmed off the parts that were overhanging with my scissors.

I added foam tape to the back of the Turkey to adhere it to the card.  The sentiments are from the Forever Grateful stamp set.  I stamped them with black pigment ink and then cut them out with the coordinating dies. 

I popped up the sentiments on the card with foam strips.

I just love how this autumn background turned out for the Lovely Layers: Turkey!  I've already pardoned this turkey from Thanksgiving!  Hahaha!

Thanks so much for stopping by today!  I hope you have a joyous day!

Thank you for using my affiliate links to shop (never any additional cost to you)!

Wednesday, September 17, 2025

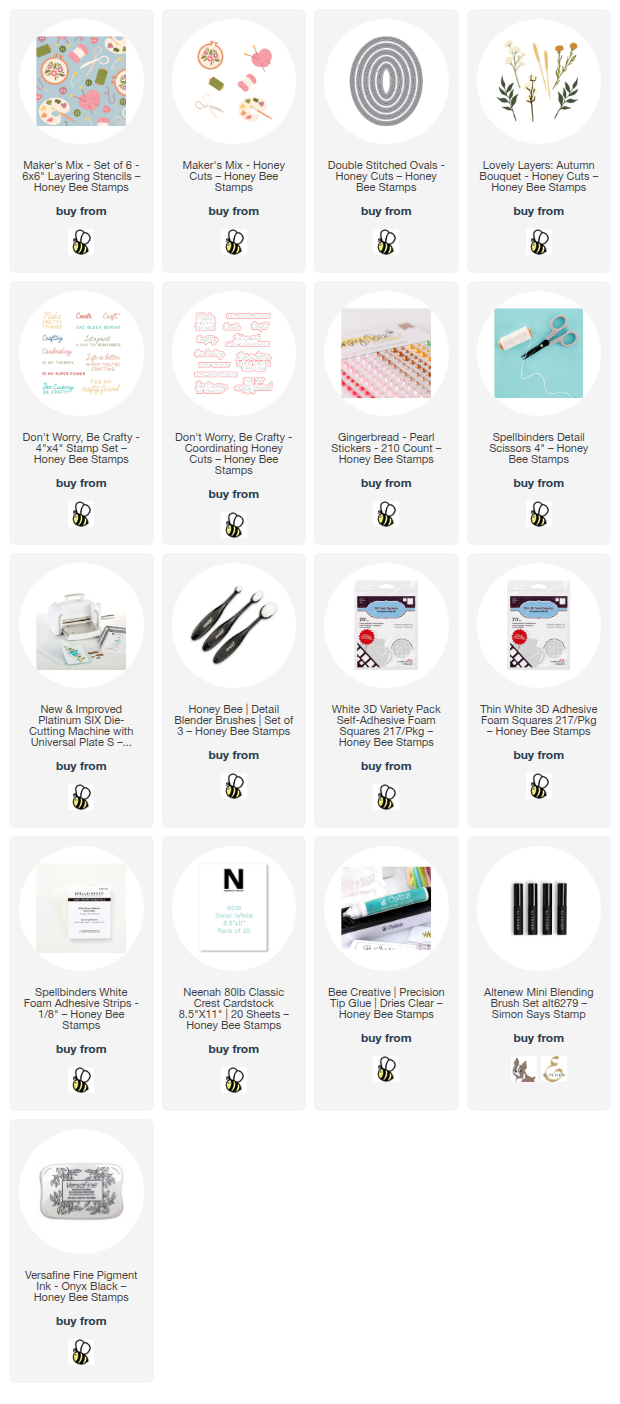
A Day To Remember -- A Fun Stenciled and Die Cut Autumn Card

Hello, crafty friends!  I'm still loving to create autumn themed cards and I've made one today with Honey Bee Stamps Maker's Mix stencil set and coordinating dies!  I've added in a favorite older set called Lovely Layers: Autumn Bouquet for the floral details.

I began with an A2 sized piece of colored cardstock for my stenciling with the Maker's Mix stencil set.  I used mini blending brushes to add coordinating autumn colored inks through each of the six stencils.  Then I trimmed the piece to 4" x 5-¼".  I have all of the cardstock and inks in the list below.

Next I die cut colored cardstock with the middle sized Double Stitched Oval die.  I added foam tape to the back and adhered it to the stenciled panel.  Then I used my scissors to trim off the oval overhanging the panel.  I used glue to adhered this to an A2 sized piece of cardstock in the same color and then glued it to an A2 card base.

Next I die cut several different colored cardstocks with the dies in the Lovely Layers: Autumn Bouquet Honey Cuts.  Then I used glue to adhere the layers together.  I played around with various arrangements of the florals and then used a piece of Press N Seal to pick them all up.  I LOVE doing this to retain the arrangement I made!  I used foam squares and glue to begin adhering the bottom most die cuts.  I continued until all of the florals were adhered to the oval.

I die cut white cardstock with the pallet die from the Maker's Mix .  Then I used the Maker's Mix stencils to add color to the pallet with inks in colors that coordinate with the Autumn Bouquet die cuts.  I added thin foam tape to the back to adhere it at the bottom of the floral arrangement.

The sentiment is from the Don't Worry, Be Crafty stamp set and is stamped in black ink.  I cut it out with the coordinating Honey Cut.  To adhere it the sentiment, I added a double layer of foam strips on the right back and glue to the left to bring the sentiment to the same height as the paint palette.

I added a bit of bling with pearls from the Gingerbread Pearl Stickers set.

Would you have thought to create an autumn card with the Maker's Mix stencils?  If not, I hope you've been inspired to try this out!  Thanks so much for stopping by!  I hope your day is wonderful and filled with fun crafty times!

Thank you so much for using my affiliate links to shop (never any additional cost to you)!

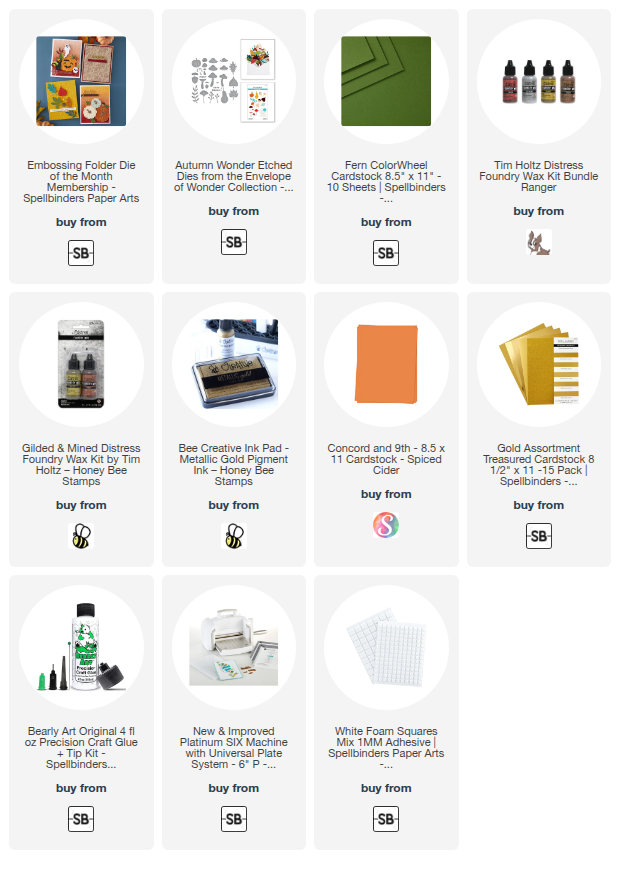
Monday, September 8, 2025

Sending Autumn Cheer

I'm back with another card featuring one of Spellbinders September Club Kits.  This one uses the Embossing Folder Club Kit along with a few bits from a piece I saved from the Press Plate Club Kit.

The Autumn Breeze Embossing Folder of the month is so beautiful and makes a perfect background for your autumn themed cards!  I used it to emboss a panel of Fern cardstock.  Then I took a metallic gold stamp pad and lightly swiped it over the raised portions to help the beautiful embossing stand out.  (I tested this technique on a smaller piece of green cardstock to see if I liked it and saved it to use in the next steps.). The cardstocks are linked in the supply list below.

I adhered three hexagons I die cut from a panel I made with the Sketchy Hexi September press plate.

Then I die cut three leaves from burnt orange cardstock and the embossed green cardstock with the leaf dies from the Autumn Wonder die set.  I inked up the edges with blending brushes and coordinating inks.

To coordinate with the gold of the embossed panel, I added Gilded Distress Foundry Wax with a dry paint brush to the edges of the orange leaves.  This product is really cool because after you heat set it, it turns into a beautiful shiny gold!

The sentiment is another one from the Sketchy Hexi press plate set.  I tapped a brown ink onto the press plate and ran it through my Platinum die cutting machine.  After I trimmed the sentiment into a strip, I glued it to a brushed gold cardstock layer.

Such a fun card to make!  Thanks so much for stopping by!

Thank you for using my affiliate links to shop (never any additional cost to you)!

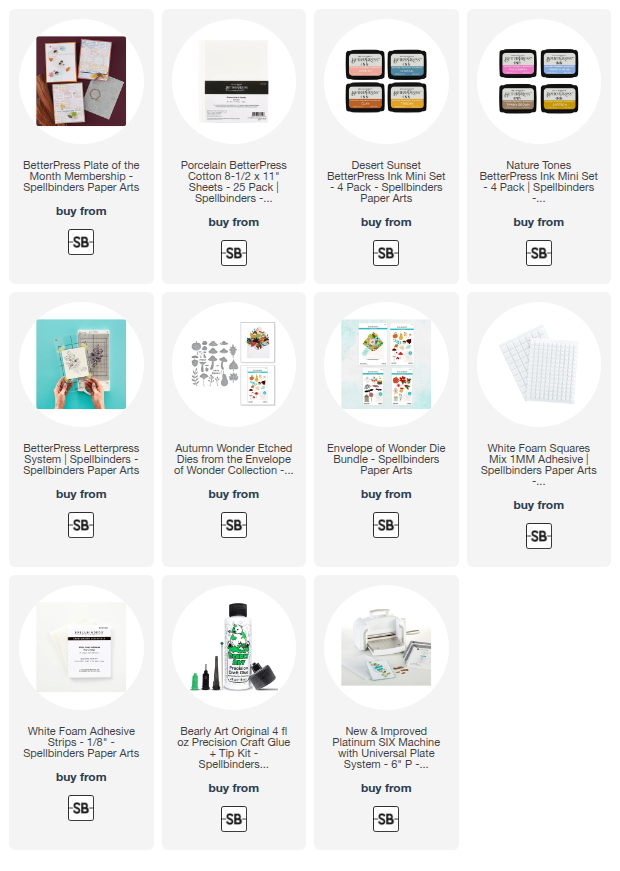
Sunday, September 7, 2025

This Is Me Sending Thanks

Hello, friends!  The window for joining Spellbinders Club Kits is open now through the 27th of September.  Today I'm the first of three cards I've made with Spellbinders Club Kits.  I've used the Betterpress Of The Month called Sketchy Hexi here.  I made a few different pressed panels and was able to use parts of them on my other two Club Kit cards, which I will be sharing in upcoming blog posts!

I used a piece of Porcelain cotton cardstock to ink up the Sketchy Hexi press plate with Tuscan, Clay, (from the Desert Sunset ink set) and Tawny Brown (Nature Tones) using the BetterPress Letterpress System.  I trimmed the panel to 4" x 5-¼" and glued it to an A2 card base.

Next I dry pressed another piece of Porcelain cardstock with the Sketchy Hexi press plate.  I just ran it through the Letterpress System with no ink.  It's so pretty!  Then I used the included hexagon die to cut out three of the patterns.  I added foam tape to the back to adhere them to my card.

Going with an autumn theme, I pulled out one of my favorite dies sets -- the Autumn Wonder die set.  I used a few die cuts that I had saved from a previous project.  That's why I always save any leftovers!  I used glue a foam squares to adhere them to the card.

The sentiment is one of two included with the Sketchy Hexi Press Plate.  I trimmed it into a strip and adhered it with foam strips.

I do love making autumn themed cards!  There's something about the warm autumn colors that I love.  Thanks so much for stopping by.  Be sure to click this link to check out all of the Club Kit details and options!

Thanks so much for using my affiliate links to shop (never any additional cost to you)!

Wednesday, October 9, 2024

Sweet Autumn Card For Our Friends

Hello crafty friends! Today I'm sharing my sweet card I made with Honey Bee Stamps adorable Storybook Fall stamps and coordinating Honey Cuts. I love the sentiments in this set that are so perfect for a card for that special friend!

I created the scene by first stamping some of the images from the Storybook Fall stamp set with Intense black ink, an alcohol marker safe ink. There's the cutest scarecrow in this set but I just didn't have room for him on my card!

I used a variety of Copic markers to color the images. Then I cut them out with the coordinating Storybook Fall dies. I used a white gel pen to add highlights to the apples and stripes on the pup's scarf.

Next I used one of the hill dies that is in the Horizon Slimline Borders die set to cut a strip of white cardstock. I used an ink blending brush to color it with Mowed Lawn and Rustic Wilderness Distress Oxide inks. Then I used the little grass stamp in the Storybook Fall set to add the grass to the piece by stamping with Rustic Wilderness Oxide.
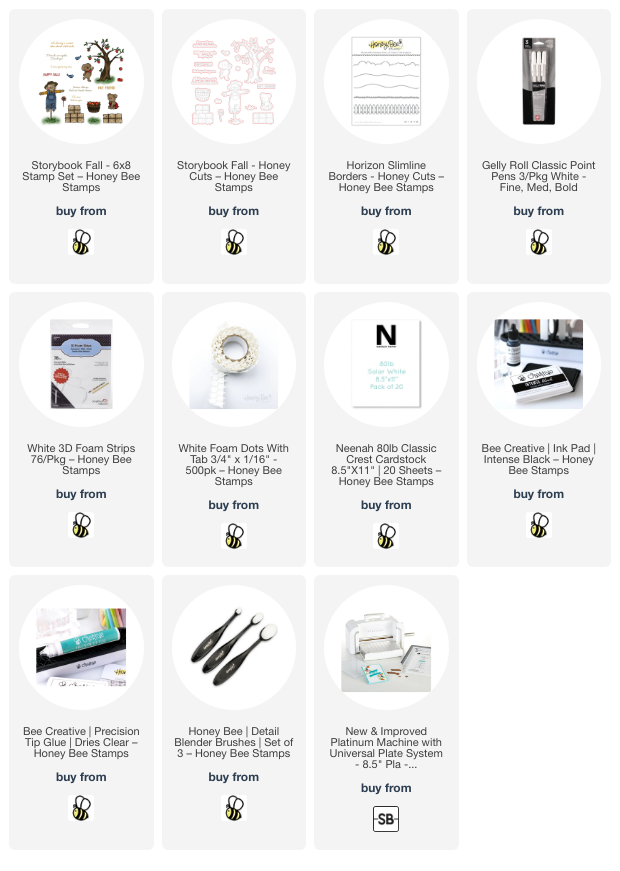
Before I glue on the grass piece, I added Tumbled Glass Oxide ink with a blending brush to my A2 card base. I used glue and some foam dots to adhere the cute images to the scene.

Then I stamped the two sentiments from the Storybook Fall set with black ink and cut them out with the coordinating dies. I added foam strips to the back to pop the sentiments up on the card.

And that's it! A super sweet card made with one stamp set and two die sets! I sure do appreciate you taking a few minutes to stop by today! Have a fabulous day!

Thank you so much for using my affiliate links to shop (never any additional cost to you)!

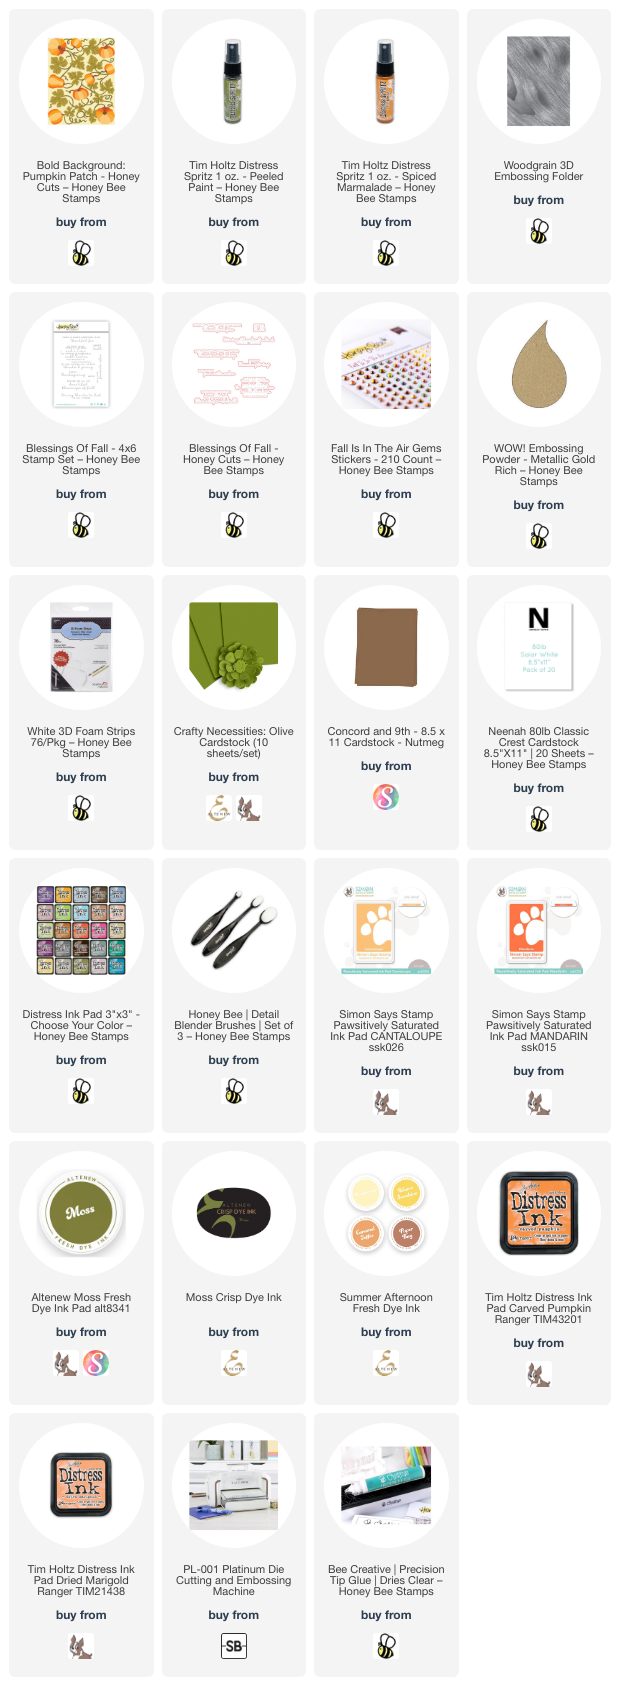
Wednesday, September 18, 2024

Pumpkin Patch Autumn Card

Hello Honey Bee friends! Today I'm sharing my card I made with the beautiful Bold Background: Pumpkin Patch Honey Cuts! I love creating cards in all the colors of autumn!

First I die cut the Bold Background: Pumpkin Patch background die and leaves die from some rich olive green cardstock. I like how all of the leaves are on one die! If you look at the Layering Guide, you will see how many of each leaf you will need. This will give you extra die cut leaves to save for another project!

I spread the background die cut and the leaves onto my craft mat. Then I lightly sprayed them all with some Peeled Paint Distress Spritz. I love the shimmer of this spray!

Next I die cut all of the pumpkin dies from white cardstock. Be sure to refer to the Layering Guide to see how many of each pumpkin you will need. I pulled out several shades of orange and warm yellow inks from my stash and had fun using my blending brushes to add color to the layers.

When I was finished coloring the pumpkin layers, I used glue to adhere the layers together. Then I sprayed them with some Spiced Marmalade Distress Spritz. I die cut the pumpkin stems from brown cardstock and glued one to each pumpkin.

Next I embossed another piece of the olive green cardstock with the Woodgrain 3D embossing folder. I adhered the Pumpkin Patch background die cut to the embossed layer and then glued this to an A2 card base. I love the tone-on-tone textured look of this!

I used my fingers to slightly shape the leaves before gluing them in place. Next I glued the pumpkins to the piece.

I gold heat embossed the sentiment from the Blessing of Fall set onto olive cardstock. Then I cut it out with the coordinating Honey Cut.

I added a bit of sparkle to the card with some gems from the Fall Is In The Air gem stickers set.

I love the warm, rich colors of this card and hope you do too! Thank you so much for stopping by!

I know you have many options for shopping, and I appreciate your using my affiliate links (never any additional cost to you)!

Thursday, October 12, 2023

I Love Fall Gnome Matter What

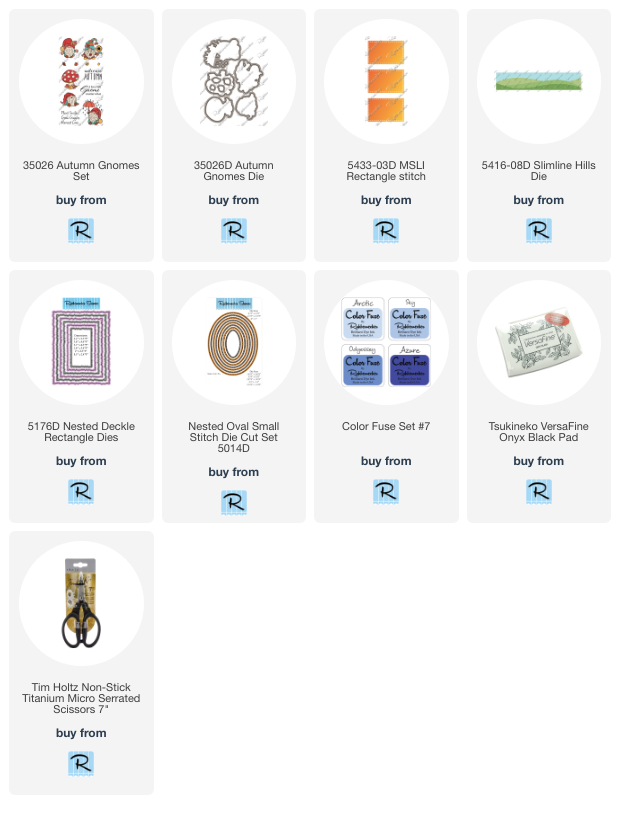
 Hello crafty friends!  Today I'm sharing my autumn card featuring Rubbernecker Stamps' adorable Autumn Gnomes Set!

I stamped the cute images from the Autumn Gnomes Set, which includes the mushroom and little leaves, with black Copic safe ink.  After I colored them with my Copics, I cut them out with the coordinating dies.

The card base is created from patterned paper from the new Festival of Colors paper pad (releasing this week) that I die cut with a Nested Deckle Rectangle die.  I die cut two Nested Oval Small Stitch dies from orange and white cardstock.  After I brushed on some light blue ink for the sky, I die cut some green cardstock with the oval and then with a Slimline Hills Die.  I adhered it to the oval with glue.

I used glue and foam dots to adhere the Autumn Gnomes images to create my scene.  I added thin foam tape to the back to adhere it to the orange oval.  Then I glued it to the card base.

The sentiment I chose is one of several included in the Autumn Gnomes Set.  I found that the window of the MSU Rectangle Stitch die fit the sentiment perfectly and die cut it out!

Be sure to click the link below for the Autumn Gnomes Set to check out the other adorable gnomes!  Thank you so much for stopping by!

Thanks so very much for using my affiliate links to shop (never any additional cost to you)!

Sunday, August 27, 2023

Give Thanks Card With The New Heartfelt Harvest Release!

Happy shiny new week, crafty friends!  Today I'm sharing my first card using new products from Honey Bee Stamps gorgeous new release called Heartfelt Harvest!  We will be sharing "inspiration" ideas for this release today through Tuesday.  Then on Wednesday, we are having an Instagram hop with prizes!

As you may imagine, I've been super busy, and still have lots to prepare for, so this will be a brief blog post.  If you have any questions, please use the "contact me" form in the left column.

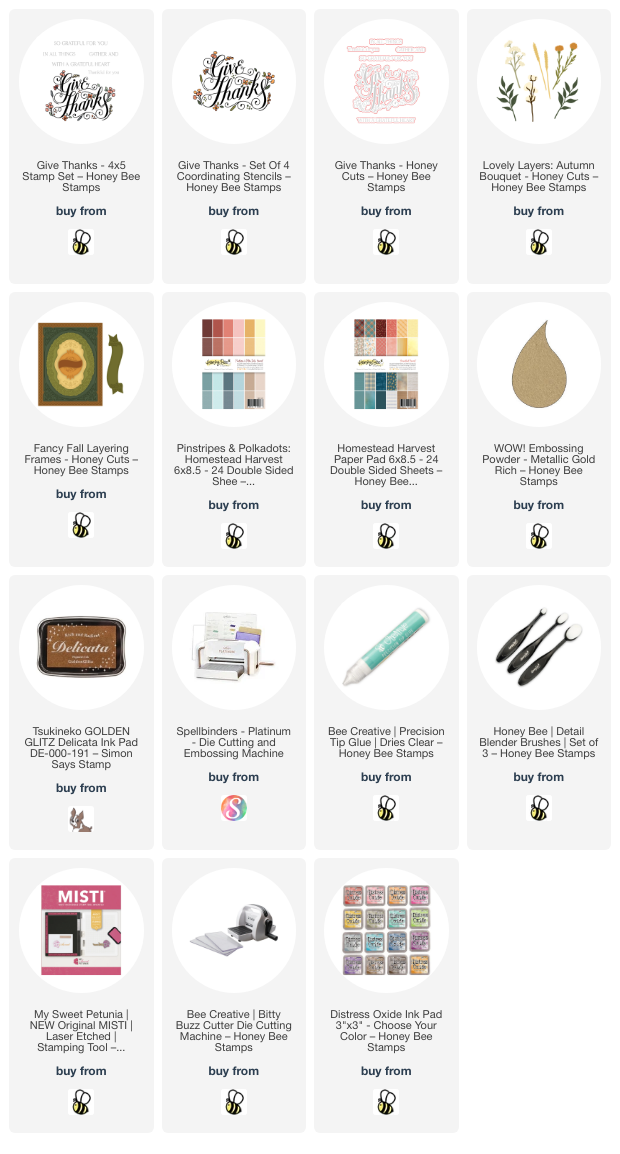
This card features the absolutely gorgeous Give Thanks stamp, stencils, and coordinating die.

I love the font of this sentiment!  I let is shine by heat embossing it in gold.  A few pretty accents from the new Lovely Layers: Autumn Bouquet adds that bit of special!  These were die cut from metallic gold paper and patterned paper from the Pinstripes and Polka Dots: Harvest paper pad.

The gorgeous layers with paper from the Heartfelt Harvest paper pad (let me just say, Honey Bee has the most gorgeous papers!) are die cut with the Fancy Fall Layering Frames dies.  I added a bit more shine by swiping a metallic gold ink pad around the edges of the layers.  This really helps the detail of the dies stand out. 

Thank you so very much for stopping by.  Be sure to check out the entire Heartfelt Harvest release HERE.  Have a beautiful Sunday!

Thank you so much for using my affiliate links to shop (never any additional cost to you)!