Showing posts with label Woodgrain 3D embossing folder. Show all posts

Wednesday, September 18, 2024

Pumpkin Patch Autumn Card

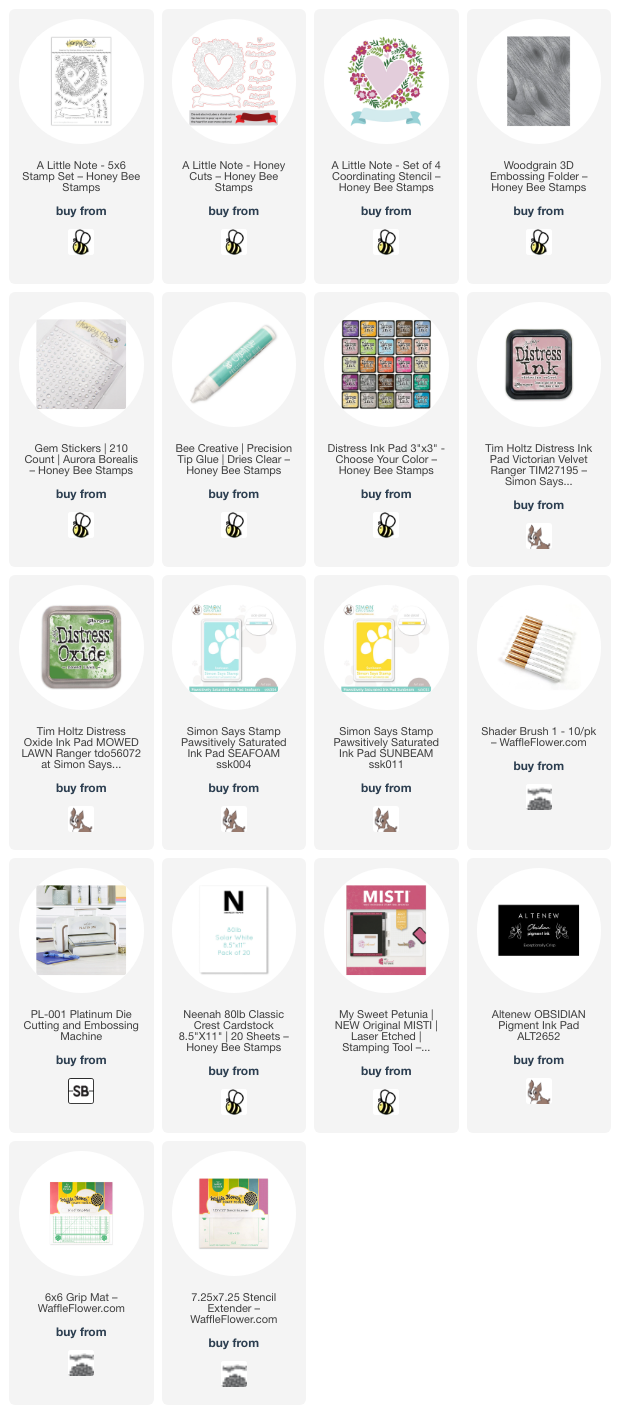
Hello Honey Bee friends! Today I'm sharing my card I made with the beautiful Bold Background: Pumpkin Patch Honey Cuts! I love creating cards in all the colors of autumn!

First I die cut the Bold Background: Pumpkin Patch background die and leaves die from some rich olive green cardstock. I like how all of the leaves are on one die! If you look at the Layering Guide, you will see how many of each leaf you will need. This will give you extra die cut leaves to save for another project!

I spread the background die cut and the leaves onto my craft mat. Then I lightly sprayed them all with some Peeled Paint Distress Spritz. I love the shimmer of this spray!

Next I die cut all of the pumpkin dies from white cardstock. Be sure to refer to the Layering Guide to see how many of each pumpkin you will need. I pulled out several shades of orange and warm yellow inks from my stash and had fun using my blending brushes to add color to the layers.

When I was finished coloring the pumpkin layers, I used glue to adhere the layers together. Then I sprayed them with some Spiced Marmalade Distress Spritz. I die cut the pumpkin stems from brown cardstock and glued one to each pumpkin.

Next I embossed another piece of the olive green cardstock with the Woodgrain 3D embossing folder. I adhered the Pumpkin Patch background die cut to the embossed layer and then glued this to an A2 card base. I love the tone-on-tone textured look of this!

I used my fingers to slightly shape the leaves before gluing them in place. Next I glued the pumpkins to the piece.

I gold heat embossed the sentiment from the Blessing of Fall set onto olive cardstock. Then I cut it out with the coordinating Honey Cut.

I added a bit of sparkle to the card with some gems from the Fall Is In The Air gem stickers set.

I love the warm, rich colors of this card and hope you do too! Thank you so much for stopping by!

I know you have many options for shopping, and I appreciate your using my affiliate links (never any additional cost to you)!
Wednesday, January 17, 2024

Sweet Note Card with Pretty Springtime Colors

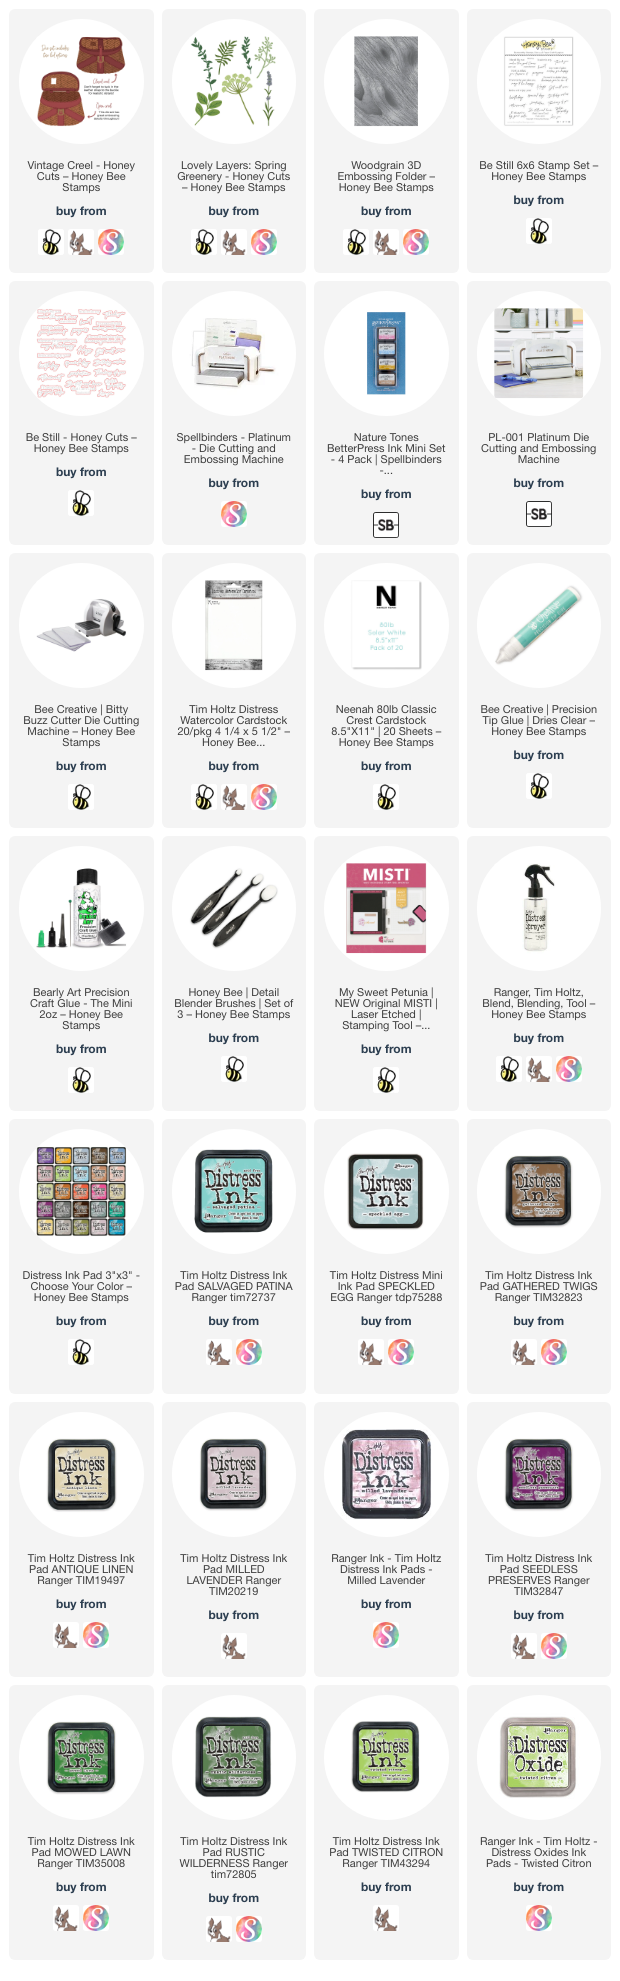
Hello crafty friends! Today I'm sharing a sweet card featuring one of my favorites: A Little Note stamps, Honey Cuts, and coordinating stencils by Honey Bee Stamps.  It has been so cold here and I was in the mood for some pretty spring colors to remind us all that this ridiculous cold weather will most certainly go away as we get closer to springtime!

I began by using the A Little Note stencils and blender brushes to add some teal, pink, and green inks through the stencil layers onto white cardstock. I used a variety of ink brands I have in my stash. Note: I didn't use the outline stamp from the A Little Note stamp set because I wanted a softer look for the image.

I chose a sentiment from the A Little Note stamp set and stamped it onto the banner with black pigment ink.

When I was finished coloring with all of the stencil layers, I cut out the wreath and banner with the coordinating dies. I used the other larger banner die including in the A Little Note Honey Cuts to cut out a white banner to place behind the stenciled one.

The card base is an A2 top-folding card made from teal cardstock. I added a 4" x 5-¼" white cardstock I embossed with the Woodgrain 3D embossing folder and adhered with glue.

Next I added white foam strips to the back of the wreath to adhere it to the card. Then I die cut more white cardstock with the heart die in the A Little Note die set and embossed it with the Woodgrain embossing folder. I added foam strips to the back to adhere it to the center of the wreath. More foam tape was used to adhere the banner layers to the card.

I added some pretty sparkle with some gem stickers from the Aurora Borealis Gem Stickers.

I love using stencils to color images, and I hope you've enjoyed my card making process today!  Have a wonderful day!

Thank you so much for shopping with my affiliate links (never any additional cost to you)!

Wednesday, July 12, 2023

Birthday Card with a Flower-Filled Vintage Creel

Today I'm sharing a sweet birthday card where I've filled Honey Bee Stamps' Vintage Creel from the Adventure Awaits release with flowers and greenery! All of my card elements were colored via the "ink smooshing" technique? I really enjoy this technique! Keep reading to learn how I used a new type of ink to emphasize the embossed lines of Vintage Creel!

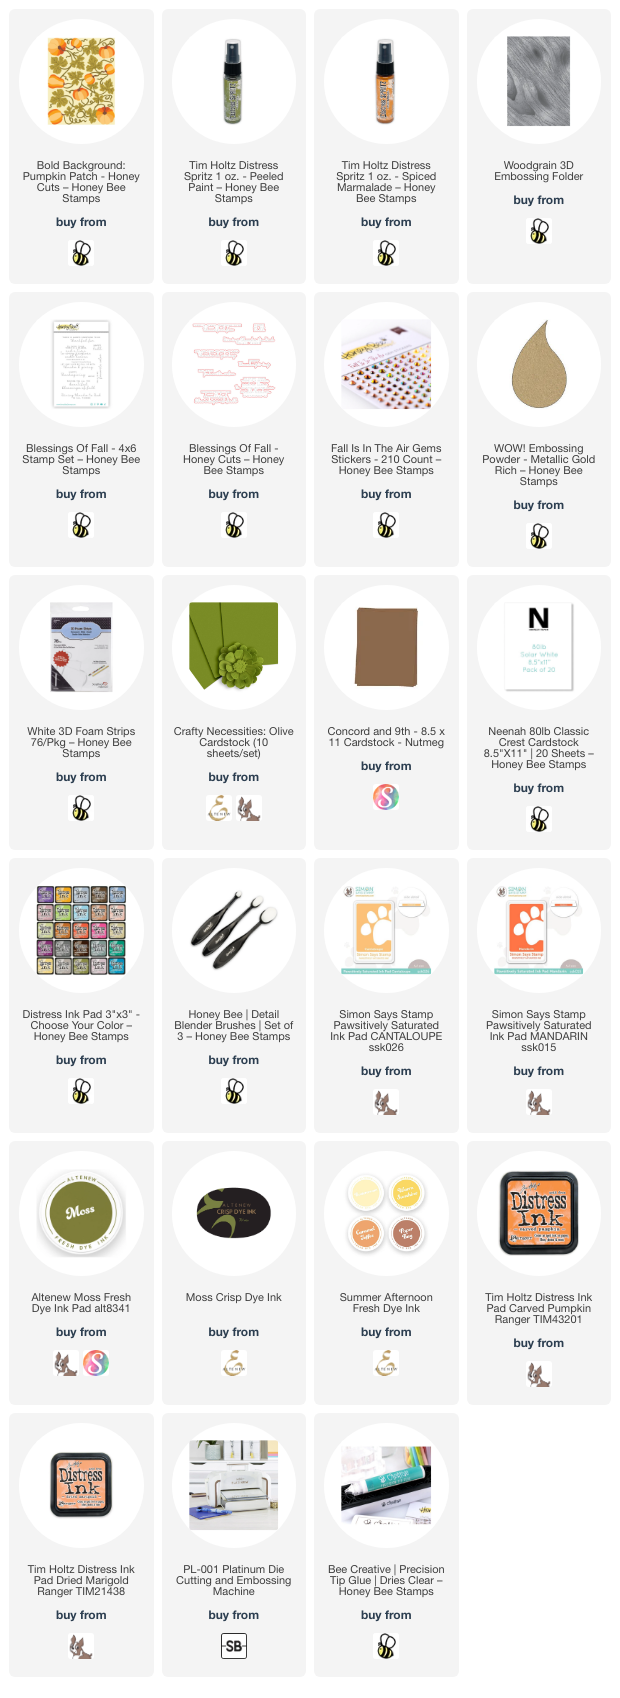
All of the elements for the Vintage Creel and the Lovely Layers: Spring Greenery were inked with Distress Inks onto Distress Watercolor Cardstock. Are you familiar with what I call "ink smooshing"? If not, the way I do this technique is to take my ink pad and "smoosh" it onto my glass craft mat. I use a water sprayer to mist water onto the inks. You just want a few sprays of water so the ink is not too diluted. Then take your piece of watercolor cardstock and dip into the ink. Pick it up and use your heat tool to completely dry the piece. Next, repeat the dip and dry steps as often as desired. Add more ink to your crafting surface as needed.

These are the Distress Inks I used for the creel and flowers:

  • Creel basket: Speckled Egg, Salvaged Patina, Antique Linen (white splatters are acrylic paint)
  • Creel trim: Gathered Twigs, Antique Linen
  • Greenery: lighter greens: Mowed Lawn, Twisted Citron; darker greens: Mowed Lawn Rustic Wilderness
  • Flowers: Milled Lavender, Seedless Preserves
Here's a closeup photo of the Spring Greenery pieces after I glued the layers together.

Before I assembled the Vintage Creel, I noticed that the embossed lines that the die adds were not really visible.  I suppose this was because of the various layers of ink on the cardstock.  I had an idea pop into my head and was asking myself "Will this work?"  So I tried it, and it worked!!

THE PROCESS:  Use the new ink formulated for the new Spellbinders BetterPress and tap it onto the Vintage Creel die in the same way the directions say for the BetterPress Plates.  I carefully placed the die cut piece back into the die, added removable tape, and ran it through my Platinum die cutting machine again.  I used the same sandwich as I would for die cutting.  AND, viola!  The Tawny Brown ink I used shows up subtly in the embossed lines of the Vintage Creel!!

I used dots of Bee Creative glue to tuck the Spring Greenery pieces into the Vintage Creel. Trim off the stems to shorten them as needed. I used very little glue as I wanted to have the dimension of the pieces naturally floating above the card.


For the card base I ran a piece of 80# Neenah through my die cutting machine with the Woodgrain 3D embossing folder. I glued the embossed piece to an A2 card base. Next I added glue to the back of the Vintage Creel and to a few of the flowers and adhered it to the card.

I stamped the sentiment from the Be Still stamp set in brown ink and cut it out with the coordinating die. I added a narrow strip of foam tape to the back to pop it up on the card.

If you need to add birthday cards to your stash, this is a fun one to make and did not take me very long either! Thanks so much for stopping by today! I hope the rest of your week is good and filled with lots of crafting!

I so appreciate you using my affiliate links to shop (never any additional cost to you)!