Showing posts with label Lovely Layers: Spring Greenery. Show all posts

Wednesday, June 10, 2026

Perfect Peonies Thinking Of You Card

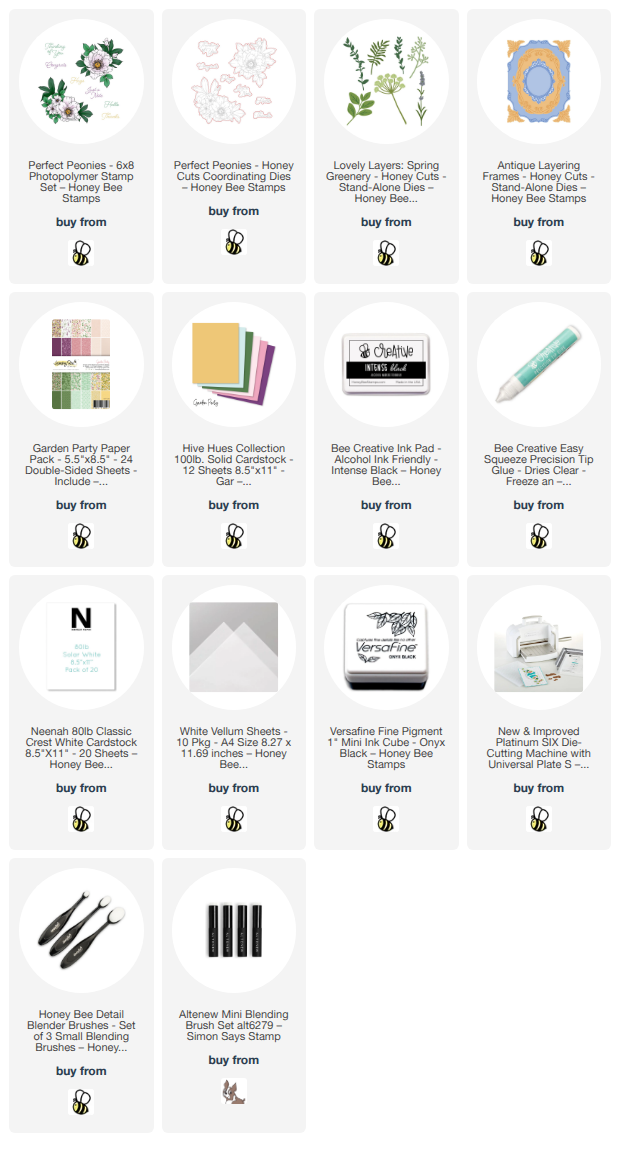
Hello crafty friends!!  Today I am sharing this Copic marker colored card that features Honey Bee Stamps absolutely gorgeous Perfect Peonies stamp set and coordinating Perfect Peonies Honey Cuts.  It's been a while since I colored an image and I really enjoyed taking my time with this and just enjoying the process!

First I stamped this image from the Perfect Peonies stamp set with Bee Creative Intense Black ink which is safe to use with alcohol markers.  I used a BV31 Copic marker to "under-paint" the shadow areas of the petals where my darkest marker would be.  I finished the coloring with just a touch of Y11 over the lightest marker shade.  These are the colors I used for the flowers, buds, and leaves (I always color dark to light and have listed the markers in the order used):

  • flower and buds:  BV31, R14, R22, R43, R32, R11, Y11
  • leaves: G29, YG67, YG17, YG25, YG03

With my coloring complete, I cut the images out with the coordinating Perfect Peonies dies.

Next I die cut some vellum three times with the leaf stem from the Lovely Layers: Spring Greenery dies.  I used YG17 and YG25 to color the back of the vellum.

For the layers on the A2 card base I first die cut paper from the Garden Party paper pad with the largest die in the Antique Layering Frames set.  I lightly inked the edges with a coordinating beige ink with a blending brush.  I used Bee Creative glue to adhere the piece to the card base.

The smaller layer is die cut with the oval die in the Antique Layering Frames set and paper from the Hive Hues Garden Party cardstock pack.  I also lightly inked these edges with a coordinating ink.  I added foam tape to the back of the piece to adhere it to the card.

I decided on an arrangement for the Perfect Peonies image and the vellum leaves.  First I glued the leaves to the card and adhered the peony image with foam tape.

The sentiment is one of several in the Perfect Peonies stamp set.  After I stamped with black pigment ink, I cut it out with the coordinating die and adhered it with foam tape.

I think this sentiment is perfect for the tone and "feel" of this card!  Do you enjoy coloring?  I really hope I've given you some inspiration today to sit down, relax, and enjoy a good coloring session!  Have a wonderful day, and I'll see you back here next week!!

Thank you so much for using my affiliate links to shop (never any additional cost to you)!
Wednesday, February 11, 2026

By Chance We Met, By Choice We Are Friends

Hello crafty friends!  Today I'm sharing a card I made to give to a wonderful friend for Valentine's Day!  I've used the fun stencil set, Hearts In Bloom, along with the Great Greetings: Love die set as well as some other fabulous sets!

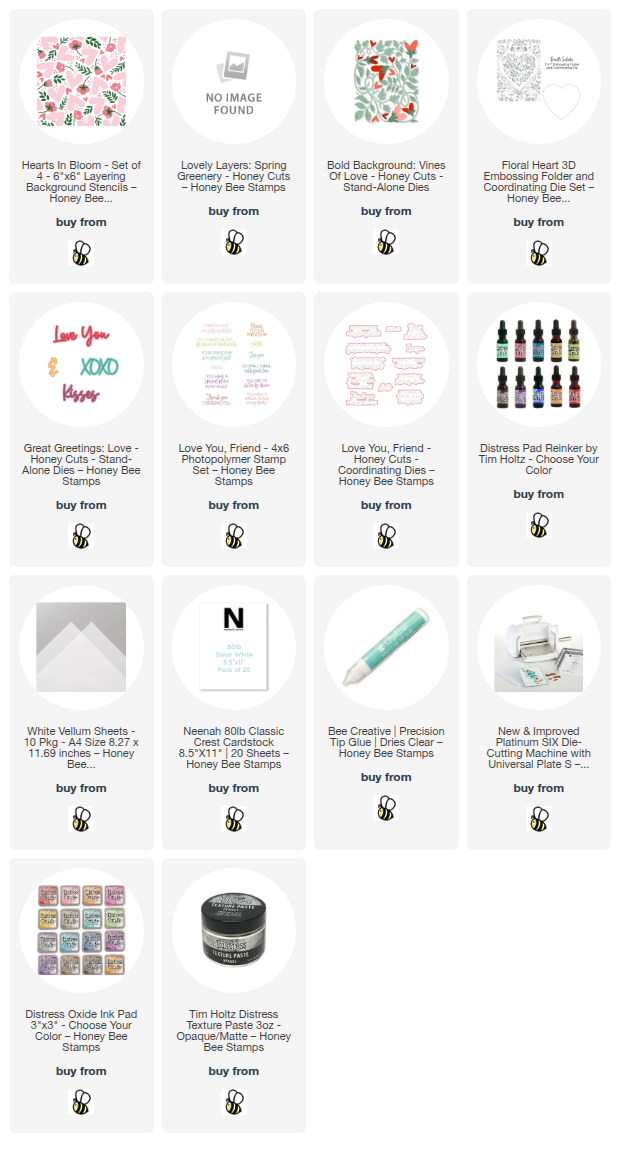
First I created the background with the Hearts In Bloom stencil set.  There are four fabulous layers to this stencil set.  I used some Distress Oxide Inks with blending brushes to color through stencils one through three.  I used these colors:  Festive Berries, Picked Raspberries, Spun Sugar.

I know it's hard to tell from the photos, but I used texture paste tinted with a drop of Mowed Lawn Distress Ink re-inker and spread that through the fourth stencil with the leaves.  In real life, it's a subtle texture both visually and tactilely.  I love it!

When the paste was dry, I glued the panel to an A2 card base.

For the other card elements, here is a list of the sets I used, with a few details:

Now for the sentiments!  True story--in 2016 my husband and I met a couple while we were on a trip in Italy.  The connection was real and a life-long friendship was born!  We all travel together and do girls trips every year!

That's why I chose these two sentiment sets!   First I blended some Festive Berries Oxide onto white cardstock.  Then I die cut the XOXO from the Great Greetings: Love die set.  I also die cut it from white cardstock four times to layer up the sentiment.

The second sentiment is from the Love You, Friend stamp set.  After I stamped it with Festive Berries Oxide ink, I cut it out with the coordinating die.

Whether you celebrate Valentine's Day or not, this is an awesome card to give to your special friend any time!

Thank you for stopping by today!  I hope you have a good, and crafty, day!

Thanks, always, for using my affiliate links to shop (never any additional cost to you)!

Wednesday, April 23, 2025

Happy Birthday Card with Tips for Easy and Fast Die Cut Coloring!

Hello crafty friends! Today I'm sharing a card to add to my birthday card stash that I've made with more of Honey Bee Stamps previously released products! I've used the beautiful Lovely Layers: Tulips along with a few other favorite sets. If you would like to learn a couple of tips for quick ink blending for your die cuts, read on!

My tip for faster ink blending for your die cuts is instead of inking each individual die cut, take a strip of cardstock and do your ink blending on that! I used a coral ink and a yellow ink and two blender brushes. To get the gradient, I overlapped the two colors in the middle of my 80# white cardstock strip, like this:

Then I just lined up the dies from the Lovely Layers: Tulips and cut them out with my die cutting machine. Easy and fast! If you want a bit more depth, like I did, it was easy to ink on more coral ink along the bottom of the die cuts!

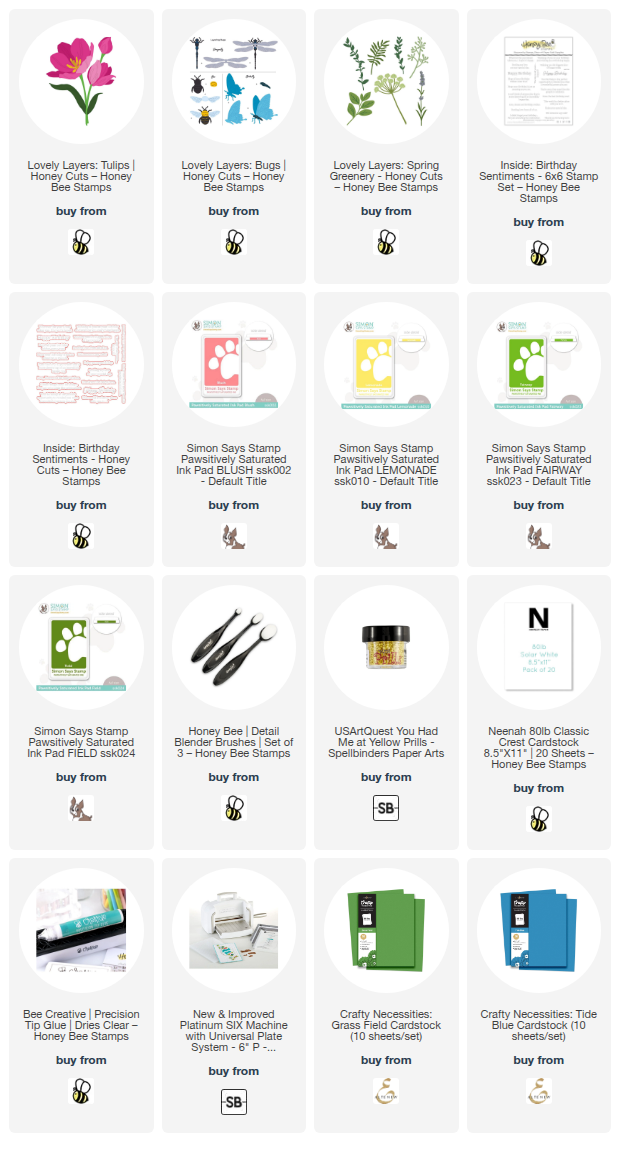
Another quick way to color your die cuts is to begin with colored cardstock! I die cut the Lovely Layers: Tulips leaves and stems and the Lovely Layers: Spring Greenery (I used one of the dies from this set) from green cardstock. I used a darker shade of green ink to quickly add ink to the pieces for more depth.

I used glue to adhere the layers together. Next I adhered a blue cardstock panel to my A2 card base. Then I added the flowers and leaves to my card base with glue and foam dots.

I die cut the bee in the Lovely Layers: Bugs dies from 80# white cardstock and the bee's wings from vellum. I used my Copic markers to easily color the two layers of the bee's body. To get the "fuzzy" look on the bee, I used a black Micron 005 pen and added tiny lines along the black stripes.

I glued the bee layers together and adhered it to the card with foam squares. The sentiment is from the Inside: Birthday Sentiments stamp set and stamped in black pigment ink. I cut it out with the coordinating die and added foam strips to adhere it to the card.

For a bit of embellishment, I dug DEEP into my stash of older products and pulled out my Prills. Who remembers these?! I added dots of glue to the Tulip center and adhered the Prills.  And I can't believe I found where these are still available!  Check the link in the list below.

I really do enjoy pulling out some of my older and favorite products and hope I've inspired you to do the same! Thank you so much for stopping by today!

Thank you so much for using my affiliate links to shop (never any additional cost to you)!

Wednesday, March 20, 2024

Die Cut Spring Flowers Card

Happy spring crafty friends! I love springtime and we have beautiful tulips in bloom and bright green leaves showing now!  I was inspired to use some of my favorite floral Honey Bee Stamps Lovely Layers sets and make a springtime card! My card features three Lovely Layers sets:  Lovely Layers: TulipsLovely Layers: Roses, and Lovely Layers: Spring Greenery.

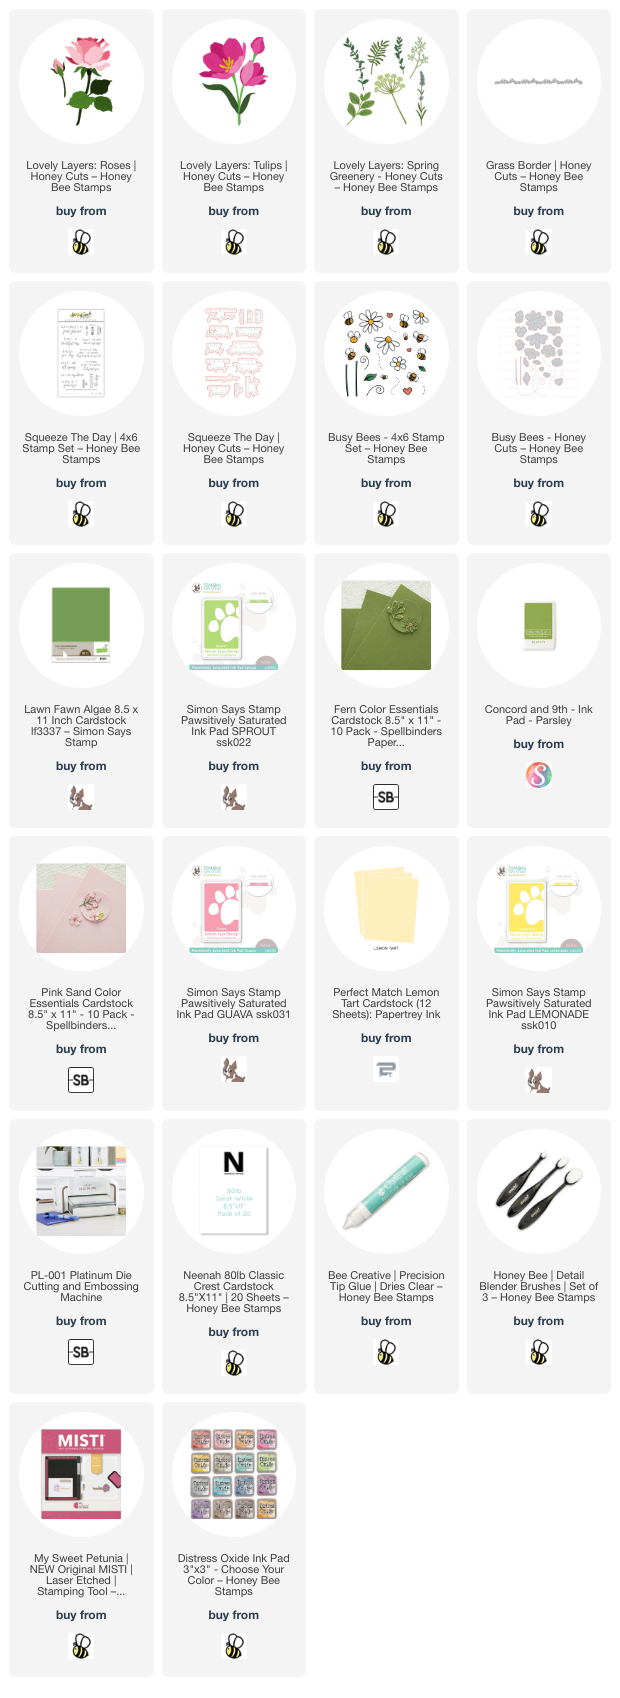
My tip for today is to die cut your flowers and greenery from colored cardstock, then use a few inks to add a bit of shading. This saves so much time! I used yellow, pink, and three shades of green cardstock to cut out the layers of the RosesTulipsSpring Greenery, and Grass Border. (Note: I only used the closed tulip and tulip bud and one die from the Spring Greenery for this card.)

Then I used blending brushes to blend on coordinating pink, yellow, and green inks to the layers. This detail adds so much depth and dimension! Then I used glue to adhere the layers together. Don't forget that the Lovely Layers sets have downloadable Layering Guides to help you layer the flowers.

Before I adhered the flowers to my card base, I added Tumbled Glass Distress Oxide ink to the card with a blending brush. I added the ink from the center out, but not all the way to the edges. Then I added water drops and used a paper towel to dry it.

I played around with various arrangements of the flowers and greenery. When I was happy, I used a piece of Press N Seal to pick up the arrangement and flip it over. I added glue to the back of the elements, then picked up the arrangement and adhered it to the card. I added a foam dot to the back of the tulip and rose buds. Then I used scissors to trim off the Spring Greenery that was hanging over the edges. I used foam dots to adhere the Grass Border at the bottom of the card.

Next I diluted a few drops of Bee Shimmery liquid shimmer watercolor with water. I used a paint brush to add splatters to the flowers and background.

The sentiment from the Squeeze The Day stamp set is stamped in black pigment ink and cut out with the coordinating die.

I just had to add some adorable little bees from one of my very early Honey Bee sets I bought:  Busy Bees stamp set. These were previously colored and cut out with coordinating dies. (I saved a bunch of these finished bees to have on hand to use when needed.)

I sure hope you are seeing signs of spring where you are! If not, I hope my card reminds you that it's not far away! I always appreciate your visit to see my cards! Thank you, and have a wonderful, crafty day!

Thank you so much for using my affiliate links to shop (never any additional cost to you)!

Wednesday, July 12, 2023

Birthday Card with a Flower-Filled Vintage Creel

Today I'm sharing a sweet birthday card where I've filled Honey Bee Stamps' Vintage Creel from the Adventure Awaits release with flowers and greenery! All of my card elements were colored via the "ink smooshing" technique? I really enjoy this technique! Keep reading to learn how I used a new type of ink to emphasize the embossed lines of Vintage Creel!

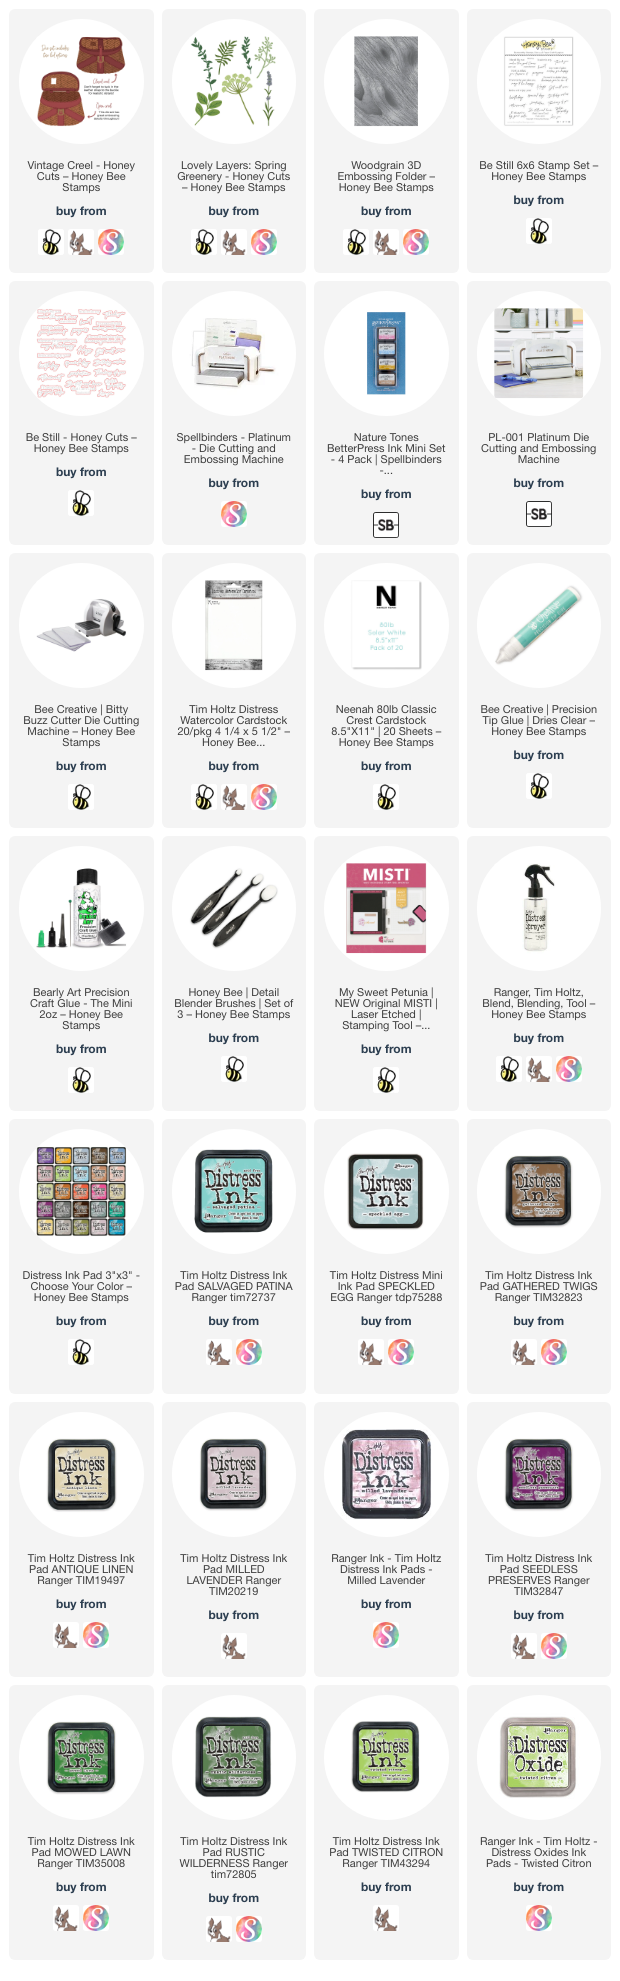
All of the elements for the Vintage Creel and the Lovely Layers: Spring Greenery were inked with Distress Inks onto Distress Watercolor Cardstock. Are you familiar with what I call "ink smooshing"? If not, the way I do this technique is to take my ink pad and "smoosh" it onto my glass craft mat. I use a water sprayer to mist water onto the inks. You just want a few sprays of water so the ink is not too diluted. Then take your piece of watercolor cardstock and dip into the ink. Pick it up and use your heat tool to completely dry the piece. Next, repeat the dip and dry steps as often as desired. Add more ink to your crafting surface as needed.

These are the Distress Inks I used for the creel and flowers:

  • Creel basket: Speckled Egg, Salvaged Patina, Antique Linen (white splatters are acrylic paint)
  • Creel trim: Gathered Twigs, Antique Linen
  • Greenery: lighter greens: Mowed Lawn, Twisted Citron; darker greens: Mowed Lawn Rustic Wilderness
  • Flowers: Milled Lavender, Seedless Preserves
Here's a closeup photo of the Spring Greenery pieces after I glued the layers together.

Before I assembled the Vintage Creel, I noticed that the embossed lines that the die adds were not really visible.  I suppose this was because of the various layers of ink on the cardstock.  I had an idea pop into my head and was asking myself "Will this work?"  So I tried it, and it worked!!

THE PROCESS:  Use the new ink formulated for the new Spellbinders BetterPress and tap it onto the Vintage Creel die in the same way the directions say for the BetterPress Plates.  I carefully placed the die cut piece back into the die, added removable tape, and ran it through my Platinum die cutting machine again.  I used the same sandwich as I would for die cutting.  AND, viola!  The Tawny Brown ink I used shows up subtly in the embossed lines of the Vintage Creel!!

I used dots of Bee Creative glue to tuck the Spring Greenery pieces into the Vintage Creel. Trim off the stems to shorten them as needed. I used very little glue as I wanted to have the dimension of the pieces naturally floating above the card.


For the card base I ran a piece of 80# Neenah through my die cutting machine with the Woodgrain 3D embossing folder. I glued the embossed piece to an A2 card base. Next I added glue to the back of the Vintage Creel and to a few of the flowers and adhered it to the card.

I stamped the sentiment from the Be Still stamp set in brown ink and cut it out with the coordinating die. I added a narrow strip of foam tape to the back to pop it up on the card.

If you need to add birthday cards to your stash, this is a fun one to make and did not take me very long either! Thanks so much for stopping by today! I hope the rest of your week is good and filled with lots of crafting!

I so appreciate you using my affiliate links to shop (never any additional cost to you)!

Thursday, March 16, 2023

Happiness is Springtime Blooms

Hello crafty friends!  If you are here from the Instagram hop, thank you!  If not, I hope you will check it out.  We are celebrating Honey Bee Stamps Simply Spring release today, and if you leave a comment on the stops, you will have a chance at an awesome gift card from Honey Bee!

I had so much fun inking up the die cuts from the Lovely Layers: Spring Greenery Honey Cuts!  I'm keeping this post super brief, but if you have any questions, please use the "contact me" form in the left column here.

For the card layers, I used the gorgeous Delicate Daisy - A2 Cover Plate Top & A2 Cover Plate Base!  I have had this cardstock in my stash forever!  I never thought I'd use it, but you know what they say: "never say never"!  LOL!  I die cut the top and bottom layers from it, then die cut the top layer three more times from 80# Neenah.  After glueing the layers together, I adhered them to an A2 card base.

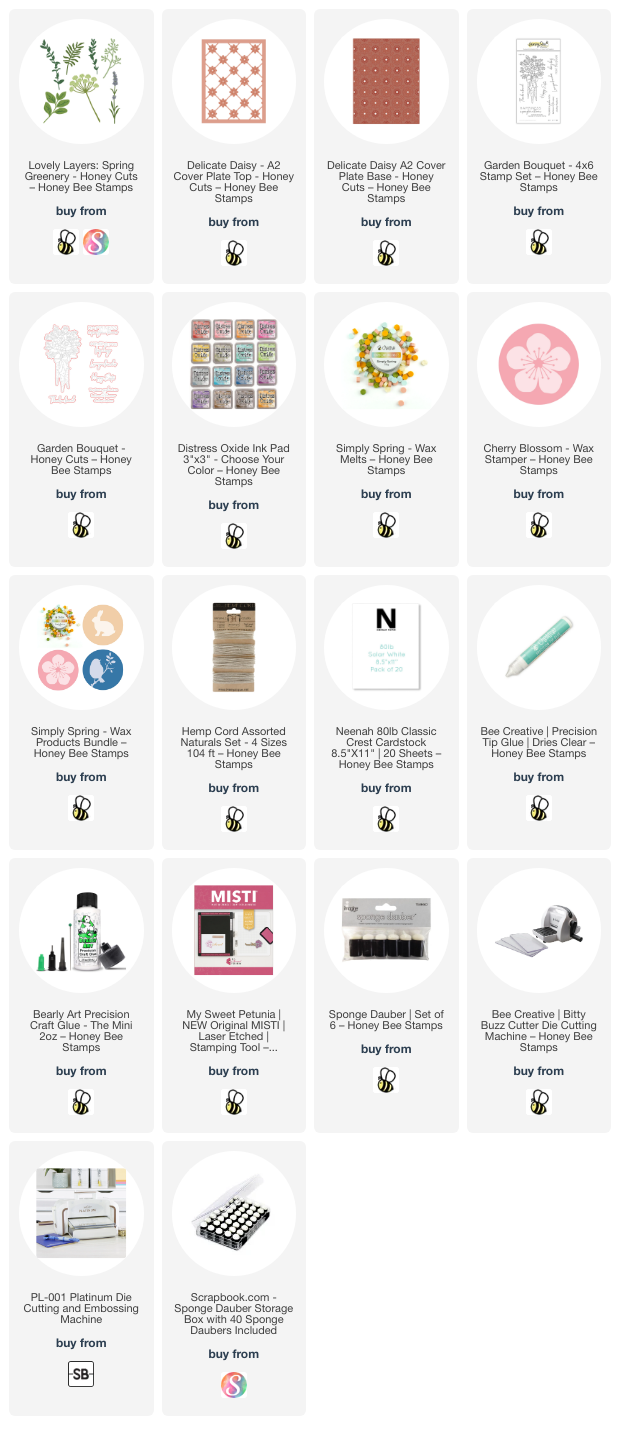
Next I die cut all of the pieces in the Lovely Layers: Spring Greenery from 80# Neenah.  I used these Distress Oxide inks and sponge daubers to color the pieces (colors are also linked below):

  • Bundled Sage 
  • Shabby Shutters
  • Peeled Paint
  • Forest Moss
  • Victorian Velvet
  • Tattered Rose
  • Milled Lavender
  • Seedless Preserves

Press N Seal was my assist to glue the layers to the card.  (Note:  I did not glue down the flower and greenery tops to add dimension.)  Then I stamped a sentiment from the Garden Bouquet stamp set with Forest Moss Distress Ink.  I cut it out with the coordinating die.

I added some foam squares behind some of the leaves and flowers at the top for dimension.  Yes, I love dimension on my cards!!!

To top off the bouquet, I added a wax seal from the new Cherry Blossom Wax Stamper and the Simply Spring Wax melts.  I added some twine below the wax melt for fun!

I sure do thank you for stopping by today!  If you join me on the Instagram hop, please be sure to say hello, and that you came from here.  Have a wonderful and crafty day!

Thank you so much if you use my affiliate links for shopping (never any additional cost to you)!