Showing posts with label Lovely Layers: Roses. Show all posts

Wednesday, March 20, 2024

Die Cut Spring Flowers Card

Happy spring crafty friends! I love springtime and we have beautiful tulips in bloom and bright green leaves showing now!  I was inspired to use some of my favorite floral Honey Bee Stamps Lovely Layers sets and make a springtime card! My card features three Lovely Layers sets:  Lovely Layers: TulipsLovely Layers: Roses, and Lovely Layers: Spring Greenery.

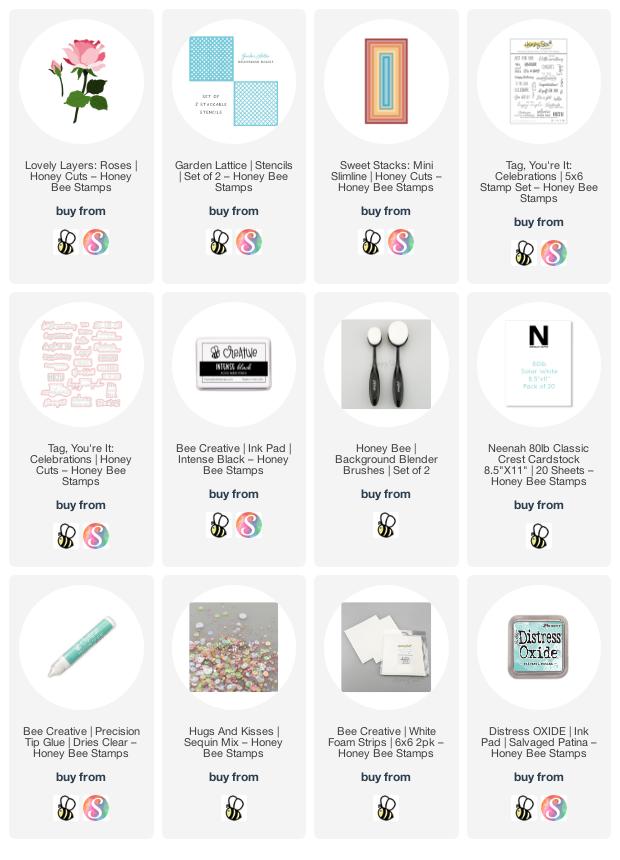
My tip for today is to die cut your flowers and greenery from colored cardstock, then use a few inks to add a bit of shading. This saves so much time! I used yellow, pink, and three shades of green cardstock to cut out the layers of the RosesTulipsSpring Greenery, and Grass Border. (Note: I only used the closed tulip and tulip bud and one die from the Spring Greenery for this card.)

Then I used blending brushes to blend on coordinating pink, yellow, and green inks to the layers. This detail adds so much depth and dimension! Then I used glue to adhere the layers together. Don't forget that the Lovely Layers sets have downloadable Layering Guides to help you layer the flowers.

Before I adhered the flowers to my card base, I added Tumbled Glass Distress Oxide ink to the card with a blending brush. I added the ink from the center out, but not all the way to the edges. Then I added water drops and used a paper towel to dry it.

I played around with various arrangements of the flowers and greenery. When I was happy, I used a piece of Press N Seal to pick up the arrangement and flip it over. I added glue to the back of the elements, then picked up the arrangement and adhered it to the card. I added a foam dot to the back of the tulip and rose buds. Then I used scissors to trim off the Spring Greenery that was hanging over the edges. I used foam dots to adhere the Grass Border at the bottom of the card.

Next I diluted a few drops of Bee Shimmery liquid shimmer watercolor with water. I used a paint brush to add splatters to the flowers and background.

The sentiment from the Squeeze The Day stamp set is stamped in black pigment ink and cut out with the coordinating die.

I just had to add some adorable little bees from one of my very early Honey Bee sets I bought:  Busy Bees stamp set. These were previously colored and cut out with coordinating dies. (I saved a bunch of these finished bees to have on hand to use when needed.)

I sure hope you are seeing signs of spring where you are! If not, I hope my card reminds you that it's not far away! I always appreciate your visit to see my cards! Thank you, and have a wonderful, crafty day!

Thank you so much for using my affiliate links to shop (never any additional cost to you)!
Wednesday, January 12, 2022

Lovely Layers: Roses Birthday Card | Honey Bee Stamps

 Hello Honey Bee friends! Since I'm so very low on birthday cards I've made one using the gorgeous Lovely Layers: Roses Honey Cuts. All of the Lovely Layers series are absolutely beautiful, and today I took a bit more time to Copic color my layers to get the look of even more dimension!

I began by die cutting all of the Lovely Layers: Roses dies from 80# Neenah. Then I used Copic markers to color each layer. I used R22, R32, R21, and R20 for the rose and rose bud layers and G28, G07, YG25, and YG03 for the stem and leaves. I used some thin foam strips in-between each layer for even more dimension. (This will most likely be a card that I hand deliver, or I could place it in a padded envelope for mailing.)

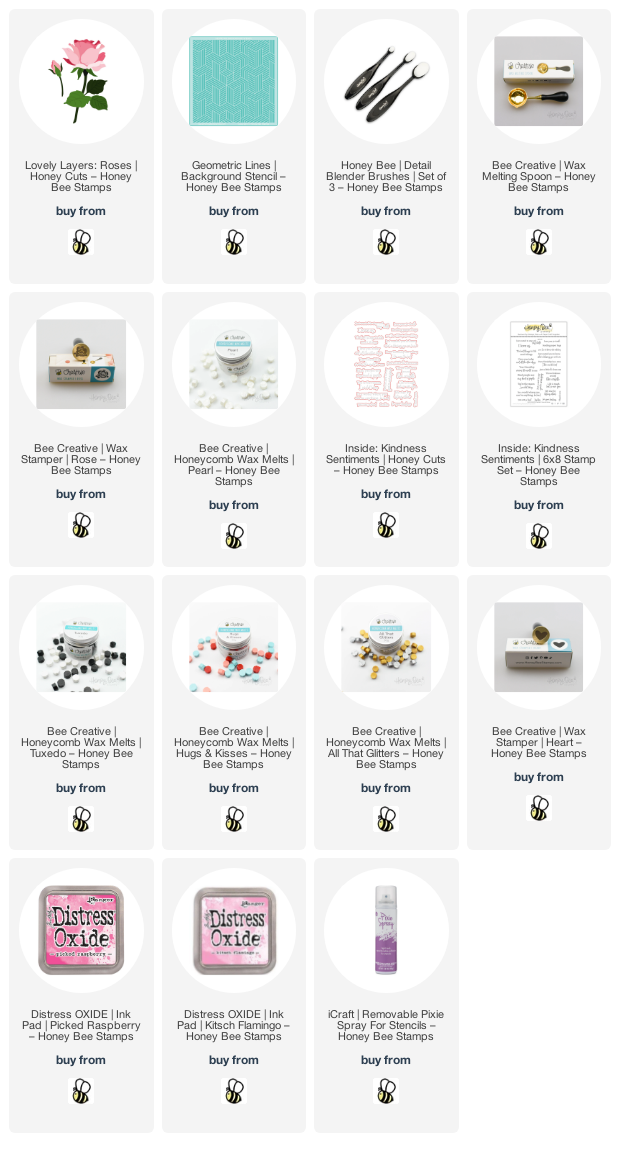
Next I created my card base and panel. I scored a 6-½" x 6-¼" piece of 80# Neenah a 3-¼" and folded it with my bone folder. Then I used the next to largest Sweet Stacks: Mini Slimline Honey Cut to cut another piece of 80# Neenah. I used a Detail Blender Brush to ink on Salvaged Patina Distress Oxide in a light-to-dark ombré pattern. Then I spritzed a bit of water onto it, let it set a minute and pressed a paper towel to the piece to soak up extra water. Next I placed the top layer Garden Lattice stencil over the panel and blended more Salvaged Patina through the stencils on the bottom left and upper right of the panel.

I mixed a bit of white Perfect Pearls with a few drops of water and used a paint brush to add spatters to it. I also added a few drops of the Perfect Pearls mixture to the rose and leaves. I used Bee Creative glue to adhere the rose, rose bud and leaves to the card. Then I added a few sequins from the Hugs and Kisses sequin mix to add more sparkle!

I stamped the sentiment from the Tag, You're It: Celebrations stamp set with Intense Black ink. I used the coordinating Honey Cut to cut it out and popped it up with a few foam squares.

Thank you so very much for stopping by! I hope you have a wonderful, creative day!

Thank you for choosing to shop with my affiliate links:

Friday, December 17, 2021

Sealed With Love Instagram Hop Card & NEW Wax Stampers!!

Hello crafty friends!  Today we have a fun Instagram hop to celebrate the Sealed With Love release by Honey Bee Stamps.  (There are prizes if you go over and comment!)  Today my card features the gorgeous new Lovely Layers: Roses die set by Honey Bee Stamps!  Also new are the Honeycomb Wax Melts and stampers.  I have a few tips for using this fun new product below!

First I die cut all of the Lovely Layers: Roses flower layers from 80# Neenah Solar White.  Then I used a few Copic markers (RV04, RV02, & RV00) to color and add shading to the layers.  I used Bee Creative glue to adhere the rose layers together.  I die cut the stem and leaf layers from green card stock and added shading with YG17, YG25, YG03, and YG01 Copic markers.

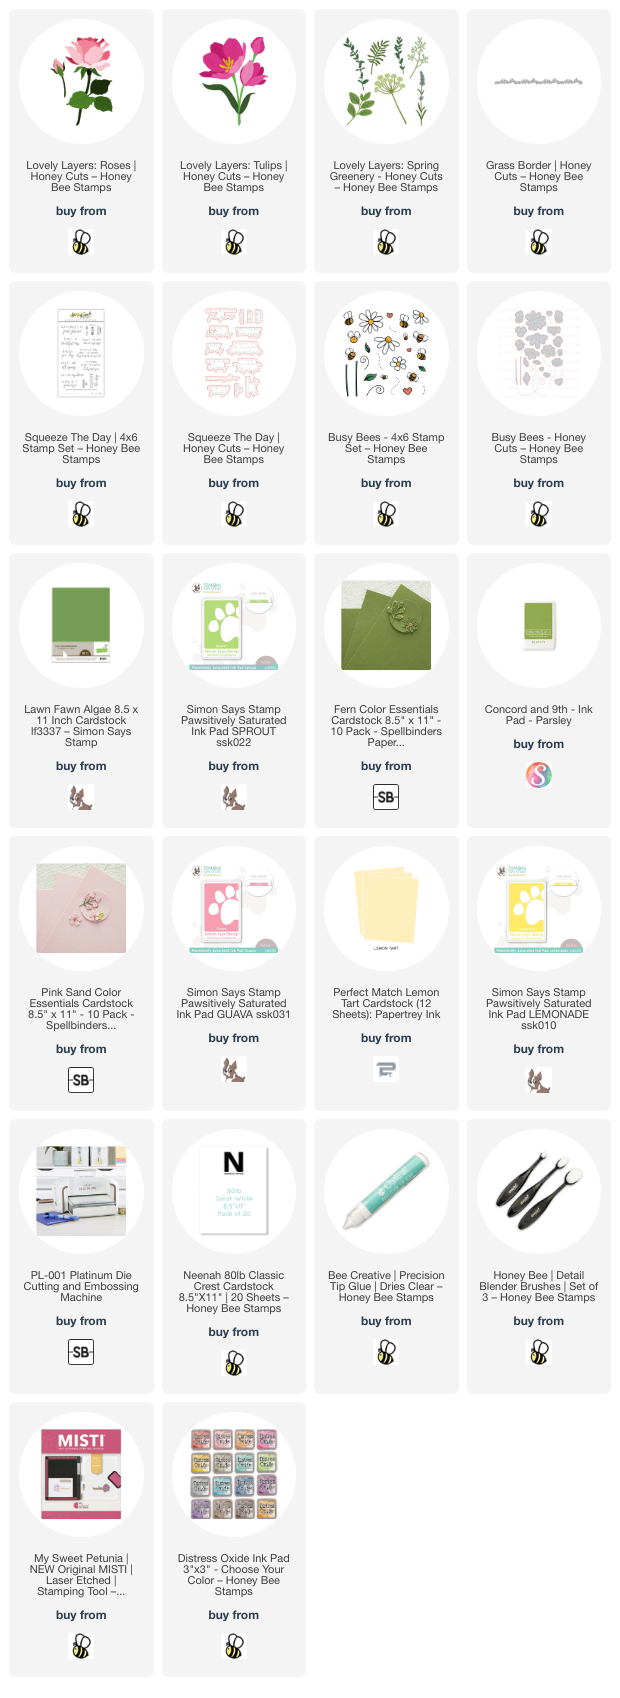
Next I used the new Geometric Background Stencil to create my background.  I first sprayed it with Pixie Spray to keep the fine lines of the stencil in place while I inked on Picked Raspberry and Kitsch Flamingo Distress Oxide inks with Detail Blender brushes.  I trimmed it to 4" x 5-¼" and adhered it to a top-folding A2 card base.

Now for the really fun part!  This was my very first time using wax melts and wax stampers.  I have to say it was really easy!  I poured my wax onto a silicone mat--this is a worry-free way in lieu of pouring the wax onto your card.  Once the wax is cooled, it easily comes off of the silicone!  I found that with Honey Bee's Honeycomb Wax Melts, three pieces in the Wax Melting Spoon was just the right amount.  I used the Pearl Wax Melts and you can check out the other wax melt colors in Honey Bee's shop.  I held the wax melting spoon over a small candle to melt the wax.  Be sure to watch it because you can burn the wax!  Yes, I did!  LOL!  I found that using my craft pick to stir it helped.

When you pour the melted wax onto your mat, immediately take your Wax Stamper (I used the Rose) and set it straight down into the wax.  DO NOT PRESS!  The wax stamper has just the perfect amount of weight to get a good impression.  It only takes a few minutes for it to cool and then just pick up the wax stamper.

I finished up by adhering the rose pieces to the card and using Bee Creative glue to adhere my wax seal.  Then I stamped a sentiment from the Inside: Kindness stamp set with Intense Black ink and cut it out with the coordinating die.  I added two pieces of thin foam tape to the back and adhered it to the card.

I created extra wax seals to add onto my envelopes from the Hugs & Kisses envelope pack!  

Have you used wax melts and wax stampers?  If not, I think you should because it's really fun and adds such a unique touch to your cards and envelopes!  I hope you've enjoyed my card making process today!  Thank you so much for stopping by!  Be sure to head over to my Instagram and leave a comment for your chance to win one of two Honey Bee gift cards!

Thank you so much if you use my affiliate links (NEVER any extra cost to you!)