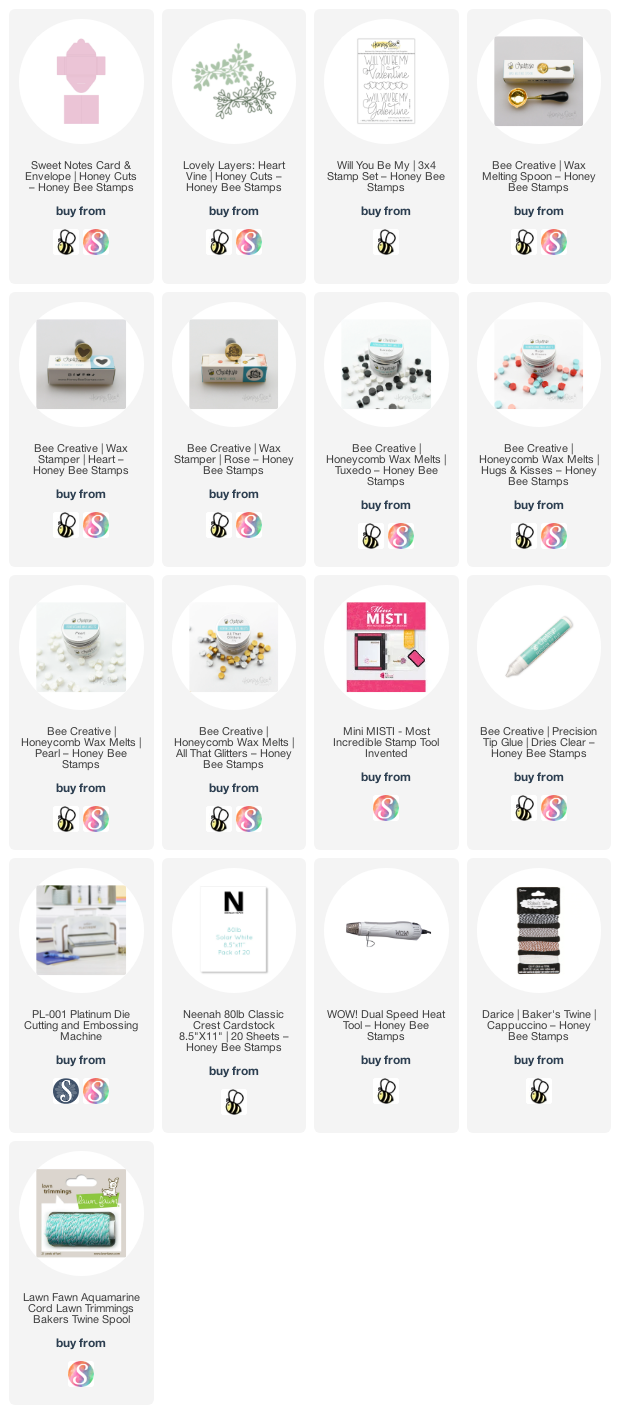
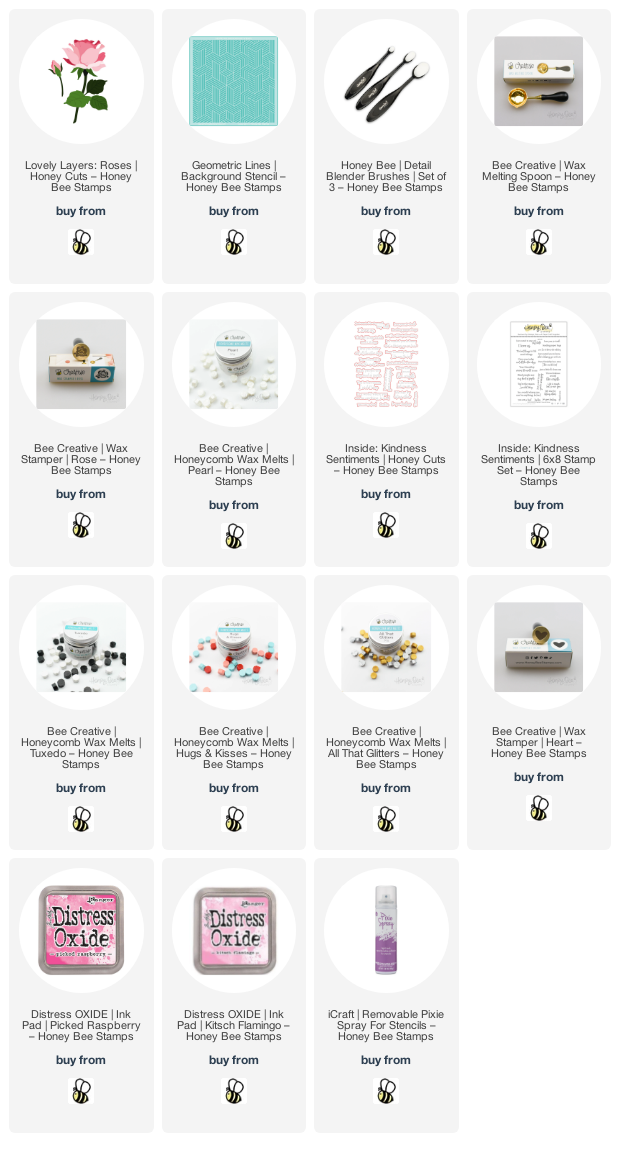
Hello friends! Today I'm sharing some fun candy holders I made for my gal friends using Honey Bee Stamps Sweet Notes Card & Envelope die set, and then decorated the outside with the Heart Wax Stamper. Wax seals are not just for sealing envelopes, as you will see here.
I made these for Valentine's day, but you can just change up the sentiment to fit your occasion! I have LOTS of photos of my process for these darling envelopes to go with my step-by-step list, so read on for the details.


- First die cut white 80# Neenah cardstock with the note card die in the Sweet Notes Card & Envelope die set. I die cut several of these, then cut them in half with my paper trimmer.
- Next stamp the sentiment from the Will You Be My set onto the notecard in a coordinating ink. I used Candied Apple Distress Oxide ink.
- Die cut the desired number of Envelopes from Neenah Desert Storm card stock. Fold each one at the score lines.

- Next I used clear adhesive dots to adhere these delicious Ghirardelli chocolates on the back of the sentiment card. These chocolates fit in the envelop perfectly!

- Die cut several of the Lovely Layers: Heart Vine in colors to coordinate with your theme. Adhere each layer together with Bee Creative glue.

- Gather up all of the pieces and parts, along with some coordinating twine, the Honeycomb Wax Melts, Wax Melting Spoon, and your Wax Stampers. Honey Bee has this cute heart stamper that I used, and also a pretty rose stamper. You may be noticing the small silicone spoon in the photo. I had this in my kitchen and it is the perfect size for pushing out the melted wax from the melting spoon. It's part of a set that was given to me, so I don't have a link. It measures about 1-3/8" across if you look for one.
- Put the sentiment card w/chocolate inside the envelope and close it up.
- I decided to not put the wax on the envelope closure because I wanted it to be easy for my friends to open them.

- I wrapped my baker's twine around each box and tied it into a bow. Then I snipped my pieces of the Lovely Layers: Heart Vines and set them onto the front of the envelope.

- I put three pieces of the Wax Melts into the Wax Melting Spoon. I used Tuxedo, Pearl, and the Hugs & Kisses Honeycomb Wax Melts. There are lots of ways to melt the pieces, such as a tea light, a candle, etc, but I'm rather impatient and found that my heat tool does a great job at melting them! I just held my heat tool under the Wax Melting Spoon and also melted them from above. Just be sure to keep your fingers on the wooden handle--the metal spoon gets hot!!

- When the wax was melted, I poured it over the twine and ends of the Lovely Layers pieces. Then I pressed the Heart Wax Stamper into it. The wax will harden enough to remove the stamper in about 10 seconds. The wax will hold your Lovely Layers: Heart Vine pieces very securely!


I love how these turned out! If you make all the pieces and parts you need first, it's easy to mass produce these assembly-line style! I hope you've enjoyed these and have found some inspiration on a different way to use these fun wax seal products!
Thank you if you use my affiliate links (at no additional cost to you):