
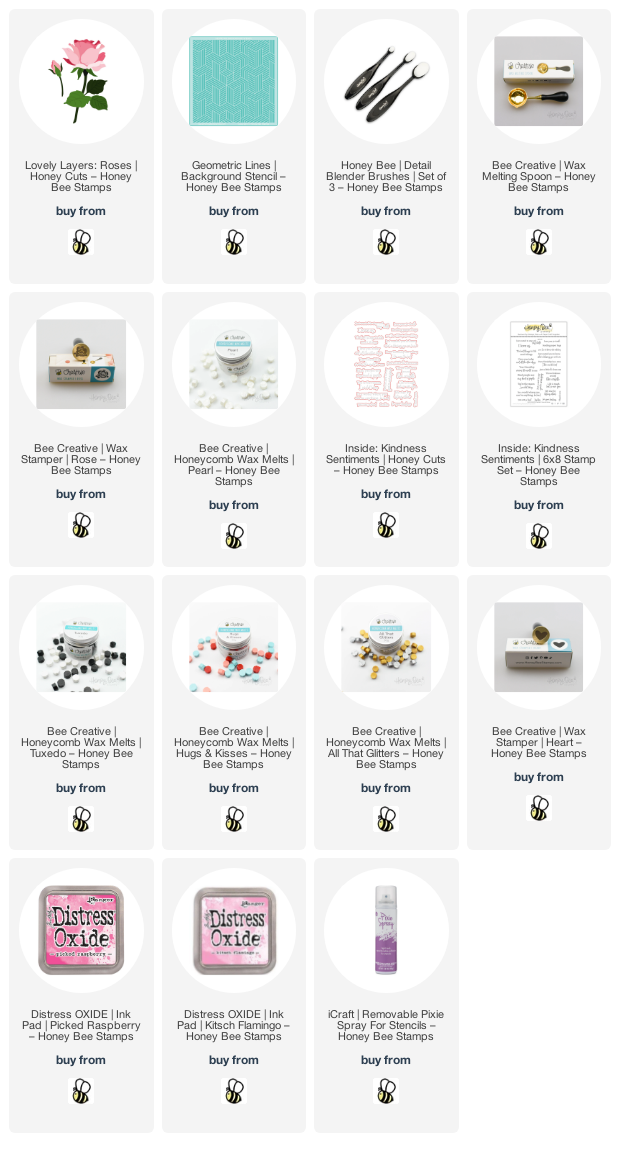
Hello crafty friends! Today we have a fun Instagram hop to celebrate the Sealed With Love release by Honey Bee Stamps. (There are prizes if you go over and comment!) Today my card features the gorgeous new Lovely Layers: Roses die set by Honey Bee Stamps! Also new are the Honeycomb Wax Melts and stampers. I have a few tips for using this fun new product below!

First I die cut all of the Lovely Layers: Roses flower layers from 80# Neenah Solar White. Then I used a few Copic markers (RV04, RV02, & RV00) to color and add shading to the layers. I used Bee Creative glue to adhere the rose layers together. I die cut the stem and leaf layers from green card stock and added shading with YG17, YG25, YG03, and YG01 Copic markers.
Next I used the new Geometric Background Stencil to create my background. I first sprayed it with Pixie Spray to keep the fine lines of the stencil in place while I inked on Picked Raspberry and Kitsch Flamingo Distress Oxide inks with Detail Blender brushes. I trimmed it to 4" x 5-¼" and adhered it to a top-folding A2 card base.

Now for the really fun part! This was my very first time using wax melts and wax stampers. I have to say it was really easy! I poured my wax onto a silicone mat--this is a worry-free way in lieu of pouring the wax onto your card. Once the wax is cooled, it easily comes off of the silicone! I found that with Honey Bee's Honeycomb Wax Melts, three pieces in the Wax Melting Spoon was just the right amount. I used the Pearl Wax Melts and you can check out the other wax melt colors in Honey Bee's shop. I held the wax melting spoon over a small candle to melt the wax. Be sure to watch it because you can burn the wax! Yes, I did! LOL! I found that using my craft pick to stir it helped.
When you pour the melted wax onto your mat, immediately take your Wax Stamper (I used the Rose) and set it straight down into the wax. DO NOT PRESS! The wax stamper has just the perfect amount of weight to get a good impression. It only takes a few minutes for it to cool and then just pick up the wax stamper.

I finished up by adhering the rose pieces to the card and using Bee Creative glue to adhere my wax seal. Then I stamped a sentiment from the Inside: Kindness stamp set with Intense Black ink and cut it out with the coordinating die. I added two pieces of thin foam tape to the back and adhered it to the card.
I created extra wax seals to add onto my envelopes from the Hugs & Kisses envelope pack!

Have you used wax melts and wax stampers? If not, I think you should because it's really fun and adds such a unique touch to your cards and envelopes! I hope you've enjoyed my card making process today! Thank you so much for stopping by! Be sure to head over to my Instagram and leave a comment for your chance to win one of two Honey Bee gift cards!
Thank you so much if you use my affiliate links (NEVER any extra cost to you!)
Here is another beauty! You are so very talented, Carol!
ReplyDelete