
Today I'm sharing a Christmas card I made using Rubbernecker Stamps new Snowflake Stencil and the Santa Post Card set. Want to know how I used the stencil to get an "all over" glittery background? Read on for the details!

Let's create the glitter background:
- Add an A2 sized piece of double-sided adhesive to an A2 sized piece of white card stock.
- To keep the Snowflake stencil from sticking way too much, and possibly being ruined, I pounced my anti-static powder pouch heavily on the back of the stencil. (see photo of steps below)
- Remove the adhesive backing and lay the stencil on the card. Press it down, especially the fine detailed pieces of the snowflakes.

- Add the turquoise microfine glitter to the card. Microfine glitter works best with this technique. I used my finger to burnish the glitter to the adhesive.
- Next, brush off all of the excess glitter. I used a thick soft brush to sweep a lot of it away. Also, I keep cut up pieces of Swiffer Dusting cloths handy. These cloths grab all the stray glitter and helps with the clean up a lot!
- Now it’s time to remove the stencil. I used my craft pick tool to hold the card down while I carefully removed the stencil.
- Sprinkle the Cool Diamond microfine glitter over the card. Burnish and then sweep away the excess. Now you have a beautiful, sparkly snowflake background!
- Trim the panel to 4″ x 5-¼” and adhere to an A2 top-folding card base.

Steps for the image and sentiment:
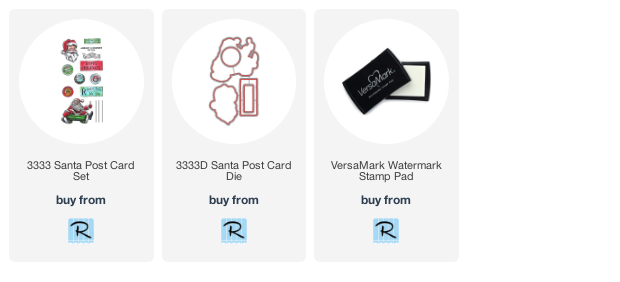
- Stamp the Santa on the sled from the Santa Post Card set with Versamark ink. Add black embossing powder and heat set.
- Next die cut the Santa with the coordinating die.
- Add foam tape to the back of the Santa and adhere to the card base.
- Stamp the sentiment (also in the Santa Post Card set) with Versamark ink. Add black embossing powder and heat set.
- Trim the sentiment into a strip, add foam tape to the back, and adhere to the card.

This card was lots of fun to make, and it's a good way to use the glitter in my stash! Thank you so much for stopping by today! Have a wonderful week!
Beautiful, rich and wonderful -- love this!
ReplyDelete