
Hello crafty friends! Today I'm sharing an adorable Christmas card featuring Rubbernecker Stamps Christmas Gnomes set. I've also stenciled the plaid background panel with one of their new two-part stencil sets! Read on for the details.

Here are the steps for my card base and panel:
- First I die cut 80# Neenah card stock with the largest Nested Rectangle Small Stitch die.
- Next I sprayed the back of the Plaid Texture Stencils with Pixie Spray.
- Using an ink blender brush and the base layer Plaid stencil, add Crimson Color Fuse ink through the stencil. Remove the stencil.
- Position the second layer of the Plaid stencil over the card and add more Crimson ink through the stencil.
- Next, die cut an oval in the plaid panel with the fourth largest Nested Oval Small Stitch die.
- To create the frame for the oval, center the fifth largest Nested Oval Small Stitch die in the the nest largest size oval die and tape the two dies together with some temporary tape. Die cut some white glitter card stock with the ovals.
- Adhere the plaid panel onto a top-folding A2 card base with liquid glue.
- Adhere the frame around the opening with glue.

Creating the image and scene:
- Stamp the gnome from the Christmas Gnomes set onto 80# Neenah card stock. Die cut the Neenah card stock with the fourth largest Nested Oval Small Stitch die.
- Also, stamp the image onto some masking paper and then fussy cut it out.
- Stamp the sign for the gnome onto 80# Neenah and fussy cut it out.
- Next color the images with Copic markers. (My marker colors are listed below.)
- Stamp "Merry Christmas" from the Christmas Gnomes set onto the sign with Versafine Onyx black ink. Add clear embossing powder and heat set it.
- Now apply the mask to the gnome and and use an ink blending brush to lightly add some Arctic Color Fuse ink to the top 2/3rds of the image for the sky.
- Place the stamped oval in your MISTI (or other stamp positioning tool).
- Stamp a few trees from the Pine Tree Set with Shadow Creek and Mountain Pine Color Fuse inks.
- Use Copic markers to draw in a few shadow and hills for the snow. (I used BV0000, BV000, C2, C0, and C00.)
- Remove the mask for the fun reveal!

Finish the card by adhering the gnome image into the die cut opening on the card front with glue. Then add a few small foam squares to the back of the sign to pop it up on the gnome.

It was really fun using the stencils and creating my little scene for the adorable gnome! Thank you so much for stopping by!
Copic colors:
R89, R39, R37, R35; E59, E57, E23, E34; G28, YG17, YG25; E11, E21, E51, E50; BV0000, BV000, C2, C0, C00; W5, W3, W1
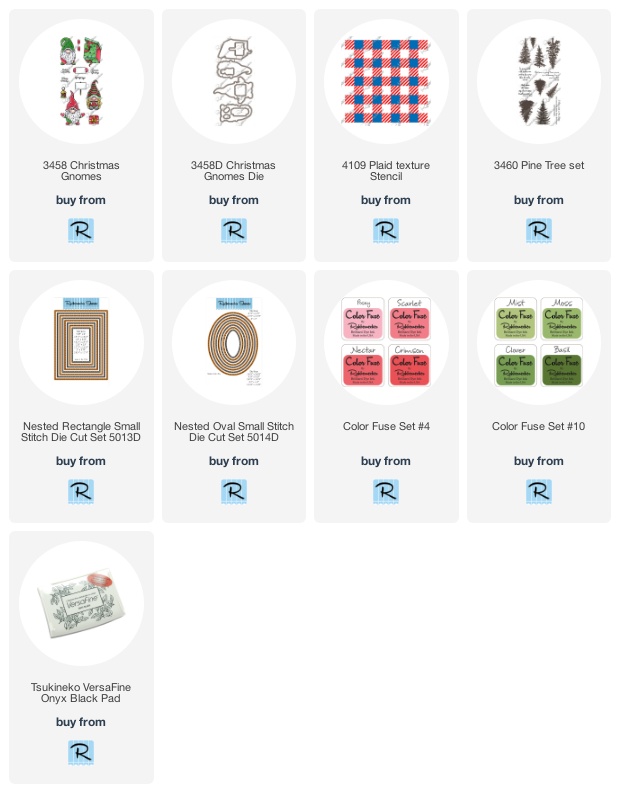
Products I've used to create my card:
Love your fun card, great plaid and adorable gnome!
ReplyDelete