Showing posts with label Nested Rectangle Small Stitched. Show all posts

Tuesday, December 14, 2021

Christmas Gnomes | Rubbernecker Stamps

 Hello crafty friends!  Today I'm sharing an adorable Christmas card featuring Rubbernecker Stamps Christmas Gnomes set.  I've also stenciled the plaid background panel with one of their new two-part stencil sets!  Read on for the details.

Here are the steps for my card base and panel:

  • First I die cut 80# Neenah card stock with the largest Nested Rectangle Small Stitch die.
  • Next I sprayed the back of the Plaid Texture Stencils with Pixie Spray.
  • Using an ink blender brush and the base layer Plaid stencil, add Crimson Color Fuse ink through the stencil.  Remove the stencil.
  • Position the second layer of the Plaid stencil over the card and add more Crimson ink through the stencil.
  • Next, die cut an oval in the plaid panel with the fourth largest Nested Oval Small Stitch die.
  • To create the frame for the oval, center the fifth largest Nested Oval Small Stitch die in the the nest largest size oval die and tape the two dies together with some temporary tape.  Die cut some white glitter card stock with the ovals.
  • Adhere the plaid panel onto a top-folding A2 card base with liquid glue.
  • Adhere the frame around the opening with glue.

Creating the image and scene:

  • Stamp the gnome from the Christmas Gnomes set onto 80# Neenah card stock.  Die cut the Neenah card stock with the fourth largest Nested Oval Small Stitch die.
  • Also, stamp the image onto some masking paper and then fussy cut it out.
  • Stamp the sign for the gnome onto 80# Neenah and fussy cut it out.
  • Next color the images with Copic markers.  (My marker colors are listed below.)
  • Stamp "Merry Christmas" from the Christmas Gnomes set onto the sign with Versafine Onyx black ink.  Add clear embossing powder and heat set it.
  • Now apply the mask to the gnome and and use an ink blending brush to lightly add some Arctic Color Fuse ink to the top 2/3rds of the image for the sky.
  • Place the stamped oval in your MISTI (or other stamp positioning tool).
  • Stamp a few trees from the Pine Tree Set with Shadow Creek and Mountain Pine Color Fuse inks.
  • Use Copic markers to draw in a few shadow and hills for the snow.  (I used BV0000, BV000, C2, C0, and C00.)
  • Remove the mask for the fun reveal!

Finish the card by adhering the gnome image into the die cut opening on the card front with glue.  Then add a few small foam squares to the back of the sign to pop it up on the gnome.

It was really fun using the stencils and creating my little scene for the adorable gnome!  Thank you so much for stopping by!

Copic colors:

R89, R39, R37, R35; E59, E57, E23, E34; G28, YG17, YG25; E11, E21, E51, E50; BV0000, BV000, C2, C0, C00; W5, W3, W1

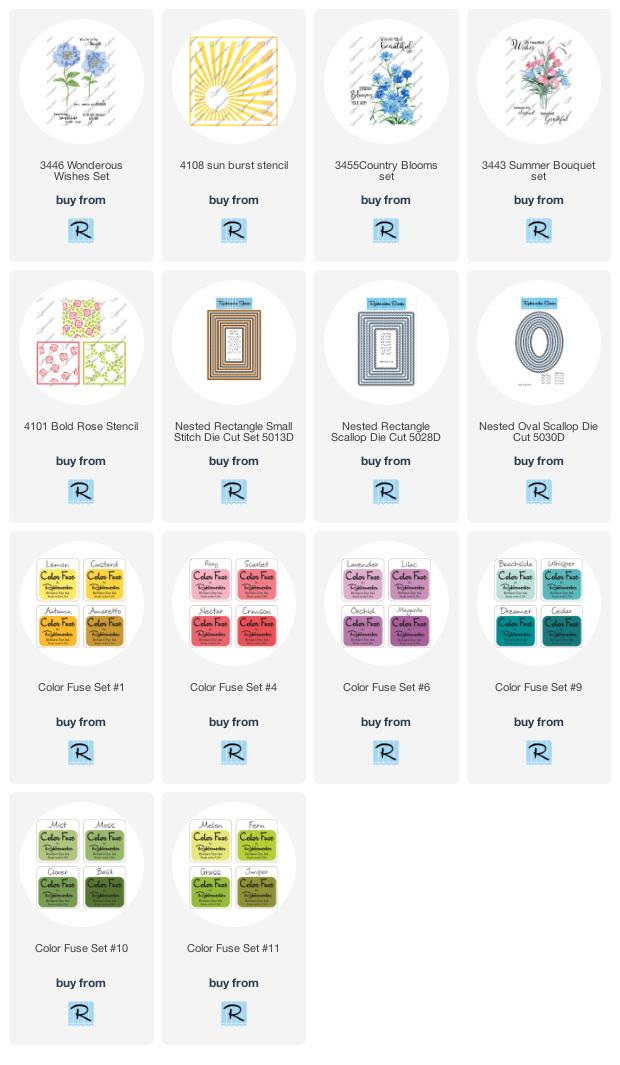
Products I've used to create my card:
Tuesday, August 24, 2021

Three Beautiful Floral Cards | Rubbernecker Stamps

 Hello crafty friends!  Today I'm sharing three floral cards that I made for Rubbernecker Stamps' sneak peeks of their beautiful Floral Frenzy release.  You may have missed seeing these and this gives me a chance to share how I made these cards.

These first two cards are made with two different stamp sets, but the technique I used is the same for both.

This first card features the gorgeous Summer Bouquet Set with the Bold Rose two-part stencil set.

First I sprayed the back of both stencils with Pixie Spray.  This ensures the stencil won't shift around and the tackiness will last through several uses!  I placed the leafy stencil on a 4-¼" x 5-½" piece of white card stock.  Then I used some sponge daubers to ink up the stencil with green inks from the Color Fuse set #11.  Next I removed the leafy stencil and positioned the flower stencil over the card panel.  I used another sponge dauber and added some pretty inks from Color Fuse set #4.  When I was finished, I adhered the panel to a top folding A2 card base.

Next I die cut some 80# Neenah with the largest Nested Oval Scallop die.  I placed it into my MISTI and used some removable tape to make sure it stayed in place! Then I centered the first layer of the Summer Bouquet stamp over it.  This is the fun part!  I used sponge daubers to ink on the green ink from Color Fuse set #11.  I would stamp and repeat until I was happy with the look.  These next photos shows what it looked like after the first time I stamped the green layer, and then the finished piece.

When I finished stamping the flower stamps (Color Fuse sets #4 and #9) I stamped the sentiment from the set in black ink.  I popped the oval up with some foam tape and adhered it to the card front.

The second card uses the very same inking technique with the sponge daubers.  I used the beautiful Country Blooms set for this card.

Before I began adding the ink, I die cut a panel with the second largest Nested Rectangle Scallop die.  I used Color Fuse set #'s 9 and 10.  Here's a few photos showing my progress: (click any photo to see it up close.)

When I finished stamping the flowers, I stamped the sentiment from the set in black ink.  I added foam tape to the back of the panel and adhered it to a top folding card base.

My final card features the sweet Wondrous Wishes set along with some masking and stenciling!

First I used the largest of the Nested Rectangle Small Stitch die set and cut a piece of coordinating purple card stock.  I adhered the purple card stock to a top folding card base and set it aside.  Next I grabbed some black ink, stamped three of the flower's base layer stamp onto some masking paper, and fussy cut the masks.  Then I planned on where to place my flowers from the Wondrous Wishes set on my white card stock.  Next I stamped it with the purple inks in Color Fuse set #6.  I placed my masks over the flowers and stamped the stems with green ink from Color Fuse set #10.

Next I sprayed the back of the Sun Burst stencil with Pixie Spray and placed it on the white die cut card.  I used an ink blending brush and inked on some yellow inks from Color Fuse set #1.  Here are my progress photos:

I die cut the panel with the second largest Nested Rectangle Small Stitch die.  Then I stamped the sentiment in black ink and adhered the piece to my card base with liquid glue.  To add a bit of bling, I added Apple Green Nuvo drops to the flower centers and a sprinkling of Dandelion Yellow Nuvo drops around the flowers and on the sunshine.

If you're still hanging in and reading this, thank you!  I sure hope I've provided some inspiration and that you've enjoyed my card making process!  Have a wonderful, crafty day!

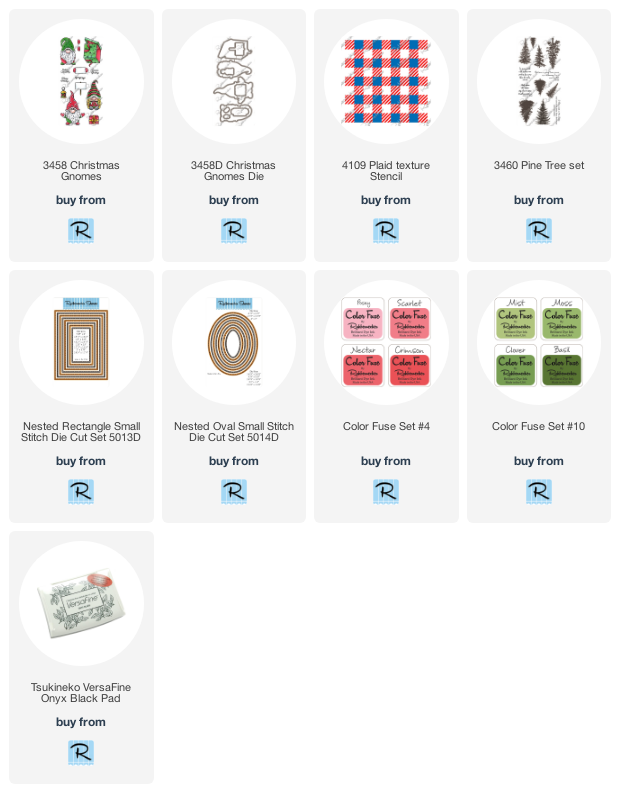
Rubbernecker products used for these cards: