Hello crafty friends! Today I'm sharing three floral cards that I made for Rubbernecker Stamps' sneak peeks of their beautiful Floral Frenzy release. You may have missed seeing these and this gives me a chance to share how I made these cards.
These first two cards are made with two different stamp sets, but the technique I used is the same for both.


This first card features the gorgeous Summer Bouquet Set with the Bold Rose two-part stencil set.
First I sprayed the back of both stencils with Pixie Spray. This ensures the stencil won't shift around and the tackiness will last through several uses! I placed the leafy stencil on a 4-¼" x 5-½" piece of white card stock. Then I used some sponge daubers to ink up the stencil with green inks from the Color Fuse set #11. Next I removed the leafy stencil and positioned the flower stencil over the card panel. I used another sponge dauber and added some pretty inks from Color Fuse set #4. When I was finished, I adhered the panel to a top folding A2 card base.

Next I die cut some 80# Neenah with the largest Nested Oval Scallop die. I placed it into my MISTI and used some removable tape to make sure it stayed in place! Then I centered the first layer of the Summer Bouquet stamp over it. This is the fun part! I used sponge daubers to ink on the green ink from Color Fuse set #11. I would stamp and repeat until I was happy with the look. These next photos shows what it looked like after the first time I stamped the green layer, and then the finished piece.


When I finished stamping the flower stamps (Color Fuse sets #4 and #9) I stamped the sentiment from the set in black ink. I popped the oval up with some foam tape and adhered it to the card front.

The second card uses the very same inking technique with the sponge daubers. I used the beautiful Country Blooms set for this card.

Before I began adding the ink, I die cut a panel with the second largest Nested Rectangle Scallop die. I used Color Fuse set #'s 9 and 10. Here's a few photos showing my progress: (click any photo to see it up close.)


When I finished stamping the flowers, I stamped the sentiment from the set in black ink. I added foam tape to the back of the panel and adhered it to a top folding card base.

My final card features the sweet Wondrous Wishes set along with some masking and stenciling!

First I used the largest of the Nested Rectangle Small Stitch die set and cut a piece of coordinating purple card stock. I adhered the purple card stock to a top folding card base and set it aside. Next I grabbed some black ink, stamped three of the flower's base layer stamp onto some masking paper, and fussy cut the masks. Then I planned on where to place my flowers from the Wondrous Wishes set on my white card stock. Next I stamped it with the purple inks in Color Fuse set #6. I placed my masks over the flowers and stamped the stems with green ink from Color Fuse set #10.
Next I sprayed the back of the Sun Burst stencil with Pixie Spray and placed it on the white die cut card. I used an ink blending brush and inked on some yellow inks from Color Fuse set #1. Here are my progress photos:


I die cut the panel with the second largest Nested Rectangle Small Stitch die. Then I stamped the sentiment in black ink and adhered the piece to my card base with liquid glue. To add a bit of bling, I added Apple Green Nuvo drops to the flower centers and a sprinkling of Dandelion Yellow Nuvo drops around the flowers and on the sunshine.

If you're still hanging in and reading this, thank you! I sure hope I've provided some inspiration and that you've enjoyed my card making process! Have a wonderful, crafty day!
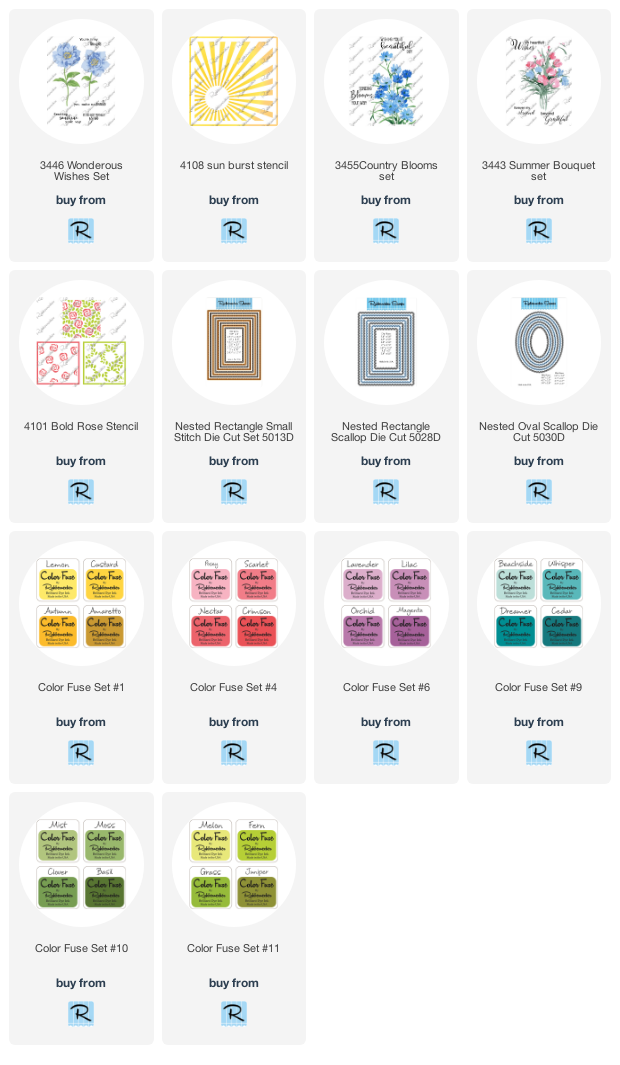
Rubbernecker products used for these cards: