Showing posts with label Inside: Kindness stamp set. Show all posts

Wednesday, December 14, 2022

Cold Noses, Warm Heart - Winter Friend Card

 Hello Honey Bee friends! Today I'm sharing my looks-like-a-shaker-card, but it isn't card! I've used the new Polar Pals stamps and Honey Cuts and placed them in the Snow Globe A2 Shaker die on a 5" x 7" card. With the sentiments I used on the outside and inside of the card, this is just perfect to send a paper hug to that special someone!
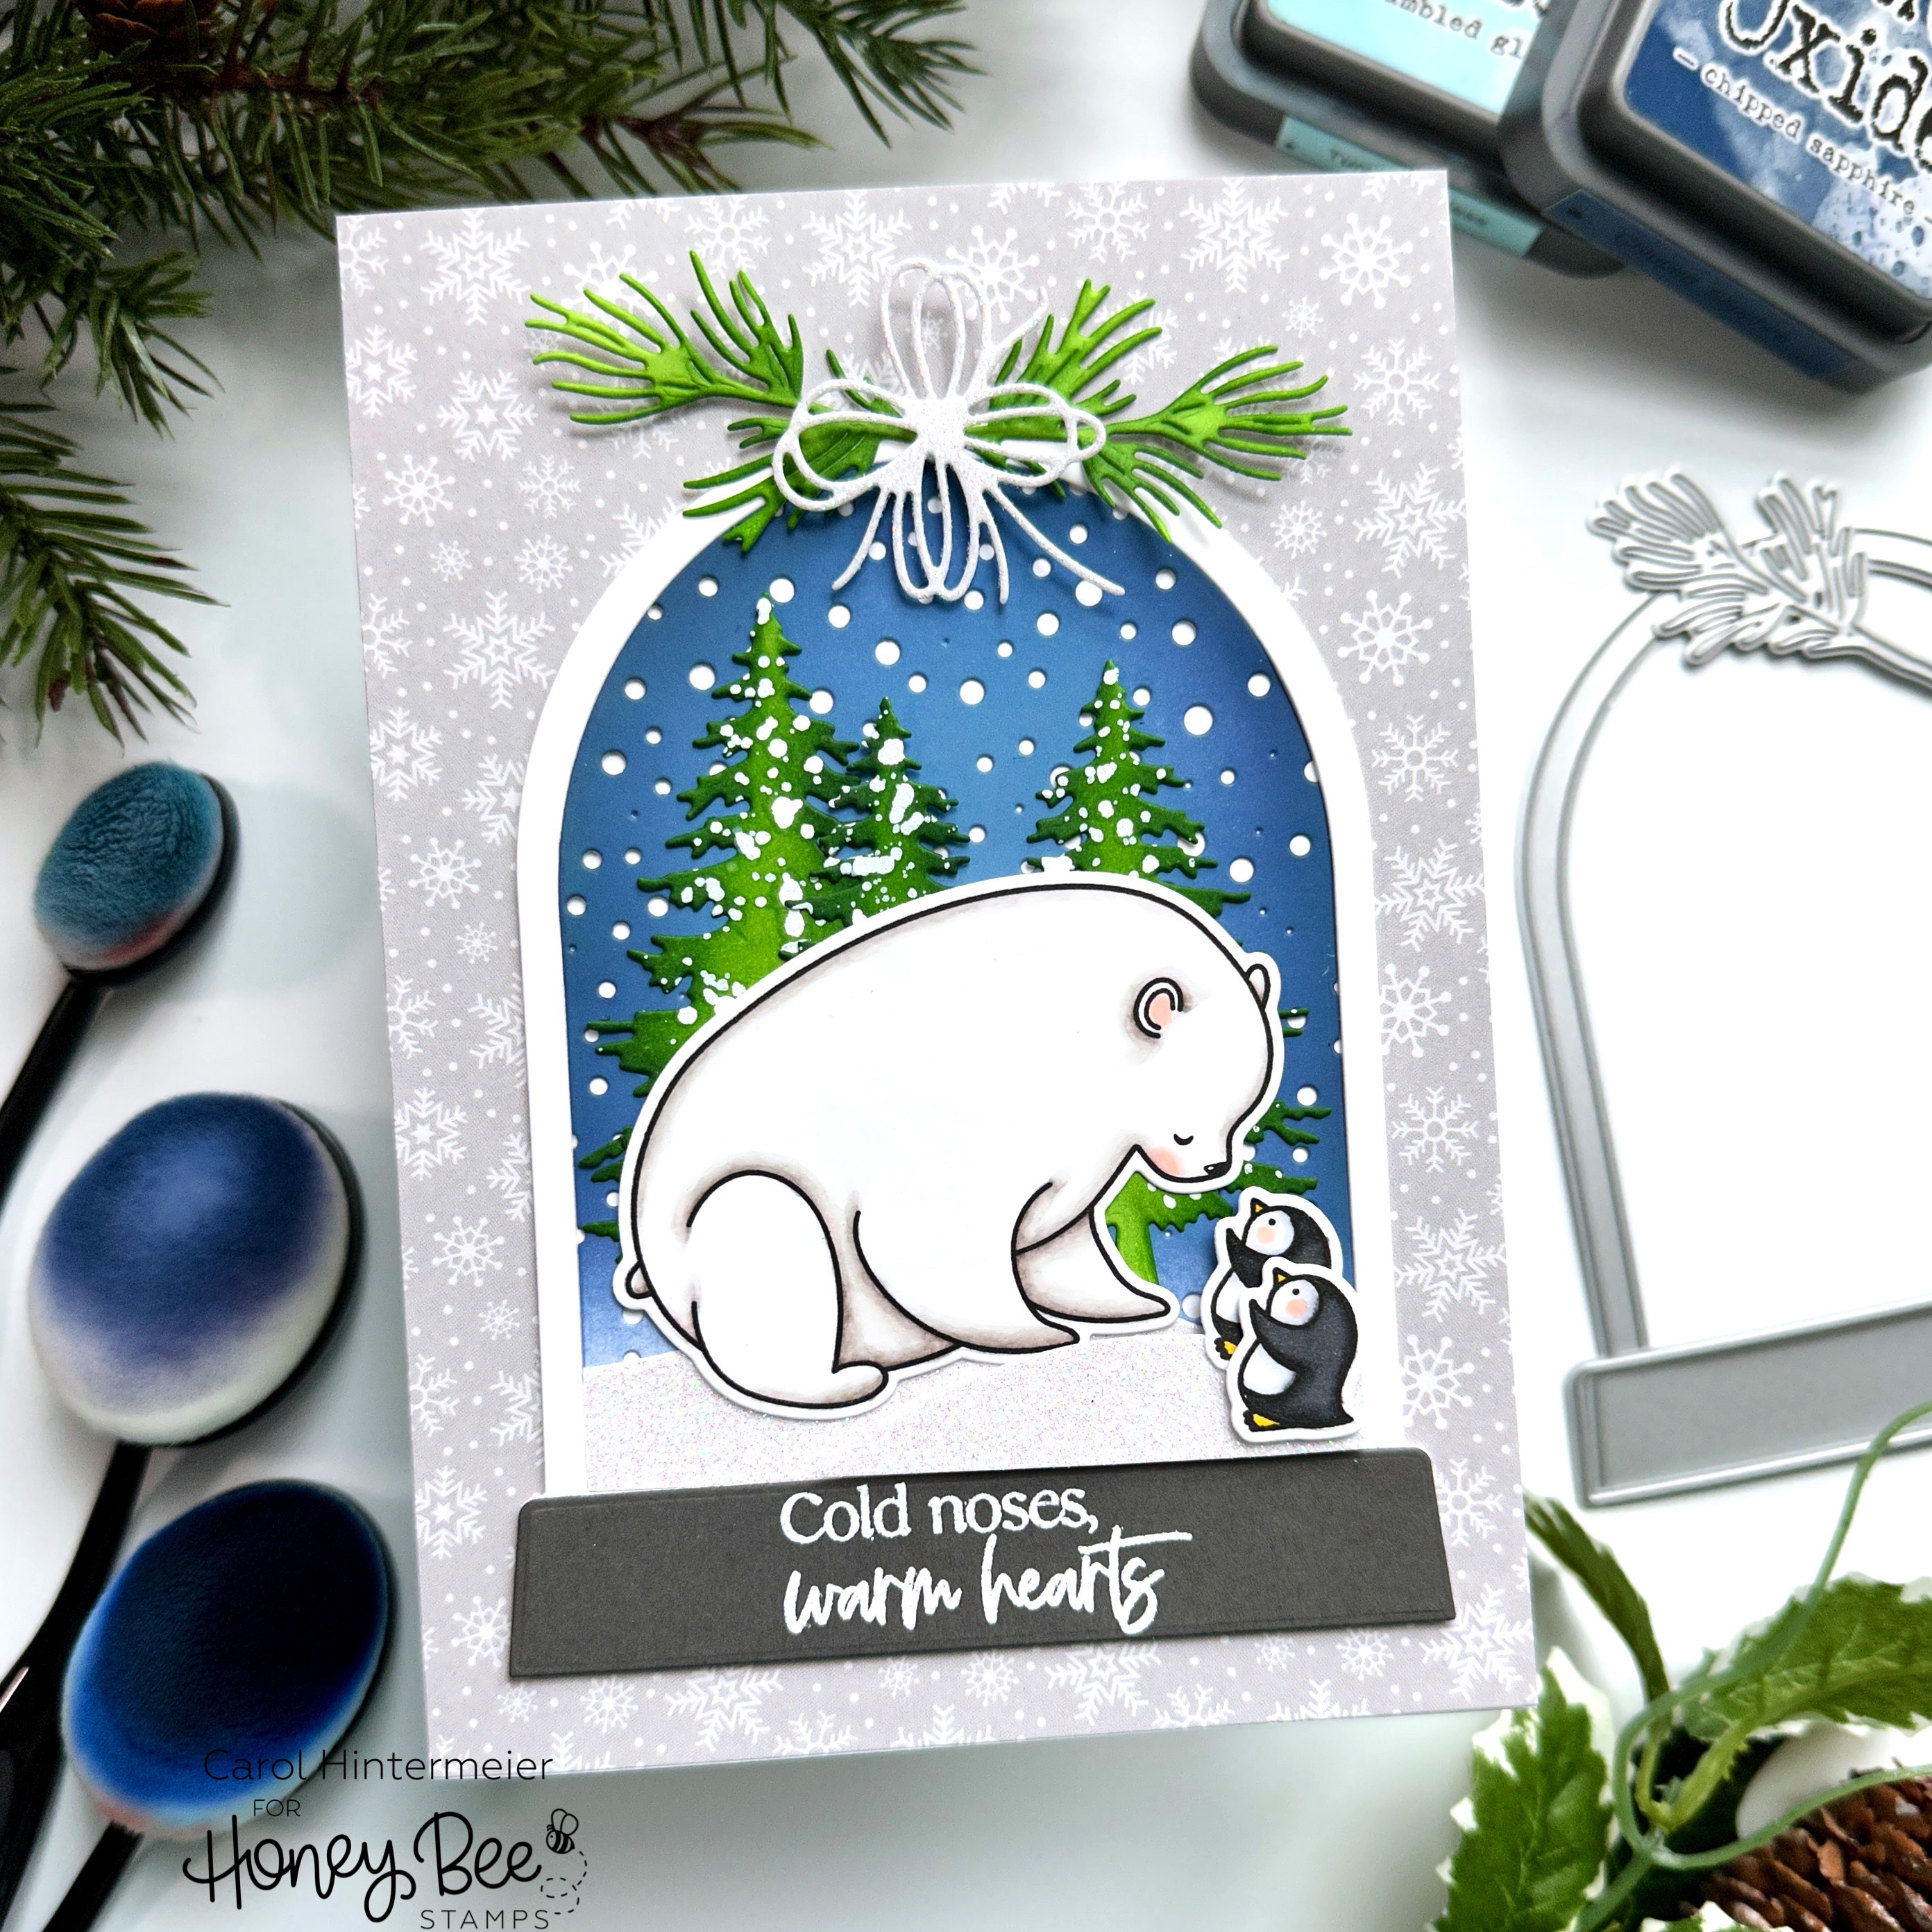
Let's begin from the card base upwards:

  • Cut a piece of the patterned paper from the Make It Merry paper pad to 5" x 7".
  • Adhere it to an A7 card base.
  • Stamp the sentiment from the Inside: Kindness set on the inside of the card in black ink.
  • Next die cut the pieces of the Snow Globe A2 Shaker Honey Cuts from 80# Neenah.
  • Die cut the frame three times and layer together with glue.
  • Die cut the base from dark gray cardstock.
  • Next stamp the sentiment from the Polar Pals stamps onto the gray base in clear embossing ink and heat set with white embossing powder. Adhere to the snow globe with glue.
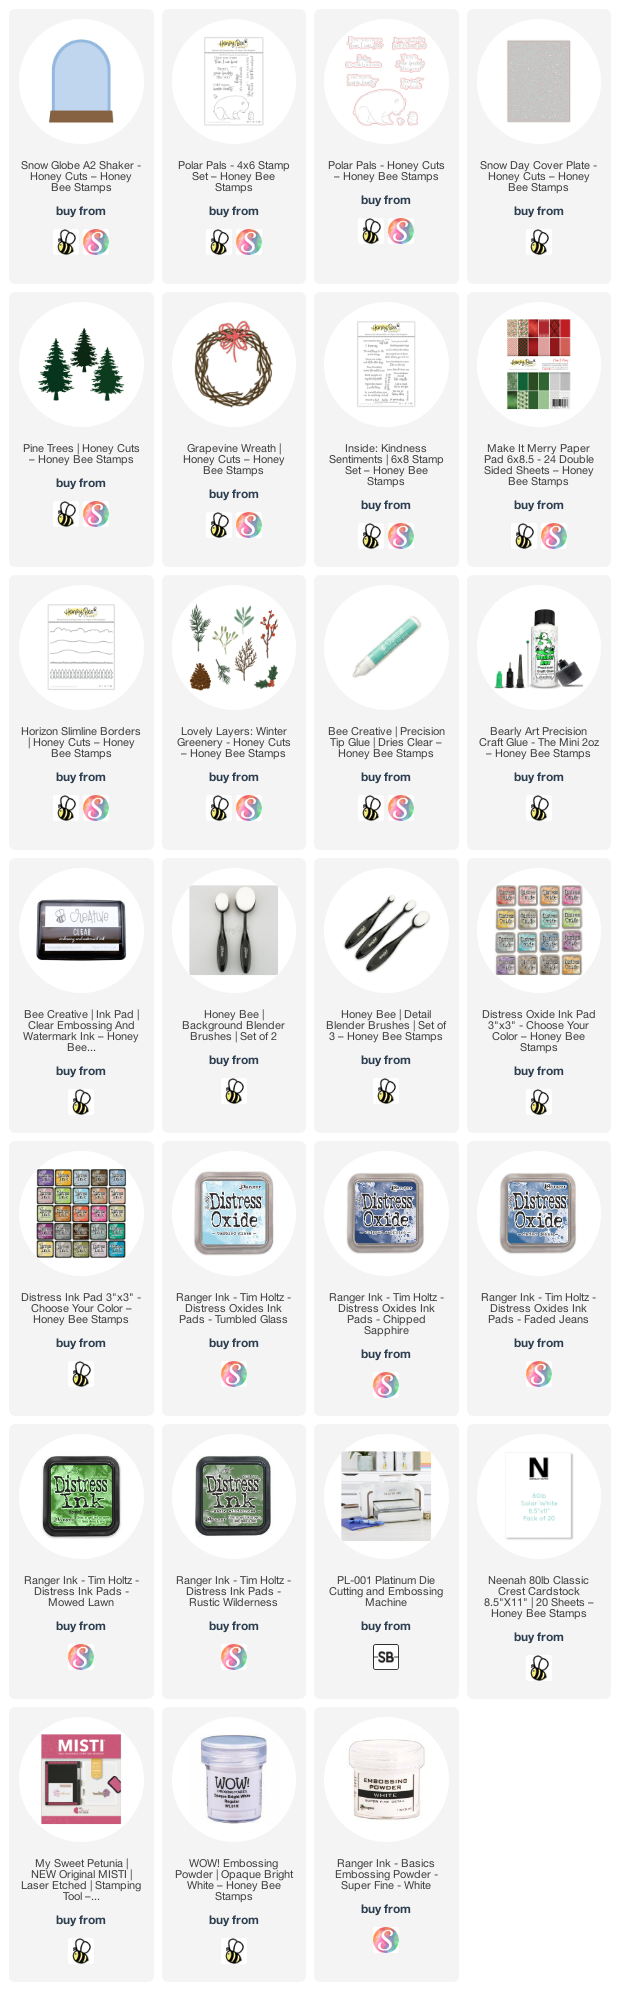
  • Ink blend Tumbled Glass, Faded Jeans and Chipped Sapphire Distress Oxide inks onto the center piece of the snow globe.
  • Die cut the ink blended piece with the Snow Day Cover Plate die.
  • Then die cut two hills using the Horizon Slimline Borders Honey Cuts from white glitter cardstock.
  • Trim them with scissors to fit the bottom of the inked snow globe center piece.
  • I adhered one with glue and popped up the small hill with some foam tape.
  • I assembled the snow globe and adhered it to the card base with glue.
  • Next I stamped the polar bear and penguins from the Polar Pals set in Intense Black ink. I used a few Copic markers to color them and then cut them out with the coordinating Honey Cuts.
  • Next I die cut the Pine Trees Honey Cuts and two pieces of pine sprigs from the Lovely Layers: Winter Greenery. I used an ink blending brush to color them with Mowed Lawn and Rustic Wilderness Distress ink.
  • I splattered the pine trees with diluted white paint and adhered all of the pieces to the snow globe with glue and foam squares.
  • I die cut the bow from the Grapevine Wreath Honey Cuts from white glitter cardstock.
  • I splattered the pine trees with diluted white paint and adhered all of the pieces to the snow globe with glue and foam squares.

I just adore the sweet Polar Pals set!! So did I succeed in making my pretend shaker card kind of look like a shaker? I think it works and hope you do too! Thank you so much for stopping by today. You are always so very appreciated!

Thank you so much if you use my affiliate links to shop (never any additional cost to you).
Wednesday, January 5, 2022

You're Amazing! | Honey Bee Stamps

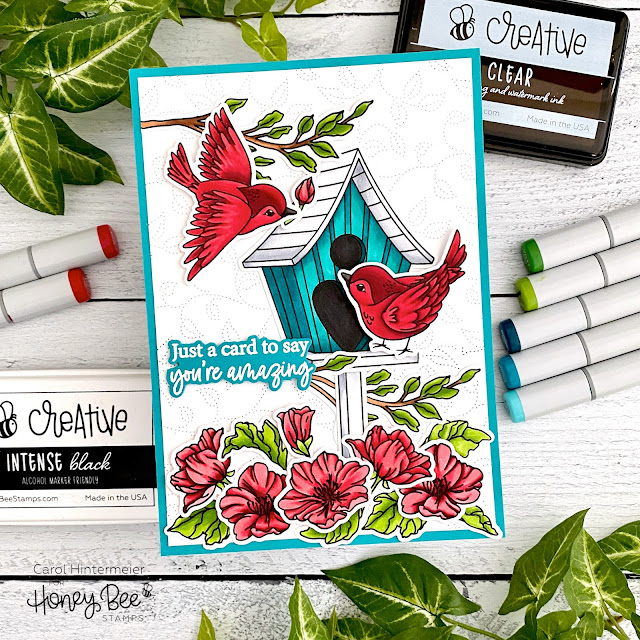
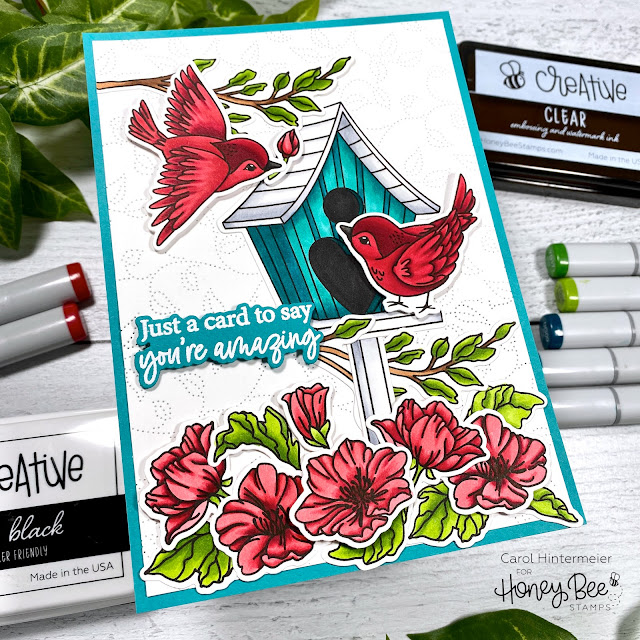
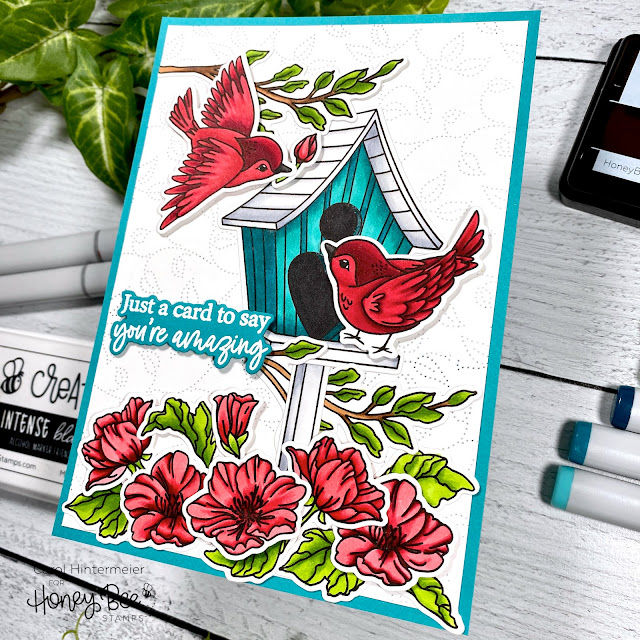
 Happy 2022 crafty friends!  I hope the new year is off to a good start for you!   For my first card of the new year, I'm using Honey Bee Stamps' beautiful Love Is In The Air stamps and coordinating dies.  Once I had the images colored, this card came together very quickly!  Read on for the details.

First I created my 5" x 7" card base.  I adhered some teal card stock to the side-folding base.  Then I trimmed 80# Neenah to 4-¾" x 6-¾".  Then I used the Swirling Leaves Pierced A2 Cover Plate die to add the piercing to the card.  Now you may be saying, "wait, this is a 5" x 7" card and the cover plate is A2 sized!"  Well, I just turned the cover plate and placed it over the top half of the white card stock, ran it through my machine, then carefully positioned it on the bottom, and ran it through again.  Works like a charm!  I adhered the piece to my card with Bee Creative glue.

I stamped the images from the Love Is In The Air set with Intense Black ink and colored them with my Copic markers.  Here are the colors I used:  flowers and birds: R59, R29, R27, R35, & R43; birdhouse: BG09, BG49, BG15, C3, C1, & C00; leaves: YG17, YG25, & YG03.  I used the coordinating dies to cut them out.

Next I stamped the sentiment from the Inside: Kindness set with Bee Creative Clear Embossing ink, sprinkled it with white embossing powder, and heat set it.  I used the coordinating die to cut it out.

I used a combination of foam dots and Bee Creative glue to adhere the images and sentiment to the card front.  

Thank you so much for stopping by today!  Have a wonderful day!

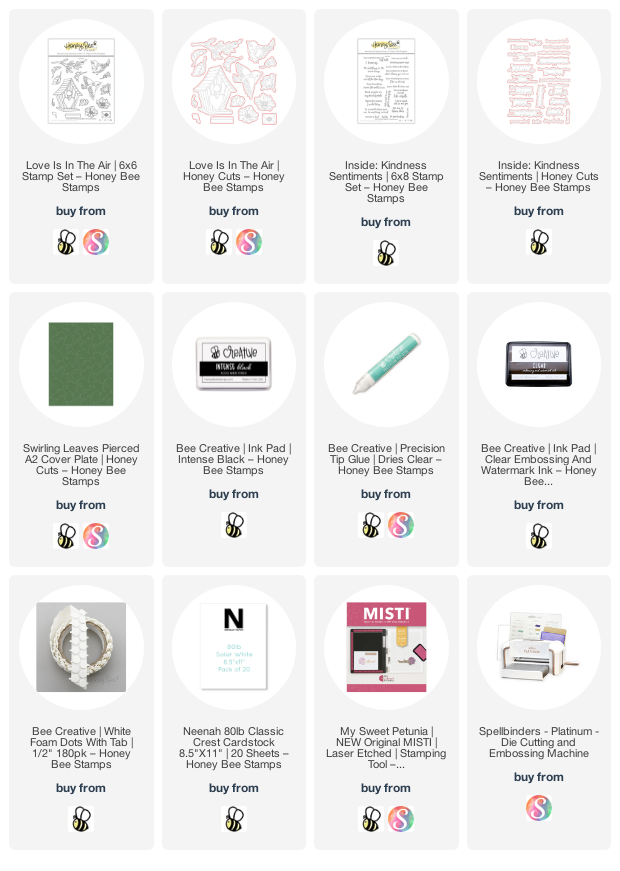
Thank you so very much if you use my affiliate links (which are never any extra cost to you): 

Friday, December 17, 2021

Sealed With Love Instagram Hop Card & NEW Wax Stampers!!

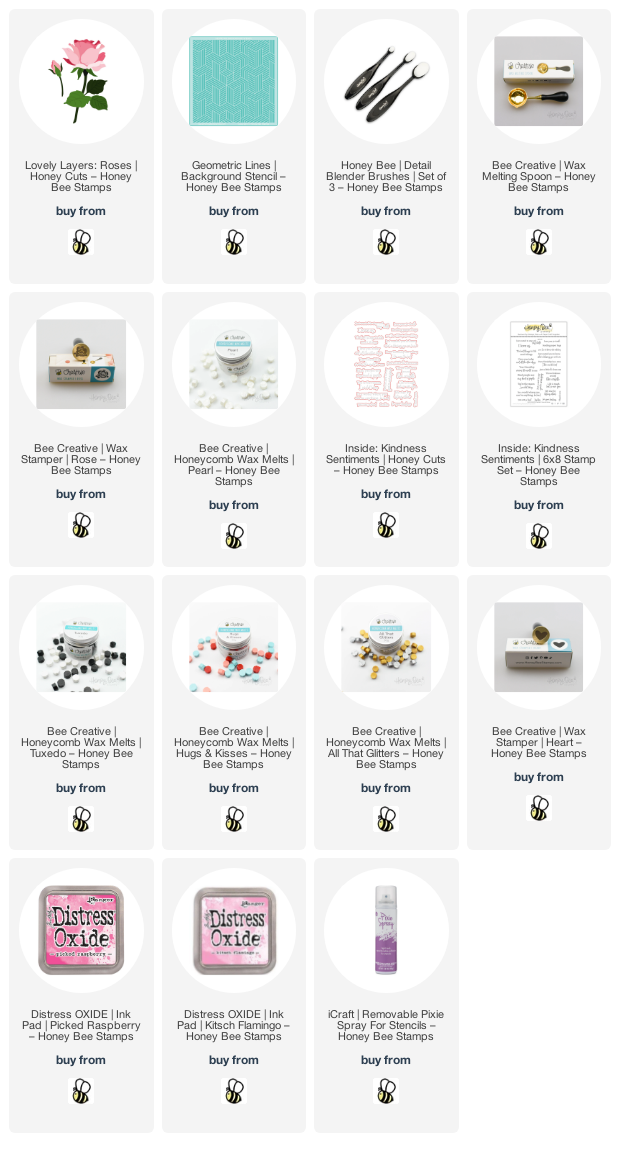
Hello crafty friends!  Today we have a fun Instagram hop to celebrate the Sealed With Love release by Honey Bee Stamps.  (There are prizes if you go over and comment!)  Today my card features the gorgeous new Lovely Layers: Roses die set by Honey Bee Stamps!  Also new are the Honeycomb Wax Melts and stampers.  I have a few tips for using this fun new product below!

First I die cut all of the Lovely Layers: Roses flower layers from 80# Neenah Solar White.  Then I used a few Copic markers (RV04, RV02, & RV00) to color and add shading to the layers.  I used Bee Creative glue to adhere the rose layers together.  I die cut the stem and leaf layers from green card stock and added shading with YG17, YG25, YG03, and YG01 Copic markers.

Next I used the new Geometric Background Stencil to create my background.  I first sprayed it with Pixie Spray to keep the fine lines of the stencil in place while I inked on Picked Raspberry and Kitsch Flamingo Distress Oxide inks with Detail Blender brushes.  I trimmed it to 4" x 5-¼" and adhered it to a top-folding A2 card base.

Now for the really fun part!  This was my very first time using wax melts and wax stampers.  I have to say it was really easy!  I poured my wax onto a silicone mat--this is a worry-free way in lieu of pouring the wax onto your card.  Once the wax is cooled, it easily comes off of the silicone!  I found that with Honey Bee's Honeycomb Wax Melts, three pieces in the Wax Melting Spoon was just the right amount.  I used the Pearl Wax Melts and you can check out the other wax melt colors in Honey Bee's shop.  I held the wax melting spoon over a small candle to melt the wax.  Be sure to watch it because you can burn the wax!  Yes, I did!  LOL!  I found that using my craft pick to stir it helped.

When you pour the melted wax onto your mat, immediately take your Wax Stamper (I used the Rose) and set it straight down into the wax.  DO NOT PRESS!  The wax stamper has just the perfect amount of weight to get a good impression.  It only takes a few minutes for it to cool and then just pick up the wax stamper.

I finished up by adhering the rose pieces to the card and using Bee Creative glue to adhere my wax seal.  Then I stamped a sentiment from the Inside: Kindness stamp set with Intense Black ink and cut it out with the coordinating die.  I added two pieces of thin foam tape to the back and adhered it to the card.

I created extra wax seals to add onto my envelopes from the Hugs & Kisses envelope pack!  

Have you used wax melts and wax stampers?  If not, I think you should because it's really fun and adds such a unique touch to your cards and envelopes!  I hope you've enjoyed my card making process today!  Thank you so much for stopping by!  Be sure to head over to my Instagram and leave a comment for your chance to win one of two Honey Bee gift cards!

Thank you so much if you use my affiliate links (NEVER any extra cost to you!)