Showing posts with label Swirling Leaves Pierced A2 Cover Plate. Show all posts

Wednesday, June 22, 2022

Get Well Card Featuring Lovely Layers: Wildflowers

Today I'm sharing a sweet get well card where I've featured the Lovely Layers: Wildflowers and the bee from the Lovely Layers: Bugs. This was a quick, and easy, card to make, and a good type of card to have on hand!

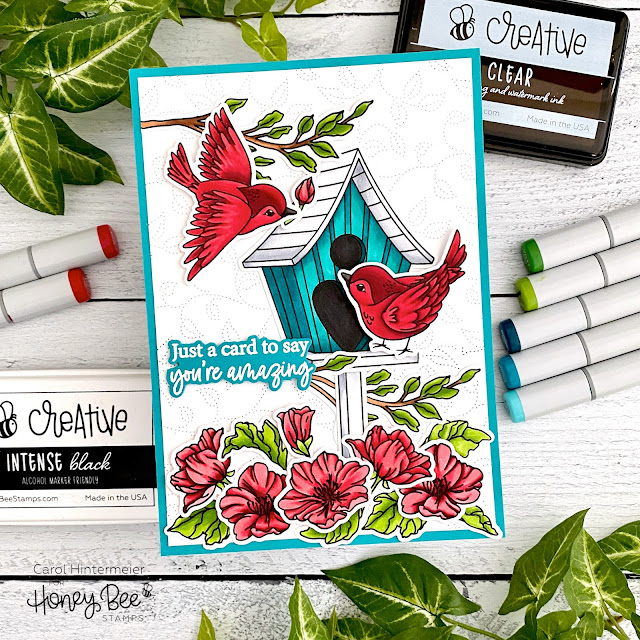
First I die cut the Swirling Leaves Pierced A2 Cover Plate from 80# Neenah. I trimmed it to 4" x 5-¼" and adhered it to an A2 card base with foam tape. I love the subtle detail this creates for a background!

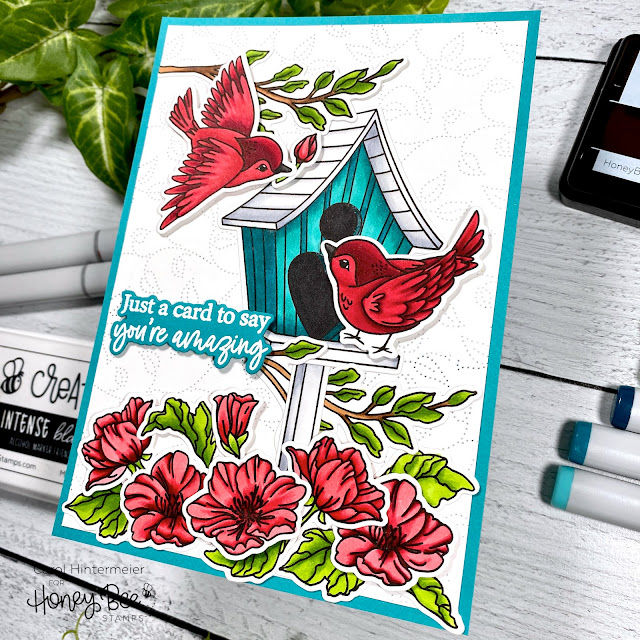
Next I pulled out some colored cardstock scraps and die cut (using the new Bitty Buzz Cutter) the Lovely Layers: Wildflowers and the bee from Lovely Layers: Bugs.  The Bitty Buzz Cutter is the cute little die cutter I didn't realize I need! It's so convenient to have right by my main crafting space! 

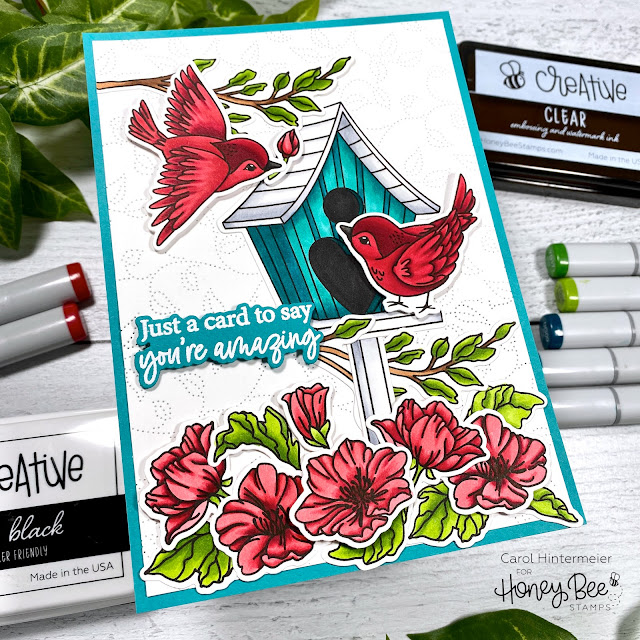
I used some Detail Blender Brushes to add Distress Inks and Oxides Inks for shading on the flowers and greenery. I used Mowed Lawn and Squeezed Lemonade Distress Ink. The Distress Oxide colors are Abandoned Coral and Peacock Feathers. You may be wondering why I used Distress ink and Oxide ink--well, honestly, I didn't even notice that I did until I began writing this post! LOL!

I assembled the flowers by following the layering guide that you can download using the link in the product description. I used Bee Creative glue to adhere the pieces together. I also used the glue and some foam dots to adhere the pieces to my card.

I used my black Copic marker to color in the stripes of the bee. Then I used a black Micron 005 pen to add little fuzzy lines. I die cut the wings from vellum, then added sparkle with a clear glitter pen. I used a small foam dot to adhered the small bee body piece and then more foam dots to pop him up on the card.

I stamped the sentiment from the Get Well Soon stamp set in black ink. I pulled out the coordinating Honey Cut to die cut the sentiment and popped it up with foam strips.

Thanks so much for stopping by today!  Have a wonderful day!

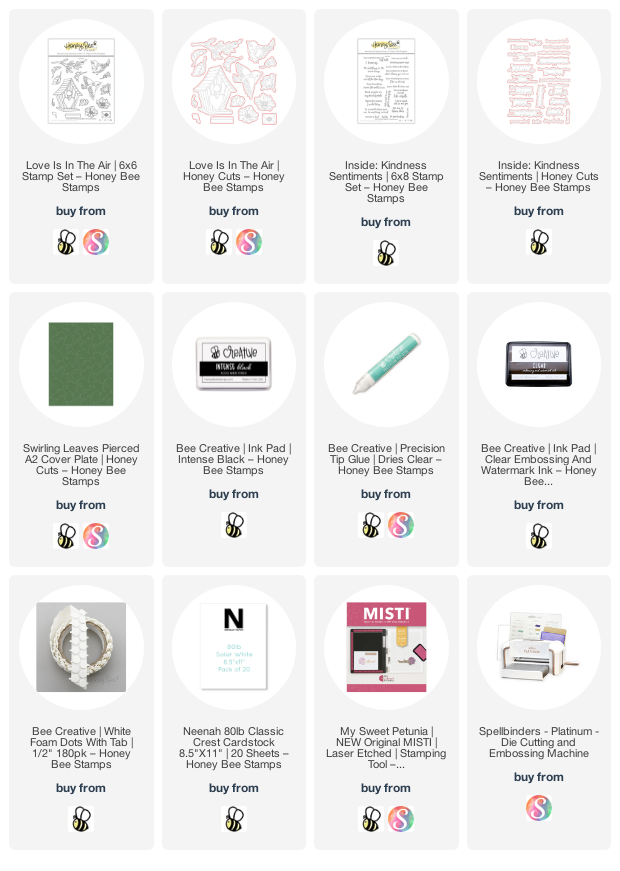
Links to products I've used for my card:  

Wednesday, January 5, 2022

You're Amazing! | Honey Bee Stamps

 Happy 2022 crafty friends!  I hope the new year is off to a good start for you!   For my first card of the new year, I'm using Honey Bee Stamps' beautiful Love Is In The Air stamps and coordinating dies.  Once I had the images colored, this card came together very quickly!  Read on for the details.

First I created my 5" x 7" card base.  I adhered some teal card stock to the side-folding base.  Then I trimmed 80# Neenah to 4-¾" x 6-¾".  Then I used the Swirling Leaves Pierced A2 Cover Plate die to add the piercing to the card.  Now you may be saying, "wait, this is a 5" x 7" card and the cover plate is A2 sized!"  Well, I just turned the cover plate and placed it over the top half of the white card stock, ran it through my machine, then carefully positioned it on the bottom, and ran it through again.  Works like a charm!  I adhered the piece to my card with Bee Creative glue.

I stamped the images from the Love Is In The Air set with Intense Black ink and colored them with my Copic markers.  Here are the colors I used:  flowers and birds: R59, R29, R27, R35, & R43; birdhouse: BG09, BG49, BG15, C3, C1, & C00; leaves: YG17, YG25, & YG03.  I used the coordinating dies to cut them out.

Next I stamped the sentiment from the Inside: Kindness set with Bee Creative Clear Embossing ink, sprinkled it with white embossing powder, and heat set it.  I used the coordinating die to cut it out.

I used a combination of foam dots and Bee Creative glue to adhere the images and sentiment to the card front.  

Thank you so much for stopping by today!  Have a wonderful day!

Thank you so very much if you use my affiliate links (which are never any extra cost to you):