Showing posts with label Lovely Layers: Wildflowers. Show all posts

Wednesday, August 2, 2023

Hello Beautiful!! -- Floral Birthday Card

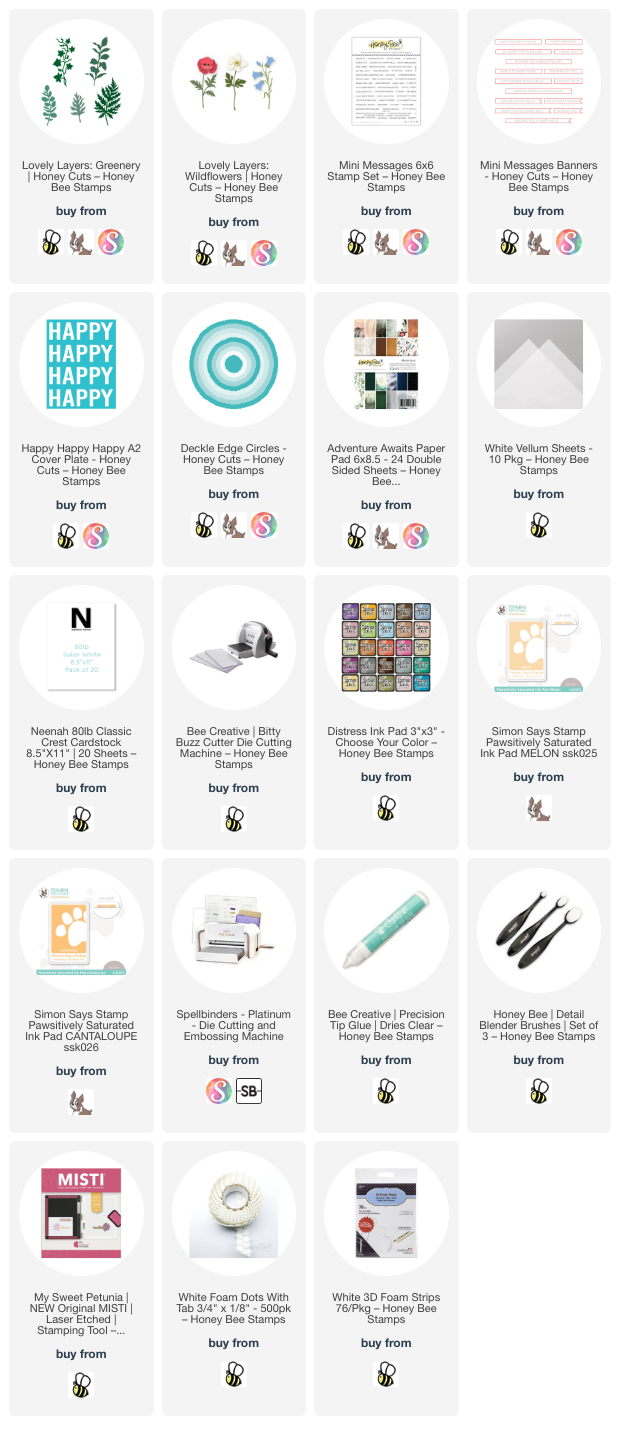
Hello crafty friends! I cannot believe it's August!  I'm staying inside, out of the heat, and having lots of crafty fun! Today I'm sharing this card I made using Honey Bee Stamps' Adventure Awaits paper pad along with several other previously released products.

First I created the layers for the card base by die cutting the Happy Happy Happy A2 cover plate die four times. Once was from patterned paper in the Adventure Awaits paper pad and three times from white cardstock.  Be sure to save those middle pieces from the "A's" and "P's"!!

Tip: Do what I totally forgot to do and put sheets of double-sided adhesive to the papers before die cutting! Otherwise, use Bee Creative glue to adhere the the layers and the fallout pieces for the A's and P's, like I did.

Once you have the layers adhered, add a piece of dark green paper (Adventure Awaits paper pad) to an A2 card base. Then adhere the Happy Happy Happy die cut to the card. Next adhere the center pieces of the A's and P's.

Next I chose two of the dies from the Lovely Layers: Greenery set. I die cut one greenery once, and the other two times from 80# Neenah. I used some ink blending brushes and Distress inks to color the greenery. I used Shabby Shutters, Peeled Paint, Bundled Sage, and Rustic Wilderness.

Next I die cut the poppy layers from the Lovely Layers: Wildflower set. I used a few of the same green Distress Inks as before, plus a couple of coral-orange inks in my stash to color the layers.

To defuse the business of the patterned paper, I die cut some vellum with the fourth largest Deckle Circle die. As you can see in the photo, I trimmed off the edge just a bit. Then I used dots of glue to adhere the greenery and poppy to the vellum. When the glue was dry I turned the piece over and added pieces of foam dots to the back of the vellum making sure they wouldn't show through to the front. (I just cut the foam dots in halves or quarters to make them fit where needed!)

One more step before I removed the backing from the foam dot pieces! I stamped the sentiments from the Mini Messages: Everyday in green ink and die cut them with the two coordinating dies. I used tape runner to glue the sentiments to the vellum, as shown. Then I added a narrow foam strip to the back of the sentiments. This will hold up that side of the vellum! Remove the foam tape backing and adhere the piece to the card.

I added a few pretty pearls that coordinated from the Spring Pearls pearl stickers set.

In spite of the details of this card, I had this made in a surprisingly short amount of time!  I'm still building up my low birthday card stash, and this will be perfect for a fall birthday! Thank you so much for stopping by!

I so appreciate it when you use my affiliate links to shop (never any additional cost to you)!
Wednesday, January 11, 2023

Poppy Bouquet Birthday Card

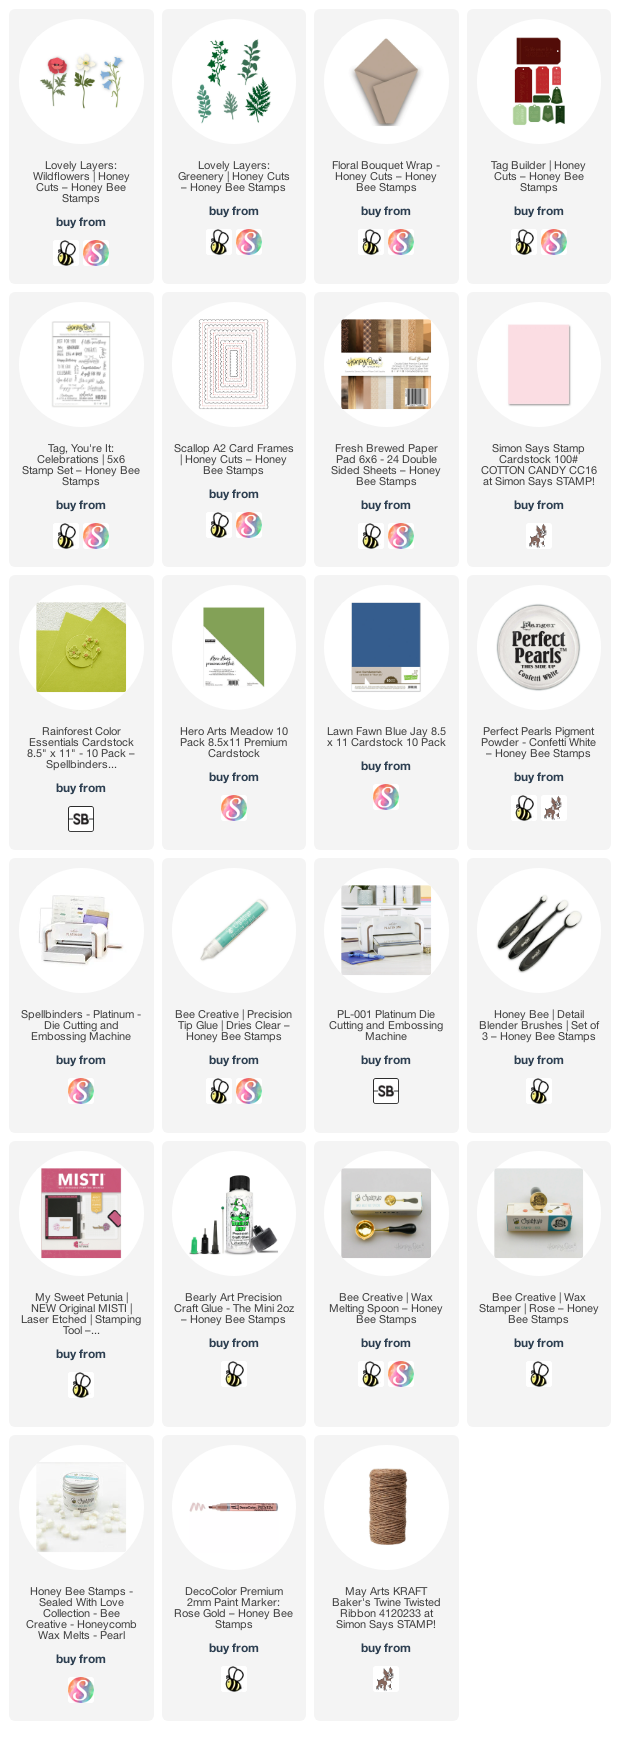
 Hello my friends!! Today I'm sharing a sweet birthday card I made using the Honey Bee Stamps Lovely Layers: Wildflowers, Lovely Layers: Greenery, and the Floral Bouquet Wrap. This was lots of fun to make and I even added a wax seal! I have all of the fun details below.

First I die cut some dark blue cardstock with the second largest Scallop A7 Honey Cut. Then I mixed a bit of Confetti White Perfect Pearls with water and added splatters to the panel. When it was dry, I used Bee Creative glue to adhere it to an A7 card base.

Next I die cut the Floral Bouquet Wrap from a piece of paper in the Fresh Brewed paper pad. I folded it at the score lines and glued the edges to form the wrap. To make it easier to add the jute twine, I added double sided tape to the back of the wrap. The tape will hold the twine in place as you wrap it. Next I stamped the sentiment from the Tag, You're It: Celebrations stamp set with Worn Lipstick Distress ink. I used my MISTI to stamp it a few times and then die cut it with a tag from the Tag Builder Honey Cuts.

I added a little piece of ribbon (from my stash) to the tag and slipped the ends under the twine. Then I made my wax seal by heating Pearl Wax Melts in the Melting Spoon.  Note:  I used my heat tool to melt the wax--so much faster than a tea light!  I poured it onto the twine and stamped it with the Rose Wax Stamper. While it's not a perfect circle, I am totally okay with it! I used a DecoColor Rose Gold paint pen to color the rose.

Next I die cut the poppy from the Lovely Layers: Wildflowers and the greenery pieces from the Lovely Layers: Greenerywith pink, green, and black cardstock in my stash. I used a small detail blender brush to add shading to the poppies and greenery with Worn Lipstick and Rustic Wilderness Distress ink. After I glued the poppy layers together, I did snip off some leaves from the bottom of the stems and also from the greenery stems to make it easier to arrange them in the Floral Bouquet Wrap. I used Bee Creative glue to adhere the stems in the wrap as I arranged them all.

I used all of the leaves I had snipped off and tucked them here and there with some glue. To adhere the bouquet to my card, I added foam dots to the back of the bouquet and the poppies.

I really love how this turned out and hope that you've found some card making inspiration here!  Thank you so much for stopping by.  Have a fun and crafty day!

Thank you for choosing to use my affiliate links (never any additional cost to you).

Wednesday, June 22, 2022

Get Well Card Featuring Lovely Layers: Wildflowers

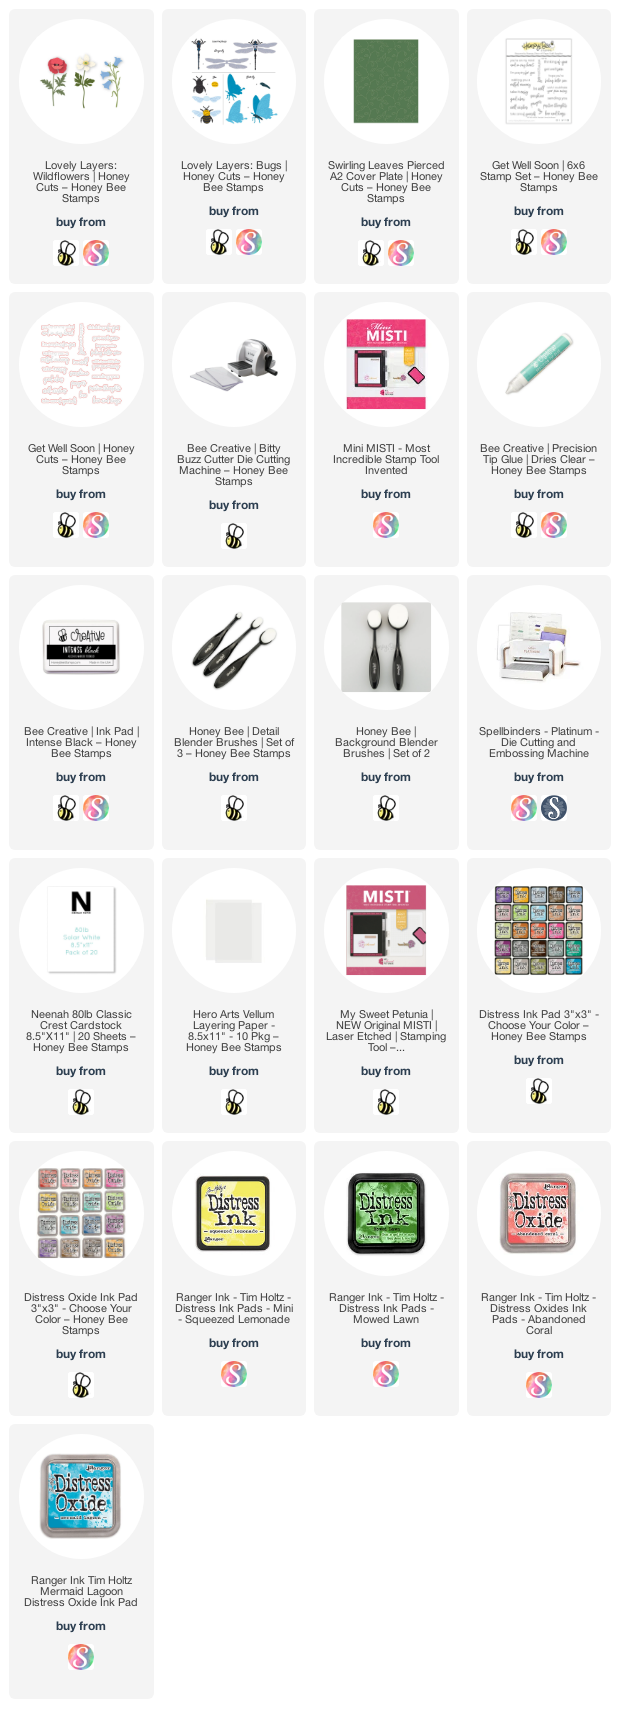
Today I'm sharing a sweet get well card where I've featured the Lovely Layers: Wildflowers and the bee from the Lovely Layers: Bugs. This was a quick, and easy, card to make, and a good type of card to have on hand!

First I die cut the Swirling Leaves Pierced A2 Cover Plate from 80# Neenah. I trimmed it to 4" x 5-¼" and adhered it to an A2 card base with foam tape. I love the subtle detail this creates for a background!

Next I pulled out some colored cardstock scraps and die cut (using the new Bitty Buzz Cutter) the Lovely Layers: Wildflowers and the bee from Lovely Layers: Bugs.  The Bitty Buzz Cutter is the cute little die cutter I didn't realize I need! It's so convenient to have right by my main crafting space! 

I used some Detail Blender Brushes to add Distress Inks and Oxides Inks for shading on the flowers and greenery. I used Mowed Lawn and Squeezed Lemonade Distress Ink. The Distress Oxide colors are Abandoned Coral and Peacock Feathers. You may be wondering why I used Distress ink and Oxide ink--well, honestly, I didn't even notice that I did until I began writing this post! LOL!

I assembled the flowers by following the layering guide that you can download using the link in the product description. I used Bee Creative glue to adhere the pieces together. I also used the glue and some foam dots to adhere the pieces to my card.

I used my black Copic marker to color in the stripes of the bee. Then I used a black Micron 005 pen to add little fuzzy lines. I die cut the wings from vellum, then added sparkle with a clear glitter pen. I used a small foam dot to adhered the small bee body piece and then more foam dots to pop him up on the card.

I stamped the sentiment from the Get Well Soon stamp set in black ink. I pulled out the coordinating Honey Cut to die cut the sentiment and popped it up with foam strips.

Thanks so much for stopping by today!  Have a wonderful day!

Links to products I've used for my card: