Showing posts with label Lovely Layers: Bugs. Show all posts

Wednesday, April 23, 2025

Happy Birthday Card with Tips for Easy and Fast Die Cut Coloring!

Hello crafty friends! Today I'm sharing a card to add to my birthday card stash that I've made with more of Honey Bee Stamps previously released products! I've used the beautiful Lovely Layers: Tulips along with a few other favorite sets. If you would like to learn a couple of tips for quick ink blending for your die cuts, read on!

My tip for faster ink blending for your die cuts is instead of inking each individual die cut, take a strip of cardstock and do your ink blending on that! I used a coral ink and a yellow ink and two blender brushes. To get the gradient, I overlapped the two colors in the middle of my 80# white cardstock strip, like this:

Then I just lined up the dies from the Lovely Layers: Tulips and cut them out with my die cutting machine. Easy and fast! If you want a bit more depth, like I did, it was easy to ink on more coral ink along the bottom of the die cuts!

Another quick way to color your die cuts is to begin with colored cardstock! I die cut the Lovely Layers: Tulips leaves and stems and the Lovely Layers: Spring Greenery (I used one of the dies from this set) from green cardstock. I used a darker shade of green ink to quickly add ink to the pieces for more depth.

I used glue to adhere the layers together. Next I adhered a blue cardstock panel to my A2 card base. Then I added the flowers and leaves to my card base with glue and foam dots.

I die cut the bee in the Lovely Layers: Bugs dies from 80# white cardstock and the bee's wings from vellum. I used my Copic markers to easily color the two layers of the bee's body. To get the "fuzzy" look on the bee, I used a black Micron 005 pen and added tiny lines along the black stripes.

I glued the bee layers together and adhered it to the card with foam squares. The sentiment is from the Inside: Birthday Sentiments stamp set and stamped in black pigment ink. I cut it out with the coordinating die and added foam strips to adhere it to the card.

For a bit of embellishment, I dug DEEP into my stash of older products and pulled out my Prills. Who remembers these?! I added dots of glue to the Tulip center and adhered the Prills.  And I can't believe I found where these are still available!  Check the link in the list below.

I really do enjoy pulling out some of my older and favorite products and hope I've inspired you to do the same! Thank you so much for stopping by today!

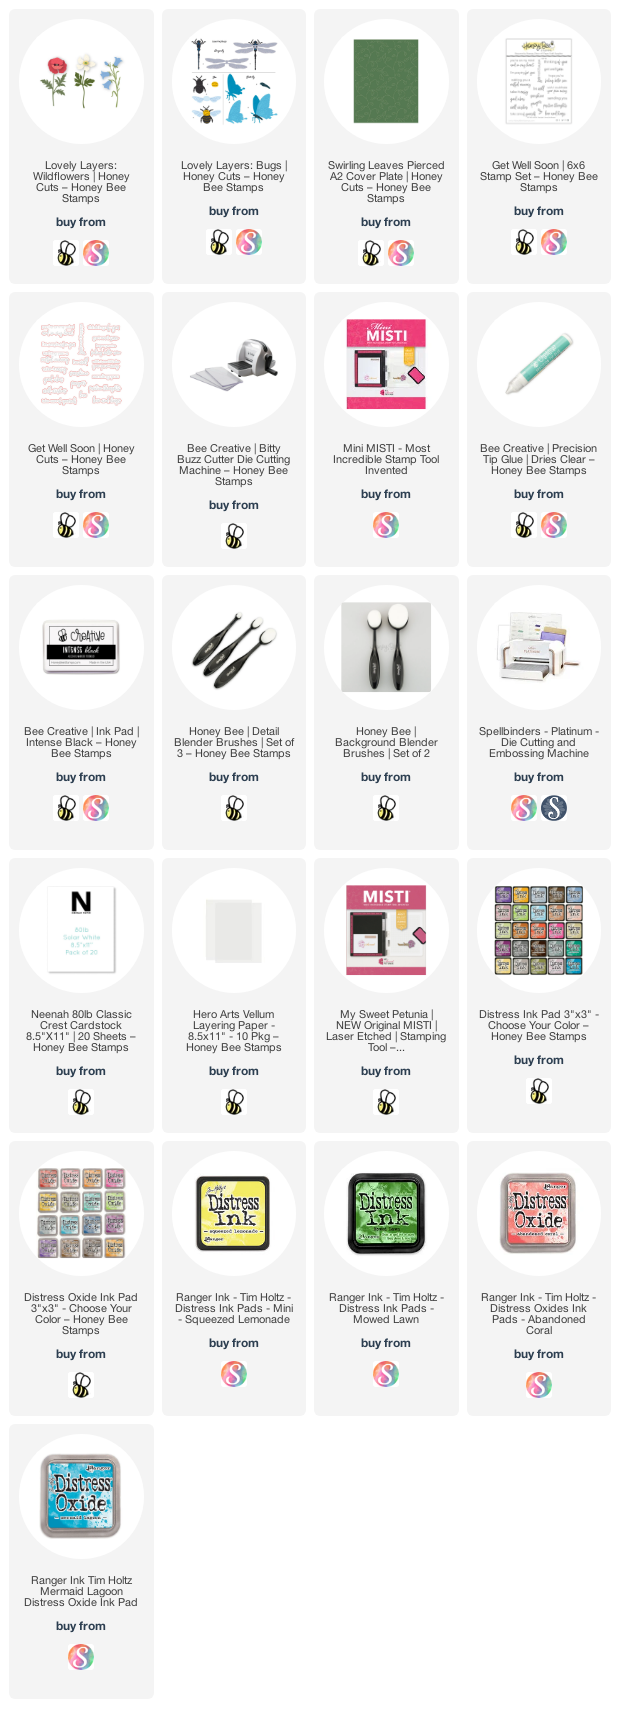
Thank you so much for using my affiliate links to shop (never any additional cost to you)!
Wednesday, June 22, 2022

Get Well Card Featuring Lovely Layers: Wildflowers

Today I'm sharing a sweet get well card where I've featured the Lovely Layers: Wildflowers and the bee from the Lovely Layers: Bugs. This was a quick, and easy, card to make, and a good type of card to have on hand!

First I die cut the Swirling Leaves Pierced A2 Cover Plate from 80# Neenah. I trimmed it to 4" x 5-¼" and adhered it to an A2 card base with foam tape. I love the subtle detail this creates for a background!

Next I pulled out some colored cardstock scraps and die cut (using the new Bitty Buzz Cutter) the Lovely Layers: Wildflowers and the bee from Lovely Layers: Bugs.  The Bitty Buzz Cutter is the cute little die cutter I didn't realize I need! It's so convenient to have right by my main crafting space! 

I used some Detail Blender Brushes to add Distress Inks and Oxides Inks for shading on the flowers and greenery. I used Mowed Lawn and Squeezed Lemonade Distress Ink. The Distress Oxide colors are Abandoned Coral and Peacock Feathers. You may be wondering why I used Distress ink and Oxide ink--well, honestly, I didn't even notice that I did until I began writing this post! LOL!

I assembled the flowers by following the layering guide that you can download using the link in the product description. I used Bee Creative glue to adhere the pieces together. I also used the glue and some foam dots to adhere the pieces to my card.

I used my black Copic marker to color in the stripes of the bee. Then I used a black Micron 005 pen to add little fuzzy lines. I die cut the wings from vellum, then added sparkle with a clear glitter pen. I used a small foam dot to adhered the small bee body piece and then more foam dots to pop him up on the card.

I stamped the sentiment from the Get Well Soon stamp set in black ink. I pulled out the coordinating Honey Cut to die cut the sentiment and popped it up with foam strips.

Thanks so much for stopping by today!  Have a wonderful day!

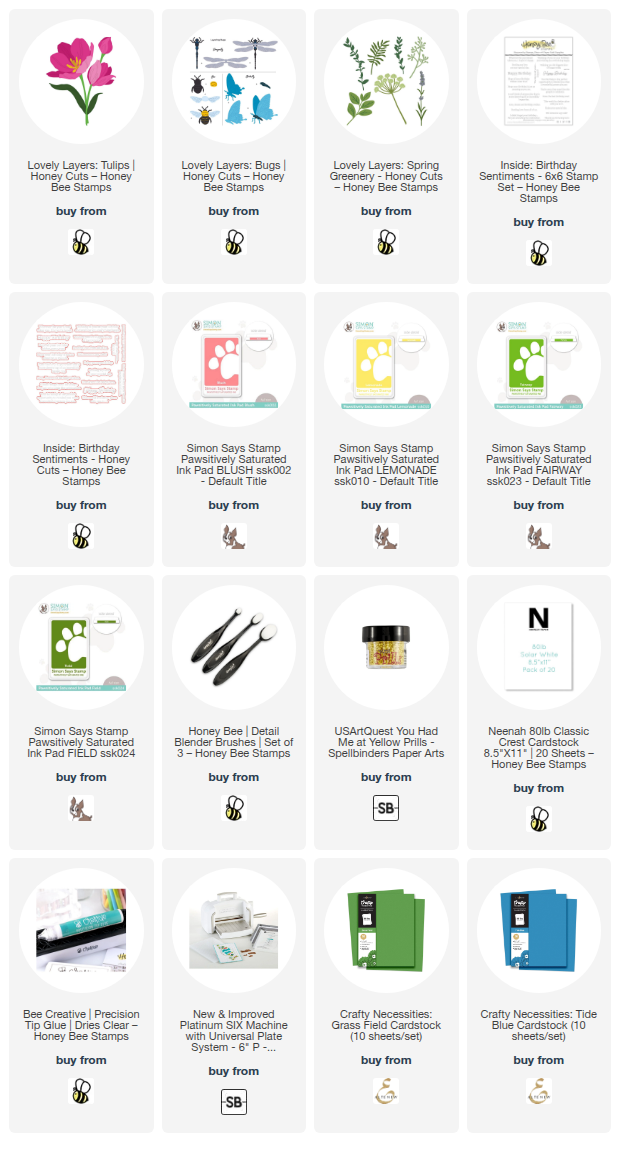
Links to products I've used for my card:  

Wednesday, April 6, 2022

Using Floral Stamps in a Different Way with the Lovely Layers Butterfly

Hello crafty friends! I love trying to think of different ways to use Honey Bee's beautiful floral stamp sets; and instead of coloring the Framed: Anemones, I heat embossed it onto vellum! The star of the card is the fabulous butterfly from the Lovely Layers: Bugs Honey Cuts. Keep reading for the details on how to make this card!

First I cut a piece of patterned paper from the Beach Vibes paper pad (one of my VERY most favorites!) to 4-¼" x 5-½" and adhered it to an A2 card base with Bee Creative glue.

Next I stamped the Framed: Anemones onto 40# vellum with Bee Creative Clear Embossing ink. I sprinkled on silver embossing powder and heat set it. Then I used my scissors to trim off the outer portion of the frame, cutting around the leaves that extend beyond that line. I decided to do this so that the beautiful striped paper shows some and for added interest to the card. I adhered the vellum piece with small dots of Bee Creative glue.

Next I die cut the butterfly from the Lovely Layers: Bugs from 80# white cardstock. Then I used Copic markers to color it. The Copics I used are: BG09, BG15, BG13, BG32, BG11, and E79. I adhered the layers together with glue, popping up the body portion with some foam dots. I just love the details that are embossed onto the butterfly's wings when you die cut it. Check out this close up photo.

I chose the "celebrate" sentiment from the Tag, You're It: Celebrations set and stamped it with Intense Black ink. I used the coordinating Honey Cut to die cut it and then popped it up with foam dots. I love this sentiment because I can use it for a birthday, anniversary, or any occasion that calls for a celebration!

I added some sparkle and shine with a clear glitter pen on the butterfly's wings and gems from the Back To Basics Gem Sticker set.

This was a fun card to make, and I really hope that I've given you some inspiration on a different way to use your Honey Bee floral stamp sets! Thank you so much for stopping by!

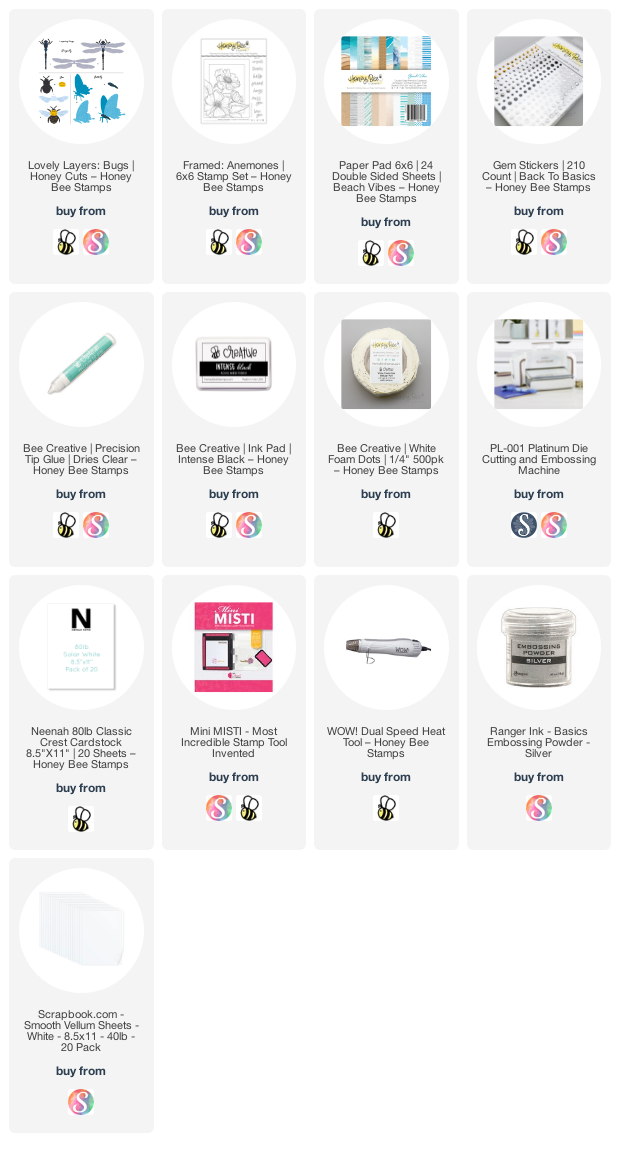
Products I've used to make my card today:

Thursday, February 24, 2022

Honey Bee Stamps Modern Spring Instagram Hop

Hello friends!  Today we are hopping over on Instagram to celebrate Honey Bee Stamps' new release called Modern Spring.  This release is filled with so many gorgeous sets--from florals, cute mice, hot foil plate sentiments, and more--there's something for everyone!

Before I get to the details of my card, be sure to visit my Instagram when you are finished here to get started on the hop.  The more comments you leave, the more chances you will have to win a $25 gift card to the Honey Bee shop!

First I stenciled a rainbow of Distress Oxide inks through the Scattered Seeds stencil with Detail Blender brushes.  All the colors I used are in the supply list at the end.  I trimmed the piece to 4" x 5-¼", added a black mat layer, and adhered it to an A2 card base.

Next I worked on the elements for the card.  I used two of the Lovely Layers: Greenery dies and cut one four times and the other twice from white card stock.  I left three of the die cuts in the negative space, taped them on the back with removable tape, and then ink blended the same Distress Oxides over them.  I spritzed water droplets on them and dried it with my heat tool.  Then I added drops of Pure White ink spray and dried that.

For the three remaining pieces of greenery, I spattered some gold (retired) Perfect Pearls Mist over them and let dry.

I die cut the dragonfly wings from the Lovely Layers: Bugs set three times.  Once each from white card stock, rainbow foil (for hot foil plates) and from vellum.  I adhered the rainbow foil to the white layer and adhered the vellum by adding a dot of glue in the center.  I used my fingers to slightly curl up the vellum wings.  I love the effect of the foil through the vellum!!  I used a clear Wink of Stella to add sparkle to the vellum wings.  I die cut the dragonfly body from some pink mirror card stock in my stash and adhered the wings to the body.

I die cut the "kind" sentiment from the Bitty Buzzwords: Bloom die set from black card stock three times.  I adhered the layers together and glued them to the white shadow die cut layer.  Then I stamped the sentiment from the Bitty Buzzwords: Bloom stamp set in Clear Embossing ink onto black card stock.  I sprinkled on white embossing powder and heat set it.  I used a die from the Sentiment Banners die set to cut it out.

I fiddled around (it seemed like forever--LOL!) with the elements to decide on an arrangement.  Once I was happy I popped up the dragonfly and the sentiments with foam squares.  I used Bee Creative glue to adhere the greenery layers.

I adhered some gems from the new Modern Spring Gem Stickers to the card and also the dragonfly body.  I love how iridescent these are and that there are three different sizes in the new sets!

I'm so happy you stopped over for the details of my card!  Thank you!  Be sure to go back over to Instagram where I have the hop list, and check out the other designers' projects!  You will definitely find lots of amazing inspiration for the Modern Spring release; and if you leave a comment, you just may be a winner of that gift card!  Good luck!

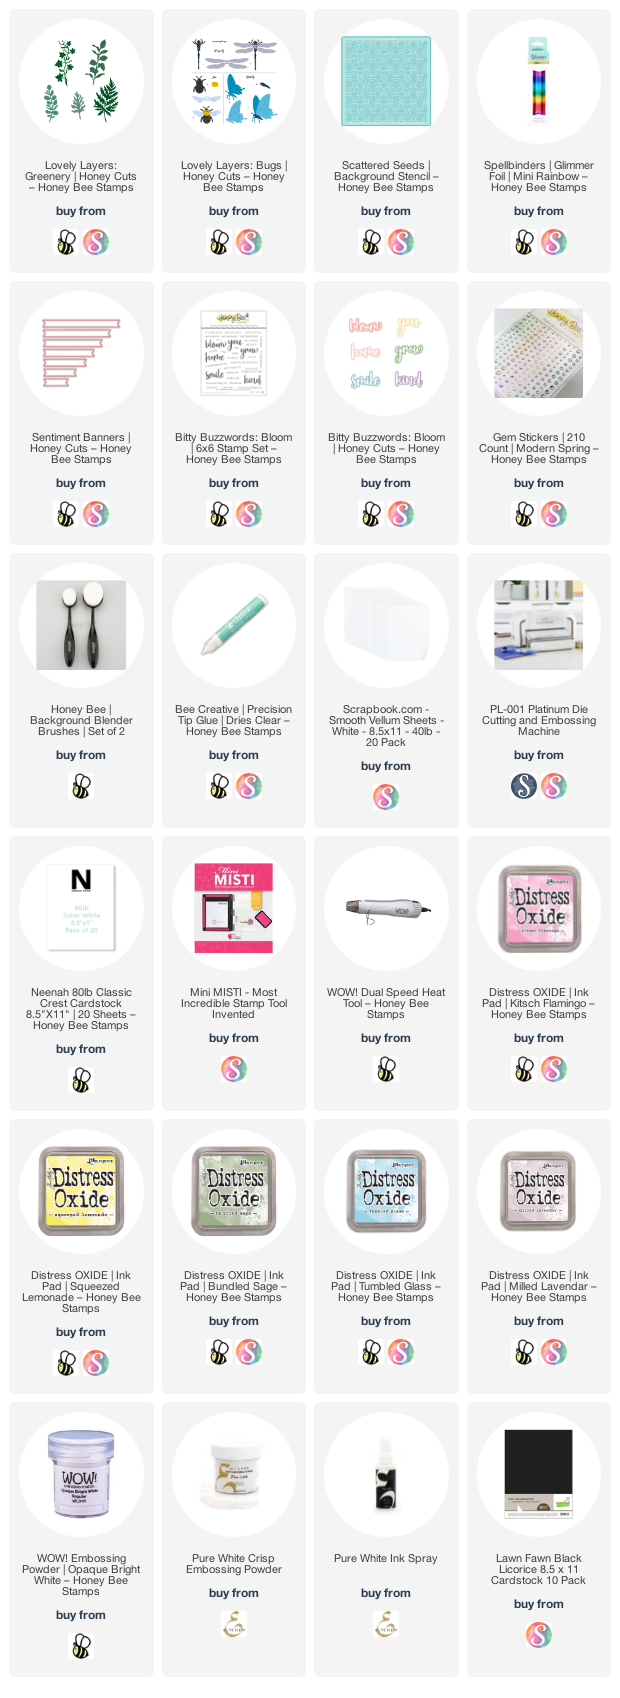
Thank you so much should you choose to use my affiliate links for your shopping:  (it's never any extra cost to you)