Showing posts with label Instagram hop. Show all posts

Saturday, June 27, 2026

Chinoiserie Thank You Card

Hi friends!  I'm so happy to be a part of an Instagram Hop happening today for My Pretty Things new release called Life InDex.  There are lots of fun products for your memory keeping and these can also be used in your card making too!  I've used the gorgeous Chinoiserie Stamp set with coordinating stencils and dies.

If you don't know about My Pretty Things, this is a small company owned by Erin Thompson.  She also hosts the most awesome craft retreat.  The Nashville Craft Retreat is held annually in Franklin, TN, which is just outside of Nashville.  Erin also has crops and virtual retreats that you should check out!  I've been to the Nashville Craft Retreat this year and the previous three.  It is SO much fun and you get to learn new things and bring home so much swag and products from her sponsor companies!  Information about and registration for the 2027 retreat is open now!

First I stamped the Chinoiserie images.  Then I used a few pink and green inks in my stash to color these with the Chinoiserie stencils and blending brushes.  A brand new tool, available from My Pretty Things, are these awesome blender brushes that I used with the inks and stencils!

I seriously would not recommend these if I did not like them.  I know there's lots of choices we have for ink blending brushes, but I definitely recommend these!

When I finished the stenciling, I cut out the images with the coordinating Chinoiserie dies.  I used glue and some foam adhesive to adhere them to a 4" x 5-¼" pink cardstock panel.  Then I added foam tape to the back of the panel to adhere it to my A2 card base.

The sentiment is one of two included in the Chinoiserie stamp set.  I stamped it with black pigment ink and cut it out with the coordinating die.  A few foam squares were used to adhere the sentiment to the card.

I added some pretty and so sparkly sequins from the Chandelier Shaker Mix.

I hope you will join me over on the Instagram Hop.  There will be a prize of a $25 gift certificate given away to two lucky commenters!  If you can't join the hop, then I hope you will check out the new release and all of the other fabulous products in the My Pretty Things shop.

Sunday, March 17, 2024

Just Buzzing By To Say Hi Light-Up Card

 Hello friends!  Today I'm sharing this fun light-up card I made as part of a collaboration with Picket Fence Studios and Pear Blossom Press.  We are having an Instagram hop and each company will give away a $25 gift card to a randomly chosen commenter!

I made this card with Picket Fence Studios' adorable Home For The Bees stamp set and one of Pear Blossom Press's EZ-Light.

I stamped the Home For The Bees image onto white cardstock with Picket Fence's Black Hybrid Ink.  Then I used an assortment of Copic markers to color it.  I colored the flowers with these markers:  RV69, RV66, RV17, RV55, R83, R81.  The leaves were colored with a ridiculous number of YG and G markers--LOL.  For the bee house roofs, I used a yellow colored pencil and a black Micron pen.  These was much easier than trying to use my markers!  I also used a green pencil on some of the thinner stems.

I wanted to make a shaped card with the arched dies from the Basic Die Cutting Die Set 1.  But let me tell you, after I spent the time coloring the image, I was pretty nervous to cut into it like this!!  What if I messed it up?!!

Thank goodness it worked out just fine!  After I used the largest arched die to cut a folded card base I glued on the outer piece of the die cut image and began to plan the placement of the EZ-Light.

I stamped the tiny "press here" stamp in a light gray ink in the lower right corner, as you can see in the photo above.  This is in Pear Blossom's Stamp and Die Bundle.  Then I used my die pick tool to poke a hole in three of the windows.  I placed the piece over the card and made a pencil mark through the holes to indicate where I will need to tape down the lights.

After I inserted the battery into the battery pack and tested it, I added a piece of red line double sided tape to the back of it to adhere the pack to the card.  Then I taped the lights where the pencil marks are.  I added pieces of Pear Blossom's Worlds Best Foam Tape.  It REALLY is the BEST as the tape is temporary for about 30 minutes which allows you to get perfect placement of anything you put onto it!

I removed the backing from the tape and placed the die cut image onto the card.  Take a look at how pretty it looks all lit up!

I have a short video included in my Instagram post showing the lights in action, if you'd like to check it out.

I stamped one of the sentiments from the Home For The Bees stamp set and trimmed it into a strip.  I added thin foam squares to the back to adhere it to the card.

Have I inspired you to try making your own light up card?  These are so fun and will be a surprise to your recipient too.  I hope you will join my over on Instagram for the hop.  You will see so many awesome light up cards!

Thank you so much for using my affiliate links to shop (never any additional cost to you)!

Wednesday, August 30, 2023

Hello My Friend Featuring The New Bountiful Banner Stamps, Stencils, Dies

Hello my friends! Have you been enjoying all of the inspiration being shared for the awesome Honey Bee Stamps Heartfelt Harvest release? I have more inspiration for you today with this card featuring the Bountiful Banner stamps and coordinating stencils.

Before I get to the details of my card, I want to let you know about the fun Instagram Hop we are having today featuring lots of wonderful cards from the Team! You can go to my Instagram page where I will have the complete hop list. Be sure to comment and tag your friends on every stop because there will be  two winners of a $50 gift card to be drawn from all those leaving comments!

First I used the Bountiful Banner stencil set to color the image with Distress Inks. I used these colors: Dried Marigold, Ripe Persimmon, Scattered Straw, Seedless Preserves, Peeled Paint, and Shabby Shutters.

Now, I like to stamp with the outline stamps after I finished coloring with the stencils. The reason for this is so I don't have to worry about the ink smearing while coloring. I just placed the image into my MISTI and placed the Bountiful Banner outline stamp over the colored image. Once I have the stamp lined up, I pick it up with the MISTI door. I use Gathered Twigs Distress Oxide to stamp the outline.

Tip: You can place a piece of acetate over the stenciled image to "test" your alignment. Just stamp onto the acetate and you can see if you need to make any adjustment.

I cut the Bountiful Banner image out with the die from the Impressions: Bountiful Banner. (There is a more detailed die in the Bountiful Banner Honey Cuts to use too!) Then I lined the die cut up with the Impressions: Bountiful Banner impress plate, secured it with removable tape, and ran it through my die cutting machine with the usual die cutting sandwich.

The impression from the Impressions: Bountiful Banner shows up in a few places in the photo and in real life, it's SO pretty! I added thin foam strips to the back and adhered it to an A2 kraft card base.

I stamped a sentiment from the Bountiful Banner stamp set with clear embossing ink and heat embossed it with metallic brass embossing powder. I used the banner die included in the Impressions: Bountiful Banner set to die cut it. I added some foam dots to pop it up on the card.

I just had to add some of the pretty Harvest pearl stickers for a touch of bling!

Thank you so much for stopping by today!  I hope to see you over on the Instagram hop too!

I so appreciate your using my affiliate links to shop (never any additional cost to you)!

Monday, October 31, 2022

Elegant Floral Frames Holiday Card & Instagram Hop

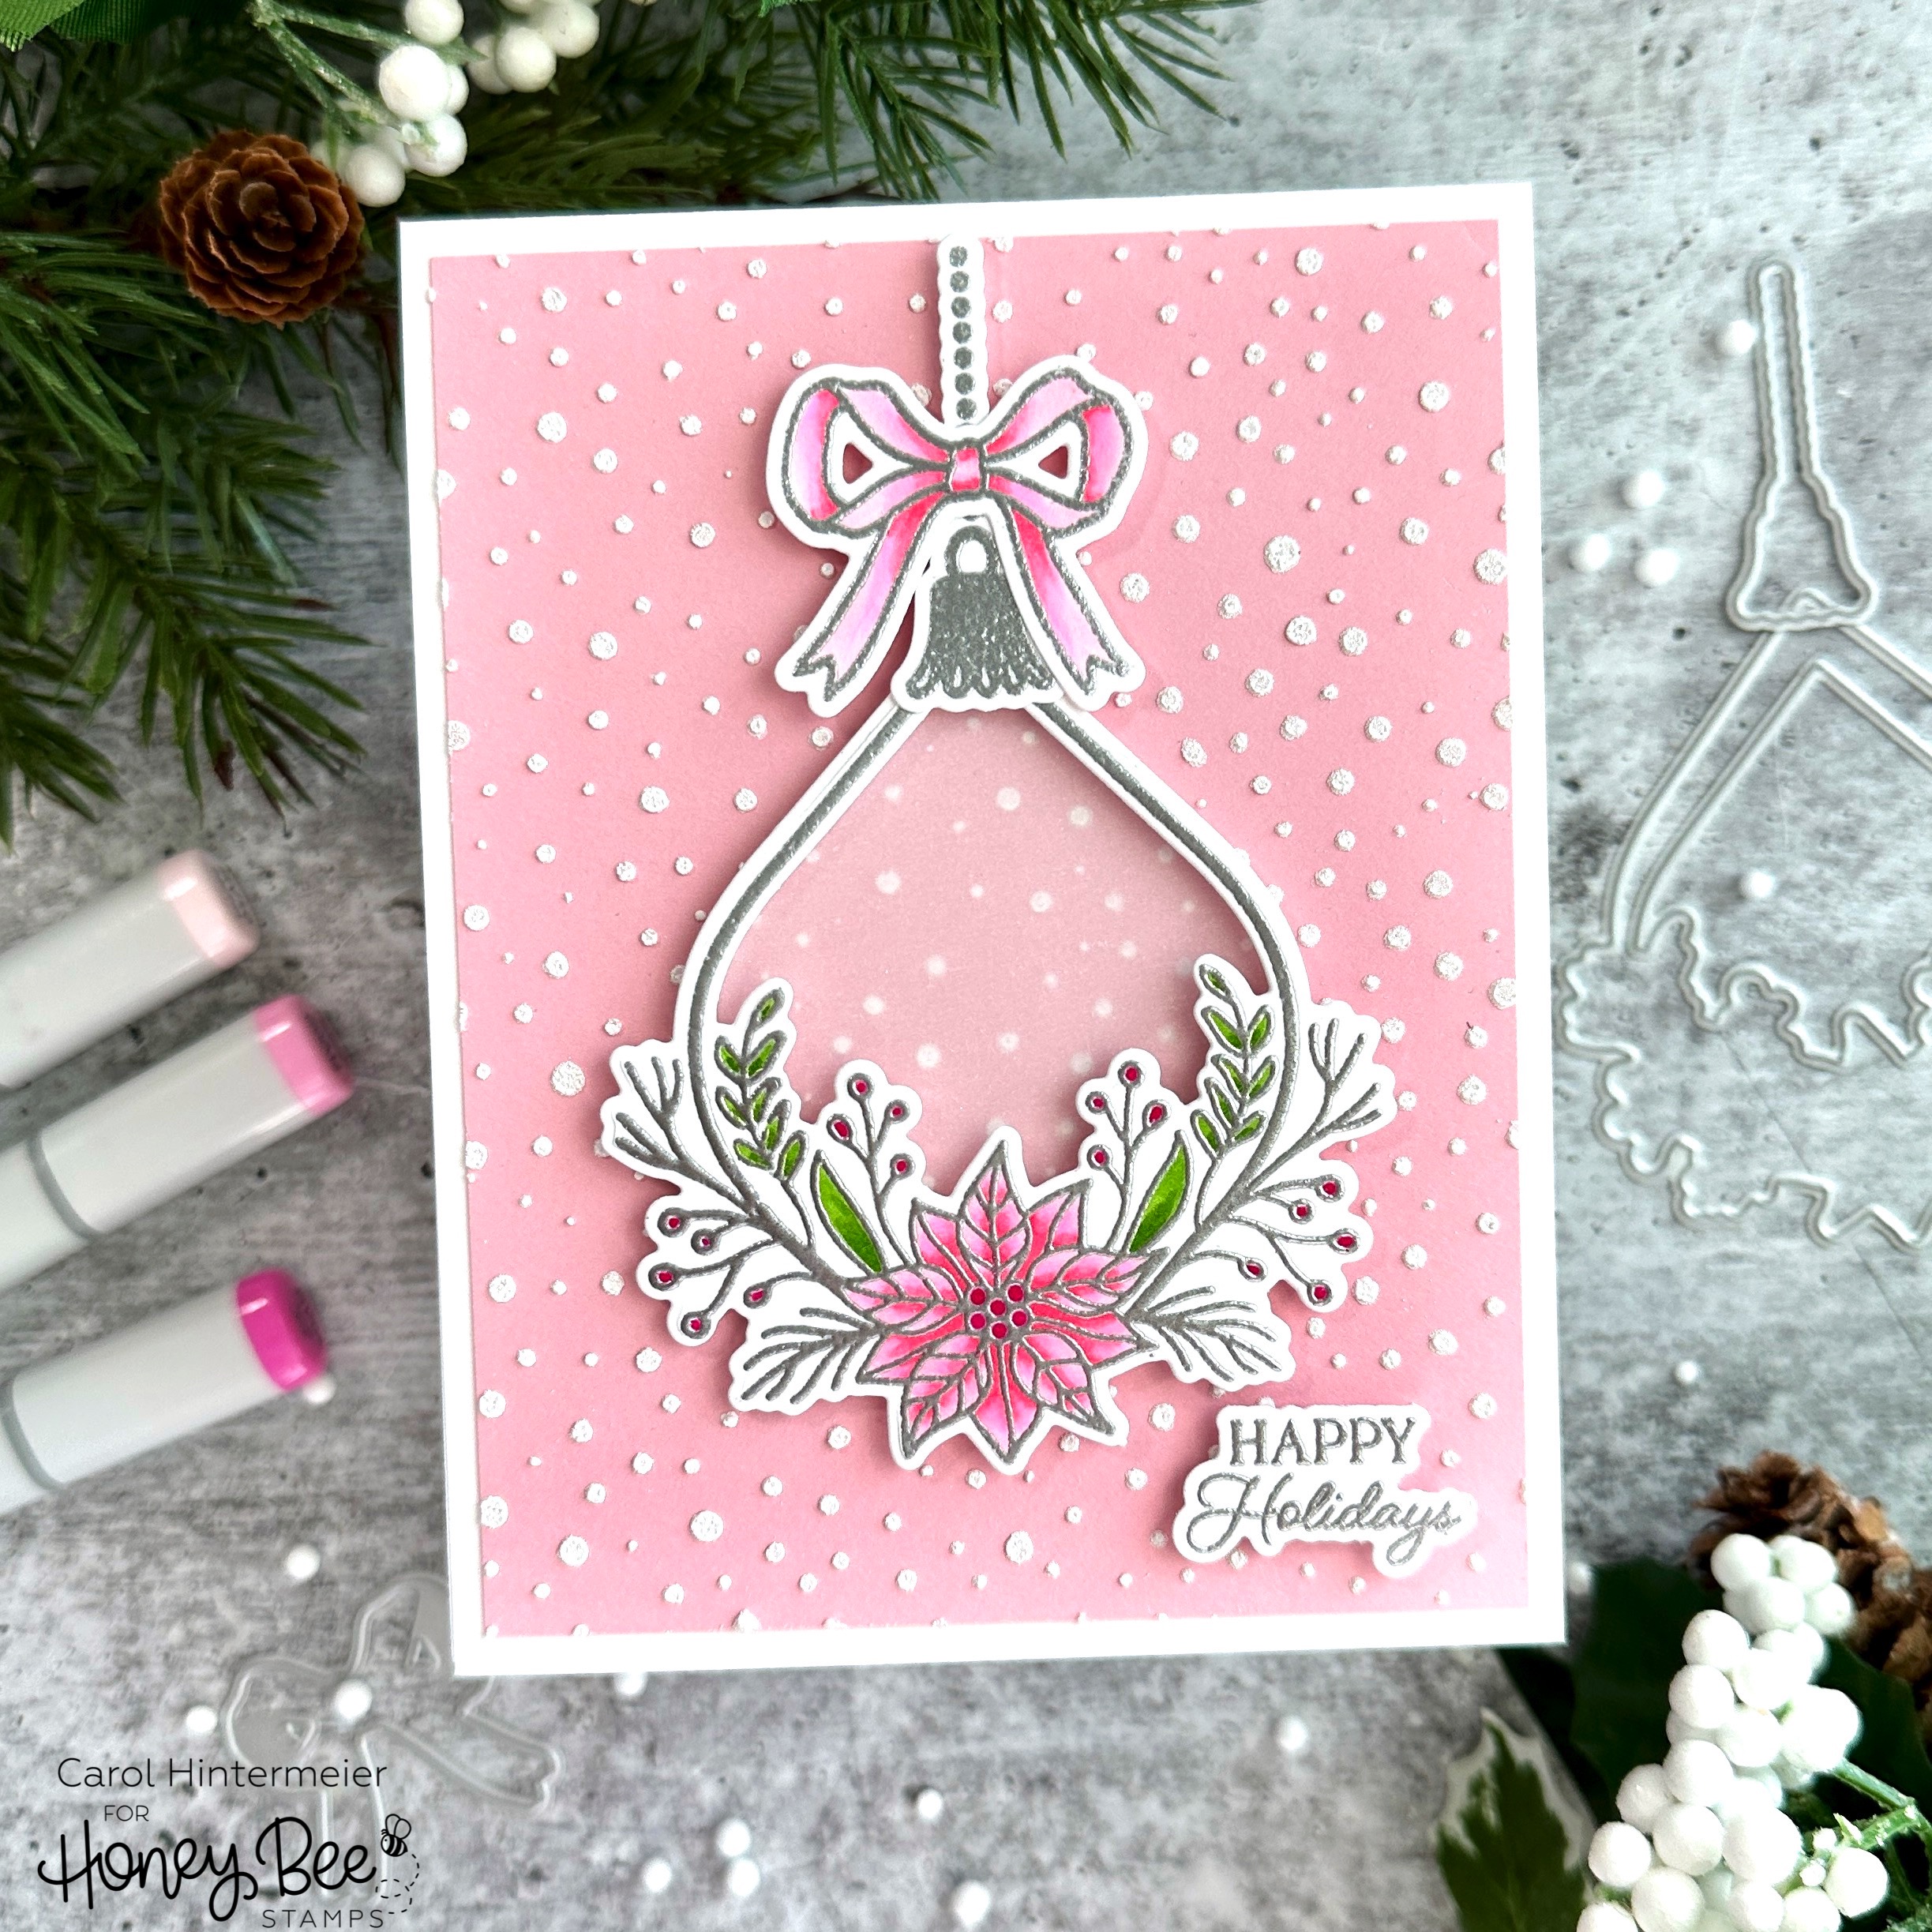
Hi crafty friends!  I'm sharing my card here that is part of Honey Bee Stamps' Instagram Hop to celebrate the release of their beautiful Make it Merry release!  Honey Bee is giving away TWO $50 gift cards to two lucky commenters over on Instagram!  This card features the beautiful Elegant Floral Frames and Home for the Holidays sets.


This card really was quick to make! I used the Snow Day background stencil to add texture paste to pink cardstock.  The pink cardstock is 4" x 5-¼".  I set that aside to dry, which didn't take very long as the dots are very small.

I stamped the ornament, topper and bow from the Elegant Floral Frames set in clear embossing ink.  I also stamped the sentiment that's from the Home For The Holidays set.  I sprinkled silver embossing powder over the stamped images and heat set it.

Then I used a few Copic markers to color the poinsettia, berries, and leaves.  I was careful to not color over the embossing, but it was easy to do! (There are coordinating stencils for this set to use as another easy way to color the images.) I used coordinating dies from the Elegant Floral Frames and Home for the Holidays die sets to cut everything out. 

I added foam tape to the back of the images, then decided I wanted some vellum in the center of the ornament.  I used the die for it to cut the vellum and stuck it to the foam tape.  Some dots of glue helped to adhere it to the card.

Thanks so much for stopping by today!  I hope you'll join me over on Instagram for the hop.  I have all of the hop details in my post.  Click HERE to get there!  Have a wonderful week!

Thursday, February 24, 2022

Honey Bee Stamps Modern Spring Instagram Hop

Hello friends!  Today we are hopping over on Instagram to celebrate Honey Bee Stamps' new release called Modern Spring.  This release is filled with so many gorgeous sets--from florals, cute mice, hot foil plate sentiments, and more--there's something for everyone!

Before I get to the details of my card, be sure to visit my Instagram when you are finished here to get started on the hop.  The more comments you leave, the more chances you will have to win a $25 gift card to the Honey Bee shop!

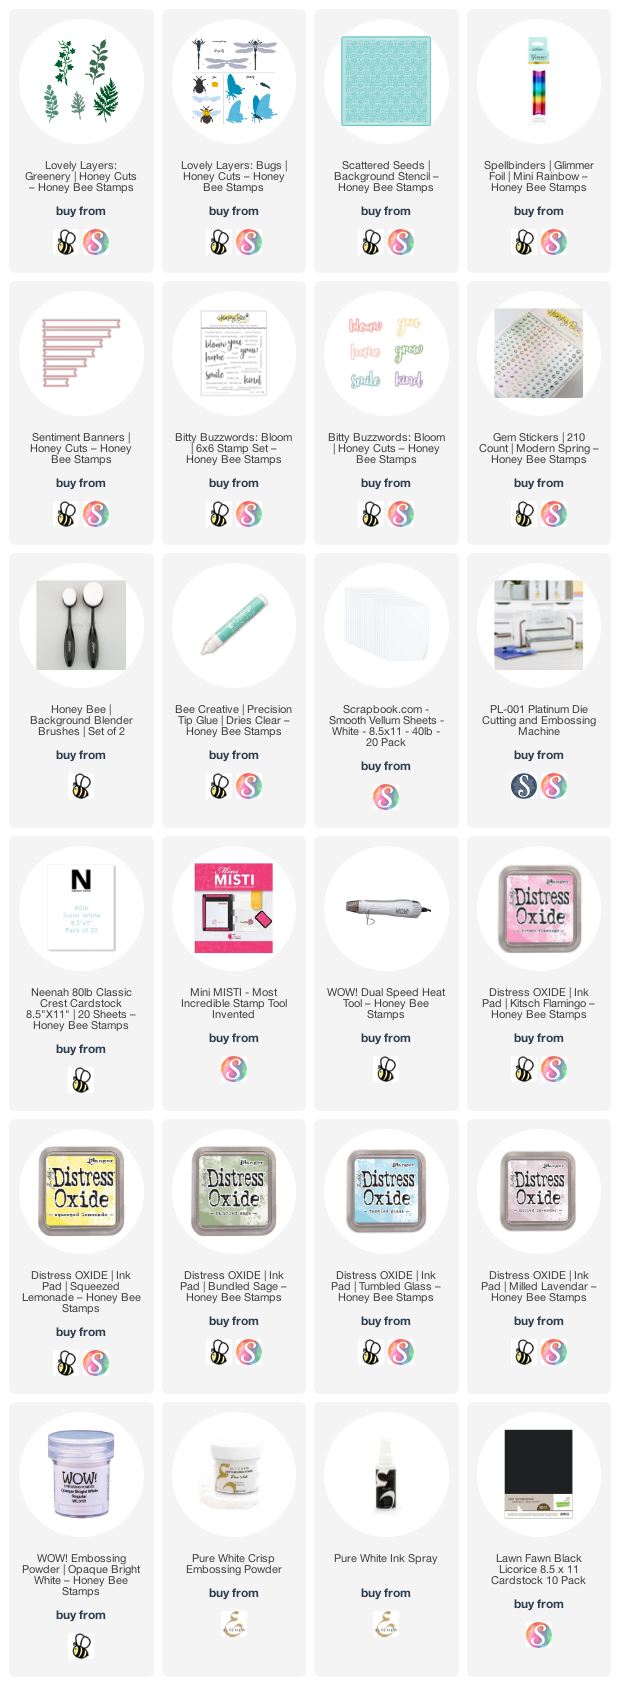
First I stenciled a rainbow of Distress Oxide inks through the Scattered Seeds stencil with Detail Blender brushes.  All the colors I used are in the supply list at the end.  I trimmed the piece to 4" x 5-¼", added a black mat layer, and adhered it to an A2 card base.

Next I worked on the elements for the card.  I used two of the Lovely Layers: Greenery dies and cut one four times and the other twice from white card stock.  I left three of the die cuts in the negative space, taped them on the back with removable tape, and then ink blended the same Distress Oxides over them.  I spritzed water droplets on them and dried it with my heat tool.  Then I added drops of Pure White ink spray and dried that.

For the three remaining pieces of greenery, I spattered some gold (retired) Perfect Pearls Mist over them and let dry.

I die cut the dragonfly wings from the Lovely Layers: Bugs set three times.  Once each from white card stock, rainbow foil (for hot foil plates) and from vellum.  I adhered the rainbow foil to the white layer and adhered the vellum by adding a dot of glue in the center.  I used my fingers to slightly curl up the vellum wings.  I love the effect of the foil through the vellum!!  I used a clear Wink of Stella to add sparkle to the vellum wings.  I die cut the dragonfly body from some pink mirror card stock in my stash and adhered the wings to the body.

I die cut the "kind" sentiment from the Bitty Buzzwords: Bloom die set from black card stock three times.  I adhered the layers together and glued them to the white shadow die cut layer.  Then I stamped the sentiment from the Bitty Buzzwords: Bloom stamp set in Clear Embossing ink onto black card stock.  I sprinkled on white embossing powder and heat set it.  I used a die from the Sentiment Banners die set to cut it out.

I fiddled around (it seemed like forever--LOL!) with the elements to decide on an arrangement.  Once I was happy I popped up the dragonfly and the sentiments with foam squares.  I used Bee Creative glue to adhere the greenery layers.

I adhered some gems from the new Modern Spring Gem Stickers to the card and also the dragonfly body.  I love how iridescent these are and that there are three different sizes in the new sets!

I'm so happy you stopped over for the details of my card!  Thank you!  Be sure to go back over to Instagram where I have the hop list, and check out the other designers' projects!  You will definitely find lots of amazing inspiration for the Modern Spring release; and if you leave a comment, you just may be a winner of that gift card!  Good luck!

Thank you so much should you choose to use my affiliate links for your shopping:  (it's never any extra cost to you) 

Friday, August 27, 2021

We Are Better Together | Honey Bee Stamps

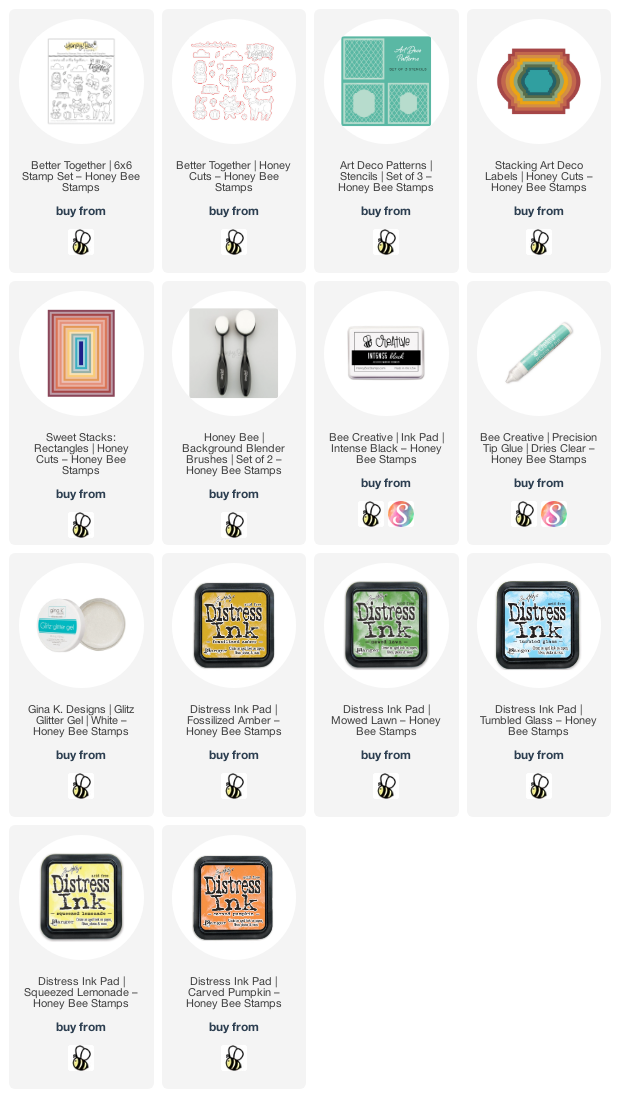
 Hi friends!  My card today is part of an Instagram hop to celebrate Honey Bee Stamps Autumn Splendor release.  There are several new stencils in this release and today I've used the Art Deco Patterns Stencil set (3 included).  What I really love about this stencil set is that it coordinates with the new Stacking Art Deco Labels Honey Cuts!

I love inking up stencils and then using texture paste to enhance the inking!  I sprayed the back of the stencil with Pixie Spray and placed it onto some 80# Neenah card stock.  Then  I added Squeezed Lemonade, Fossilized Amber, and Carved Pumpkin Distress inks with a blender brush.  I left the stencil in place and wiped the ink off with a dry towel.  Then I spread some white Glitz Glitter Gel through the stencil for some fun sparkle!  (Be sure to clean up right away!)

When the stenciled piece was dry, I die cut it with the 2nd largest Sweet Stacks: Rectangles die.  I used Bee Creative glue to adhere it to an A2 card base.

Next I used the 3rd largest Stacking Art Deco Labels Honey Cuts and cut out some 80# Neenah.  Then I added Mowed Lawn and Tumbled Glass Distress ink for the background.   I added foam tape to the back and adhered it to the card front.

Next I stamped the cute images and sentiment from the Better Together stamp set with Intense Black ink.  After I colored them with my Copic markers, I used the coordinating Honey Cuts to cut them out.  I added foam tape to the rabbit, mouse, and sentiment and adhered them to the card.  I adhered the other images with Bee Creative glue.

For some finishing touches, I used a white gel pen to add details to several images.

From the stenciling to coloring the adorable images, this was so fun to create!  I hope you'll pop over to my Instagram and join the hop.  There will be two $25 gift cards to the Honey Bee shop given away to two of the commenters!  Plus you'll get to see lots more amazing inspirational cards from the team!  Thank you so much for stopping by!

Products I used for today's card:

Friday, February 19, 2021

Rubbernecker Stamps Springtime Fun Release Instagram Hop

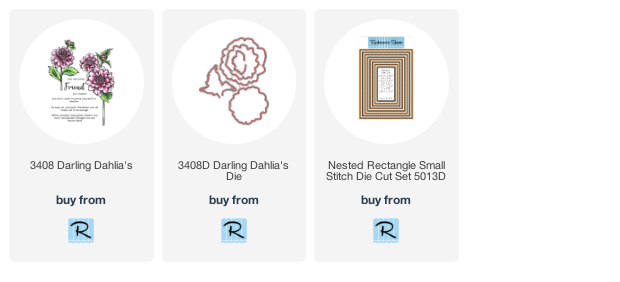
Hello friends!!  Thank you for coming from the Rubbernecker Stamps Springtime Fun release Instagram hop to check out my card today!  I've used the absolutely beautiful new Darling Dahlias stamp set for my card today.  This set has three gorgeous Dahlia flower stamps, two buds, leaves, and some awesome sentiments!  There's also a coordinating die set that I didn't use today.  I absolutely love this set!


I began by stamping the large Dahlia with Copic safe ink onto Neenah Solar White 80# card stock.  Next I stamped it onto some masking paper and fussy cut it out.  I placed the mask onto the stamped image and stamped the smaller flower, the bud, and the stem.  I stamped the leaves, and stem, and also a mask for one of the leaves.

Then I stamped the other leaves, placing the mask for the stem over the stem for the smaller flower.  I stamped the other leaves and then saw my boo-boo!  Do you see it?  Probably not until I mentioned it, right?  That is why I never give up on a card!  Especially after the stamping and masking I did!

I colored the flowers and leaves with Copic markers, which I've listed at the end.  When I finished coloring the flowers, I die cut the panel with the largest Nested Rectangle Small Stitched die.  Next I adhered it to an A2 sized pink card stock layer and added this to a top-folding card base.

Next I heat embossed the sentiment in gold onto heavy weight vellum and trimmed it into a banner shape.  I rolled up small glue dots and place under the embossing and adhered it to my card.


To finish up, I added some gold Nuvo drops around the arrangement.


I sure do thank you for stopping over to take a look!  Be sure to go back to my Instagram feed to continue on the hop.  Be sure to comment and tag friends for more chances to win!  

Copic markers:
flowers: RV25, RV23, RV21, RV10
leaves:  G07, YG17, YG25, YG03

Other supplies:

Shop the Rubbernecker products here: