Showing posts with label Snow Day background stencil. Show all posts

Monday, October 31, 2022

Elegant Floral Frames Holiday Card & Instagram Hop

Hi crafty friends!  I'm sharing my card here that is part of Honey Bee Stamps' Instagram Hop to celebrate the release of their beautiful Make it Merry release!  Honey Bee is giving away TWO $50 gift cards to two lucky commenters over on Instagram!  This card features the beautiful Elegant Floral Frames and Home for the Holidays sets.
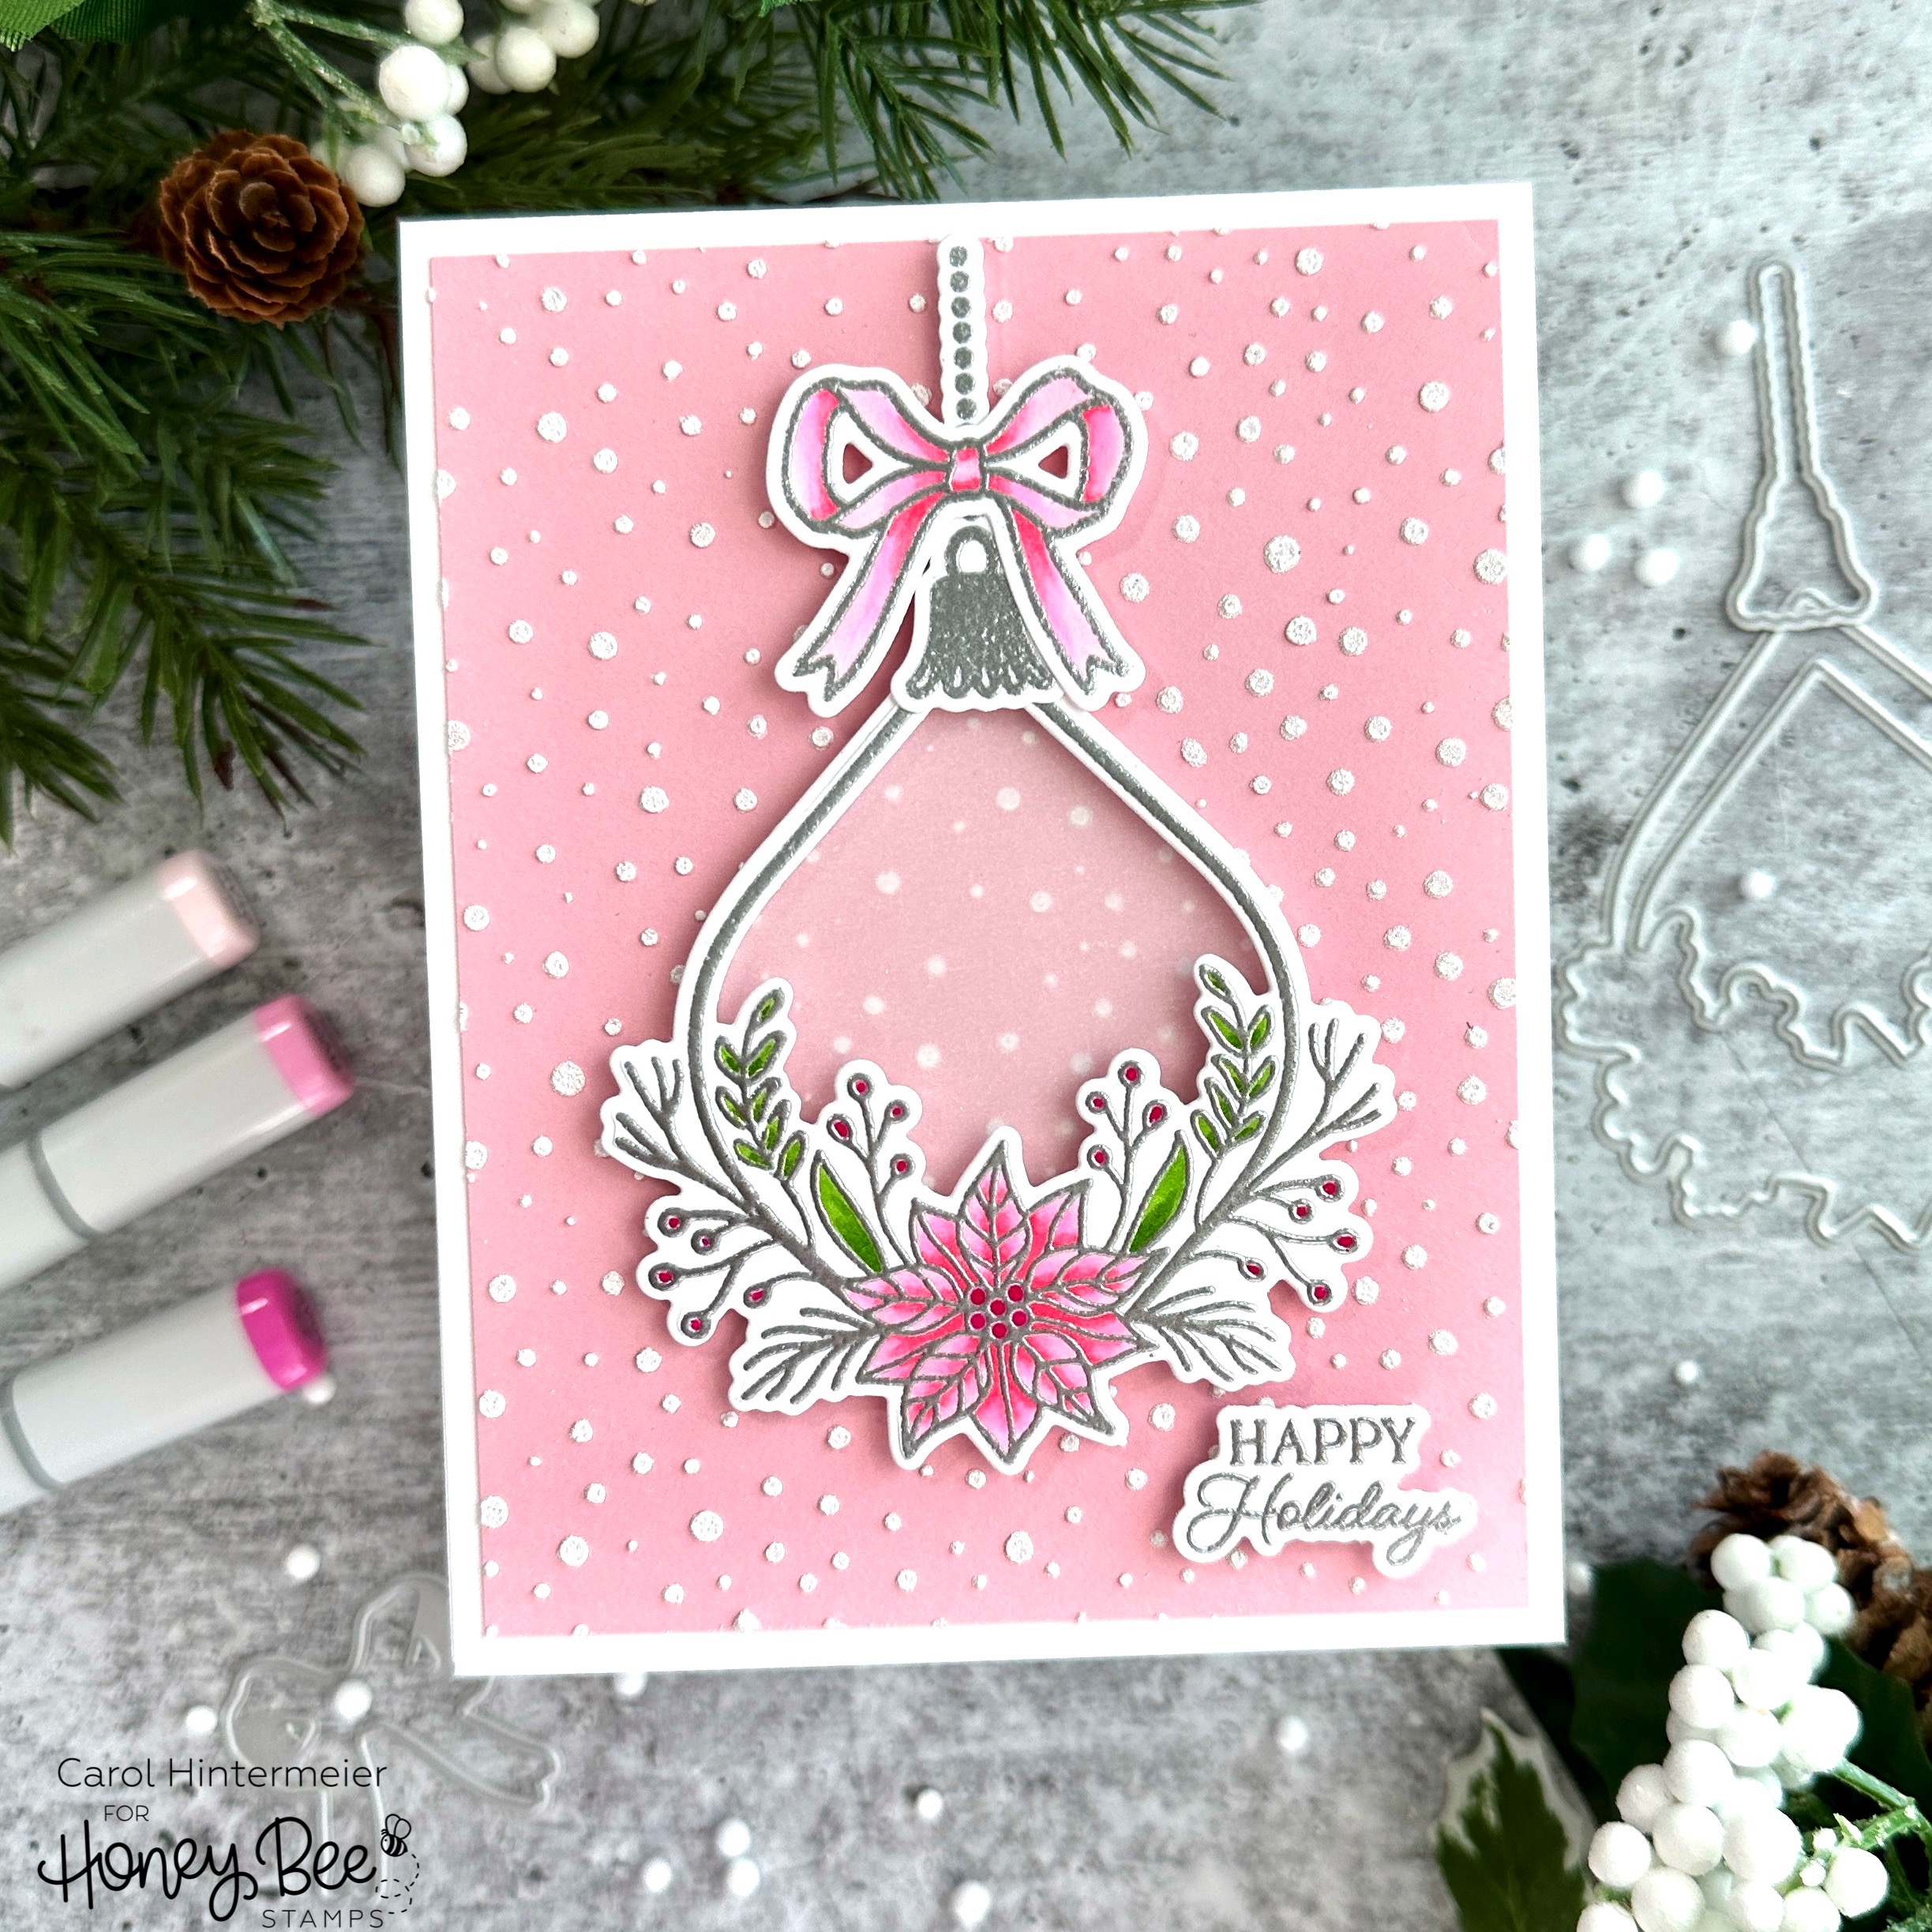

This card really was quick to make! I used the Snow Day background stencil to add texture paste to pink cardstock.  The pink cardstock is 4" x 5-¼".  I set that aside to dry, which didn't take very long as the dots are very small.

I stamped the ornament, topper and bow from the Elegant Floral Frames set in clear embossing ink.  I also stamped the sentiment that's from the Home For The Holidays set.  I sprinkled silver embossing powder over the stamped images and heat set it.

Then I used a few Copic markers to color the poinsettia, berries, and leaves.  I was careful to not color over the embossing, but it was easy to do! (There are coordinating stencils for this set to use as another easy way to color the images.) I used coordinating dies from the Elegant Floral Frames and Home for the Holidays die sets to cut everything out. 

I added foam tape to the back of the images, then decided I wanted some vellum in the center of the ornament.  I used the die for it to cut the vellum and stuck it to the foam tape.  Some dots of glue helped to adhere it to the card.

Thanks so much for stopping by today!  I hope you'll join me over on Instagram for the hop.  I have all of the hop details in my post.  Click HERE to get there!  Have a wonderful week!
Wednesday, October 20, 2021

Joy To The World & Vintage Holiday Instagram Hop | Honey Bee Stamps

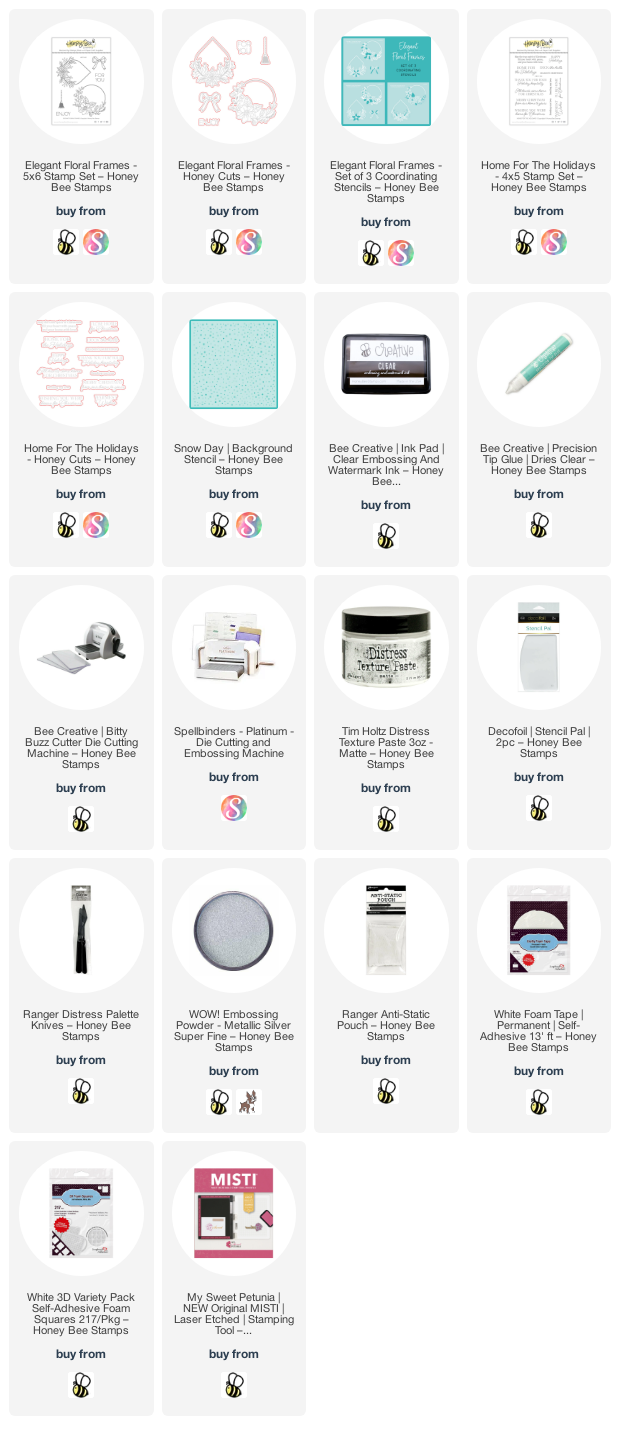
Hello crafty friends!!  Today I'm sharing a card that's part of a fun Instagram hop to celebrate Honey Bee Stamps gorgeous Vintage Holiday release!  I've used the new Sleigh Bells Ring stamp set and coordinating dies and the new Bitty Buzzwords: Holidays to create my beautiful snowy scene.

I started by creating my background.  On an A2 sized 80# Neenah Solar White card I inked some light blue ink around the edges with a Background Blender Brush.  Then I placed the Snow Day background stencil over it and spread some Deco-Art Snow-Tex through the stencil.  I love how bright white the Snow-Tex is!  I set it aside to dry and cleaned up the stencil and my tools.  After it was dry, I adhered it to a top-folding A2 card base.

Next I stamped the sled and rope from the Sleigh Bells Ring stamp set with some brown-grey inks.  I used a bit darker ink to stamp the woodgrain of the sled.  I die cut it with the coordinating dies.   Then I stamped the other images from the set with Intense Black Ink and colored them with my Copic markers.  Then I used the coordinating dies to cut them out.

Then I arranged the pieces on the sled, adhering with Bee Creative Glue and some foam squares.  I added thin foam tape to the back of the sled.  Next I die cut the Joy from Bitty Buzzwords: Holiday die set three times from white card stock and the shadow layer once.  I colored the top layer with a matching blue Copic and adhered the layers together.  I stamped the "to the world" from the Bitty Buzzwords: Holidays stamp set in light blue ink, trimmed it into a strip and adhered it to the "Joy".

I added some layered snowflakes that I die cut with the small flakes from the Layering Snowflakes die set. I added a sparkly gem sticker from the Vintage Holiday Gem Stickers set.

After I adhered the sled and snowflakes to the card I added some fun bling by using a clear glitter pen on the "joy" and the white poinsettia.  Then I added drops of Red Berry Nuvo Crystal Drops to each berry.

I hope you enjoyed my card making process and will join us over on Instagram to see the beautiful projects from the team.  Also, there are prizes so be sure to check out my post for the details.  Thank you so much for stopping by!

Click the links for product info!